Sunday, December 31, 2023

DT FAves From 2023

Hello CottageCutz friends! Thanks for taking the time to stop and visit with us today. It's Mary Marsh here bringing you the Sunday edition of the Blog.

We have an after Christmas sale going on right now at the online store with savings of up to 80%.  The sale runs through January 2 so stop over and visit to get some dies you may have on your wish list. 

This is the 2nd day of featuring DT favorite cards from 2023. So, let's get started to see what they have chosen. 

Design Team Faves:

Kristine created a beautiful sympathy card using dies from our Flowers & More release as another of her faves from 2023. There is a complete tutorial on this post
Kristine also selected this envelope box card as a fave using dies from the Easter release. The bold and bright colors made it so perfect for Springtime. See this post for a complete tutorial. 
Pam chose this tulip card as another of her faves from 2023. It's a perfect way to send a bouquet of beautiful paper flowers. See her tutorial here
Marla chose this beautiful Folk Art Rooster card as another of her faves from 2023. Distress inks and white gouache really captured the folk-art style in such a unique way. 
Melinda chose this shadow box home decor item as another of her faves from 2023. You can see more of how she created this on her Blog post here. 

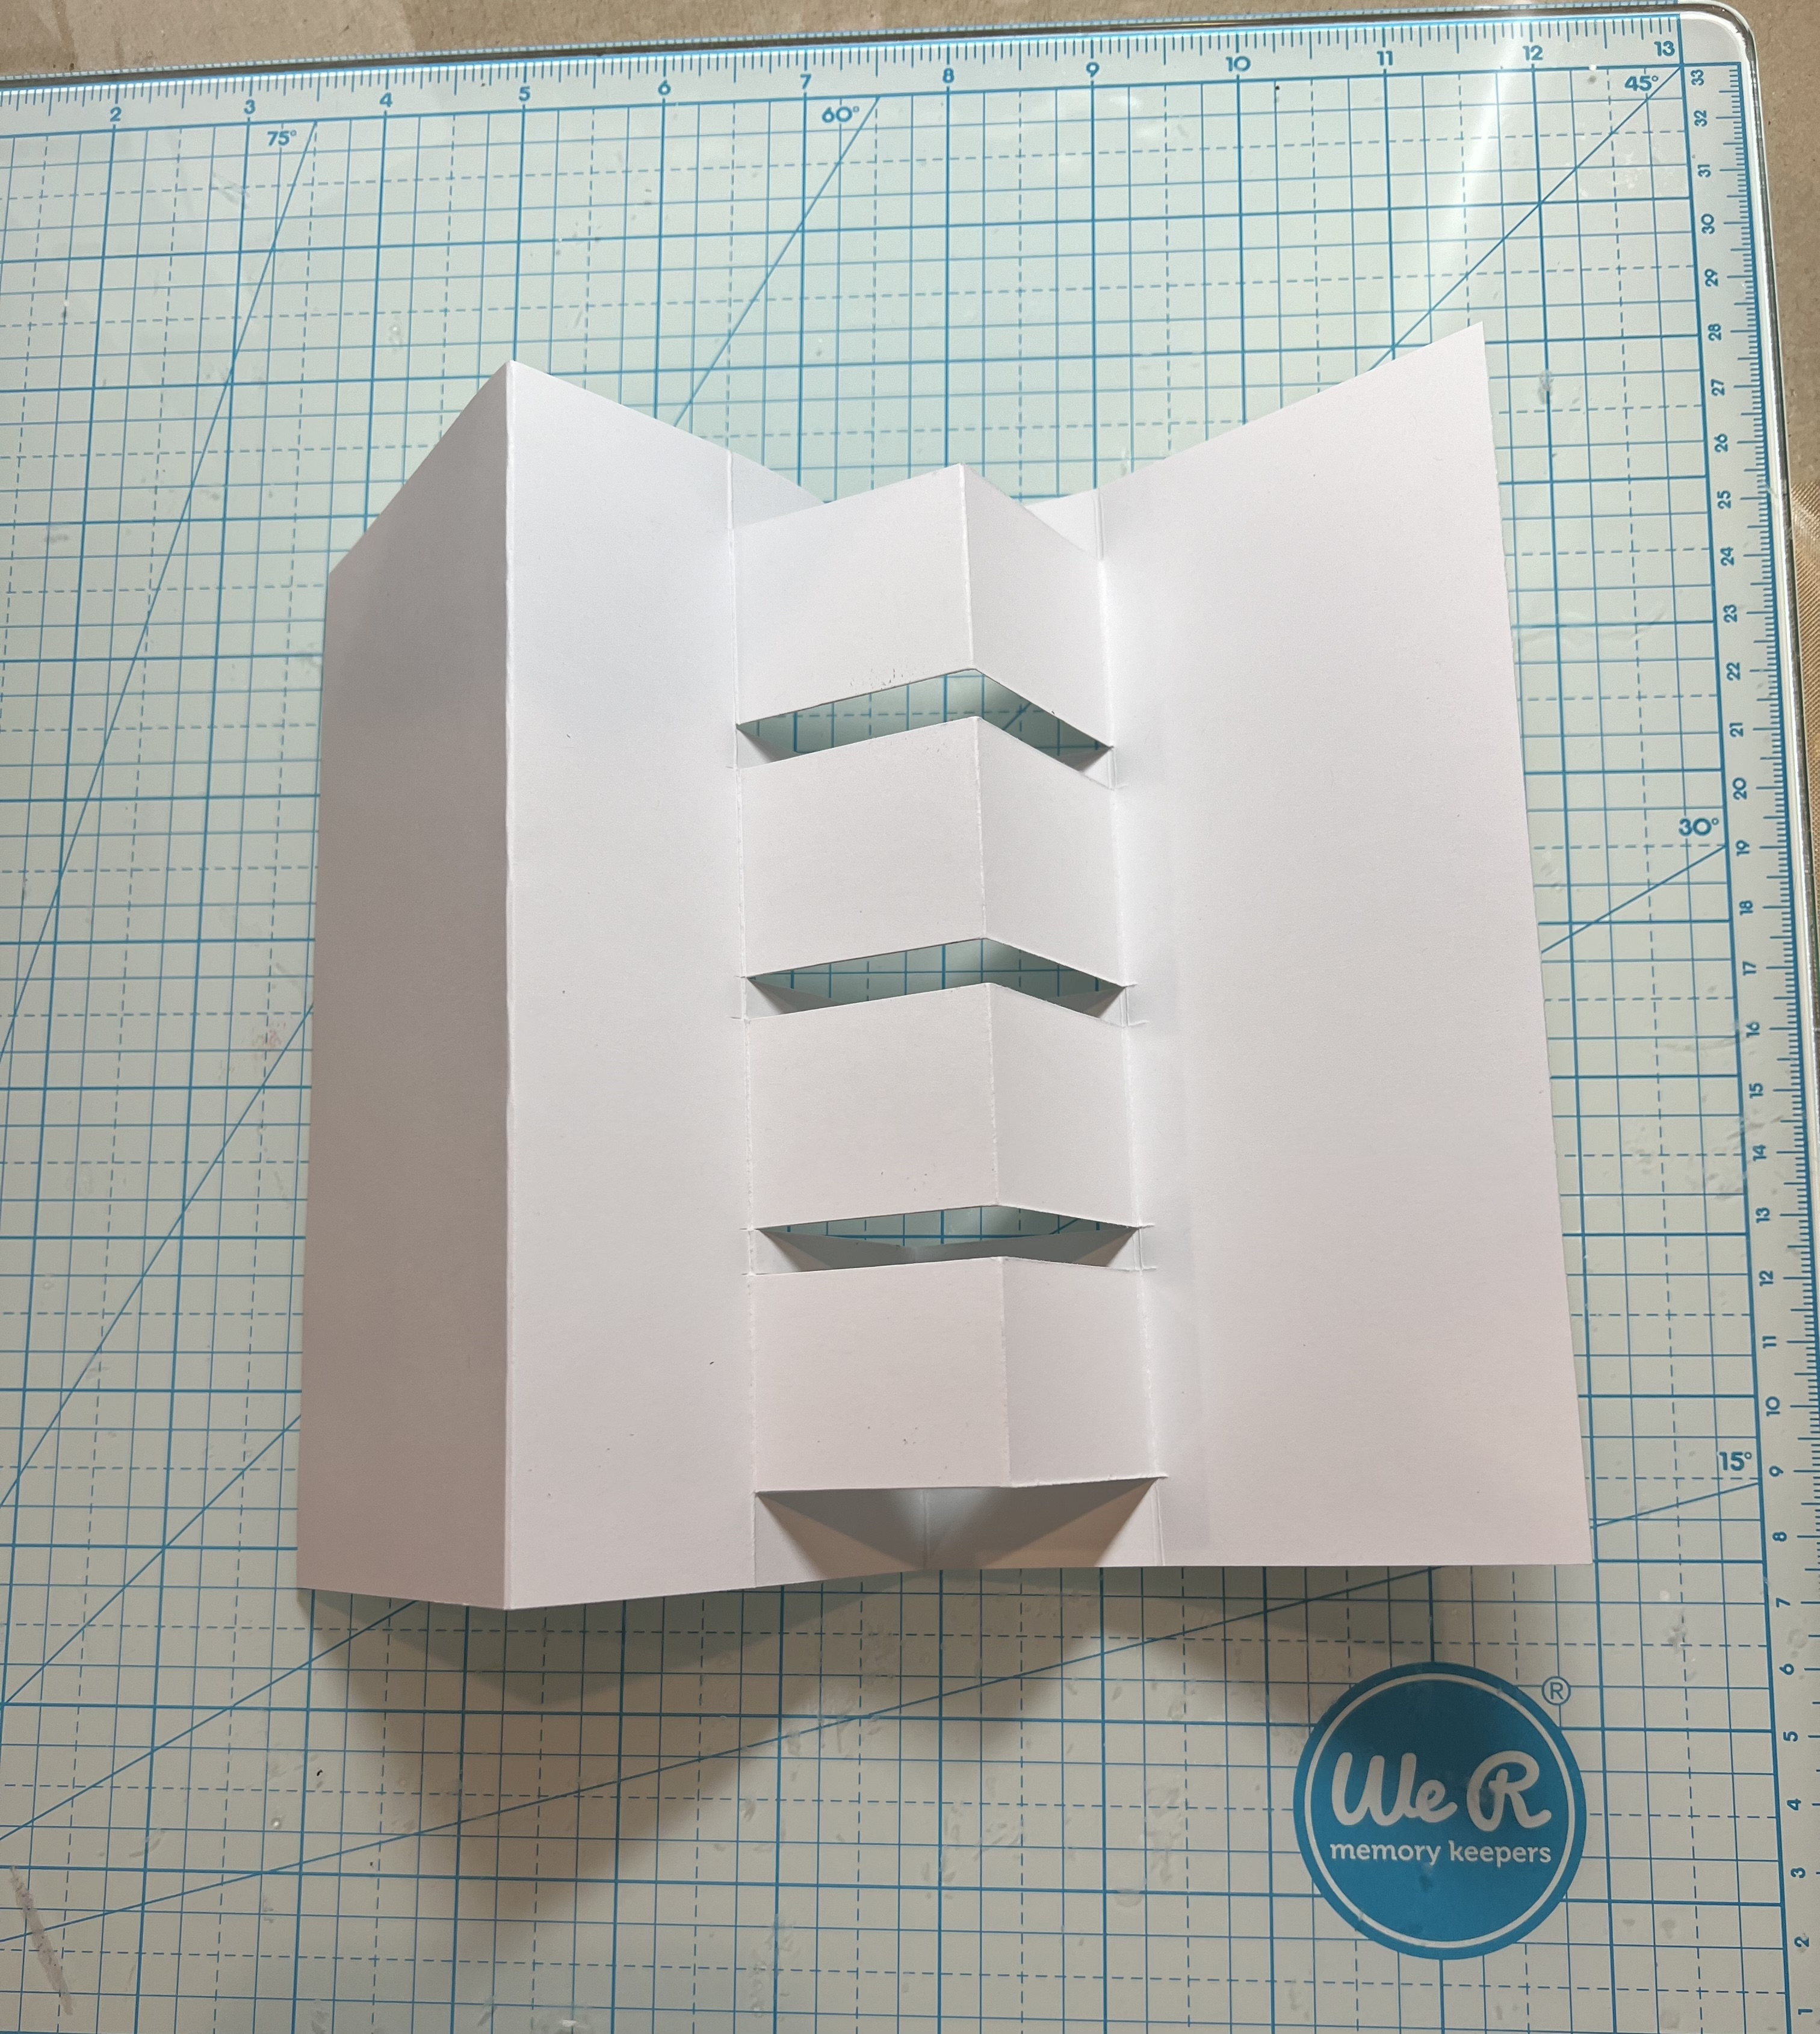
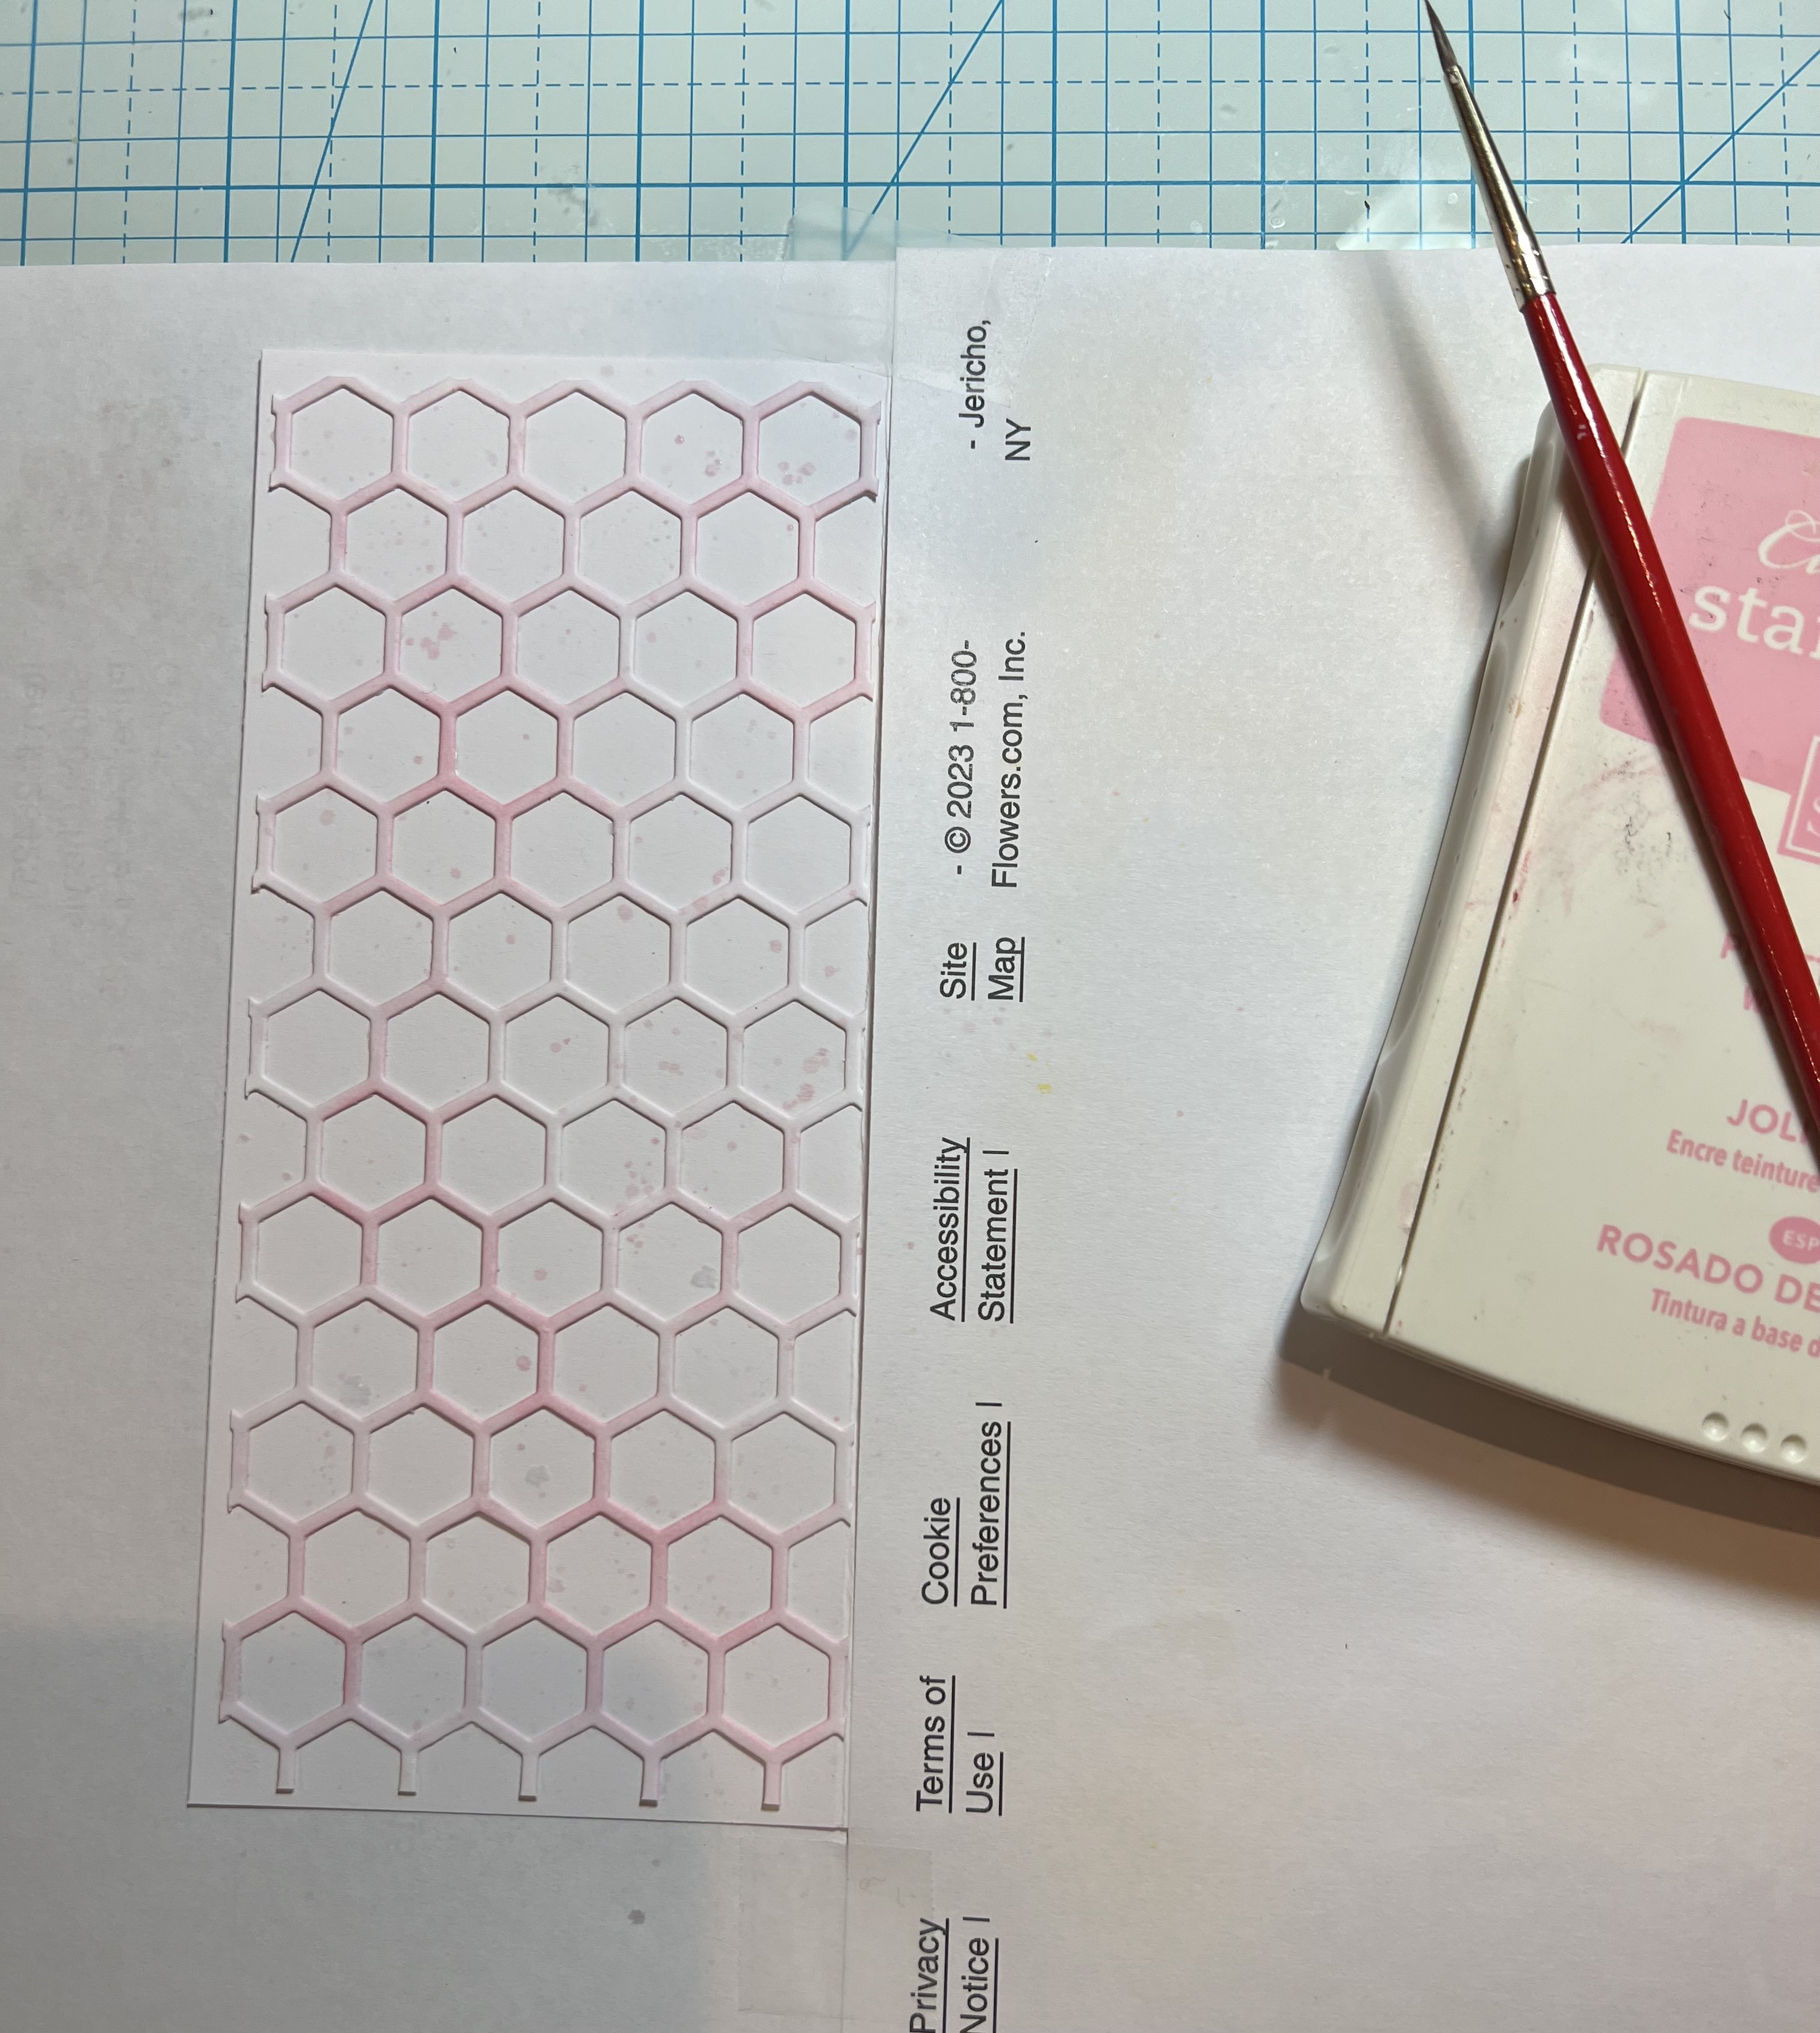
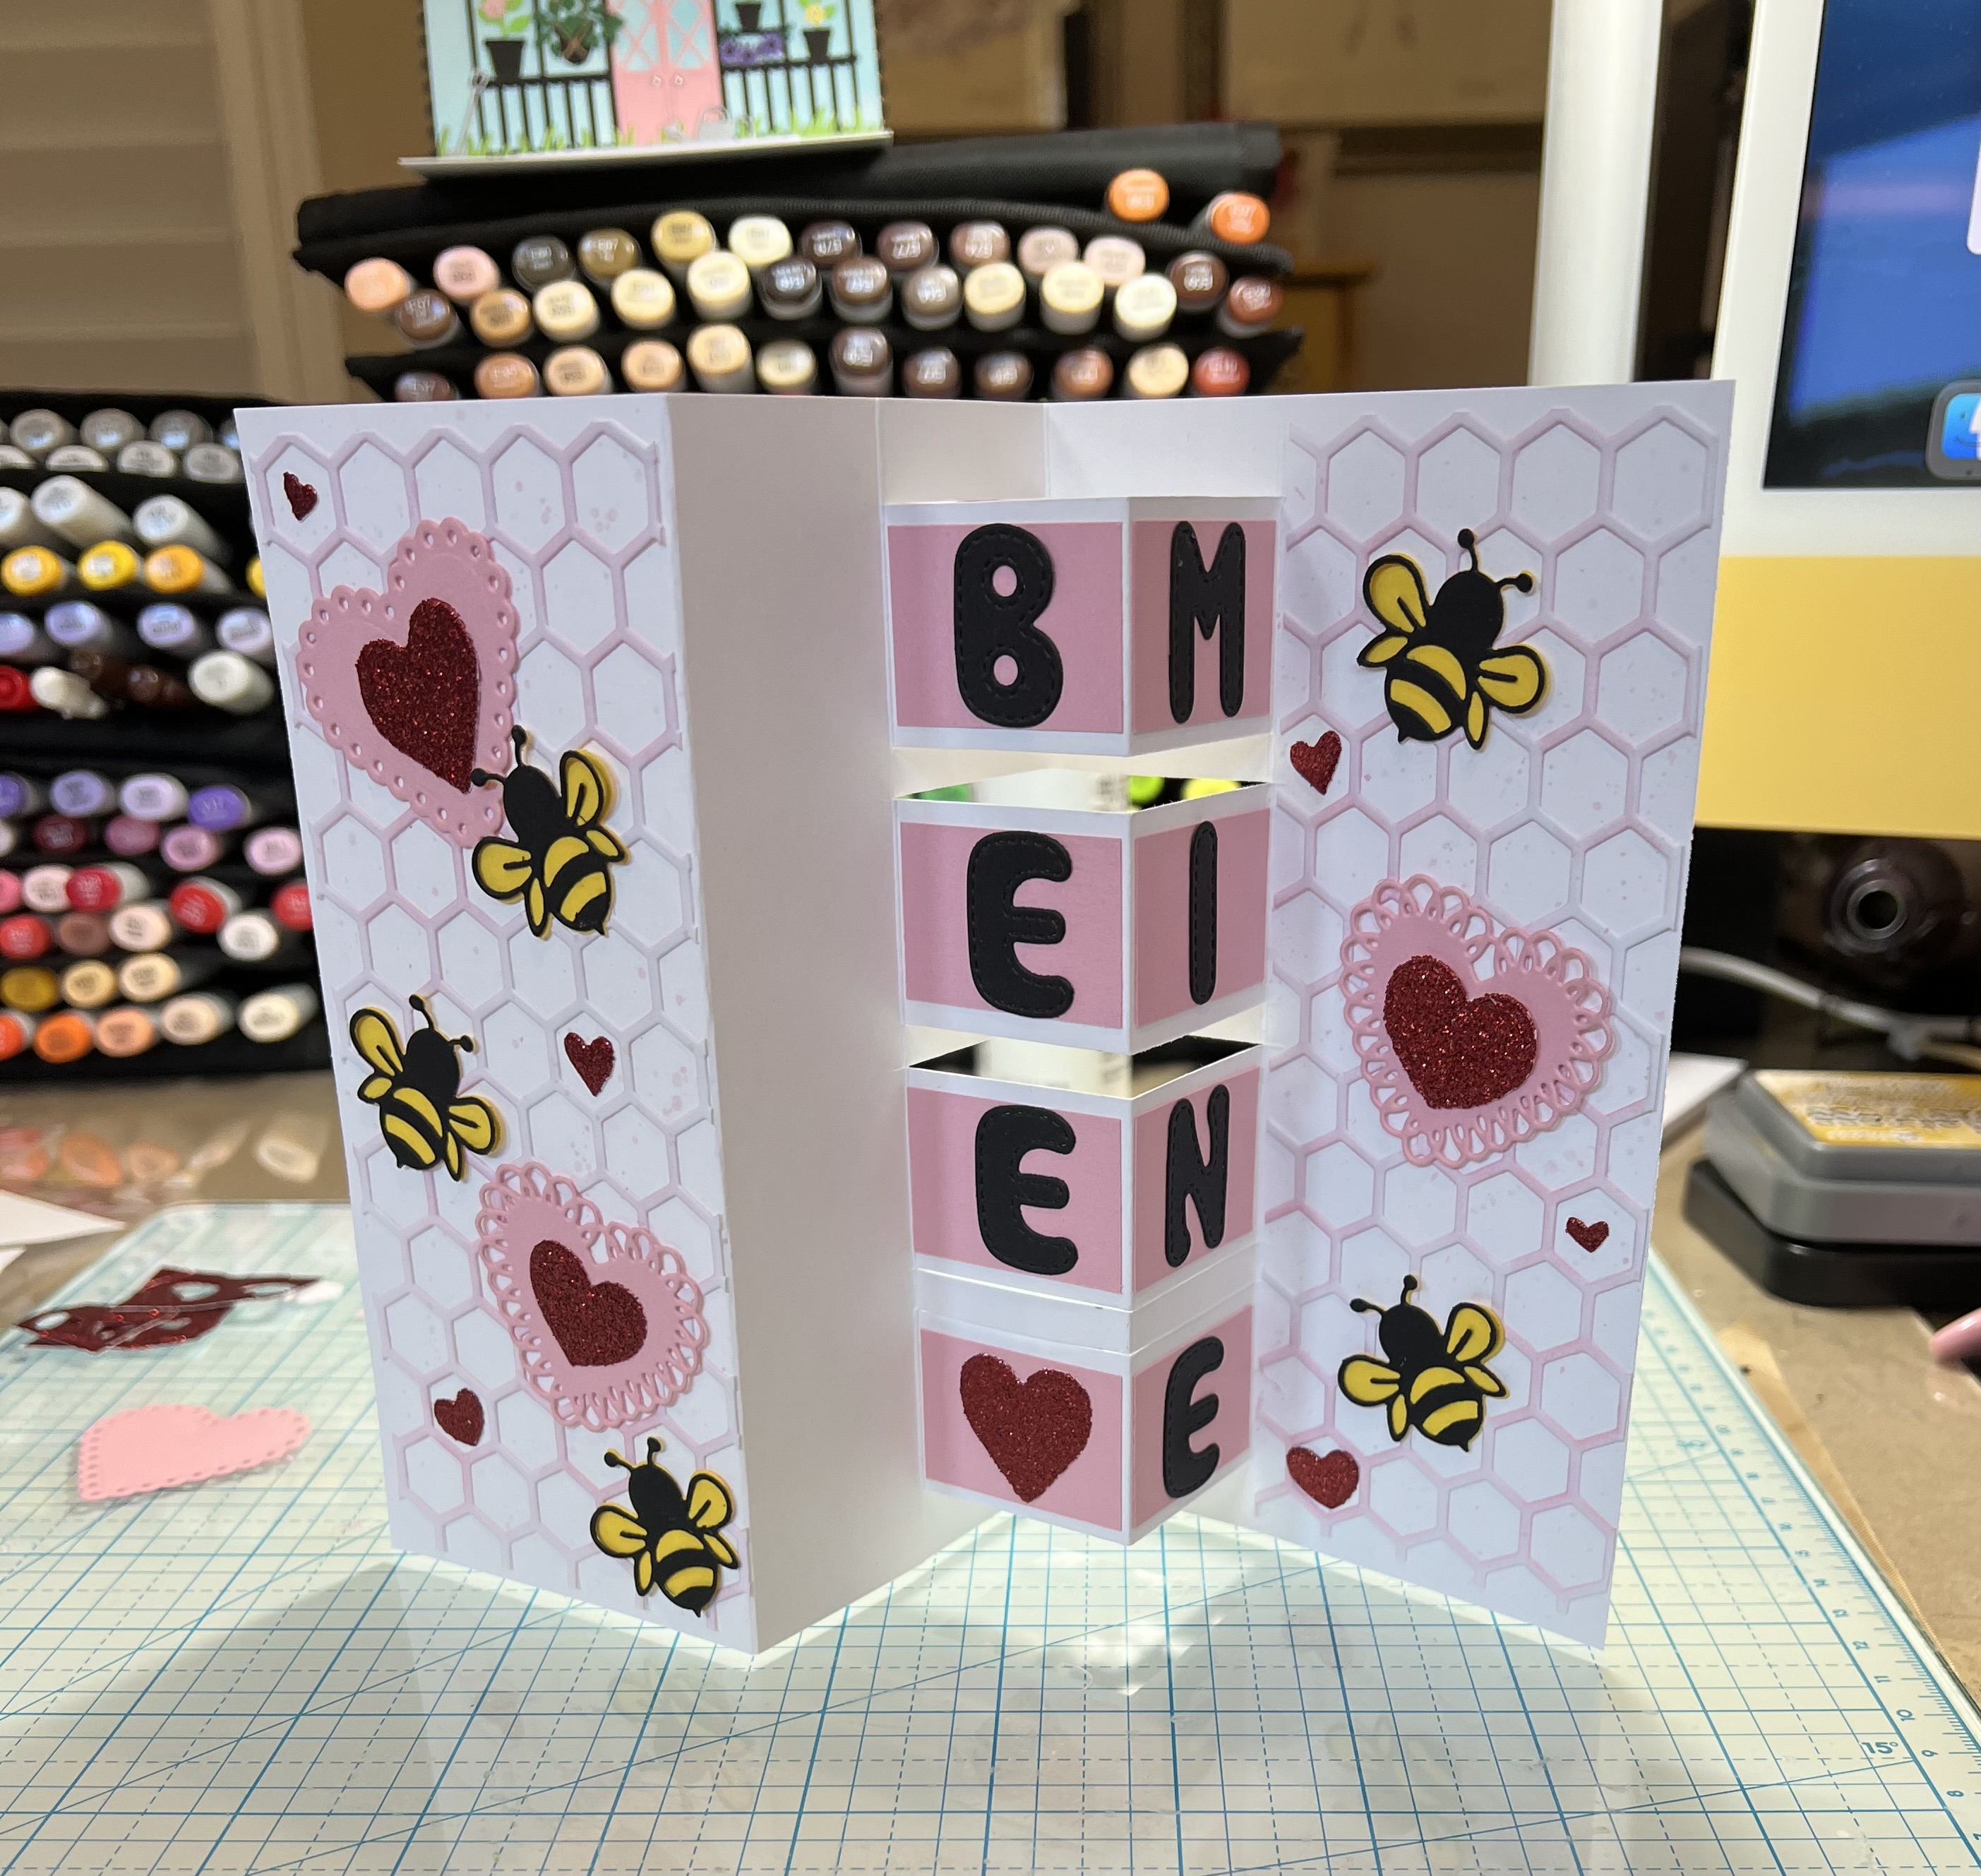
I (Mary Marsh) chose this pop-up fun fold birthday card as another of my faves from 2023. You can see the complete tutorial on this post. There is also a video on the post that shows it opening and closing. 

card front
card inside

That's it for today's post. I hope you have enjoyed watching down memory lane with us for the past 2 days. 

Other News: This is my last post as a member of the CottageCutz Design Team. It's been nearly 8 years and I have thoroughly enjoyed my time designing for this incredible company. But in 2024 I will be getting more involved in the political realm in my community and that will take a good amount of my time. So, farewell my friends. It's been a wonderful ride!


Saturday, December 30, 2023

DT Faves from 2023

Hello CottageCutz friends! Thanks for taking the time to stop and visit with us today. It's Mary Marsh here bringing you the Saturday edition of the Blog.

We have an after Christmas sale going on right now at the online store with savings of up to 80%.  The sale runs through January 2 so stop over and visit to get some dies you may have on your wish list. 

For today and tomorrow we will be featuring some of the DT favorite cards from 2023. So let's get started to see what they have chosen. 

Design Team Faves:

Melinda made this Hot Coca Box in January. She presented a way to take Christmas dies and use them for the winter season. There are full details and more photos to show all sides of the box on this Blog post
Pam chose this slimline Valentine card using the Classic 50's dies. It's a great color palette and a super cute card for all ages from the boomers through the millennials. See her post here
Kris chose her vertical easel card using dies from the Christmas release and created a thank you card. This card was one of my faves as well because it ended up in my mailbox. I have it on display in my craft room. She has a complete tutorial on this Blog post.  


Marla chose this beautiful Fall themed card that she created in a 5 x 7 design. All her tips and tricks on how she created this card are on this YouTube post. 

I (Mary) chose this fun fold pop-up birthday card as one of my faves from 2023. All the details of how I created it are on this Blog post


Well, that's it for today's post. Stop by again tomorrow and see more of the Design Team faves. And as a reminder, all of these dies are on sale right now. 
 

Friday, December 29, 2023

Anniversary in the Pines

Happy Friday crafty friends!  

I hope you all had a wonderful Christmas ♥ 

We have an after Christmas sale going on right now with savings of up to 80%.  The sale runs through January 2 so stop over and visit to get some dies you may have on your wish list. 


Kris here sharing an anniversary card featuring the Pine Tree, Full and Pine Tree, Slim from our Christmas 2023 Release All the dies in this release are 30% off for a limited time.  

I'm also showcasing the beautiful Garden Bride & Groom die and Stitched Hearts set to make this heart window cutout card for my husband for our anniversary.  We got married a few days before Christmas and had white flocked (and lit) trees in the sanctuary, so I left the top layer of my tree dies white to resemble snow.

Below is the inside of my card.  


I followed the Color Challenge CC979 at Splitcoast Stampers 


Sweet Sorbet
Daffodil Delight
Lemon Lime Twist
Petal Pink
Neutrals of your choice

DESIGN STEPS:

I die cut my Garden Bride & Groom from black cardstock.  Then I die cut my trees and cut a piece of 5-3/8" x 4-1/8" from white cardstock.


I used Twisted Citron, Scattered Straw, Abandoned Coral, and Kitsch Flamingo Distress Oxide ink and blended onto the white panel as shown.


I used Mowed Lawn and Vintage Photo D.O. ink and blended onto tree bases and trunks.  I left the top layers white to resemble snow. 


Next, I spattered white paint with a paint brush dipped in water then paint and hit the handle using another paint brush handle as shown below. 


I cut my card base from black cardstock at 5-1/2" x 8-1/2" and scored at 4-1/4" and then with card open, I die cut the largest  Stitched Hearts set  from the center of card front. 


I added a sheet of scrap paper to cover the back 1/2" of my card, then spattered white ink onto the front to resemble snow.  


I mounted my silhouette to the ink blended panel and then I cut a white mat at 5-1/2" x 4-1/4" and taped to inside of card.


Next I stamped and die cut my Happy Anniversary sentiment from a Divinity Designs stamp set and glued to the inside bottom where it won't show thru the front when card is closed. 


For the front, I put a sheet of wax paper inside to cover my silhouette panel, then I added glue to back of trees where it would touch the black card front.  The wax paper prevents any excess glue from ruining your ink blended panel inside.  


My daughter insisted that I needed a snowy bank at the bottom of my card, so I cut a pc of black c.s. at 5-1/2" and die cut the top with the Hills Slimline die.  I then added puffy snow with my Snow Writer.


Thanks so much for taking a peek today!  

~Kristine


Thursday, December 28, 2023

Moving on from Christmas


Hello friends!  With the passing of Christmas our card making moves on to other seasons and holidays.  When I sat down to create my card this week, I turned my attention from snow to strawberries and pulled out the "Strawberry Plant" and "Sentiment Thank you Berry Much" dies.  I am not much of a winter girl past the holidays, so I quickly shift gears into spring and gardening after Christmas.


You can find all of the details for this card on the CottageCutz YouTube Channel.  If you don't like to color or ink blend, then using spray stains may be right up your alley.  I am sharing a few different sprays stains that I have and demonstrating how each is a little different and how easy they are to use to ink up die cuts.  I hope you'll join me.  The Scrapping Cottage is generously allowing me to offer the "Strawberry Plant" as a giveaway, so watch all the way through the video to see how you can enter.

Until next time.... Marla


Wednesday, December 27, 2023

Time for Valentines

 Hello Friends 

I hope you all had a blessed time with family and friends this past Christmas. And I would like to wish you all a very Happy New Year.  We are running an after Christmas Sale in the online store right now.  So use your Christmas money and save big! Click here to see what great values we have.

I am getting a jump start on my Valentines.  I am using the Garden Butterflies and Bee die from our Black Friday release for this fun little block card.


Design Steps: (Here is a link to a video that I used to make the base https://www.pinterest.com/pin/443534263317816376/ )

1.  Start with a piece of white card stock measuring 10 x 6 3/4.  Score at 3, 4 1/2, 6, 7 1/2
2.   Fold the flap back along the 6 inch score. Place a ruler at the bottom along the fold and use a pencil to mark small dots at 1/2, 1 3/4, 2, 3 1/4, 3 1/2, 4 3/4, 5, 6 1/2
3.  Place your card into a paper cutter and cut from the dots to the closest score line as shown above
4.  When you have completed the cuts fold as shown below

5. Using the Honeycomb Background Slimline cut 2 pieces in white: 6 1/2 x 2 3/4 and 6 1/2 x 2 1/4.  Using a blending brush and a pink ink to add some color to both pieces.
6.   Using the same pink ink place some of the ink onto a acrylic block and then add a little water.  Pick up the ink with a brush.  Hold the brush over the place you want splattered and gently tap the brush with your finger
7.  Cut 6 pieces of pink card stock 1 1/4 x 1.  Glue the pink rectangles to the card as shown above
8.  Using the following dies and card stock colors: Garden Butterflies and Bee black and yellow,  Fancy Heart pink, Be My Valentine Puppies red glitter card stock and Stitched Alphabet black
9.  Arrange your pieces as shown above and add a few silver sequins and your card is complete


We have more inspiration on our YouTube Channel check it out HERE

Thanks so much for stopping by!  And I will see you next Thursday.

Blessings and Take Care