Hello
Scrapping Cottage friends! Thanks for taking the time to stop and visit with us today. It's
Mary Marsh here bringing you the Saturday edition of the Blog.
We have a brand-new
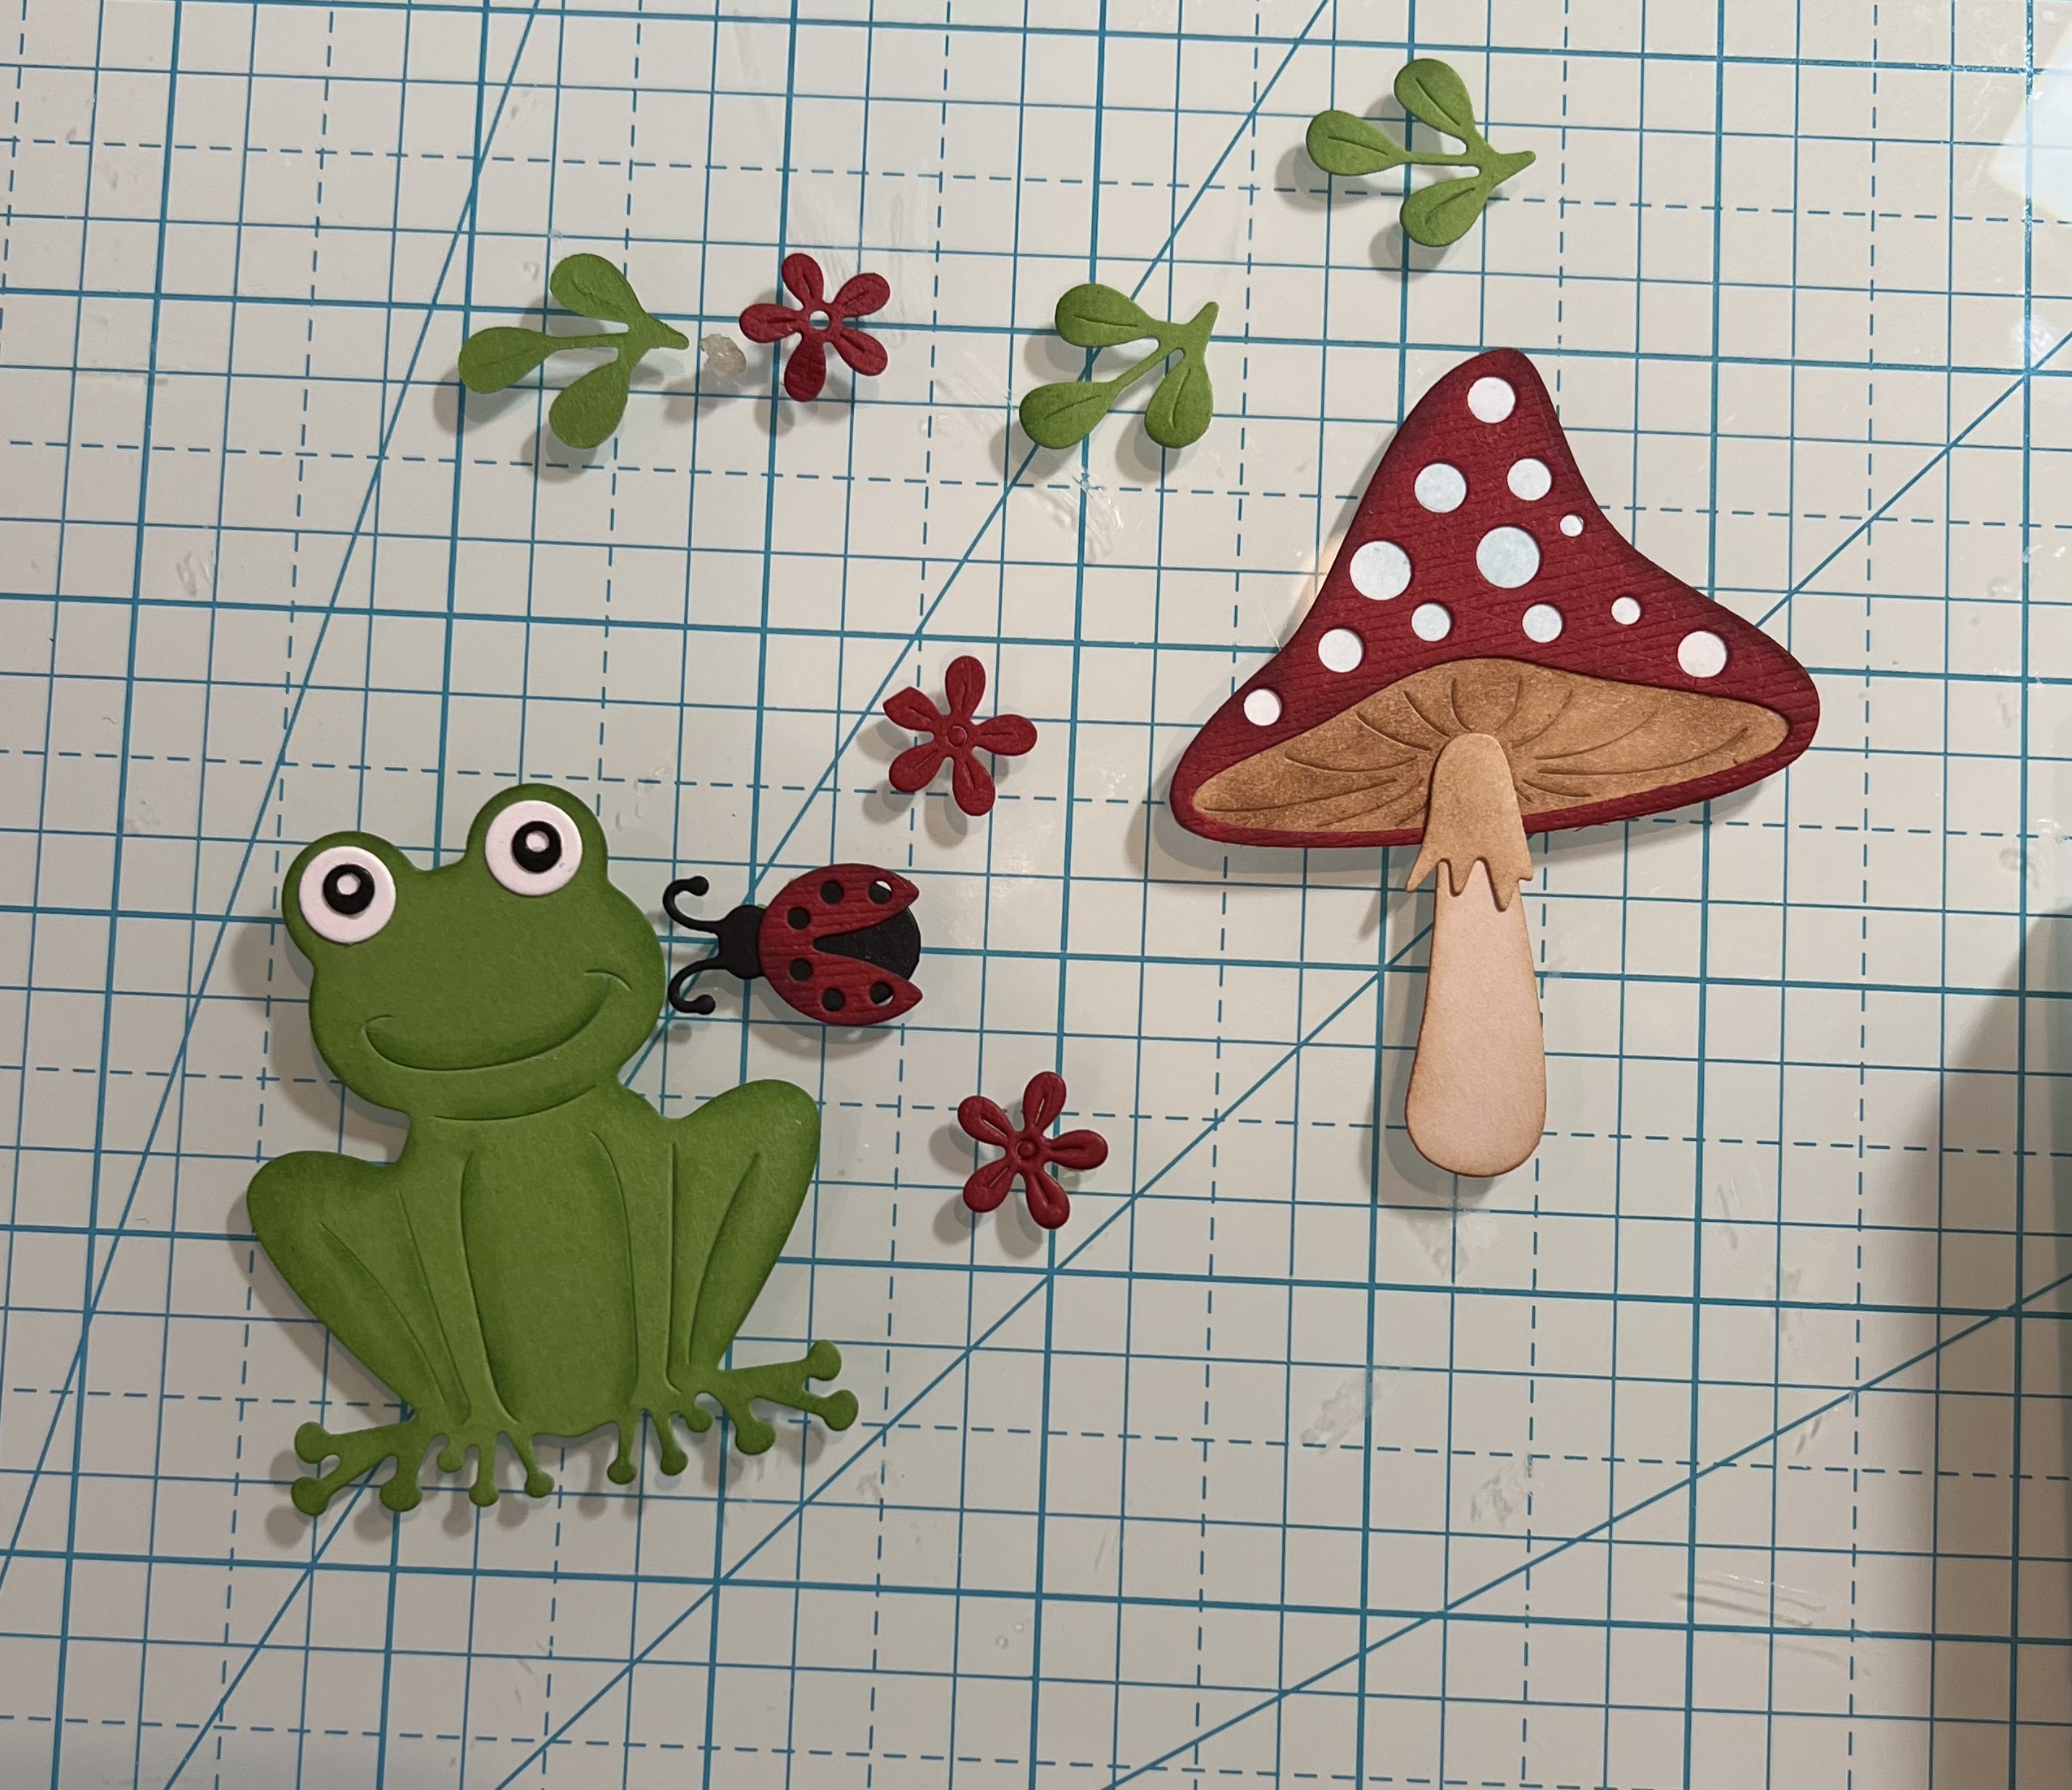
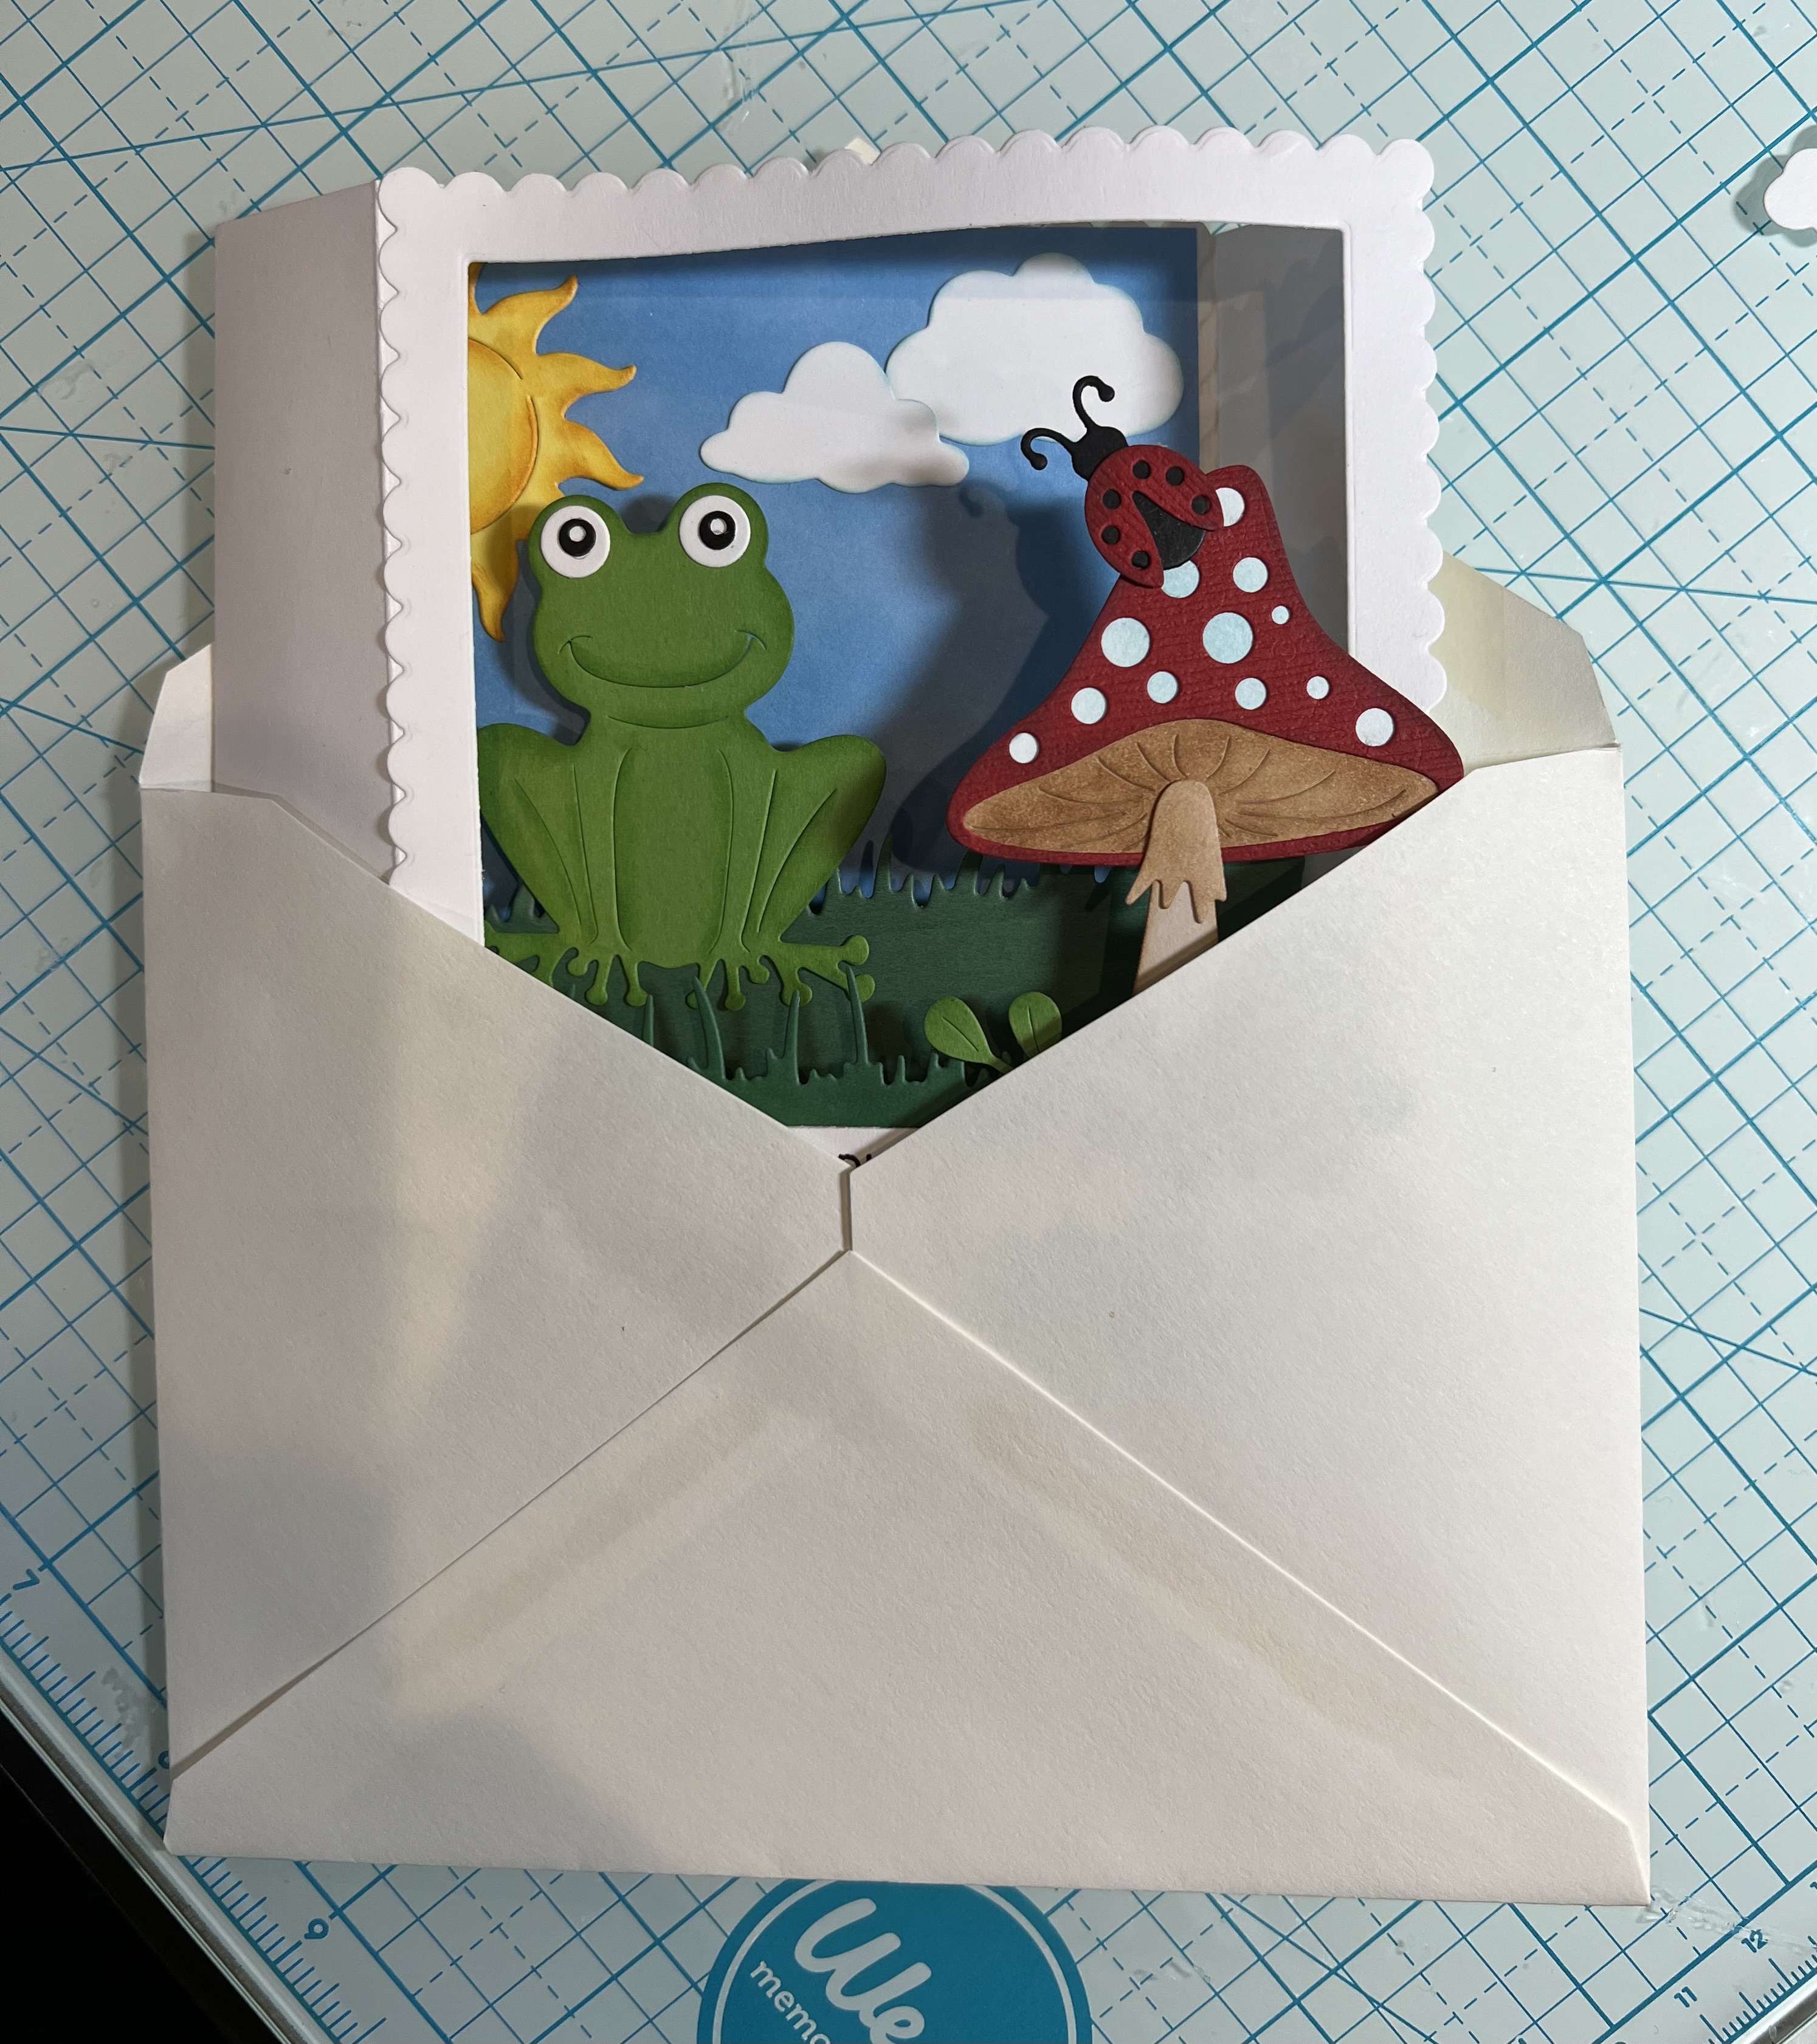
Easter release with 17 new designs available in the online store. There is something for every card maker with faith-based dies, beautiful floral images, whimsical with bunnies and frogs and several lovely birds and butterflies.
You will be able to take the images beyond the Easter or Spring season. And for a limited time you can get
individual dies at 30% off. Today for your viewing pleasure I am using the new
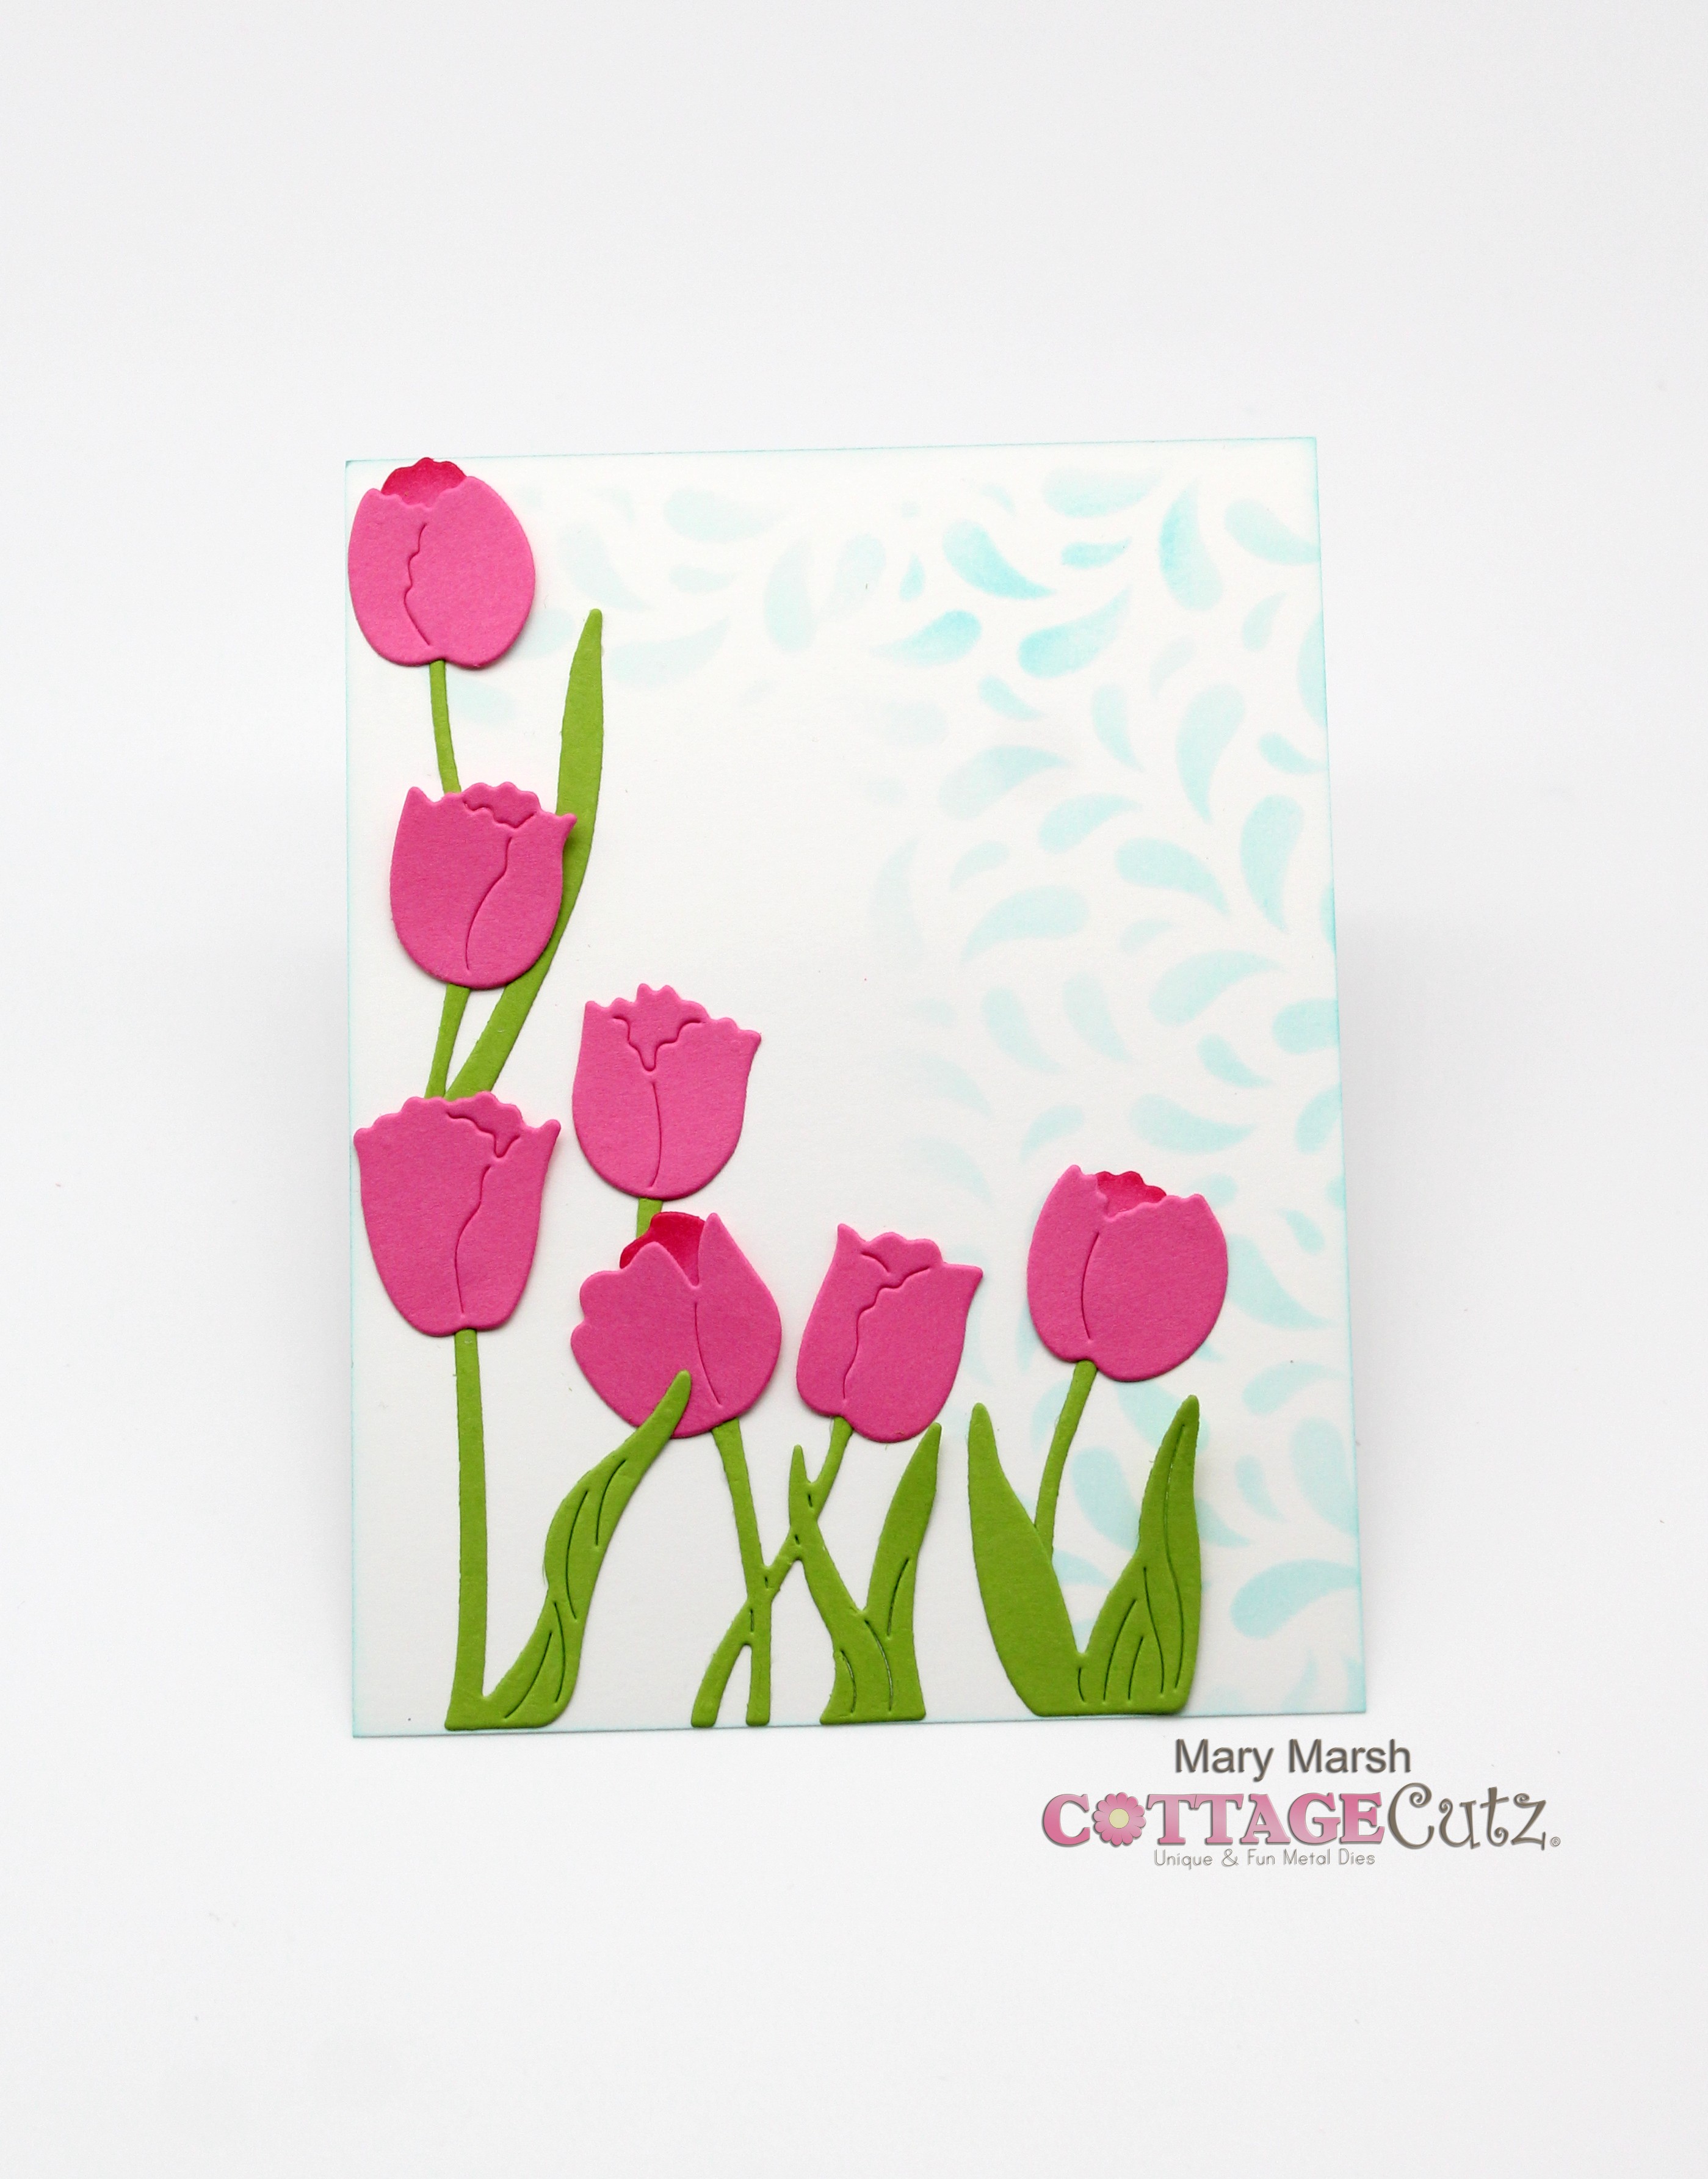
Cross w/Draped Cloth and the tulips from the
Spring Blessings dies.
I started my card with the colors from the Splitcoaststampers
color challenge #941. We are to use sahara sand, petal pink and very vanilla for the color trio. Optional is anything related to wood. Neutral shades can also be used.
 |
| sahara sand, petal pink, very vanilla |
The colors are so limited that I really had to think about this one. The wood option made me think of a cross. So, I decided to use the cross w/draped cloth die.
The cross has amazing detail and my mind went to the hymn "The old rugged cross" and I decided to use that for a background. I found a free printable online of the hymn. I printed it on cardstock and cut it down for my A2 size card. Layered that on a suede color cardstock and cut the cross in the same suede cardstock.
To get the vanilla shade in I cut the cloth in vanilla. I used a pink cardstock for my card base. The tulips are cut in the same pink and sponged with kitsch pink distress ink for a deeper shade.
I decided to make another card and use a purple cloth instead of the vanilla one. I changed the tulips to the purple shade and the card base as well.
Well, that's it for me for this post. See you again on Saturday.
Reminder: Our YouTube Channel has a new video from Marla Harris. There is a giveaway for being a subscriber, liking the video and leaving a comment.
Click here.
dies I used to create card:


.JPG)