Monday, December 31, 2018

Thank You So Much!

Hi, Lois here with my regular Monday post.  Here it is -- the last day of 2018!  Be sure to check the After-Christmas sale in the Scrapping Cottage store.   You can save up to 80% on CottageCutz dies.
  
Before I share my card with you, I must tell you that this is my last card for the CottageCutz design team.  I have so enjoyed these last several years on this team and working with some very talented people.  My card today is two-fold.  First, of course, it is my weekly post; but secondly (and maybe most importantly) it is to say thank you to Joanne and Mary for their support.  And now, my card!

After Christmas we all have a need for Thank You cards, and that's what I have for you today.  I used a really cute CottageCutz die -- Hugging Penguins.


I started my card by cutting the die pieces from white cardstock.


Using the packaging for inspiration, I colored the pieces with my Copic markers and constructed the penguins.


I then cut the pieces for my card base:

White - 8 1/2" x 5 1/2", scored at 4 1/4" and folded in half
Red - using the largest die in the Cross-Stitched Rectangle Set
Cream - using the 2nd largest die in the Cross-Stitched Rectangle Set


After shading a line for placement of the die-cuts on the cream panel, I constructed my card base.  This shaded line will "anchor" the penguins.


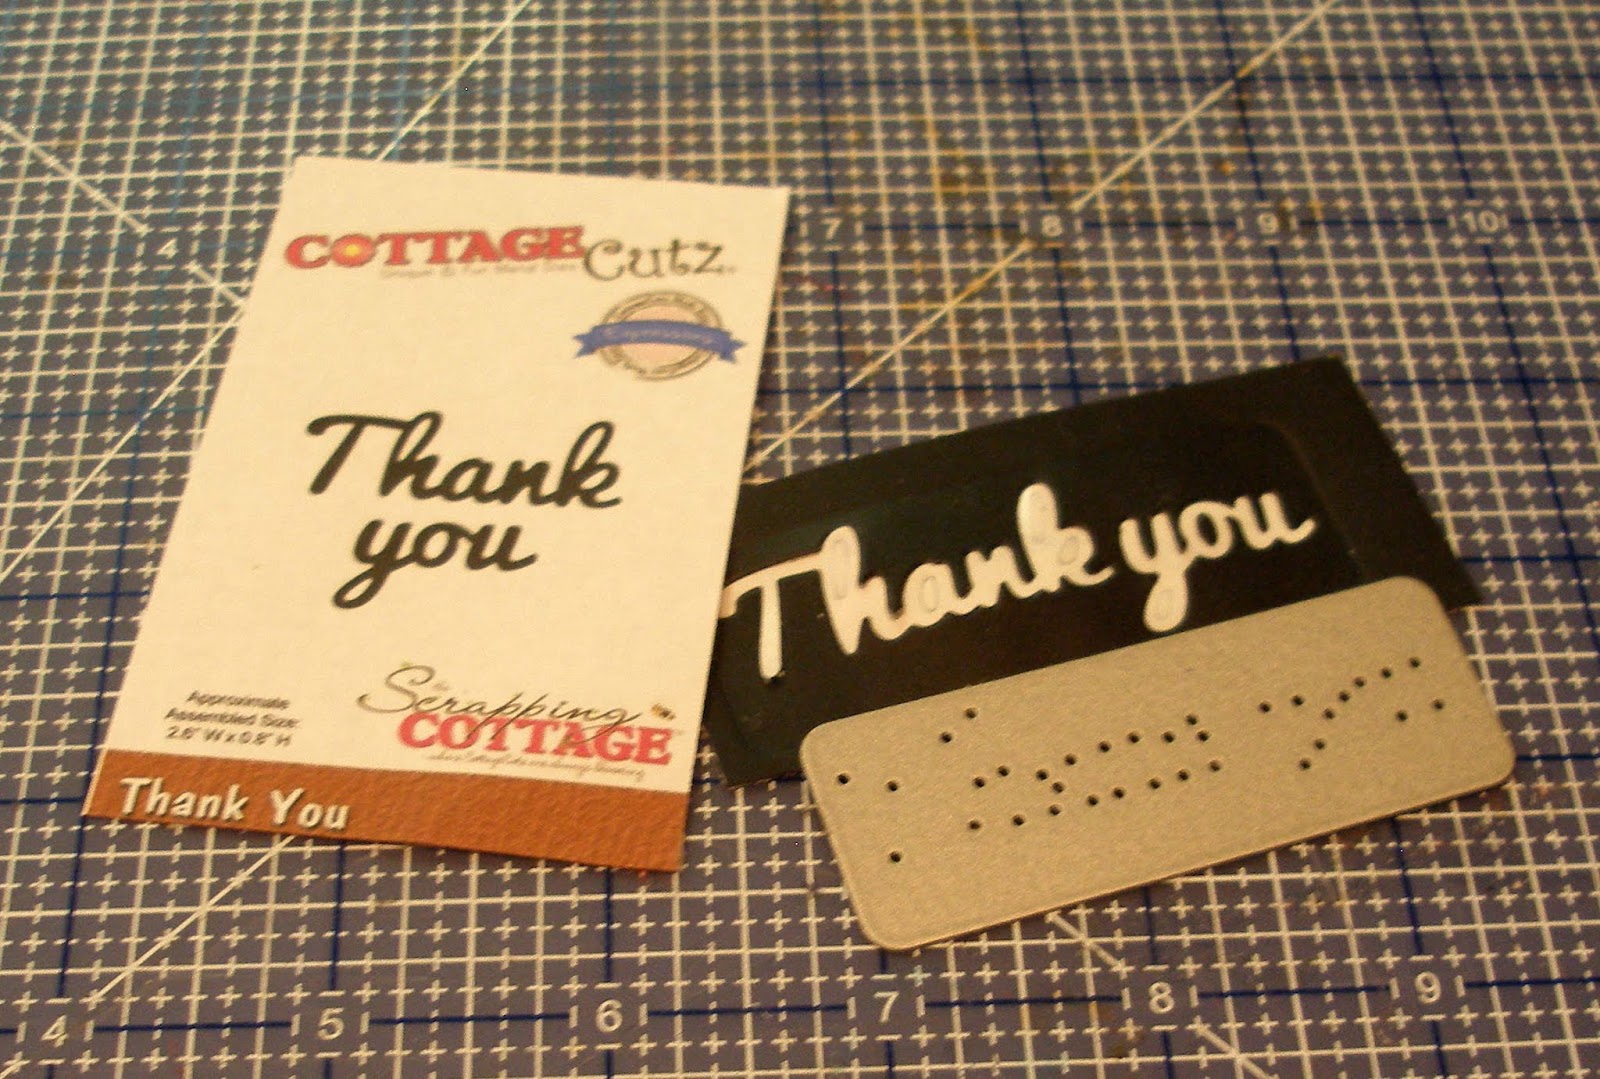
I cut the "thank you" sentiment from a scrap of adhesive-backed black cardstock.


I then added the die-cuts to my card, and it was finished.


CottageCutz dies used on my card are:

http://www.scrappingcottage.com/cottagecutzhuggingpenguins.aspx

http://www.scrappingcottage.com/cottagecutzcross-stitchedrectanglesetbasics.aspx

http://www.scrappingcottage.com/cottagecutzexpressionsthankyou.aspx

Once again, thanks to everyone with whom I have worked during my tenure on this remarkable design team!


Sunday, December 30, 2018

Hello 2019!

Hi!

It's Anja here. Year 2018 has nearly come to an end. It's been an interesting year for me. Busy at work, a lot going on in my personal life. But mostly positive things happening. It was a good year, I won't lie. And I hope good thing continue in 2019. Not just for me, but for all of us.

For my last crafty project in 2018 I made two cards. One with Santa and one with a Chilly Willy Penguin.


For two cards I used:
- Cottage Cutz dies (Chilly Willy Penguin, Santa Peeker, Circle Set, Pierced Circle Set),
- Distress Inks (Fired Brick, Pumice Stone, Spiced Marmalade, Wild Honey, Peeled Paint, Stormy Sky),
- white watercolor paper for die cuts,
- white, green, red, blue and black card stock for die cuts,
- Zig watercolor markers (Blush, Pink Flesh),
- watercolor brush,
- black pen,
- silver string,
- adhesive foam pads,
- stencil (brick pattern),
- paper glue.

First I cut and colored the Santa. I used markers to color the face. This time I used colored card stock and just emphasized the edges with Distress Inks.


I did the same with the penguin. I used black pen for the eyes.


I cut two sets of numbers. Later I saw that I cut 8 instead of 0 :)


Then I cut two card bases. I used pierced circles for the larger circles. I cut the largest circles form the sets.


I colored the bottom of the first circle with blue.


And I used stencil for the second one.


When I had all the pieces cut and colored I assembled two cards. I used adhesive foam pads to adhere Santa and Willy. Then I cut two short strings and glued it into the hands of both. Then I glued the numbers on the string. And my two card were finished.


Before I go I want to invite you to the Scrapping Cottage store to check the After Christmas sale.

Thank you for stopping by and following my crafting. It means a lot.
I wish you all a pleasant celebrations tomorrow and a happy and healthy new year 2019!

Anja Z.


Cottage Cutz dies I used:


Saturday, December 29, 2018

Ring in the New Year

Hello Scrapping Cottage friends! Thanks for taking the time to stop and visit with us today. It's Mary Marsh here bringing you the Saturday edition of the Blog. 

Hope you all had a wonderful Christmas. Can you believe it's the last Saturday of 2018? Winter is upon us for the next 4 months. It's a good time to do some crafting. And, to help with that we are having a big after Christmas sale. You can get some great deals on CottageCutz dies. Check out the online store here. 

For your viewing pleasure today, I have created a New Years card, and I used the Ring in the New Year die. I like to make a few New Year's cards and then send them out to friends I missed at Christmas. I always seem to get two or three cards on Christmas Eve from people I didn't send a card to.
This die is also on sale at 40% off. It's a die that can have multiple uses. It's not strictly relegated to just a New Years card.  So let's get started on how I created this card.

Step 1: I chose my card colors of black, silver and gold. I had a small piece of designer paper that I cut from an invitation I received. And, I think it works well with my card elements.
Black card base: 4" x 5 1/2"
Silver layering panel: 3 5/8" x 4 7/8"
Designer paper layer: 3 7/16" x 5"
I cut my image items in gold cardstock. I really like that the 4 x 6 CottageCutz dies are one piece. I simply placed my gold cardstock on the die and cut out what I needed.  For the champagne glasses I used vellum paper and some gold glitter paper.
Step 2: Now that all the card elements are cut, time to start assembly. I used double sided tape to attach the card base and the layers.
For the images I used a combination of Ranger multi matte adhesive and rolled up glue dots. The glue dots help to give it a bit of dimension.
To finish off my card I scattered a few gold sequins on the bottom of the image panel. Well, that's it for me for this post. I hope I have given you an idea on a way to use this card. Here is a link to another card I created using this die. Happy New Year everyone!

die I used to create card:


Friday, December 28, 2018

Love My Pets!

Happy Friday!  It's Jeanne posting today.  I hope everyone had a wonderful holiday!  Rather than a card today, I decided to do two framed pieces that would be perfect for the pet lover in your life.
My initial thought was do make a card, but I had the 4 x 6 frames from a package of frames I had previously purchased and this design just worked so well with them.  However, this design could easily be made into a card.

I first cut all the pieces from various colors of card stock.
For the dog, I used Crumb Cake, Soft Suede and Real Read.
For the cat, I used Basic Black, Basic Grey and Real Red.  (Can you tell I have a brown dog and a grey cat at home?  LOL.)  My white panels are cut 4 x 6 inches to fit the frame.
Next, I embossed each panel with a falling hearts embossing folder.
I placed the pieces on each panel.  Before gluing them down I put the frame on top (minus the glass which I threw out) to see how the layout would look, and how much border I had around the layout.
When I was satisfied with each layout I glued the pieces to the embossed panel.  For the cat panel I went with a vertical layout since the kitty is rather small.  Because the dog is a bit larger, I used a horizontal layout for her.

These make fun, quick gifts for the pet lover in your life - even if that is YOU!

Dies:
http://www.scrappingcottage.com/cottagecutzgoodboypuppy.aspx

http://www.scrappingcottage.com/cottagecutzlovemydoglovemycat.aspx

http://www.scrappingcottage.com/cottagecutzloyalpets.aspx
Thanks for visiting today!  And don't forget to stop by the online store where there is a terrific after Christmas sale going on for a limited time!


Thursday, December 27, 2018

Hampster Hugs!

Good Morning Friends

I hope you all had a wonderful Christmas!  I certainly did!  It was so much fun spending time with my family.  Today,  I am starting to make my Valentine cards if you can believe it!  I am using one of our adorable new release pet dies!

Designer Steps:
 1.  Using the Happy Hampster die cut out the wheel using a metalic silver, cut out the hampsters using light brown and brown card stock.  Cut the little teeth on white and the little tuffs of fur in dark brown card stock
2.  Use TH inks to shade the hampsters and assemble them
3.  Start by using a 4 1/4 x 11 piece of white card stock scored at 2 3/4 inches and 5 1/2 inches
4.   Cut an 11 x 1 1/2 inch piece of white card stock and score at 5 1/2 and 8 1/4
5. Cut Pink card stock 1 piece 4 x 5 1/4 and 2 pieces 4 x 2 1/2 set aside
6.  Cut Pink Heart DP  1 piece 3 3/4 x 5 and 2 pieces 3 3/4 x 2 1/4.  Glue the Pink DP to the pink card stock  and then attach to the card
7.  Cut pink card stock 1 piece 1 1/4 x 5 1/4 and 2 pieces 2 1/2 x 1 1/4.  Emboss each piece and then glue the pink card stock to the white strip

8.  Attach the strip to the card making sure you only place glue on the first 4th of the strip and the last 4th of the strip.  The middle fold will pop out toward you as you fold the card
9.  Cut out the Hugs using the Stitched Alphabet die on white card stock
10.  Glue the Hampster onto the wheel and then glue to the front flap.  Glue the Hugs to the front strip as shown
11.  Glue the other little Hampster to the inside on top of the strip as shown
12.  Cut out 2 red hearts using the Stitched Cupcake die pop them inside the hampsters mouths

13.  Stamp your sentiment and glue inside the card


CottageCutz Products


Thanks so much for stopping by and I would like to wish you a very happy and healthy New Year!
Blessings
Pam