Tuesday, January 31, 2023

Hello Slimline Card With Flower 1 New Release

Hello Cottage Cutz Friends!
Melinda here with you, and today I am sharing a pretty slimline card I created with the amazing new Flowers & More release from Cottage Cutz!
Okay, I don't say this too often, but this release is a MUST HAVE for your creative collection! Sooooo many fantastic dies in this new release! Here is my project for today!
I created this simple yet pretty card featuring the Flower 1 die from the new release! It is such a great sized die and very, very easy to put together.


Here's a closer look at the two flowers. I cut them both out in plain white cardstock. I then colored them in with my markers. 

For the base of the card, I started with a piece of white cardstock measuring 7x8.5". I scored and folded it to make it a side folding card base measuring 3.5 x 8.5". I then cut a piece of pink cardstock for a mat. I cut that 1/8" inch smaller than the base. I then cut out the largest scallop stitched slimline die from that set and then two of the rectangle stitched slimline dies from that set all in white cardstock. I then cut two mats for the larger two bases. One in the patterned red paper and then in the same pink patterned paper. For the smallest stitched rectangle, I left it plain. I then layered all of them together adding foam tape under the scallop stitched mat and the second stitched rectangle mat to give them just a little lift. I then put the pretty flowers on the card and added some sequins. 

Here's a closer look at the bottom portion of my card. 
To finish off my card, I cut out the smallest double stitched oval die from that basic set and the word hello from the hello spring bunny cottage die from last spring's release. I cut both of them out in white cardstock and then used the same color red marker to color in my hello so that it would match my flower.

The card came together quickly and can be reproduced easily! Here is a look at the fabulous collection!

Flowers & More collection!

Grab it fast while you can get the entire bundle for one amazing low price!


Dies I Used


Don't forget to head over to the Cottage Cutz You-Tube Channel where you can see some of our amazing design team members create some beautiful projects!


Well that about covers it for today! Until the next time, have a wonderfully craft-die day!
Melinda Beltran

Monday, January 30, 2023

Thanks a TON

Hi there crafty friends!

Kris here, and as promised in Saturday's post, I'm back with a tutorial for a 
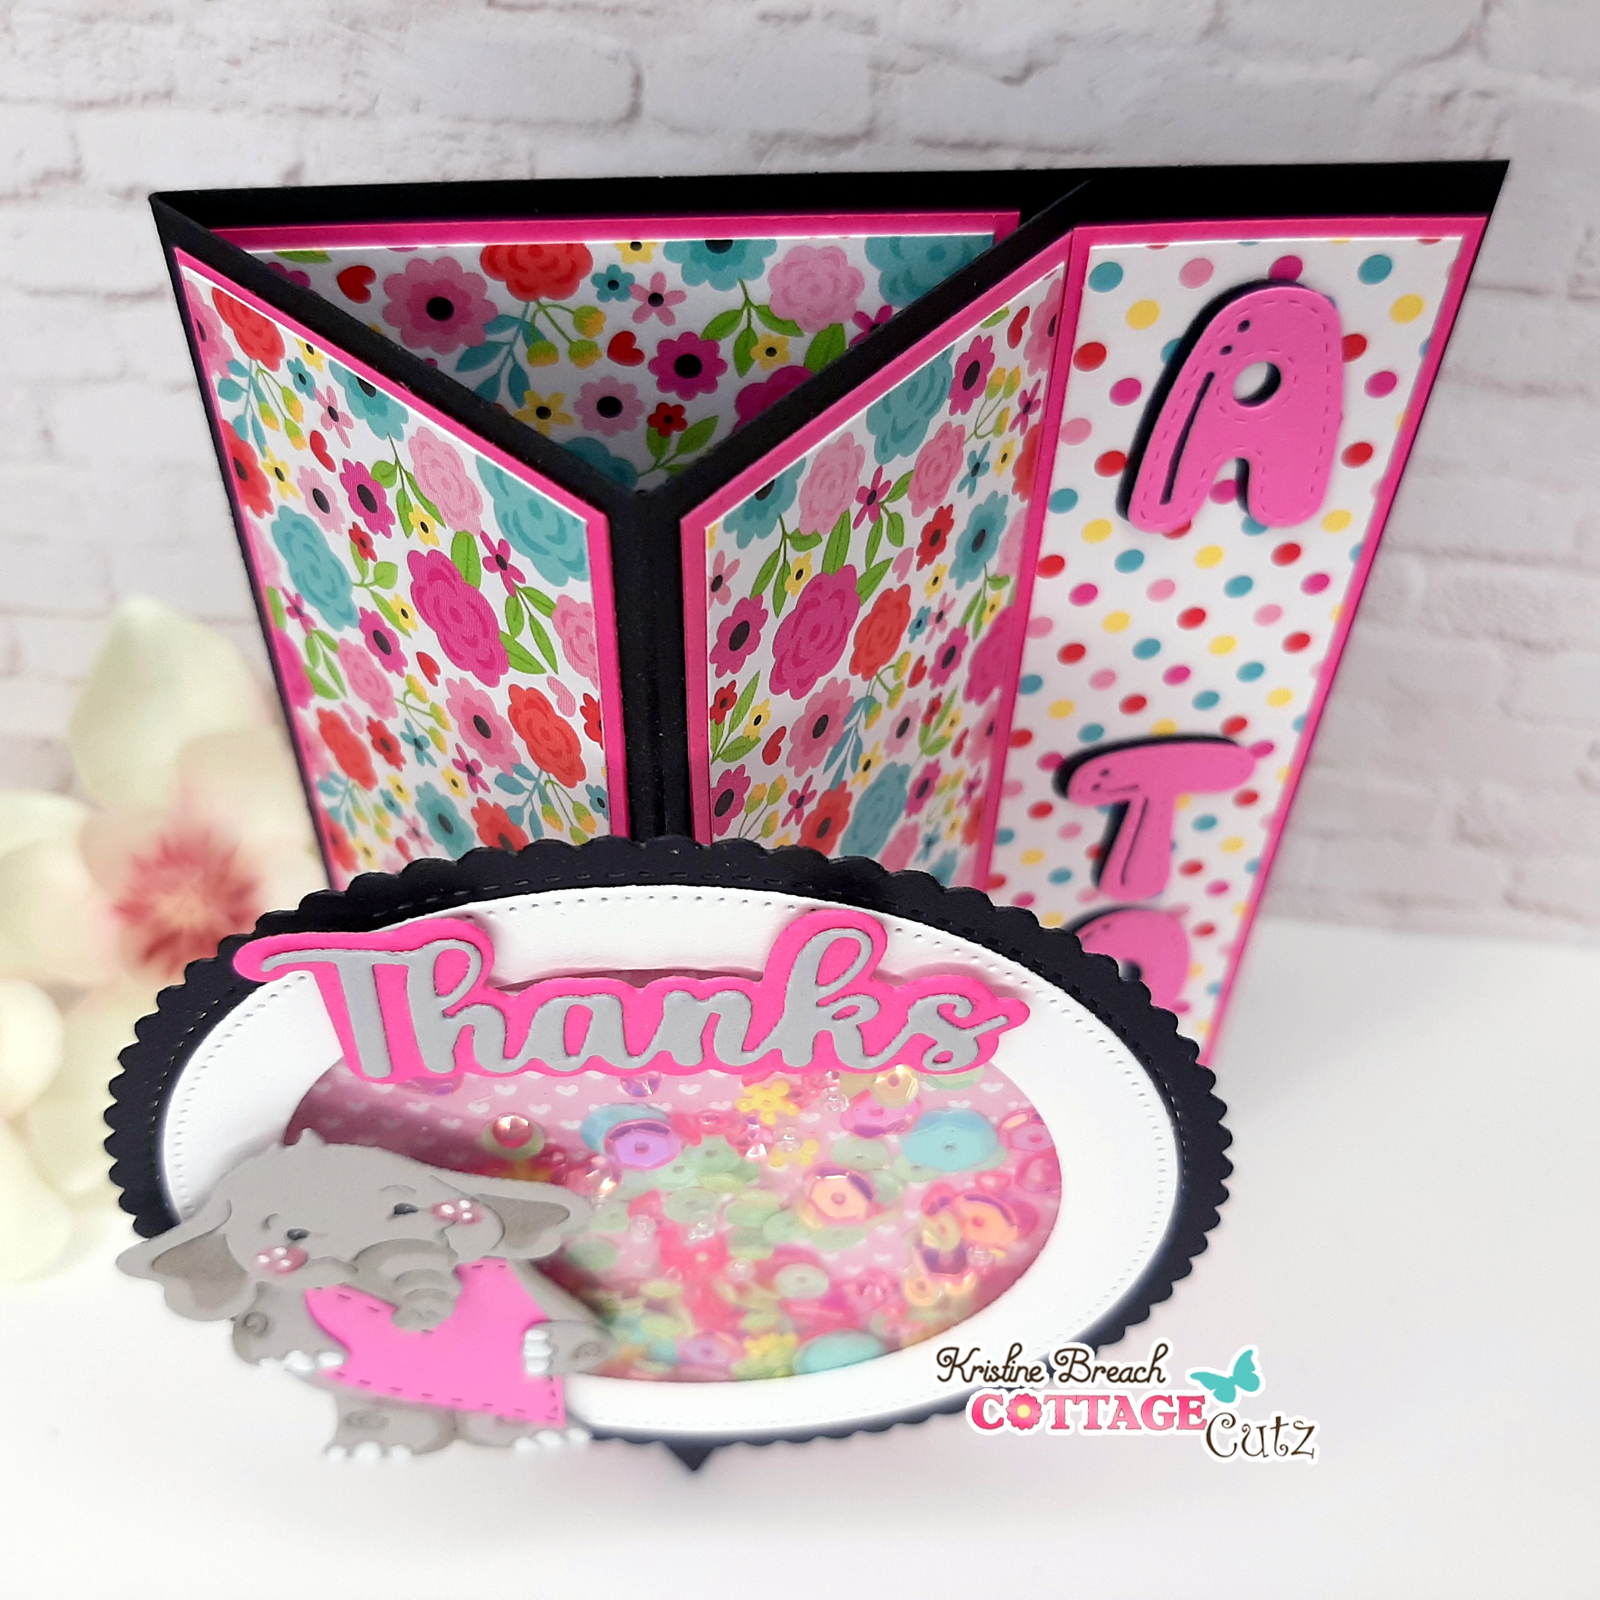
Vertical Easel Card with a Floating Shaker!  Today's is the same style card, but a different theme.  I realized this weekend that I don't have enough "Thank You" cards, so I used the Festive Elephant from the Christmas 1 Release (which are all 30% off right now!)... I simply left off his Santa hat and tree and added a heart ♥ I also used the 
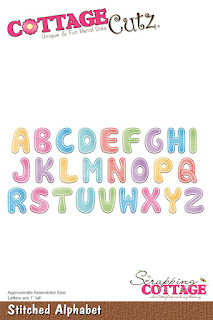
Thanks w/Shadow die, and then I spelled out "a ton" on the far right strip that holds the easel in place using the Stitched Alphabet die.  A few other dies are listed in my tutorial (and shown at the end of my post).  


Before I get to the tutorial, I'll share a few more project photos so you get a good idea of what we're making today!  

-Here's the front in closed position-

-Inside-

-View from the top as it is standing in easel position-

Trust me - this is so EASY to make, you don't even need a video!  If you've ever made an easel card, this is basically an easel turned on it's side... except that instead of your focal image on the front being glued to half your card front, there is a li'l mechanism that makes it pop forward when the card is in easel position.  ☺  And I stepped it up by making my focal image a shaker! (If you want to keep your card more flat, you can simply made a flat focal image piece.)

- Here's How I Made It -

BLACK CARDSTOCK:
(Card Base) Cut at 5-1/2" x 8-1/2" 
- score at 2-1/8" and 4-1/4" (along 8-1/2" side)

PINK CARDSTOCK:
(Front Mats)  Cut 2 Panels at 5 1/4" x 1 7/8"
(Inside Mat) Cut 1 Panel 5 1/4" x 2 1/2"
(Inside Mat) Cut 1 Panel 5 1/4" x 1 3/8"
(Focal Mechanism) Cut at 3" x 1-1/2" 
- score at 1/2", 1", 2" & 2-1/2" 

PATTERNED PAPER (Floral):
(Front)  Cut 2 Panels at 5 1/8 x 1 3/4
(Inside) Cut 1 Panel at 5 1/8 x 2 3/8

PATTERNED PAPER (Polka-Dot):
(Inside Edge)  Cut 1 Panel at 5 1/8 x 1 1/4

- DESIGN STEPS -

• Attach your patterned papers to the pink mats.

• Fold your mechanism so that the outside scores are mountain folds & inside scores are valley folds.


Mechanism:   Add strong adhesive to the bottom of your 2 outside flaps and attach them right up to the score line of your card front. See photo below.  It helps to attach one side first, then the other.


•  Attach your front panels over the glued flaps of mechanism but under the top part as shown.


•  Add foam strips (or dimensionals/pop dots) to the back side of your thin polka-dot panel and attach INSIDE your card, near the edge.


• Attach your larger panel (not popped up) to the side of it, leaving equal black border all around.


• Since the base is black, I added a white panel to the INSIDE far left (backside of card front) for writing a message.  That measures 5-1/4" x 1-7/8" - OR you could cut a larger white panel for the way back of your card cut at 5-1/4" x 4"

Our Card Base is DONE!  Easy peasy, right?!  


Now let's make the shaker!

BLACK CARDSTOCK:

• Die cut a frame by nesting the largest from the Nested Stitched Scalloped Circle set and the 3rd largest die from the Pierced Circle set as shown...

*Note:  this photo is not exactly correct, but my instructions are!  The photo shows that I first cut with the 4th largest die, but then I went back and cut it again with the 3rd largest and forgot to take a photo.


WHITE CARDSTOCK:

• Die cut a frame by nesting the 2nd & 4th largest dies from the  Pierced Circle set


• Glue your white frame onto the black scalloped frame, making sure to center it so there's equal border showing.  (Mine is not centered as it's not glued down yet in this photo.)


PATTERNED PAPER & ACETATE:

• Die cut a circle using the 2nd largest from the Pierced Circle set

•  Glue your acetate circle to the BACK of your scalloped frame.  

•  Add foam strips/tape on top of acetate, being careful it doesn't show from the front.

*TIP #1: if you remove the backing from your foam tape first, it makes it much easier to bend around curves like this. 

*TIP #2:  if you rub both sides of your acetate with a used dryer sheet, it will remove the static from it so your sequins don't stick to it!

•  Add your shaker elements to the well as shown below.

*TIP #3:  If you glue a few of your sequins to the patterned paper, when your card is standing up and all the rest of the elements fall to the bottom, it will still look pretty! (at least until they get shaken off! LOL)


•  Turn your patterned paper circle upside down and place centered onto the shaker.


•  Add Scor Tape or other strong adhesive/glue to the tab mechanism on card front and attach your shaker!


•  Die cut and color/assemble your CottageCutz Festive Elephant.  (The heart is left over from die cutting the Whimsical Hearts Slimline Die for another project, so use any CC heart die you have)

• Die cut "a" and "ton" from the Stitched Alphabet die from PINK & BLACK cardstock, then offset them and glue together.  

• Die cut Thanks w/ Shadow die from GREY & PINK cardstock and glue together.


•  Glue "a" and "ton" vertically to the inside popped up panel 


•  Glue "thanks" to the top of your shaker.

•  Pop up the elephant with foam tape to your shaker.  I added 2 layers of foam tape to his head to give it more dimension. ☺


Voilà! and DONE!

I hope you enjoyed this tutorial and found it easy to recreate!

-Here's my version I shared on Saturday-
see more pics of this one here

PRODUCT USED on today's card:


~Kristine

Saturday, January 28, 2023

Vertical Easel Shaker Card

I WOOF U ♥ No bones about it

Hello CottageCutz friends!

Kris here, bringing you the Saturday edition of the blog (filling in for Mary today).  I have a fun-fold card FUR the puppy lover in us all!  This fold is called a vertical easel card (with a pop out shaker!) and I'm going to have the full tutorial for this style card, along with another version of this card right here on the blog this Monday! For now, enjoy this cute eye candy and have a craftastic weekend!

Today's card features the Christmas Puppies die from the Christmas 1 Release (which are all 30% off right now!).  I also used a few other dies as shown at the end of my post.  

-Front when closed / pulled out of envelope-

Aren't these puppies ADORABLE!  

I used the Stitched Alphabet die for the letters.

-Inside- 

The sentiment is printed off computer.  For the paw, I used a heart from the Stitched Hearts and the raindrops from the Stitched Sun, Clouds & Umbrella die.  You can see on the far left, there's a white panel for writing a message.

-View from the top-

The top folds and tucks under the bone panel just like a normal easel card :) 

And before I go... since this post is about the pups... I thought I'd share a pic of my absolute LOVE BUG (and bestie), Ava.  She's a Street Dog Hero rescue from Guadalajara and she brings so much joy and cuddles ♥  


Thanks for visiting today ~ see you back here on Monday for the full tutorial!

~Kristine


PRODUCTS:


Friday, January 27, 2023

New Video Tutorial! Slimline Peek-a-Boo Shaker Card


Hi everyone! Linh here and I have a new video up on the Cottage Cutz YouTube channel. Last time I crafted with this Peek-a-Boo slimline die set, I mentioned it would be fun to use it as a shaker card. In today's video, I show you exactly how I do that! This is a fun birthday card for a pet lover!