Hello
CottageCutz friends! Thanks for taking the time to stop and visit with us today. It's
Mary Marsh here bringing you the Saturday edition of the Blog.
The
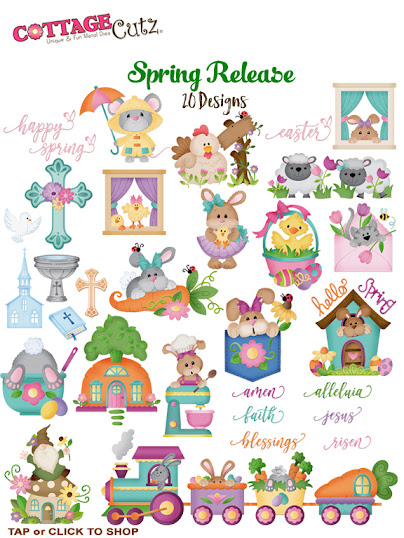
Spring Release with 20 new designs is in the online store. There is a nice combination of both religious and whimsical designs. So perfect for all card makers out there.
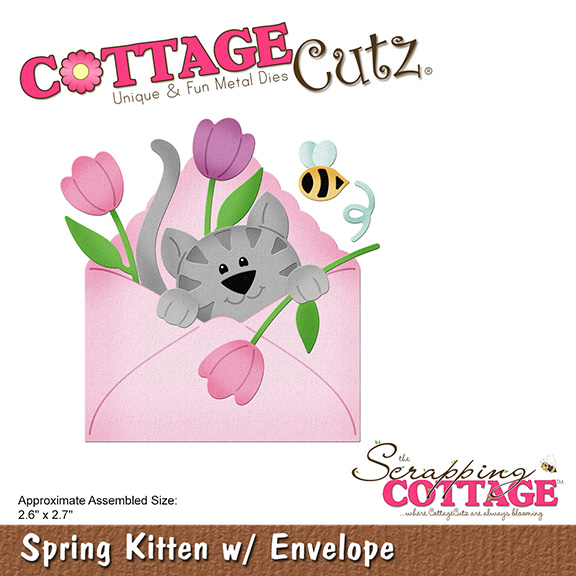
And there is still plenty of time to order and get them for your Easter cardmaking. Today for your viewing pleasure, I have a card featuring the new
Spring Kitten w/Envelope die.
Instead of using it for a Spring or Easter card I created a thinking of you card. I will send this one off to my friend who lives in another state, and I haven't seen her since the pandemic started. Hopefully that will change soon.
Design Steps:
Since I knew the type of card I wanted to make and the die I was going to use, I just needed to select the card and image colors. I looked through my designer papers and I found an envelope with some nice shading on it. It was too nice to use as an envelope to send in the mail and then throw away. So, I cut the envelope apart and used it for my card background. I am also using a papaya ribbon for an accent on my card.
Papaya Card Base - 4 1/4" x 5 1/2"
Designer Paper Layer - 4" x 5 1/4"
I cut the envelope, tulips and kitten in colors that coordinated with the papaya shade color I was using.
I cut the hello phrase from the Hello w/Shadow die. I used coral cardstock and sponged the shadow layer for a color variance.
Now I am ready to start card assembly. I attached the ribbon and designer paper to the card base with double sided tape.
The image and hello phrase are attached with dimensional adhesive. I scattered some enamel dots and that completed my card. I hope I have given you an idea for a different way to use this die. I will be back tomorrow with another thinking of you card using these Spring dies.
Dies I used to create card:


.JPG)


.JPG)