
Welcome CottageCutz friends!
Kris here to share this Friday edition of the blog. It's the 1st day of December and there's actually snow flurries out my window as I type this up. My card however is in stark contrast with a Spring/Summer theme featuring our brand new BLACK FRIDAY RELEASE!! There are 2 bundles of this release that are both on sale at 60% off!! Or you can get the individual dies for 30% off. See the whole release HERE.
TODAY is the last day of the Black Friday BLOWOUT SALE!! Save up to 85% ☺

When I saw the window die in this release I decided to make a BAY WINDOW card and I think it turned out so cute! I used the following dies:

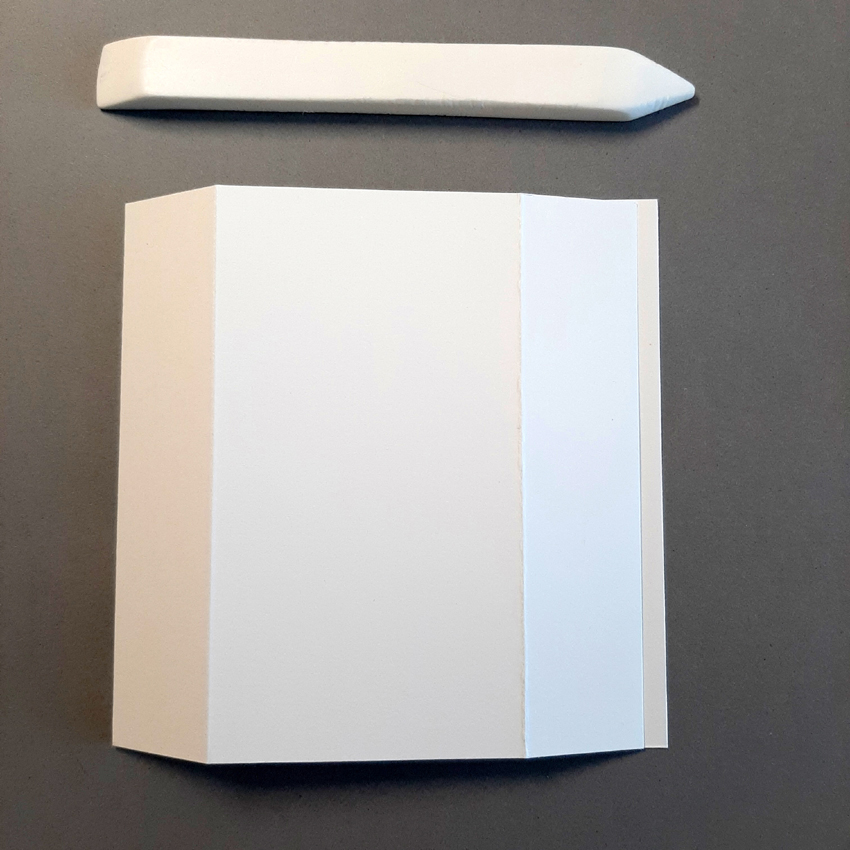

- I cut a piece of pink patterned paper 5-1/4" x 3"
- (2) pieces of plaid paper 5-1/4" x 1"
Inside of Card:
- I cut a piece of blue cloud patterned paper 5-1/4" x 3-7/8"
- a piece of pink patterned paper 5-1/4" x 1-1/4"
- a strip of polka-dot paper 5-1/4" x 1/4"
- a piece of green pattern paper 3-7/8" x 2" - die cut the top with Grass slimline

Front of Card:
- I glued the pink piece to the middle of my card front.
- I die cut the window as shown above. *Keep the window that is cut out for the inside.

Inside of Card:
- I added strips of Scor Tape around the window opening
- adhered a piece of 3" x 4" window sheet.

For the front of card:
- I die cut (2) windows from white cardstock and glued them on top of each other.
- I added 1/8" Scor Tape to back and adhered to acetate on the front of card.
- I adhered the (2) plaid strips to side panels.

For the inside:
- I adhered the pink/white window that I had left over to the window sheet
- I cut (2) pieces of yellow beehive paper to cover the taped acetate parts above and below the window (size will depend on your exact placement of your window).
*NOTE: I initially adhered the yellow paper above & below the window, but later decided to cover the lower piece up with the same green as my grass so my sentiment would stand out.

- I adhered the blue piece inside ... about 1/8" to the right of my middle score line
- I adhered my grass on top.
- I added strips of 1/8" foam strips to the back of my pink layer and placed centered between the blue/green layer and the right edge of card.
- I glued my 1/4" polka-dot strip to the center of pink layer.


Here it is standing up with the front panel tucked behind the popped up side panel.


Check out this WHOLE amazing release

Thanks so much for looking! I hope you are inspired to get crafty with your favorite CottageCutz dies!
~Kris

1 comment:
This is a spectacular card Kristine- love this fun fold layout
Post a Comment