

Kris here with a card featuring the cute Peeking Reindeer Window die from the NEW CHRISTMAS RELEASE! I thought with all the open spaces, it would be perfect for making into a shaker ~ and I even had some snowflakes and star sequins to put inside!
Great News for YOU!!
This whole Christmas Release 1 bundle is 50% OFF for a limited time! And the individual dies are 30% OFF!!
And don't miss our BIG LABOR DAY SALE!! Up to 65% OFF so many dies - Sale ends Thursday, September 8, 2022 at 9:00 PM Pacific Time so HURRY OVER and save!!!
~ DESIGN STEPS ~
Creating the Card Base:
The design papers I used are from the Christmas 2019 collection at Divinity Designs. The glittered cardstock is from the Park Lane collection at Joanne's.
From the following, I cut and attached in this order:
Thick White Card Base: 5-1/4" square
Purple Cardstock: 5-1/4" square
Large Snowflake Layer: 5" square
White Glittered Cardstock: 5" x 2" - cut the top off with a die from the Hills Slimline set
Creating My Shaker:
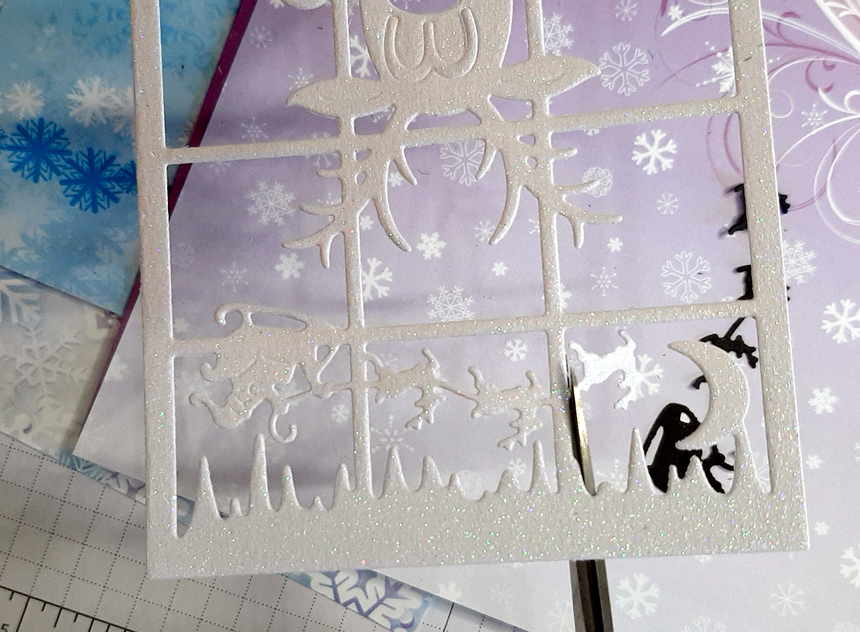
1. I die cut my Peeking Reindeer Window 3x: white glittered cardstock, tan, and black.
Since this die is all one piece, you COULD cut it from white cardstock and color the different parts, but since I wanted the icicles to be sparkly, I went ahead and pieced my die cuts.
2. From the glittered white die cut, I carefully cut away the images of Santa's sled and flying reindeer, leaving a nice straight edge for the window pane.


6. I cut a piece of acetate to 3-1/2" and attached it to the back of my window.

7. I then added 1/8" foam strips on top of the acetate, just around the outer edges. Then added my shaker elements in the middle. Removed the backing from the foam strips.
8. I cut a 3-1/2" square from the light purple with snowflakes paper from the design pack and placed it upside down on my foam strips to cover the back of shaker.
9. Then I glued the shaker to my card front.


10. I thought it needed a sentiment, so I cut a pennant from the Windows Slimline set. Then I stamped "Ho Ho Ho" (from a Stampin' Up! stamp set) in light blue, medium blue and purple, fussy cut them out and glued onto the pennant. Then I attached with thick foam strips to my card front, and done!
Thanks so much for PEEKING! :)
Products I used:


We'd LOVE to see what you do with this fabby Christmas Release!
~Kristine

3 comments:
This is such a creative idea for this new die- I love shaker cards
Love the shaker card and the color combo!
Hello, Dear I really Love the shaker card and the color combo! alcohol and meloxicam
Post a Comment