Pair of Doves
Wedding Chapel
Garden Bride and Groom
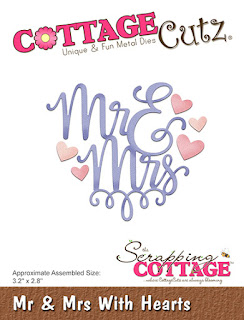
Mr and Mrs with Hearts
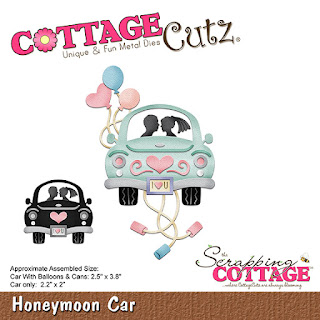
Honeymoon Car
There are many panels of cardstock on my card:
White - 5 1/2" x 11 1/2", 2 3/4" x 4 1/4", 3 3/4" x 5", 3" x 4 1/2" (2), 2 1/4" x 3 3/4" (2)
Blue - 4" x 5 1/4", 3 1/4" x 4 3/4" (2), 2 1/2" x 4" (2)
Patterned Paper - 3 5/8" x 2 1/4", 2 7/8" x 1 1/2" (2), 2 1/8" x 1 1/4" (2)
Cut the various die-cut pieces from white, blue, gray, pink, and black cardstock, as shown.
Score the 5 1/2" x 11 1/2" piece of white cardstock at 1/4", 3 3/4", and 7 1/4".
Rotate the cardstock and, with the 1/4" scored side at the top, place it at the 5/8" mark of your paper cutter and cut down to the last score line. Cut out the 5/8" section, as shown.
Place a strip of 1/8" Scor-tape on one side of the 2 3/4" x 4 1/4" piece of white cardstock and adhere to the 1/4" section. Trim the excess 1/4" strip at the top, as shown.
Adhere the various pieces of patterned paper to the remaining white panels and run a piece of narrow blue ribbon around the top of the patterned paper, adhering at the back. Add some color to the die cuts using Copic markers to give some dimension and construct the die-cuts on the white panels. (As I was constructing the chapel, I decided that I needed a couple of yellow pieces for the windows.) Then adhere the white panels to the blue panels.
Stamp the small sentiments to several of the panels and adhere to the card base. Add some pearls throughout.
CottageCutz dies used on my card are:


6 comments:
I really like the accordian-style card base that allows you to create all the different litle wedding scenes. It's a mini-story from the church to the honeymoon! Great job using the stamped sentiments to pull it all together. - Janet
Wow wonderful wedding sequence love it!!
Wow, this is really beautiful wedding scene. I love all the details.
This is a wonderful wedding card, Lois.
I am always so impressed with your fancy fold cards Lois- this one has a "wow" effect- the wedding couple will be impressed for sure
Fabulous card! I just love all of the elements on your card! The design is amazing with all of the folds, very pretty!
Post a Comment