Hello CottageCutz friends! Thanks for taking the time to stop and visit with us today. It's Mary Marsh here bringing you the Sunday edition of the Blog.
We have a brand-new release of dies in the online store. It's our Flowers & More release. For a limited time, you can get the entire bundle for 50% off. The individual dies are 30% off. This release has what we are calling "simple cuts". Meaning not as many pieces to put together so they assemble quickly.
The team has started to make samples so if you have missed any, check back on the Blog. And we will have samples + videos so come back each day to see what we are featuring. If you haven't done so, you can subscribe to the Blog and never miss a post.
Today for your viewing pleasure, I created a Galentine card that I will send to one of my friends. She doesn't have a hubby so getting a card from a friend will let her know someone is thinking about her. I used the new Flower 1 die. Let's get started on some details of how I created my card.
Design Steps:
As I have said so many times before, having a layout in mind at the start of my card is always a big boost for me. It jump starts my creative thought process. I love working with the sketches that are out there in the online world. That way I just choose the colors and designer paper and I am good to go.
I liked this older one that I have used before. It's sketch #787 from Splitcoaststampers.
I chose this soft heart designer paper as the background for my floral card.
Designer Paper Layer: 4 1/8" x 5 3/8"
Pink Layer #2: 3 1/8" x 4 3/8"
White Image Layer #4: 2 7/8" x 4 1/8"
Next, I cut the floral image. I used colored cardstock. You could always cut everything in white cardstock and use the coloring medium of your choice. I just prefer using the colored cardstock.
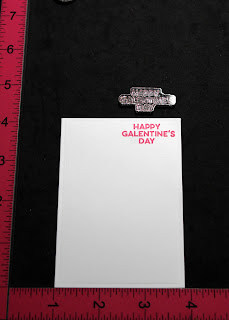
I stamped my Galentine sentiment in a bright pink that matches the flowers.
Now that my panels and images are cut. I am ready to start my card assembly. I started with the image panel. The images are attached with mini glue dots.
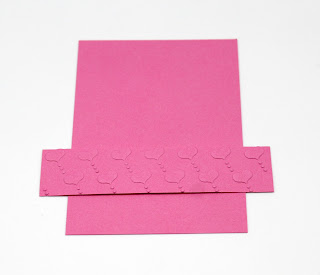
For layer 3 of the sketch, I was going to use ribbon and then decided to cut a 1" strip of the bright pink cardstock and embossed it with hearts. This way the image panel would lay flat on top of it. My cards are always a work in progress.
I attached the image panel to the card base with double sided tape. Added 3 hearts to the card bottom for element 5 of the sketch. I thought the right corner of the image panel was a bit bare, so I stamped a flourish there.
And that's my sample for today. I hope I have given you an idea for a way to use this new flower die. See you next Saturday.
Die I used to create card:
Reminder: Our YouTube Channel has a new video featuring an 8 x 8 layout from Jen Hartsgrove. There is a giveaway for being a subscriber, liking the video and leaving a comment. Click here.


No comments:
Post a Comment