

Hello CottageCutz friends! Thanks for taking the time to stop and visit with us today. It's Mary Marsh here bringing you the Saturday edition of the Blog.
We have a brand-new release of dies in the online store. It's our Flowers & More release. The individual dies are currently on sale for 30% off. This release has what we are calling "simple cuts". Meaning not as many pieces to put together so they assemble quickly.
Today for your viewing pleasure, I have used the Flower 7 die to create a sympathy card. I never seem to have any of those style cards on hand when I need one. Let's get started with some details of how I created my card.
Design Steps:
I already had the designer paper pattern in mind so I wanted to use a layout that would allow the paper to be seen. I settled on the layout I used last week for my card. You can see that one here. The layout is from Splitcoaststampers sketch challenge #787. Made a couple of minor changes to the layout. I decided to eliminate layer #4. I wanted my white flowers on the peacock background.

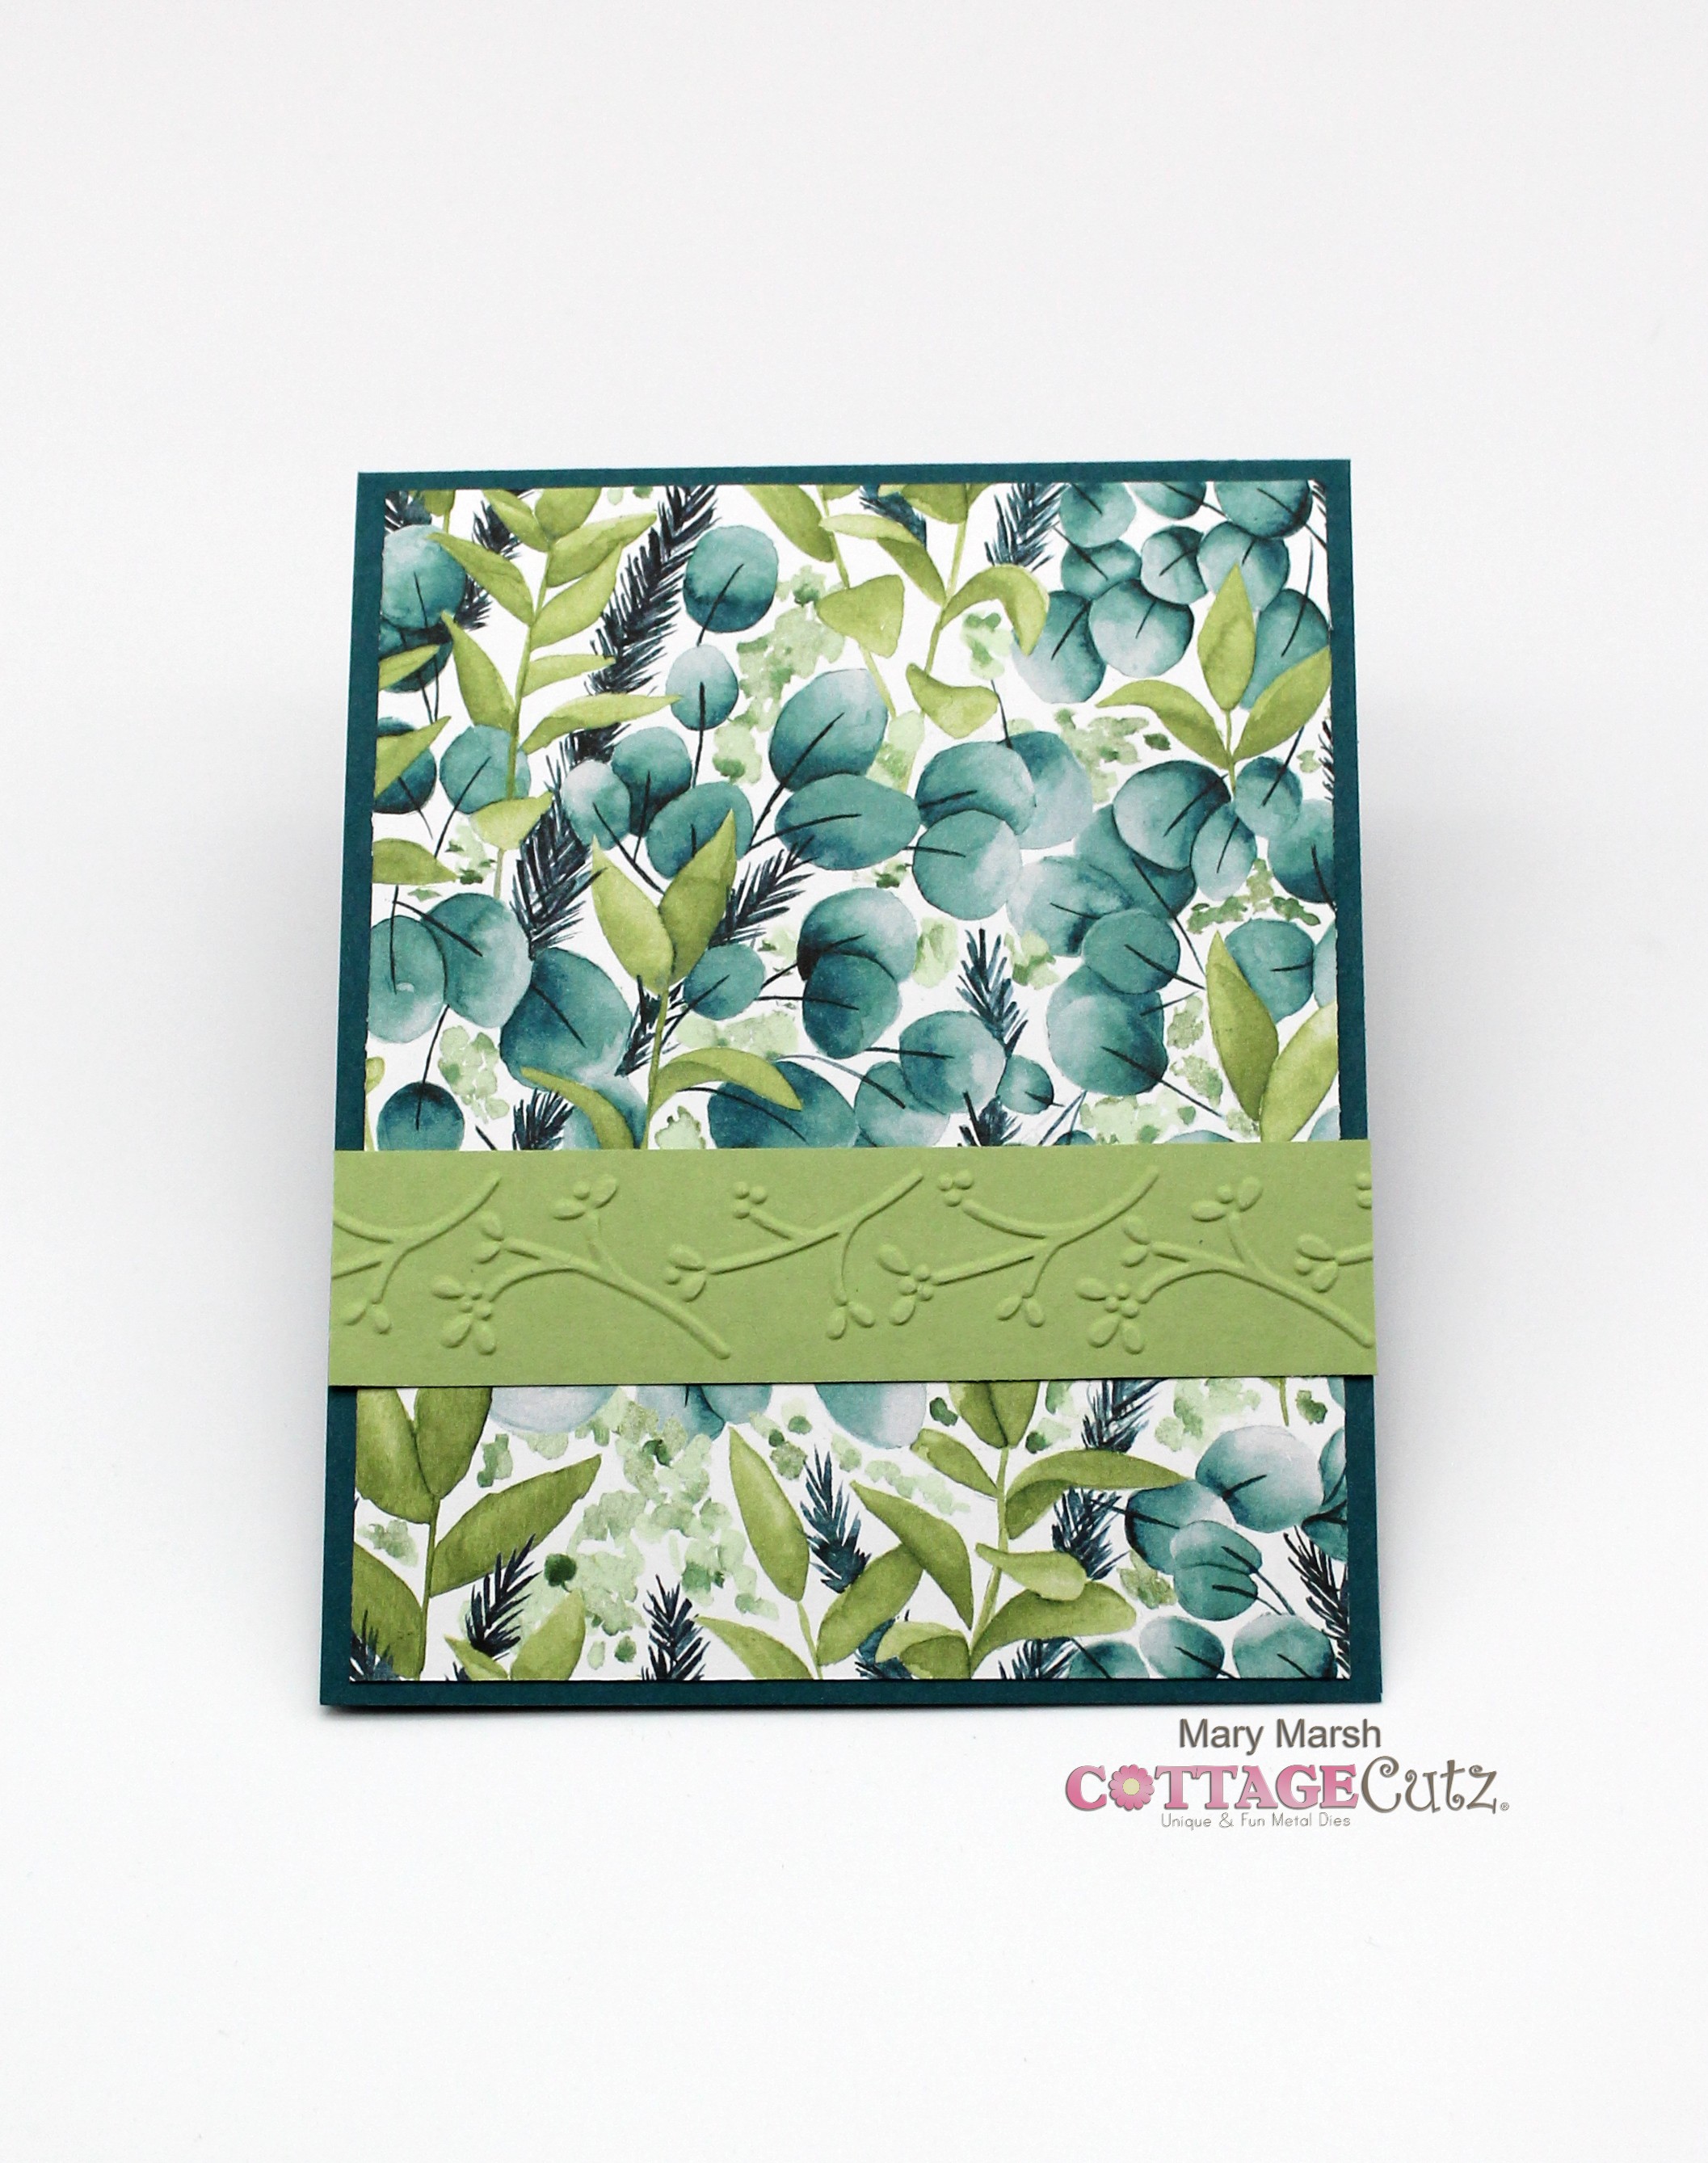
I chose this pretty floral pattern paper as the background for my sympathy card.
Designer Paper Layer: 4 1/8" x 5 3/8"
Peacock Layer #2: 3 1/8" x 4 3/8"

Next, I cut the floral image. I cut these in white cardstock. I liked the contrast of having the darker blue-green background against the white flowers. For a sentiment, I cut the hugs phrase from the Hugs w/Shadow die.

Now that my panels and images are cut. I am ready to start my card assembly. I started with the image panel. The floral images are attached with clear drying glue and the Hugs phrase with mini glue dots. I had a pack of white sentiment strips with gold lettering that I thought would work to accompany the Hugs phrase. I chose the "from the heart".

For layer 3 of the sketch, I was going to use ribbon and then decided to cut a 1" strip of a pear green cardstock and embossed it with a small branch folder. This way the image panel would lay flat on top of it. My cards are always a work in progress.

I attached the designer paper layer panel to the card base with double sided tape. The embossed panel -element #3 of the sketch is also attached with double sided tape.

I decided to finish off the inside of my card as well. I stamped my sentiment, added a 1" piece of the designer paper and another flower. this flower I cut from cardstock that matches the designer paper.

That's it for me for this week. See you next Saturday.
dies I used to create card:


No comments:
Post a Comment