
Hello Scrapping Cottage Friends,
It is Pam sharing with you on the blog today!
I am continuing to make Easter cards for friends and family. Today, I am using the delightful Hatching Bunny Chick. This Spring Collection has 22 sweet dies and they are on sale in the store right now.

Design Steps:
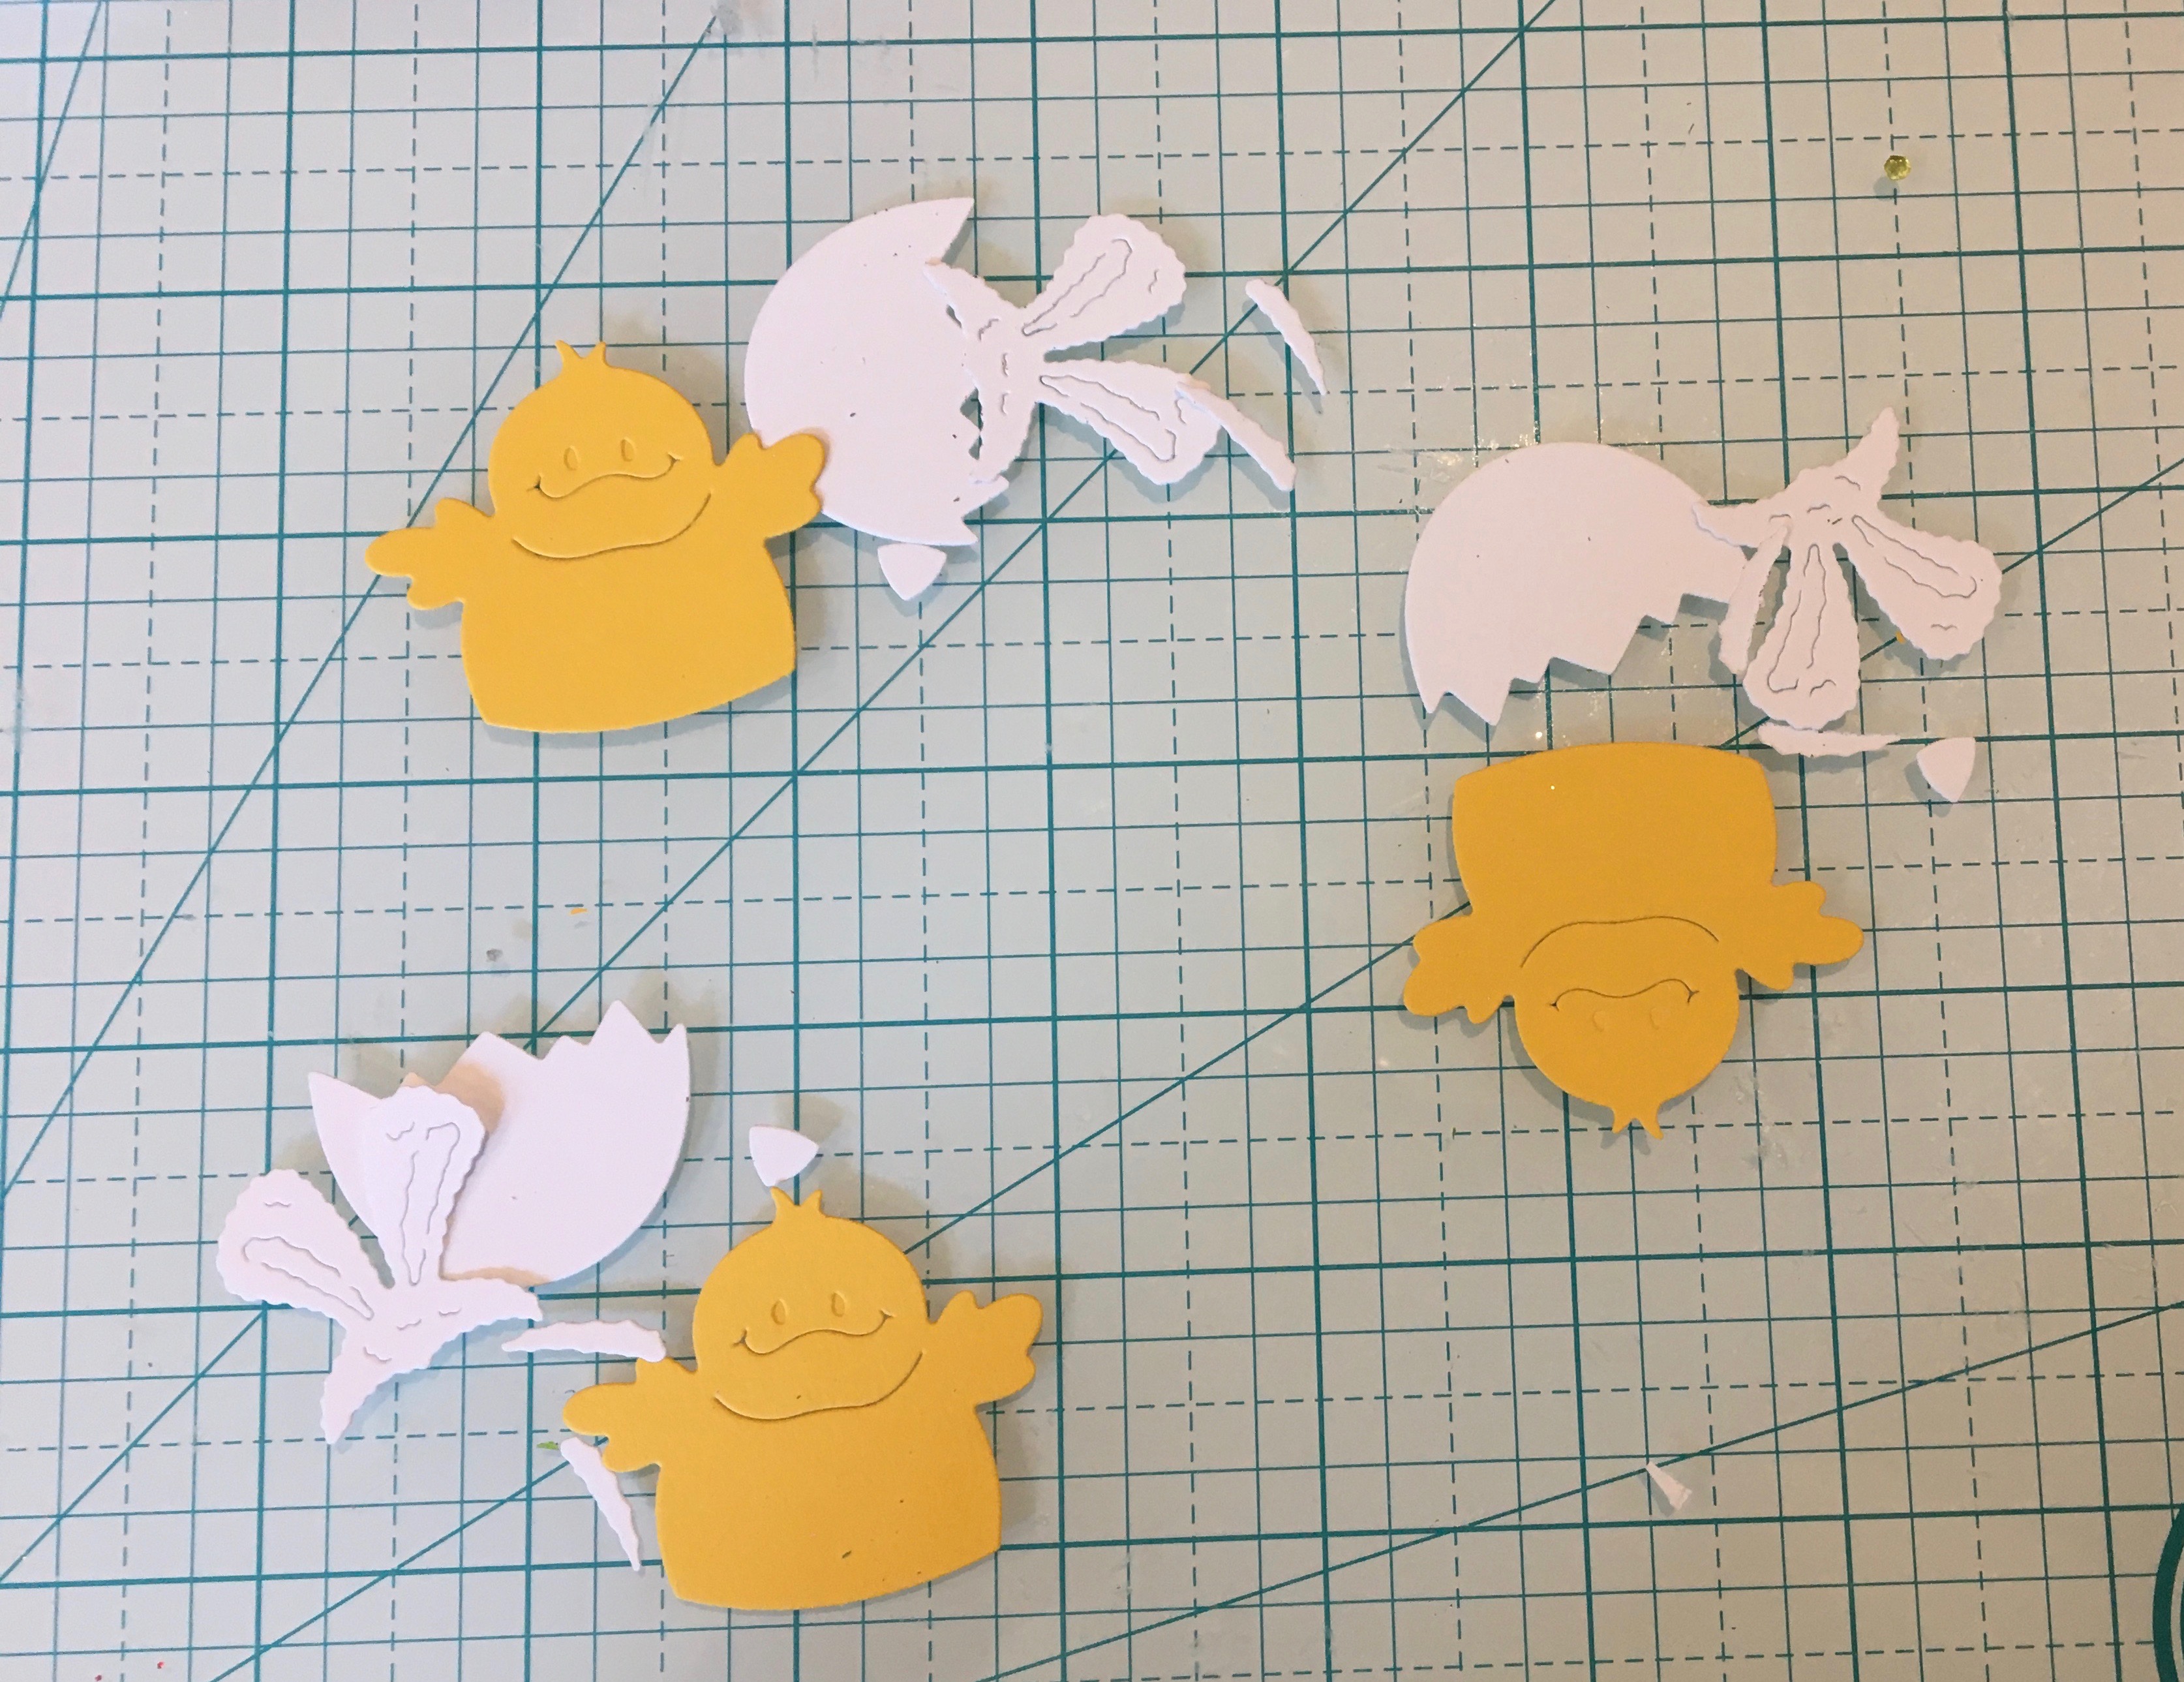
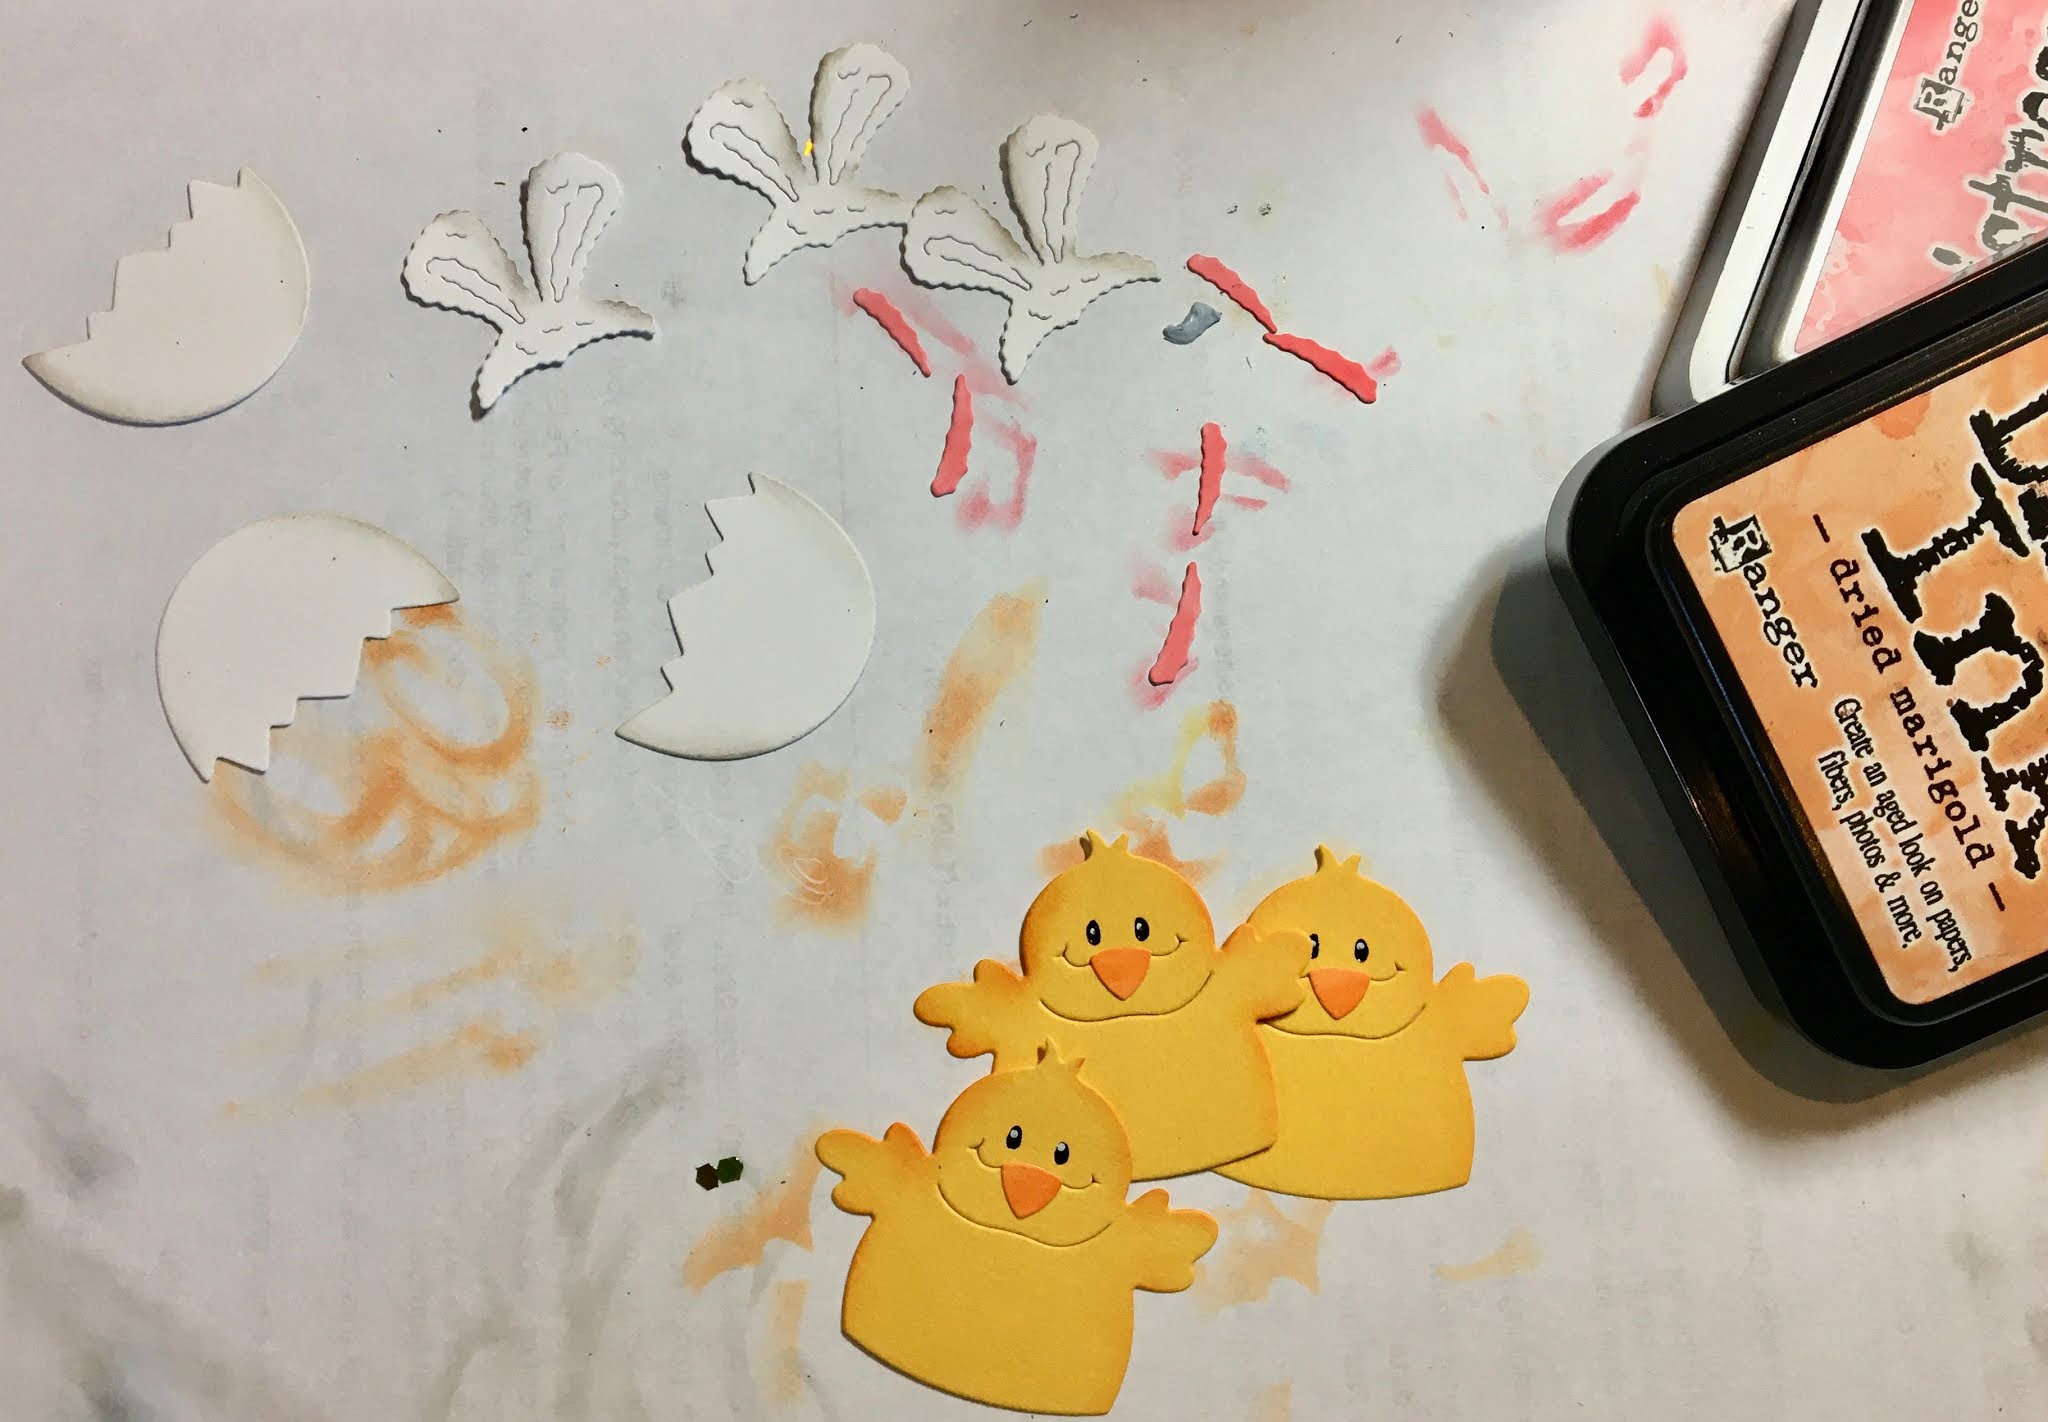
1. Using the Hatching Bunny Chick die cut out 3 chicks. I used white and yellow cards stock


CottageCutz Products


Thanks so much for taking the time to stop by today! We are so glad you did! Please check out the new release in the online store. It is on sale for a short time only.
Blessings and Take Care
Pam

3 comments:
The “bunny chicks” are so cute- and you created a great slimline card
These little chick are so sweet popping up out of the eggs!
Those sweet chicks look so cute on your card! The oversized Easter sentiment is perfect for the slimline card design!
Post a Comment