

Hello Scrapping Cottage friends! Thanks for taking the time to stop and visit with us today. It's Mary Marsh here bringing you the Saturday edition of the Blog.
We have a brand new release of dies in the online store. It's our Spring Release with 22 new designs. Everything you need to create Spring, Easter, Birthday, Mother's Day, Father's Day, Thinking of you cards and so much more.
The Design Team has been showing samples using these new dies. So if you haven't seen them check back on the blog for lots of great ideas. The dies are currently on sale at 25% off so check all the new designs in the online store for some great selections. The Safari & Circus releases are still available at 25% off as well.
Now onto my card for today. I am featuring the new Bunny w/Butterfly die and created an Easter card for the two little ones that live next door to me. So let's get started with some details on how I created my card.
Design Steps:
I started my card this week with my layout. I found this sketch #845 over on Splitcoaststampers and decided to use it. The layers would allow me to use designer paper to create a festive Spring card.

I looked through my designer papers and decided on these two coordinating patterns. I used the largest Stitched Square die for layer #2 and the largest Square die for layer # 3. For the background layer #1 I found this piece of light card patterned paper. I cut it to 4 1/4" x 5 1/2" and secured it to a white card base.

For layer # 4, I used the 3rd largest stitched rectangle die. The width was fine but the height needed to be re-sized to 1 3/4". I forgot to take a photo during the cutting process of the designer paper. So I repeated the process for you to see with cardstock. I cut the shape first

and then measured at the 1 3/4" mark


Here is the finished size.


For layer #5 I used this piece of light purple cardstock and resized it to 3/4" x 3 1/2"using the same method. I stamped my sentiment in a grape ink on this panel using my Stamp-a-ma-jig to get the placement.

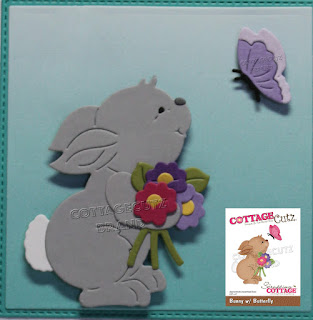
Next, I cut the bunny and butterfly images. I used colors that complimented my designer paper.

Now that all the card elements are prepared I am ready to start assembly. I secured the gray patterned paper to the card base first with double sided tape. Next, I attached layers 2, 3 and 4 secured to the card base.

Added the sentiment strip with double sided tape.

I attached the bunny image using dimensional adhesive. I scattered a few enamel dots to finish off this card.

I hope I have given you an idea with the image + the sketch for this new die. See you next Saturday!
dies I used to create card:


3 comments:
Such a perfect card for the first day of spring!
Mary this is precious! Great use of the sketch and beautiful choice of colors. This die may be my favorite from the release. It is so cute!
Very cute card! Such a great take on the sketch! The bunny is adorable!
Post a Comment