

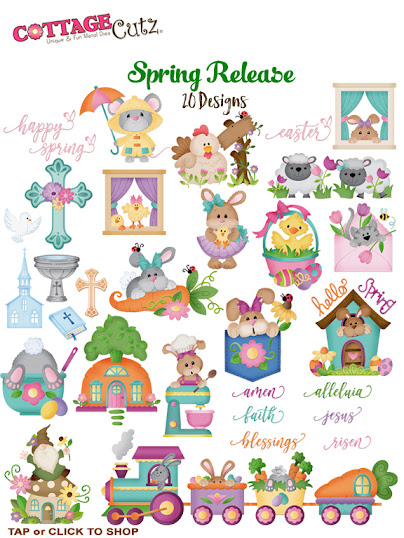
This super cute card and mini basket Easter set.

I started by creating this basket template. I used my electronic cutter to cut it out. However, you could cut it out by hand with some scissors.

I created some layers for the basket sides and used some white cardstock with some printed paper layered onto the cardstock. I then used my bone folder to create a bit of a curl to the paper. This is to "train" the paper so that it will naturally want to form a circle/sphere type shape without creasing.

I then attached the layered mats onto the body of the basket. You can put some on both sides if desired. I then put some adhesive on the tabs and then went around and attached them to the inside of the basket walls.

Here's a look at the assembled basket. I used my hole punch to punch a hole on the sides. I used a pink brad and adhered the handle to the body. The cute little flower is a die cut from the Peeker Bunny w/ Pocket Die.

I then turned to the sweet Spring Chickee In Basket die. I cut out all my pieces in white cardstock and then set about to coloring them all. I adhered it all to a stitched scallop rectangle base. I cut a piece of patterned paper for the background. It is the same as the mat on the basket.

I attached the mat with the Spring Chickees onto a Nested Rectangle Scallop Die. I cut out a patterned paper mat from the same paper pad.

Once I adhered all that to my horizontal card base. It is horizontal and top folding. I added a mat of white cardstock along with a mat of the same patterned paper. I added some foam tape to give the layers a little extra lift. I also added the word Easter and then some letters in my stash for the word Fun.

Next I cut, colored and assembled this sweet Bunny with Carrot die.

I added that to a double stitched rectangle mat. I also used the smallest version for the bunny to hold as a sign. I added the To and From part. I also added a couple of Orange gems by the stems. I just wanted to give them a little extra sparkle! I wrote To and From on the tiniest double stitched rectangle. It was perfect to nestle between the bunny and carrot.

Here's a look at the basket with the cute little tag hanging. I just used some twine to attach it.

Here is one last look at the set. Just waiting form me to sign the card and fill the little basket with some fun treats!
The Dies I used to create this project:


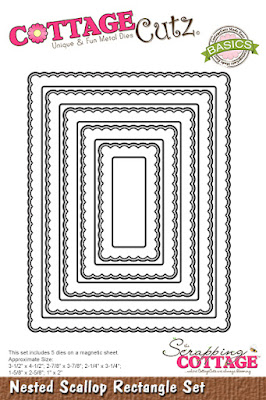
I used the Stitched Scallop version. That one is currently unavailable, but this is an excellent alternative.

In case you didn't hear, The CottageCutz YouTube channel is up and running. Head over and check out the latest video! There is a giveaway for subscribing too!
Well that about covers it for today! Until the next time, have a wonderfully crafty day!
Melinda Beltran

1 comment:
Adorable bright and so cheery love your colors and pattern!
Post a Comment