Thursday, January 06, 2011

Heart Locket Shaker

Hey peeps! More Valentine projects coming at you using the new Valentine release. For today's project I've used the heart locket die to make my sweet Valentine shaker box. I love making shakers and this was a fun one! In addition to the heart locket die, I also used the cupcake2 die for filler along with the seed beads. The bitsy hearts with the beads inside the shaker are the sprinkles for the cupcake. :) Use on a layout or card, or give to your sweetie with a box of candy.

The key charm has been in my stash for eons and I thought it was the perfect touch with the scalloped heart. To make the lacy look, I used my push pad and a large sewing needle, punching holes all around the outside in each of the scallops.

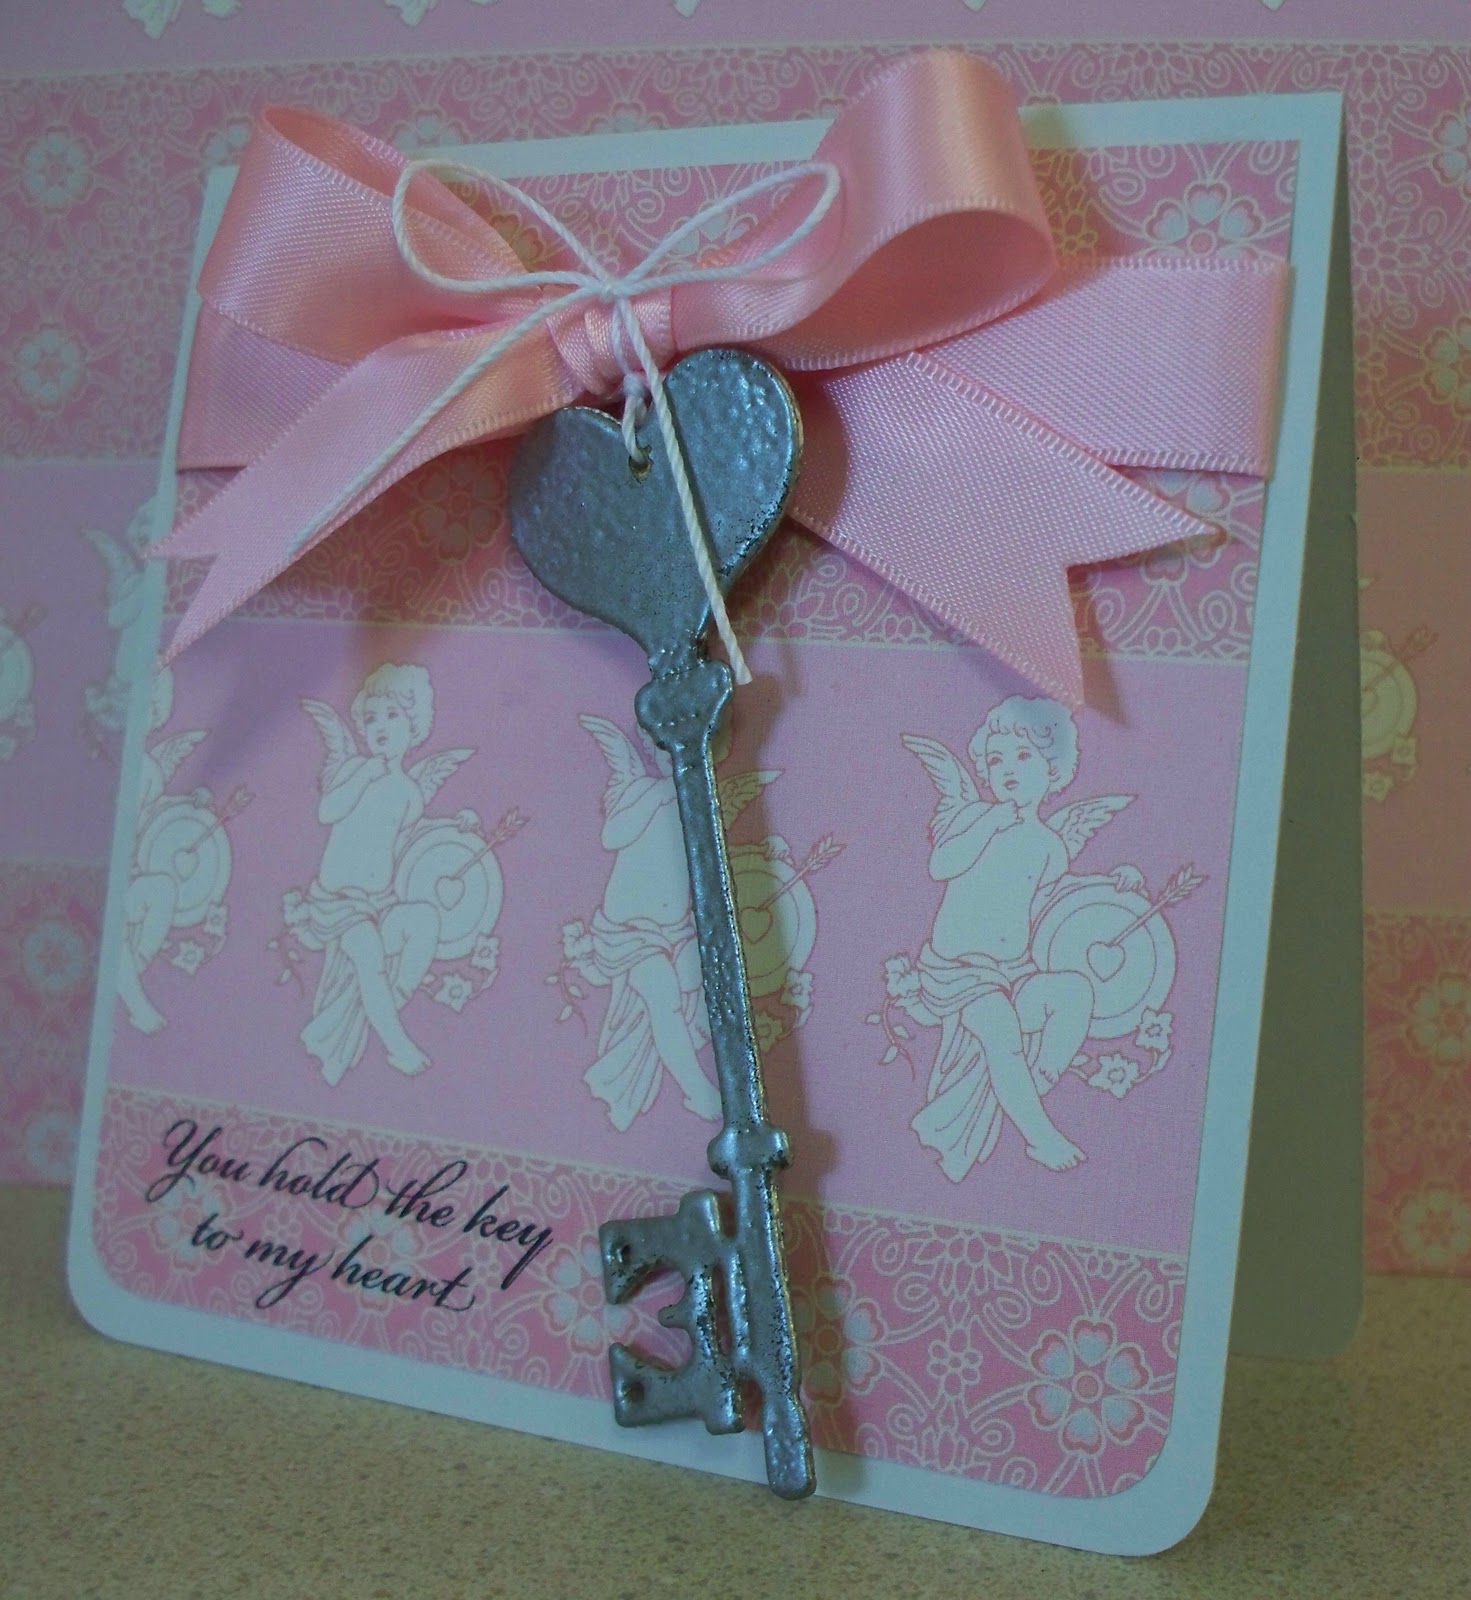
Thanks for visiting today. Be sure to check the store for more super cutie Valentine dies and stamps. Making Valentines with the kids just got a whole lot more fun. :)

Wednesday, January 05, 2011

So Much you Can Do!

A couple of weeks ago I showed you a sneak peek of this Circle w/Eyelets die and made a bunch of Christmas tags with it. Today I want to show you some fun Valentine ideas.

A 1 3/4" punch fits great inside the largest eyelet circle as shown above.
I just cut out a bunch of these eyelet circles in different Valentine colors and then just started stamping and inking. I think this die is one of my favorites!
These can be secured to a toothpick for a cute cupcake decoration, made into tags, a journaling spot on a layout, placed on a card as a decoration or to add a sentiment and much more.
I grabbed my CottageCutz minis from last year to help me make my project for today.
The minis are perfect for this size circle.

I also used the clear stamps from this release for my sentiments. The I love you is a rub-on.

After I cut out all of these circles I used my piercer to pop out all the tiny circles around the edge and they looked so pretty sitting there I had to use them for sprinkles on my kiss. I just applied Glossy Accents and let it partially dry and then sprinkled them on.
The small eyelet circle fits great on the Frame 1 die as I've shown above.
You'll just love this die!
Have a great day and a Happy New Year!
Kay


Tuesday, January 04, 2011

Sweet on You

Sneak Peek'in Time again, Cottage Cutz has sooooooo many cute new things on the way. The Postage Stamp Die has several cute stamps to coordinate with the Stamp Die. As you can see a slice of cake that is "Sweet on You". I used white watercolor paper to stamp the Cottage Cutz cake slive stamp and used Caran d'Ache watercolor oil crayons for the color, Stickle for the icing and Glossy accents for the cherry. I used Glossy accents to attach some micro beads in pinks and hot pink for texture. The pink card stock stamp frame was highlighted with hot pink ink. Both the stamp and the card base was accented with Magenta foil sticker borders.

This NEW Cottage Cutz Stamp Die and matching Stamps is a cute collection. Can't wait for you to get a chance to use them. . . . O' and Happy New Year.

Monday, January 03, 2011

Another Sneak Peek!


HAPPY NEW YEAR!!!
I hope you all had safe and joy filled holidays! Cheers to the New Year!

Here is a Valentine I made using the Postage Stamp die that will be released soon. I stamped the image with Versamark and heat embossed it with gold embossing powder. I added a little color for some depth. Do you like to make Valentines? This one was super easy. Have a great week!
Hugs and smiles, Janice

Sunday, January 02, 2011

Whoooooo loves you?

Hello, and Happy New Year!!! I have yet another peek at what is soon to be released!!! I just LOVE this postage stamp die!!! I can see using it for TONS of projects. And it's so neat that the stamps fit it perfectly. I colored my owl up to be REALLY girly. Can you tell?? HAHA She's all glittery too!

I ♥ my girly owl! Hehehe. Well here's to a crafty 2011!!! See ya next week.

♥ Nikki ♥


Saturday, January 01, 2011

Happy New Year!!! And a sneak peak!

I had a lot of those $1 photo albums from Walmart left over from a previous project and wanted to try to use some of them. I decided to make some brag books for the grandparents for Christmas. I REALLY liked how they turned out - so much so that I made an extra set to keep!!

I made one for each of my girls. The first one had a picture of my oldest in a circle mat. So for the second one, I needed something different so I reached for my Cottage Cutz. How cool is this postage stamp shape?!!!! It is almost 4" square and has an embossed square on the inside. I thought it would make a perfect photo mat for my brag book. I can see myself using this new shape over and over again! Sooooooooooo many possibilities!

Thanks for checking in today and from everyone here at the Cottage Blog...

Happy New Year!!!!


Friday, December 31, 2010

Another Sneak Peek!

Good morning and welcome to The Scrapping Cottage Blog.  I have another little sneaky peeky for you today.  There are some wonderful things headed your way for Valentine's Day from The Scrapping Cottage, and this is one of them.  They will be available for purchase very soon, so get your wish lists made!!  ;)   The postage stamp die is one of my favorites of the coming release, and there are 11 adorable stamp images that can be used in the center of the die cut.  Today I'm using another one of my favorites, and that's this cute little Love Frog.  Isn't she sweet?  I say "she", because there are eyelashes drawn on her, and I even exaggerated those a little more with my black Micron pen. 
I embellished the edge of the die cut with some red and white twine, and although it's a little difficult to see, I think you can make out the paper piercing I did around the edge of the image on the red card stock.  The big red bow and pop dots give this lots of dimension, and I found some red metal heart stickers in my stash of goodies to dress up one side of this card.  The image was stamped with Memento Tuxedo Black ink, and colored with Copics.  Is she cute, or what?  No sentiment needed here, because those little froggy arms wrapped around that conversation heart pretty much says it all. 

This postage stamp die is so versatile, and makes a wonderful addition to a card, scrapbook page, or altered item.  I'm thinking that images for many holidays would be perfect with this die.  Hmmmmm...  What do YOU think?  Have a blessed day, and a very safe and Happy New Year's celebration!!!!

Love ya,
Lorie

Wednesday, December 29, 2010

Vintage Valentine

This week I'm sharing more sneaks from the upcoming Valentine release. Have I mentioned how much I love them?? Well, I do! These are just a few of the fab pieces coming soon.


Skeleton key - This key comes on a 4x4 die with another vintage-look key. These are awesome! There are also small sentiment stamps that fit perfectly on the top of this key (key to my heart, s.w.a.k, kiss and a couple of others.)

I cut my key from metal tape -you heard me right - metal tape! It's the coolest stuff I've had in my stash for years. It can be embossed, cut, folded...it's thin adhesive backed metal and comes on a roll like duct tape but it's for insulating....or something. I don't remember exactly what it's for, I just know that in my scraproom it's used for crafting! ;) In this case, I applied the tape to a piece of cardstock before cutting, then cut another key from cardstock and adhered them together giving a really nice and sturdy finished piece.

Label - the label comes on a 4x4 die in two sizes so you can use each separately or mat them as I have done here. The stamp is just one of several sentiments that fit beautifully on the label. There are also six background stamps that work with the label.


And finally, I added my own handmade creations to my card; the stick pin and ribbon flower. You'll also notice I've machine stitched my card as well as inked and sanded adding to the vintage feel. The photo is a free image I found online.

Thanks for coming by today. Happy New Year!

Another Sweet Sneak Peek

I have another sneak peek for you today. For this Valentine's Day card I'm using the new locket die. It's a 4x4 die that has the heart scallop and the inner heart to form a locket. As you can see I tied a ribbon through the opening at the top of the locket. The Happy Valentine's Day stamp is also part of the upcoming release and stamps nice and crisp.
You are going to love this Valentine's Day Card release which includes dies and stamps
for all your "sweet" card creations.
I also used the Rick rack edger die on my card - this is one of my favorite dies and is a must have for matching any color on your projects.


I hope you'll stay with us this week as we preview all the fun dies from this release.
Have a great day!
Kay

Monday, December 27, 2010

New Release Coming Soon!!


Hello friends! I hope you all had a wonderful holiday! Today I have a new stamp and die to show you. They will be available soon! The postage stamp die has several stamps that fit the shape. I love these cute little birds. A perfect stamp to make Valentine cards. Have a great day!
Hugs and smiles,
Janice

Sunday, December 26, 2010

You hold the key to my heart

Well, Christmas has come and gone...So, lets take a peek at what is coming soon from the Scrapping Cottage! This ADORABLE key is from the Keys Die. I used silver embossing powder to antique it up a bit. I did two coats {letting it cool between} of embossing powder on both sides. And, voila! A faux metal embellishment! It really looks cool in person.

Here you can see the shine a little better. Well, I hope that you all had a WONDERFUL Christmas! I'll see you back here NEXT YEAR! ☺

Nikki


Saturday, December 25, 2010

Merry Christmas!!!

As fun as the larger Cottage Cutz dies are, don't forget about the possibilities with the smaller accent 2x2 dies that accompany each release. These shapes are so cute and make great little embellishments for all your crafting projects.
I created this Christmas card and use the 2x2 Stocking to hang off my ribbon knot. It goes perfectly with my stocking paper. This would be a quick and fun card to make for those last minute Christmas gifts.

I hope your stockings are filled with all the Cottage Cutz dies on your wish lists! Merry Christmas from everyone here at the Scrapping Cottage!!


Friday, December 24, 2010

Merry Christmas Eve!!

Good morning, and Merry Christmas Eve to you!!!!  I'm going to make this post short and sweet.  Somehow, I've managed to get everything finished for today except what I need to cook.  A quick share of a couple of cards I've been working on, and I'm off to the kitchen.
 The first card was made with the Gingerbread House die, was cut with white card stock, and colored with Copic markers. 
For my second card, I used the gorgeous Ornament With Tree die, and I used this stunning (much prettier IRL) glittery card stock that was gifted to me by a friend to cut the pieces.  I took it a step further, and decided that it would look neat to mix up the negative pieces and put them in the opposite colored spaces.  I then took a piece of packing tape and secured the pieces on the back side, so they wouldn't fall out.  I love this look, and it was so fast and easy, and an elegant touch.  

Thanks so much for stopping by The Scrapping Cottage Blog today.  I hope you are all ready to enjoy a beautiful and blessed Christmas!  Wishing you and yours a very, very Merry Christmas!

Lorie

Thursday, December 23, 2010

Want another sneak peek.... ?

I know it's a tad early for Valentines, but who doesn't like a sneak peek, right!? Today's card is a sneak of things to come from Cottage Cutz. The label is a die and it also has stamps that fit perfectly. The damask pattern is one of the background stamps! Cool, huh. There are five more in the set as well. And the "love" is a stamp from this release too. You're going to love them!!!


Wednesday, December 22, 2010

Gift tags and Sneak Peek #1

With Christmas only days away I am trying to wrap up those last minute touches.
I always like to do some little do-da for my co-workers each year without spending alot of money.
I decided to get a large Costco size box of gum and give it as little gifts at work
this year. I hear "anyone got any gum?" all too often while I'm at work.

I used the CottageCutz mini dies to make some cute little tags to go on the packages of gum.
The best news is your Sneak Peak #1 - see my tag base with all those cute little scallops?
Well this is a new die that will be available real soon here at the Scrapping Cottage.
There are two sizes of these scalloped circles on a 4x4 die. Let me tell you, this die is going to get a work out in my craft room! Love it!
This will make cute little journaling blocks, tags or a place for a sentiment on a card.
For the white center I used a basic circle punch and lightly inked around the edges.
Stay tuned for more sneak peaks coming from the Design team in the coming week!

My gum gifts all ready to give out.


Tuesday, December 21, 2010

Skating on Yellow Snow

Skating on thin ice and yellow snow. I had found these cute snowflake stickers on a sale table and thought. . I guess no one wants yellow snowflakes. They were like puffy paint and really nice fine detail. I had already decided to use the Cottage Cutz Skating Penguin Die again, so it all started to come together. I am known for going outside the box sometimes with colors. . .and the pale yellow snowflakes, black and white Penguin. . .well all it needed was that other bright color to complete the mix. I decided on shades of Teal. They went great with the pale yellow.


As you can see I used the pale yellow for the scarf, fur cuff on the boots and the shadow on the background, along with a wide white stripe on the base card. The swirls for cold air were done with sparkle and white gel pens. The bow on the card is white. Because there were several sizes and styles of snowflakes the cards all came out a little different.

I used the cards on packages for Christmas. I often use white glossy paper and let the card be the point of interest on the white paper. This time I tied the package in yellow ribbon, a few sprigs of white glittery floral and giant teal snowflakes. The penguin works so well for the bold contrast, all you need to do is add those bold colors against the black and white.
You can do traditional red and lime, orange and pink. . . .last year I did a series of mini ornaments on a 4 foot tree. . . with penguins trimmed in lime and traditional gold glitter. . .against the black and white. . . . for New Years. Don't always think . . light and dark of same colors.
That's it for now, my last chance to say Merry Christmas and Happy Holidays to everyone.