
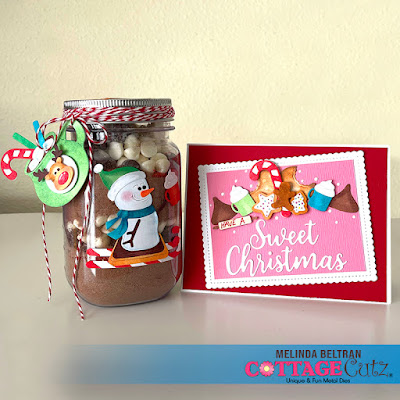
Here is a look at my project.

I decided to use some sticker paper for my jar. It is a matte finish sticker paper. I ran it through my Gemini with my die and it cut the paper like butter!

I filled my jar with some hot cocoa mix, a layer of red sugar, some chocolate and white chocolate chips. I then added another layer of the hot cocoa mix and then some more red sugar and the chocolate and white chips. I then set to work coloring out all of the different pieces and then began to layer them.

Here's a look at the finished smore for the jar front. The sticker paper layered very well and adhered without any ripples or bumps onto the jar. I didn't put a layer of Mod Podge over it, but you could to seal the stickers. I finished off the jar by wrapping some red and white twine several times around the lid.

Here is a shot showing how I pulled the sticker paper backing off so I can build up the characters.

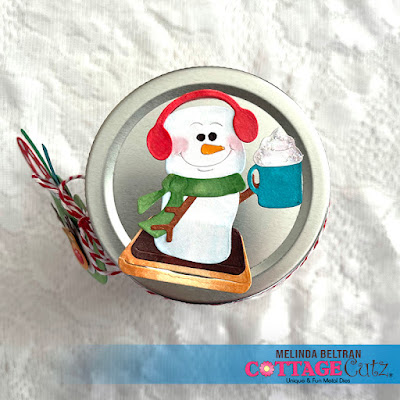
Here is the cute little smore on the lid of the jar from the Christmas Smores die set.

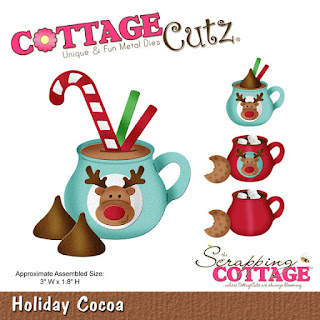
Here's a look at the card. I used a variety of die cuts from the Holiday Cocoa, Christmas Smores and the Sweet As A Christmas Cookie Die sets. I cut them all out of plain white cardstock and then colored them with my various markers.

Here is a closer look at them. I used the rolling pin and wrote "Have A" and then the Sweet Christmas sentiment came from the Sweet As A Christmas Cookie die set. I finished off the mat with some of my White Nuvo drops. I added the pink mat onto the largest scallop stitched rectangle die from that set. I then mounted all of that onto a horizontal folded A2 card base.

Here's a look at the cute little tag I made. I used the Holiday Cocoa die set. I colored all of my various pieces with marker after I cut them all out of plain white cardstock.

I cut out an extra die of the cup in white cardstock and then backed the colored die with it. I wrote the "to and from" on there with my red marker.
The Dies I used to create these projects:


In case you didn't hear, The CottageCutz YouTube channel is up and running. We are featuring videos every Wednesday. Drop by and subscribe so you don't miss one and give us a thumbs up on our videos.
Make sure to come back by each day for some more great crafty inspiration from the super talented team. Don't forget to head over and take advantage of the great savings on these and more of the fabulous Sale!
Be sure to head over and check out the fantastic
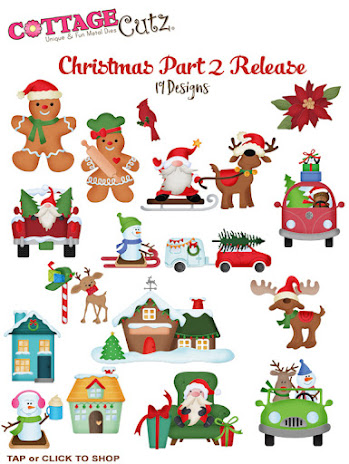
CHRISTMAS PART 2 RELEASE!!!!
SOME AMAZINGLY CUTE DIES!
This release has the Merry Christmas with Shadow die.
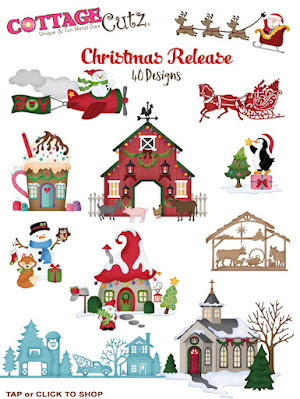
CHRISTMAS PART 1 RELEASE!!!!
SOME MORE AMAZINGLY CUTE DIES!
Until the next time, have a wonderfully crafty day!
Melinda Beltran

3 comments:
Ah these are super cite Melinda, I love them!
What a fantastic gift idea and so adorable too!
Your creativity is amazing - love this gift idea
Post a Comment