.JPG)
Hello CottageCutz friends! Thanks for taking the time to stop and visit with us today. It's Mary Marsh here bringing you the Tuesday edition of the Blog.
We have a brand-new Easter release with 17 new designs available in the online store. There is something for every card maker with faith-based dies, beautiful floral images, whimsical with bunnies and frogs and several lovely birds and butterflies.
You will be able to take the images beyond the Easter or Spring season. And for a limited time you can get individual dies at 30% off. Today for your viewing pleasure I am using the new Spring Lilies to create a Mother's Day card. So, you see how easy it is to move these dies to another occasion besides Easter.
You will be able to take the images beyond the Easter or Spring season. And for a limited time you can get individual dies at 30% off. Today for your viewing pleasure I am using the new Spring Lilies to create a Mother's Day card. So, you see how easy it is to move these dies to another occasion besides Easter.
My card started with the colors from the Splitcoaststampers color challenge #943. We are to use calypso coral, fresh freesia and parakeet party for our color trio. Optional is to make it Spring and Mother's Day falls in the middle of Spring.
 |
| fresh freesia, parakeet party, calypso coral |
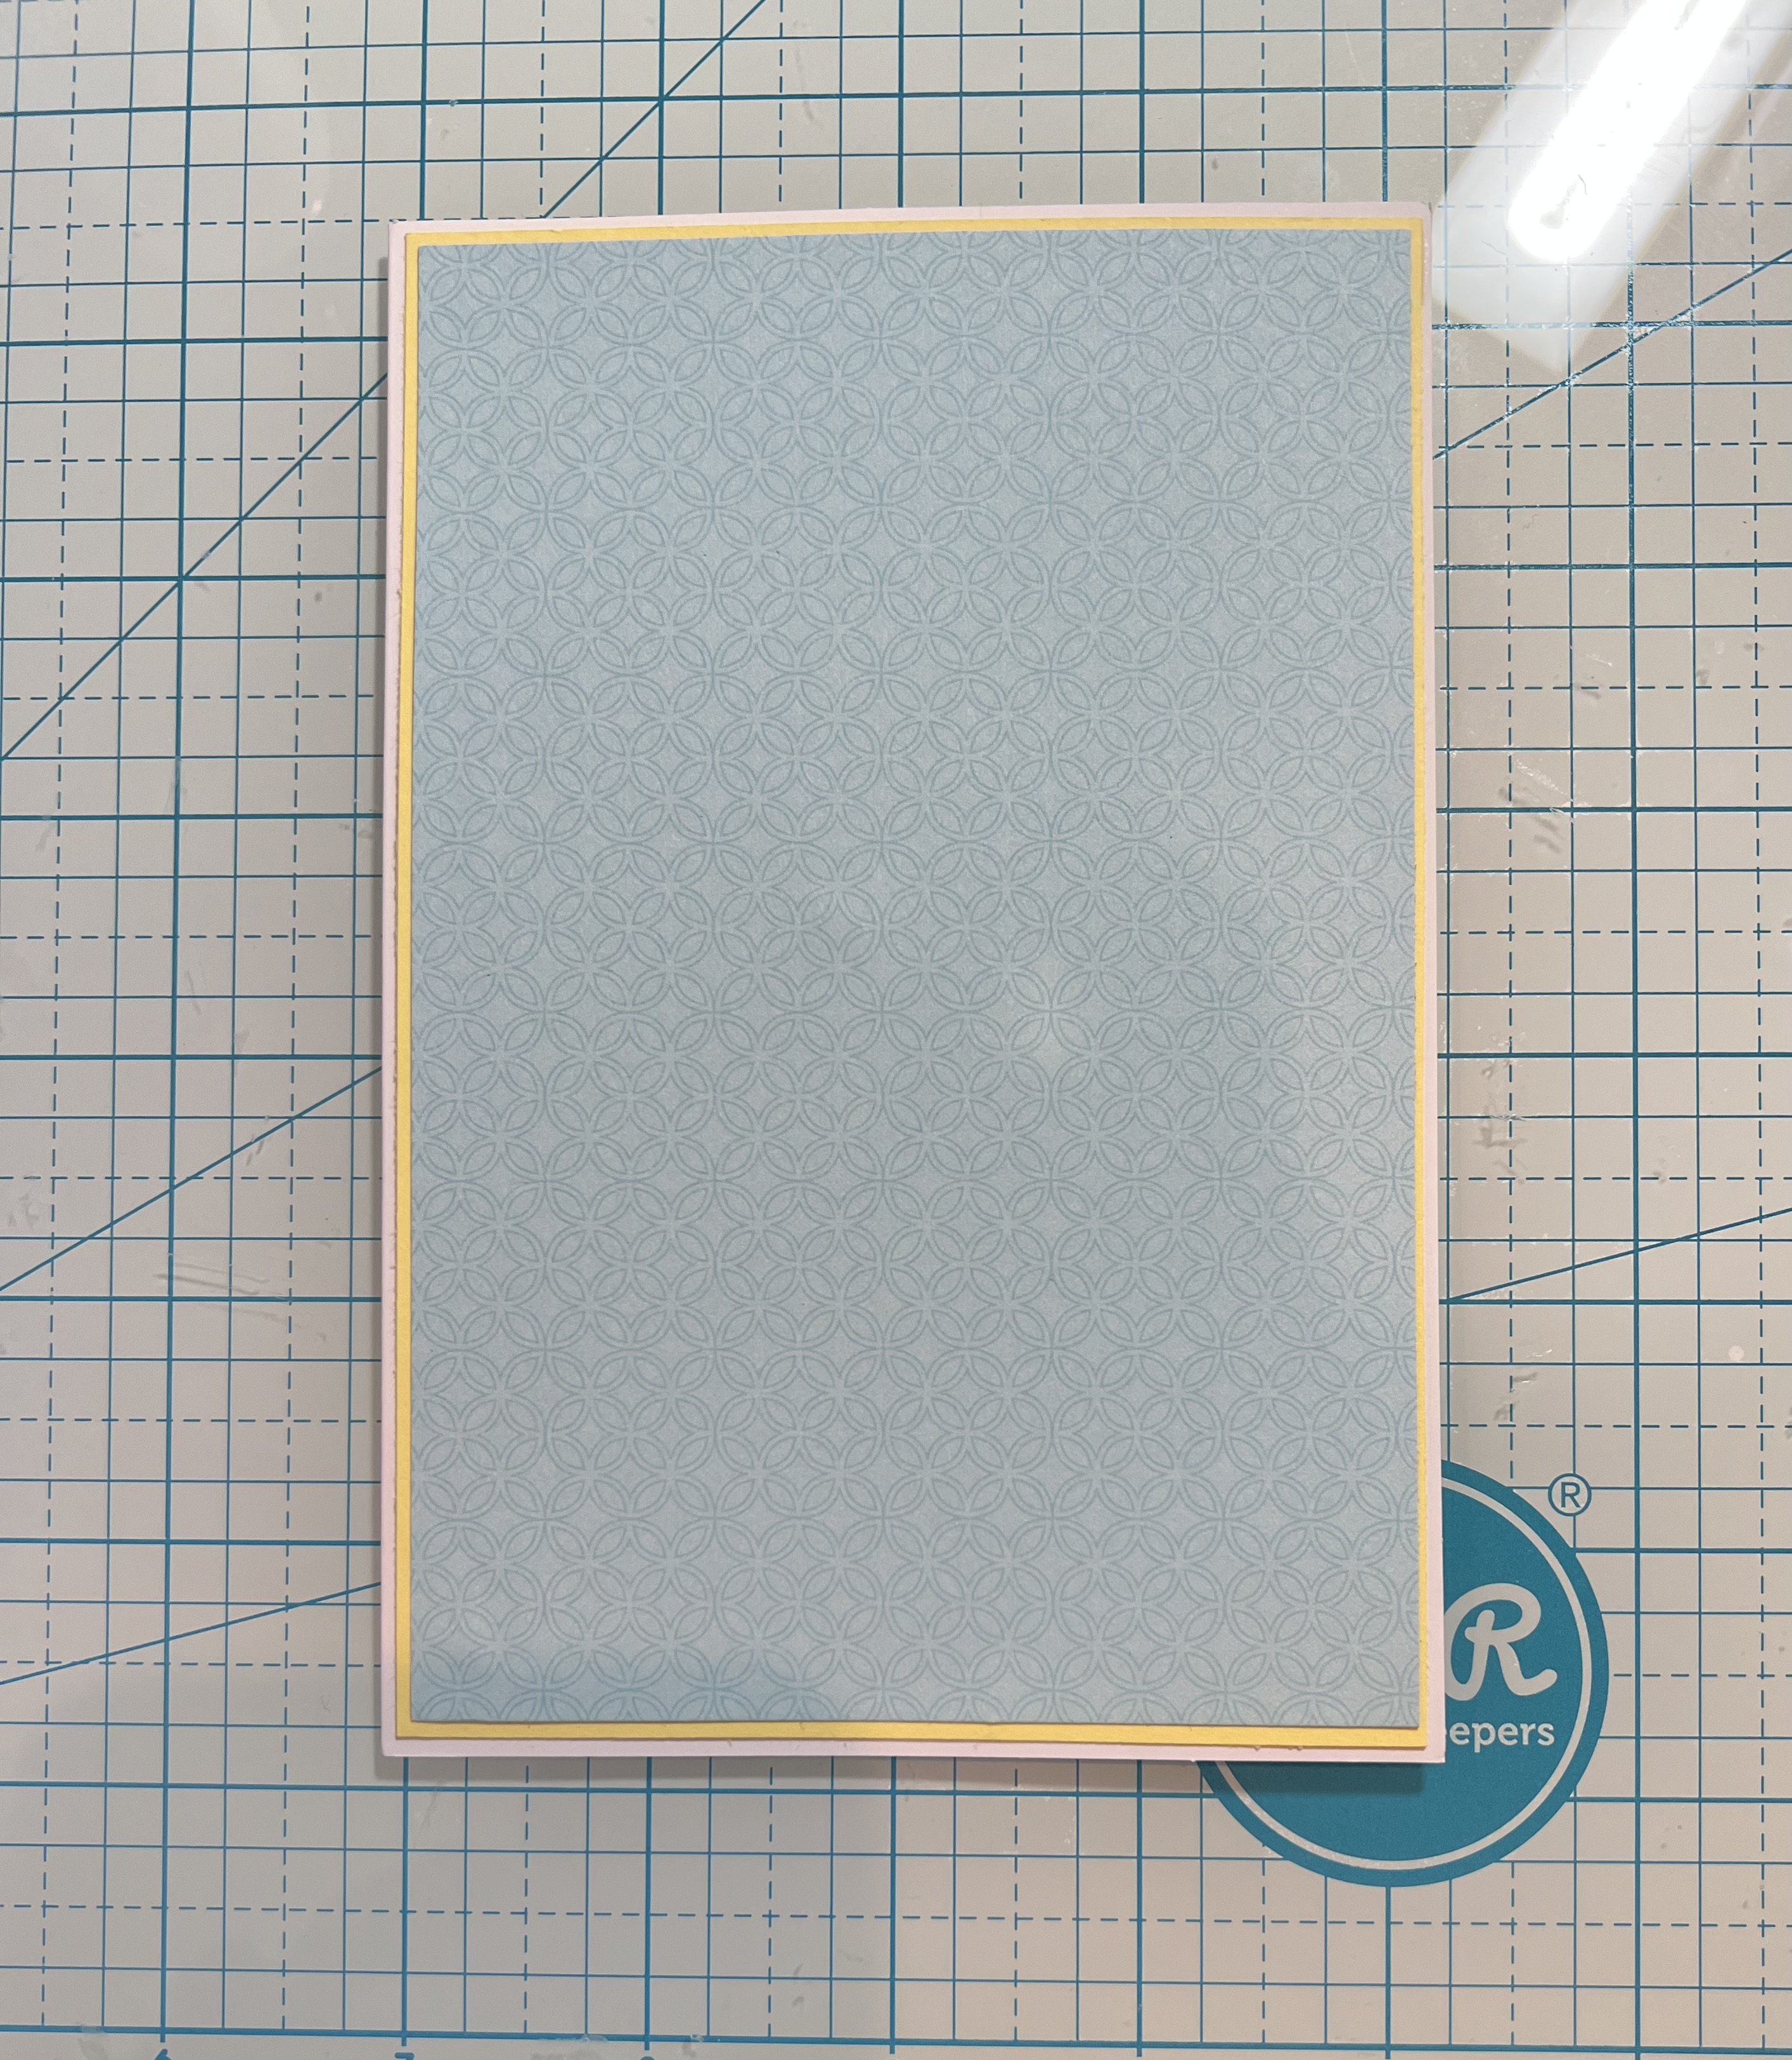
I decided to use calypso coral as the background color. I embossed it with a new to me 3D embossing folder- it's named Vine Canopy. I ran a white pigment ink pad across to highlight the embossing.
Tip: when you use a 3D folder spritz the cardstock with water to break up the fibers. This way your cardstock doesn't crack.
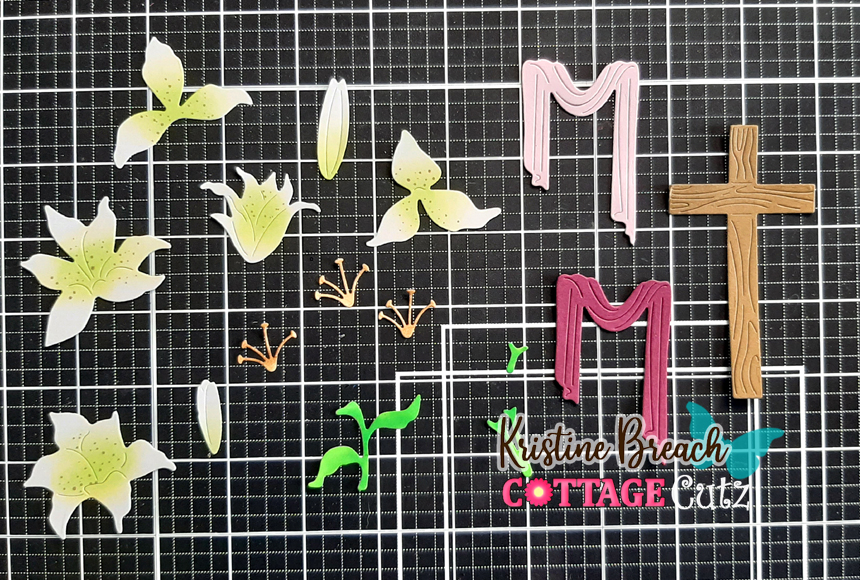
My lilies are cut in fresh freesia cardstock and I used the calypso coral color for the pistil. I stamped my Mother's Day greeting on a flag from my stash that is edged in the calypso coral color.
That's it for me for this post. See you again on Saturday.
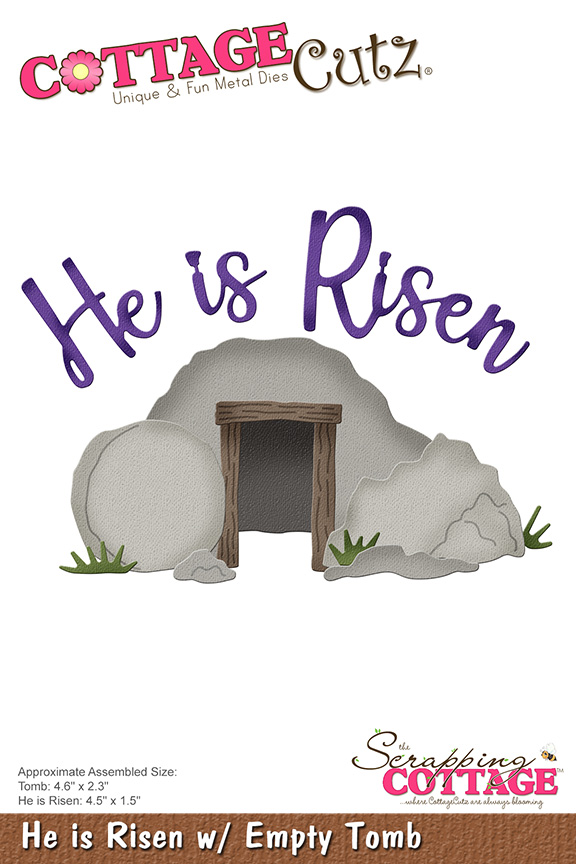
dies I used to create card:

.JPG)


.JPG)


.JPG)