Monday, September 14, 2020

North Pole Toy Company


Hello Scrapping Cottage friends! Thanks for taking the time to stop and visit with us today. It's Mary Marsh here bringing you the Monday edition of the Blog.

We have three brand new releases in the online store. It's Christmas Part 1 (22 new designs), Christmas Part 2 (21 new designs) and a Halloween release (14 new designs). They are all currently on sale and you can save anywhere from 25% to 60%.

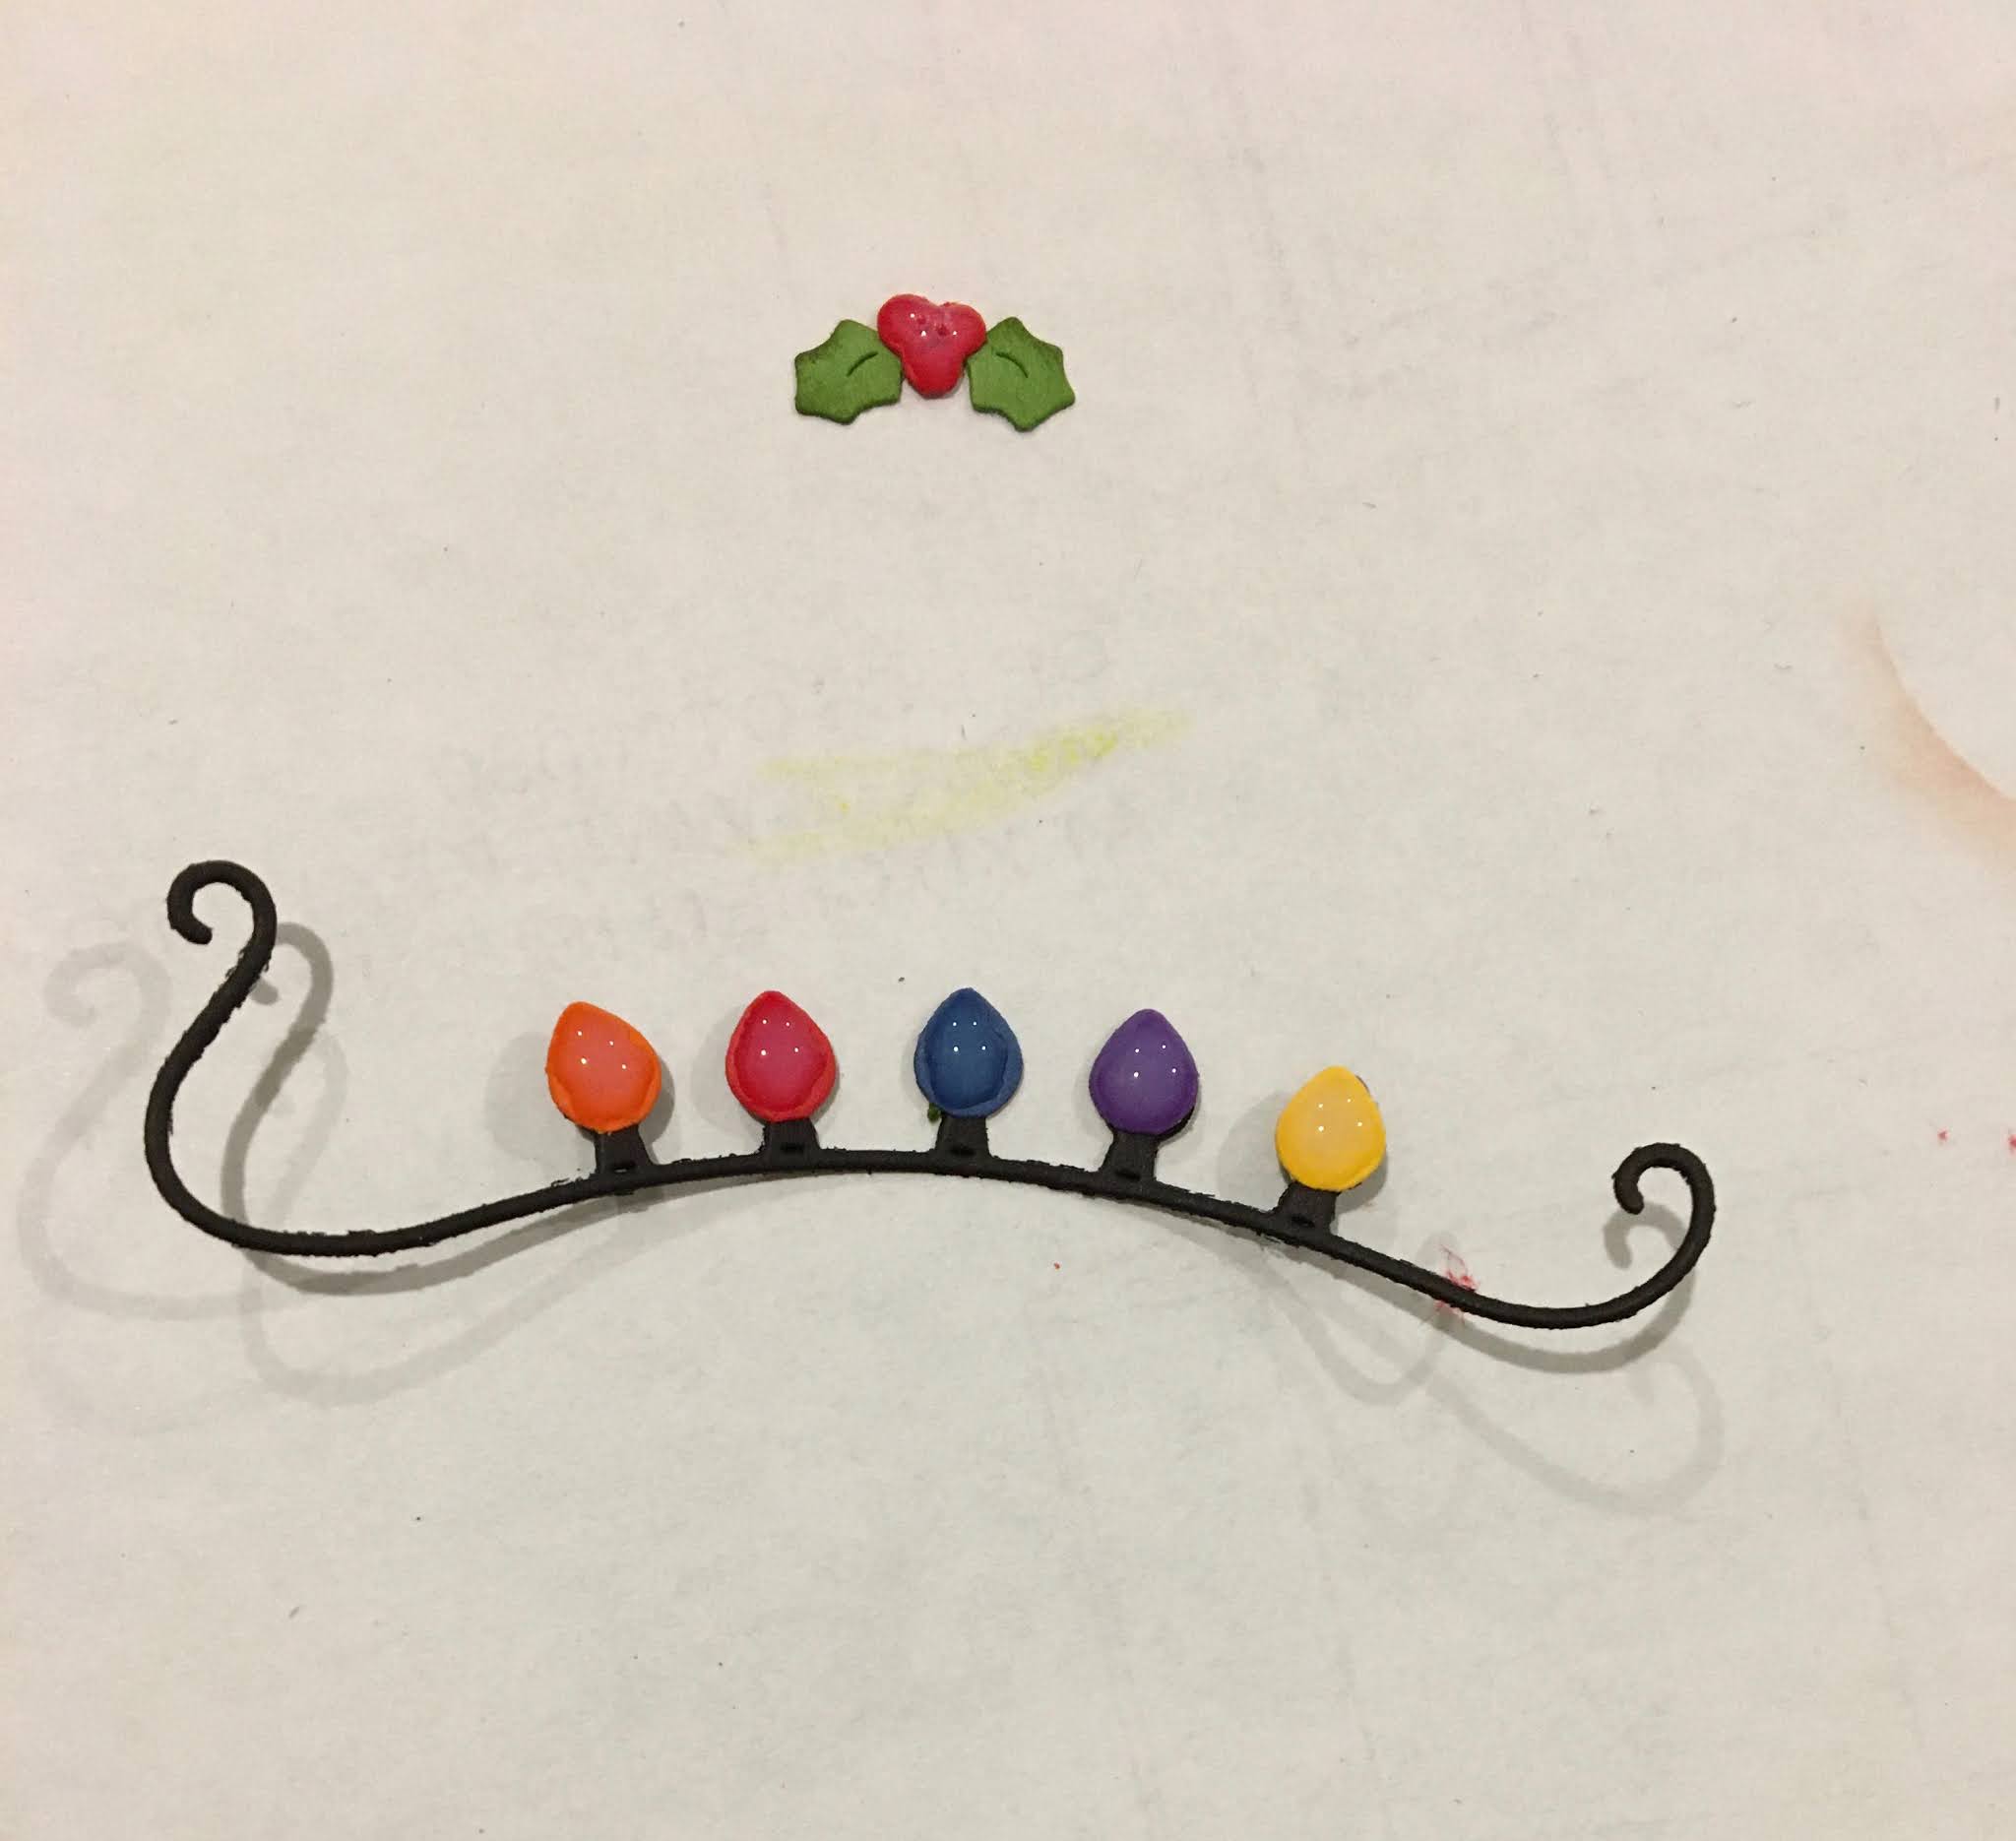
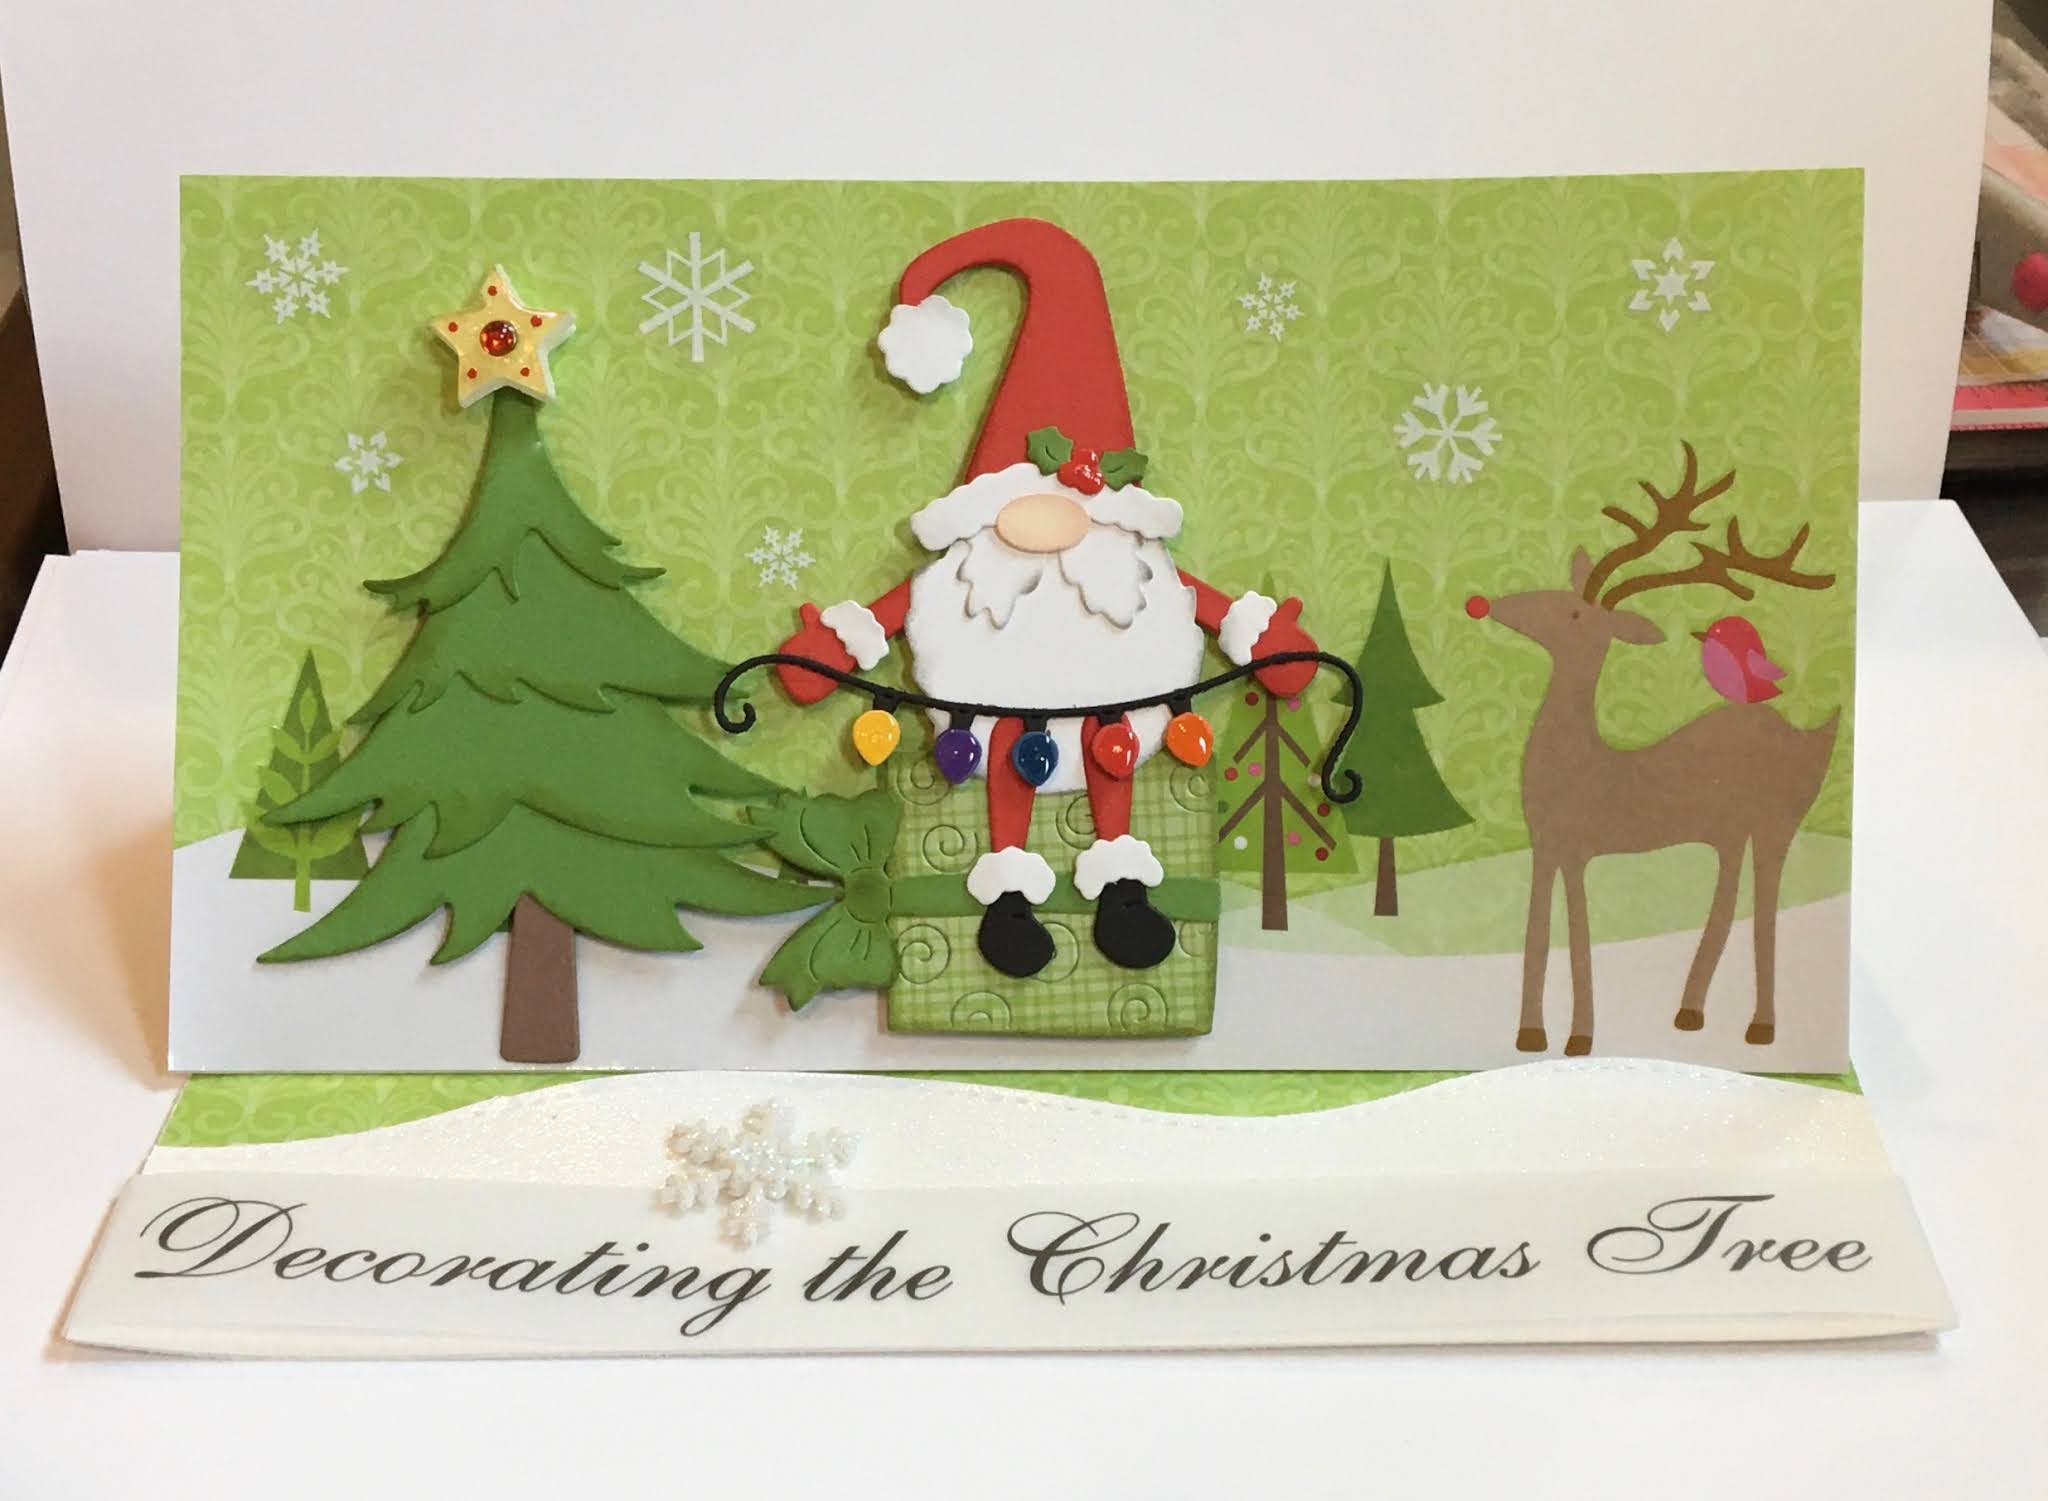
For my card today I am using the new Gnome w/Lights die and the North Pole Toy Company dies. I created a slimline Christmas card with these ever so cute dies. They are perfect for making Christmas scenes. 

The card colors are from the Splitcoaststampers color challenge #808. We were to use mossy meadow, merry merlot & bumblebee for the colors. Optional was to make a masculine card. This one is going to a 7 year old boy for Christmas. 
bumblebee, merry merlot, mossy meadow

I cut the images with cardstock in the challenge colors. The background layer is a mossy meadow designer paper and I added a layer of vellum to soften the color. 

The card base is mossy meadow and measures 8 7/8" x 3 3/4". The designer paper is  8 5/8" x 3 1/2". Behind the North Pole Toy Company die I added another layer of vellum.

To complete my card I decided to add several reindeer and they are from the Santa Reading to his Reindeer die. 

That's it for me for this post. I hope I have given you a creative idea for a way to create some cute Christmas scenes with these new dies. See you on Saturday. 

dies I used to create card:


Sunday, September 13, 2020

You Are Wonderful

Hi!

It's Anja here. My tropical release has finally arrived. First I tried this beautiful hibiscus flower die and made a bright card. 

For this card I used:

- Cottage Cutz die (Hibiscus Flowers),

- Distress Inks,

- white card base (15x15 cm),

- patterned paper for background (14,5x14,5 cm),

- white card stock for die cuts and background (13,5x13,5 cm),

- plastic stencil (stripes),

- baby wipes,

- sentiment stamp,

- black pigment ink,

- acrylic block,

- paper trimmer,

- paper glue.

First I cut and colored the flowers.

 
Next I trimmed the paper for the background.
 

Next I colored the background. I used baby wipes. I tapped it in Distress Ink and then colored over the stencil. I let the paper dry.


Last I stamped the sentiment.  


And when I glued all the pieces together my card was done.

Have a nice Sunday and see you again next week.

Anja Z.


Cottage Cutz die I used:


Saturday, September 12, 2020

Peace, Hope & Joy Christmas


Hello Scrapping Cottage friends! Thanks for taking the time to stop and visit with us today. It's Mary Marsh here bringing you the Saturday edition of the Blog.

We have three brand new releases in the online store. It's Christmas Part 1 (22 new designs), Christmas Part 2 (21 new designs) and a Halloween release (14 new designs). They are all currently on sale and you can save anywhere from 25% to 60%

These new dies are so perfect for creating outdoor Christmas scenes in the now popular slimline design, fun fold cards or even cards with a clean and simple design. The team has samples of all these styles on the Blog already. Check back here, here, here, and here for some great eye candy.

For my card today I have chose the clean and simple style. I send a lot of handmade Christmas cards- usually about 60, in fact. And, I know some of the recipients don't appreciate a detailed card so I send them one that I have made multiples of and was reproduced easily and quickly. Aren't we all looking for ideas like that?

I am using the Hope, Peace (Christmas Part 2)and Joy Ornaments (Christmas Part 1)  for my card. Love the words on these dies and it is my prayer for the USA! So let's get started with some details on how I created this quick and easy card. 

Design Steps:
Since I was using 3 ornaments on my card, I knew the card would have to be a bit larger than an A2 size. So I created a 5 x7 card. That's a size I don't believe I have ever used. But you can still mail it with a first class postage stamp. 

I wanted to use some background designer paper and I found this snowflake paper that I have had in my stash for a few years. HaHa - don't we all!  I was initially going to layer it with vellum but I liked the look without it. 
Next, I cut the ornaments in white cardstock. I thought the all white ornaments would be a good contrast again the dark blue paper. 
Now this CAS card is ready for assembly. I decided to cut some pine sprigs so the ornaments weren't hanging in mid air. I used an older CottageCutz die (Lantern w/Pine Boughs) and white cardstock. 

Since this one was so easy to put together, I thought I would try another one with some non-traditional Christmas colors. I used a light purple designer paper from a Momenta "watercolor pack". Cut my ornaments in a darker purple cardstock and used the same color cardstock for my card base. 

The card measurements are the same as the card above. I used a moss green cardstock for the pine sprigs on this card and scattered a few enamel dots. 

Well that's it for me for this week. I will be back on Monday with another Christmas card sample for you.

dies I used to create card:


Friday, September 11, 2020

Caroling Penguin Band

Happy Friday!  It's Jeanne today with a Christmas card featuring dies from the new Christmas Part 2 release.  It's hard for me to believe that it's time to start making Christmas cards!  Some crafters make them throughout the year and I try to do that, but the holidays always seem to sneak up on me.  However I know that if I start now in September, I'll have the cards I need to mail out by the beginning of December.  This release comes at the perfect time and is on sale right now!
This card features the Caroling Penguins dies.  These little guys are too cute and can be used as a group or individually.  As I was making them I realized they would also be adorable for New Years by changing their top hats, the vest and bow tie to either black or silver in order to dress them in "formal wear"!
I cut all the pieces from black, white, red, green and yellow cardstock.  I used a metallic gold for the trumpet and a metallic silver for the flute and drum.  I also placed all the pieces for each penguin in an individual cup so I wouldn't get them mixed up when assembling.  (I have also used a muffin tin to do this in the past.)
I made a slimline card by folding a piece of 7 x 8 1/2 inch card stock in half and cut a panel for the front from mixed media paper for a watercolor wash background.  So I would know where to make the wash, I loosely arranged the penguins on the front of card base along with the sentiment as a guide.

The word "Joy" uses the Joy Ornament die from the Christmas Part 1 release.  After die cutting from the gold metallic paper, I used small scissors to trim away the ornament.
I then made my wash from a medium and a dark blue ink concentrating the dark blue at the bottom.  I wanted the gold to stand out against the background.
After adhering the word "Joy", I placed the panel in my stamping platform and stamped the rest of the sentiment using a black archival ink.
I placed a piece of washi tape with music notes and a 1/4 inch strip of red cardtsock down the right side of the card base.  After trimming my panel to 3 1/8 inches I glued it to the card base.  Because watercoloring often warps the paper, I placed heavy books on top after gluing to flattened the card before adding my penguins.
The top and bottom penguins are glued to the panel and the flute player is popped up using foam dots.  I added some self adhesive crystal gems to simulate ice and snowfall.

Dies used:
http://www.scrappingcottage.com/cottagecutzcarolingpenguintrumpet.aspx
http://www.scrappingcottage.com/cottagecutzcarolingpenguinflute.aspx


http://www.scrappingcottage.com/cottagecutzcarolingpenguindrum.aspx

http://www.scrappingcottage.com/cottagecutzjoyornamentelite.aspx

Be sure to visit the online store where both Christmas releases and the new Halloween release are on sale for a limited time!

Thanks for stopping by today.  Have a fun and creative weekend!


Thursday, September 10, 2020

New Christmas Release

 Hello Scrapping Cottage Friends

It is Pam on the blog today!

I am thrilled to share with you that we have a huge new Christmas release and a spooky but adorable Halloween release!  Each die is so detailed and they really gets your creative juices flowing!  I am having so much fun getting started on my cards for the holidays!

Today,  I am showcasing the ever popular Gnomes that are all over the paper crafting industry right now!  But of course I think our Gnomes are just the cutiest!

Background Photo by Anastasiya Romanova on Unsplash

Design Steps:

1.  Cut all of the pieces using the Gnome w/Lights and the Moose in the Forest dies.  I used green, green DP,  red, yellow, blue, white, purple, brown, black and orange card stock
2.  Glue the light bulbs to the black light line and also glue the holly berries to the leaves.  Then add Glossy Accents to the bulbs and berries.  Set aside to dry
2.  Use TH's inks and shade all of the pieces and then glue together using a fine tip glue
3.  Use a white piece of card stock cut to 8 1/2 x 7 1/2.  On the long side fold in half then take the front flap and fold it in half.  This will create a little tent
4.  Cut a piece of DP 4 x 7 1/2 and glue to the front tent fold.  I also cut a piece of green DP for the inside of the card measuring 7 1/2 x 3 1/2  
5.  Open the card up and glue down the green DP.   Next cut a piece of white glitter card stock 7 1/2 x 2 and create the snowy hill.  Glue it to the bottom of the green DP.  For the greeting I used vellum with the sentiment printed on it.  The vellum is slightly longer then the card so  that I could tape it to the back of the card.  This way nothing would show through the vellum
6.  Using dimensional dots pop up the tree and the little Gnome
7.  Add a few sticker snowflakes and a larger plastic snowflake to the card and it is complete

CottageCutz Products


The new Christmas and Halloween releases are just amazing!  I hope you can stop by the online store and take a peek.  And right now they are on SALE!!
Blessings

Pam