Showing posts with label Nested Stitched Scallop Circle Set. Show all posts

Saturday, November 04, 2023

Rocking Horse w/Toys Die


Hello CottageCutz friends! Thanks for taking the time to stop and visit with us this first Saturday in November. 

It's new release time!!! We have our Christmas 2023 release in the online store that has 40 designs. It's an old-fashioned Christmas theme. You can pick up the individual dies at 30% off for a limited time.

We also have a new Fall 2023 release in the online store with 15 designs. You can also pick up these individual dies at 30% off for a limited time. 

Today the die being featured is the Rocking Horse w/Toys die. Marla created this beautiful vintage style card and her choice of patterned paper complements the die so well.  

You can see her create this card and 3 others on her most recent YouTube video. It's an A2 size card and would be easy to recreate in multiples. 

Drop over to our YouTube channel to watch her die review and some tips on creating scenes for your Christmas cards. 


Monday, March 13, 2023

Sweet Easter Wishes

Hello Scrapping Cottage peeps! 🐤

Kris here, sharing an Easter card featuring the CottageCutz Spring Bowl w/ Eggs.  

Design Steps:

I cut and layered the following, bottom to top:

• White card base = 4-1/2" x 11" and score at 5-1/2" for a top folding card
• Patterned paper (gingham) 4-1/2" x 5-1/2"
• Die cut largest from the Nested Scalloped Rectangles set (attach with foam tape)
• Patterned paper (scripty) 4-1/4" x 5-1/4" 
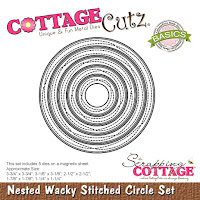
• Die cut largest of the Nested Stitched Scalloped Circles set
• Die cut Spring Bowl w/ Eggs, the Sweet w/ Shadow, and Wishes w/ Shadow from white cardstock and apply distress ink and/or markers.  Assemble. 
• Adhere bowl to lower part of scalloped circle with a thin piece of foam strip.  Adhere eggs behind the bowl with glue.
• Stamp "Easter" and trim.
• Run ribbon around the Scalloped Rectangle (between foam strips) and tie a knot on front right side.
• Add foam strips to each of the sentiments and adhere as shown.

Kept it fairly simple this week.  I hope you all have a funtastic week!
~Kristine

Products I used:


Monday, February 20, 2023

Heartfelt Sympathy

Hello and Happy President's Day crafty friends! 

Kris here sharing some inspiration with you, but first.... we have a HUGE President's Day Sale going on right now thru Friday, 24th!!  Save up to 70% OFF on selected CottageCutz dies in the store! Shop early for best assortment!


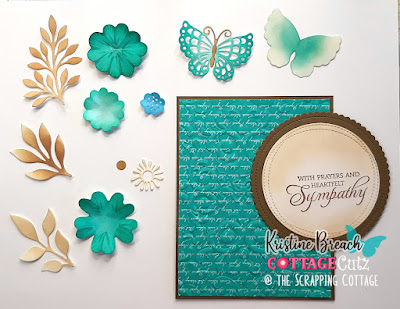
Today's card features flowers & leaves from the new Flowers & More Release -- which are still 30% off -- a great deal and these are a must-have for your all occasion stash!  All the CottageCutz products I've used on this card are pictured and linked at the end of my post.

CUTTING & SCORING:
  • Sand-colored Card Base = Cut 9-1/2" x 6" - then score the longest edge at 4-3/4"
  • Patterned Paper (Teal) = Cut 4" x 5-1/4"
DESIGN STEPS:

1.  I embossed my teal patterned paper with a Parisian 3D embossing folder, and attached to Suede card panel (4-1/4" x 5-1/2")


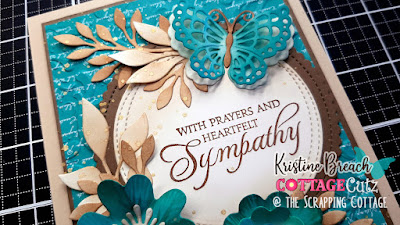
2.  I stamped a sentiment on my white circle, then sponged some Gathered Twigs distress ink to tone down the white.  I glued it onto the scalloped circle, then onto my card front, over to the right edge.

3.  I die cut Flower 3, Flower 5, Leafy Branches 1, 2, and 3, and the Butterfly Kayla from white cardstock and then added distress inks to color them; Gathered Twigs for branches & butterfly body.... Peacock Feathers for the blossoms and butterfly wings... Broken China for smallest blossom center.  


4.  I figured out placement of everything and glued in place, then adhered to center of my sand-colored card base. 

5.  I then spattered some metallic gold acrylic paint over my leafy branches (mostly).  I love the look this gives for a nice finishing touch.  


Here's one more look of the finished card...


COTTAGECUTZ PRODUCTS USED:


Want to watch CottageCutz designers in action? 

Follow the CottageCutz YouTube channel here.

~Kristine


Friday, February 04, 2022

Cute Bunny Peeker Bookmarks


Happy Friday Cottagecutz fans. I hope you’ve had a lovely week and are looking forward to the weekend. I shall be trying to fit in as much crafting as possible this weekend as I have a knee op on Monday 
(deep joy!)

Anyway, back to the project in hand,

I really wanted to use some of the longer nested shapes and then I thought, bookmarks! I used the 7” ‘Scalloped Stitched Rectangle Slimline’ and cut it out in 3 colours twice. I wanted to the bookmark have some heft so it lasted well so I stuck them together


Next I printed out my nieces names and popped their names on white card. Once printed I cut them using the 6 and 1/4” ‘Nested stitched Rectangles’ and then glued them onto the main tag


Next I cut from the ‘Miss Spring Bunny’ die, 3 heads and 3 sets of arms to be used shortly. I used a matching bow in the bunnies ear too


I wanted a focal point to the bookmark and something that the page of your book could link onto. So I cut out the 2nd largest ‘Nested Stitched Scalloped Circles’ twice in each of the main colours. In one of the scalloped circles I cut out the middle so that it will look like the bunny was peeking over the circle. I also cut out 3 white nested circles 

I stuck the white circle to the scalloped circle and then the rim on top of that


So the bunny was attached to the scalloped circle then attached to the end of the main bookmark. Make sure you use 3D foam pads so you have that give for the bunny to sit on the page you mark in your book

I added the little chick to each die and also a diamanté to finish on the bow


 I really hope that you like the project for today and have inspired you to make little gifts for Easter.
Have a wonderful weekend and I will see you next week
Hugs
Wendy

Dies I have used:


Don’t forget to check out our YouTube page. I know Theary has made a wonderful project this week


Tuesday, January 18, 2022

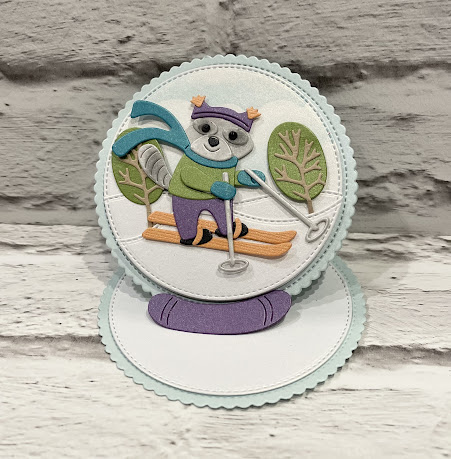
Round Easel Racoon Skiing


Good morning Cottagecutz fans. I hope your week is going well so far. It’s Wendy bringing you the blog today. Can you believe we are over half way through January, Before you know it, we’ll be making those Christmas cards again :-)

I have been a massive fan of easel cards today and this time I thought, why not mix it up and make a circle easel card.

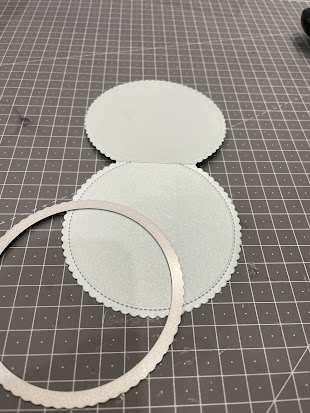
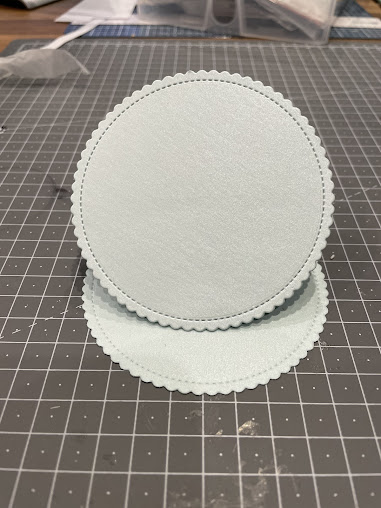
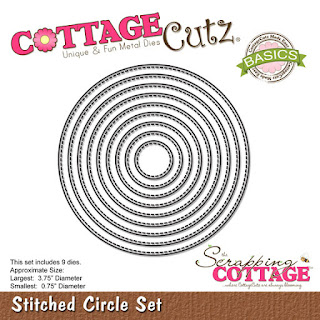
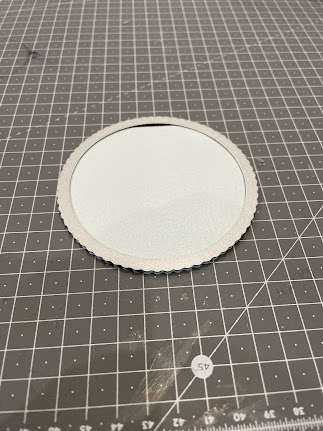
To begin with take a piece of light blue card, fold in half and make sure that is large enough to to be able to use the largest of the ‘Nested Scalloped Stitched circles’. What you need to do is make sure that when you out it though the die cutting machine that you lave a small amount at the top so you don’t cut 2 circles, but one 


Next fold one of the circles in half. You can measure but I’m not a fan so I folded it in half as best I could. It doesn’t really matter as no one will see it as we go through making the card


Nect cut out another circle of the same size and attached this to the bottom of the folded card


I then cut a white ‘ Nested Stitched Circle’ to fit inside the card above. 


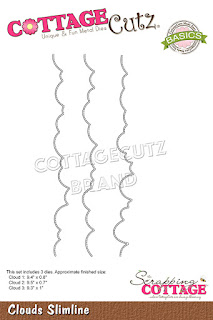
I then decided to have some sky on the top of the circle so that it will be effective on the finished card. I did this by using the ‘Clouds’ Slimline die and used it as a template. As always, start part way down the card an build up to the top


Next I cut the same size white circle as those above and used the ‘Hills Slimline’ to cut some now hills into the card. I attached the base layer with glue and then the next layer with 1mm foam pads


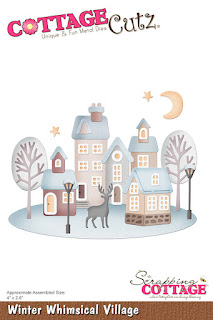
I cut some of the tress from the ‘Winter Whimsical Village and attach to the card with 1mm foam pads


To finish off my card I assembled the ‘Winter Racoon on Ski’s’. I added some chalk for effect


I attached the Racoon to the cars with 1mm foam

To Keep the card upright I used the snowboard from the ‘Snowboarding Penguin’. I attached it with 2mm foam pads 


Dies I used:


I hope you have a lovely rest of the week and I will see you on Friday with hopefully a ner project using the Spring Release

Oh and don’t forget to check out our YouTube channel with the latest project