Showing posts with label Clouds Slimline. Show all posts

Tuesday, April 04, 2023

Spring Bunny Car

Hello Scrapping Cottage friends! Thanks for taking the time to stop and visit with us today. It's Mary Marsh here bringing you the Tuesday edition of the Blog.

We have a brand-new Easter release with 17 new designs available in the online store. There is something for every card maker with faith-based dies, beautiful floral images, whimsical with bunnies and frogs and several lovely birds and butterflies.

You will be able to take the images beyond the Easter or Spring season. And for a limited time you can get individual dies at 30% off. Today for your viewing pleasure I am using the new Spring Bunny Car die. I needed one more Easter card for the two little ones who live next door.

I started my card using the colors from this week's color challenge #942 on Splitcoaststampers. I am the hostess and I chose granny apple green, pumpkin pie & balmy blue for the color trio. Optional is to use 1 or 2 additional colors. I chose polished pink and gorgeous grape. 
granny apple green, pumpkin pie, balmy blue

I wanted the bunny to be driving his car on a "road" so I used a piece of black cardstock and added a strip of white. I used the Slimline Clouds cut in white cardstock and then sponged with the balmy blue ink. The Easter Wishes is from the Bunny Kisses & Easter Wishes die. It's retired and currently on sale at 60% off.  

I stamped a sentiment on the card front in the polished pink color to complete this card. 

That's it for me fore this post. See you on Saturday!

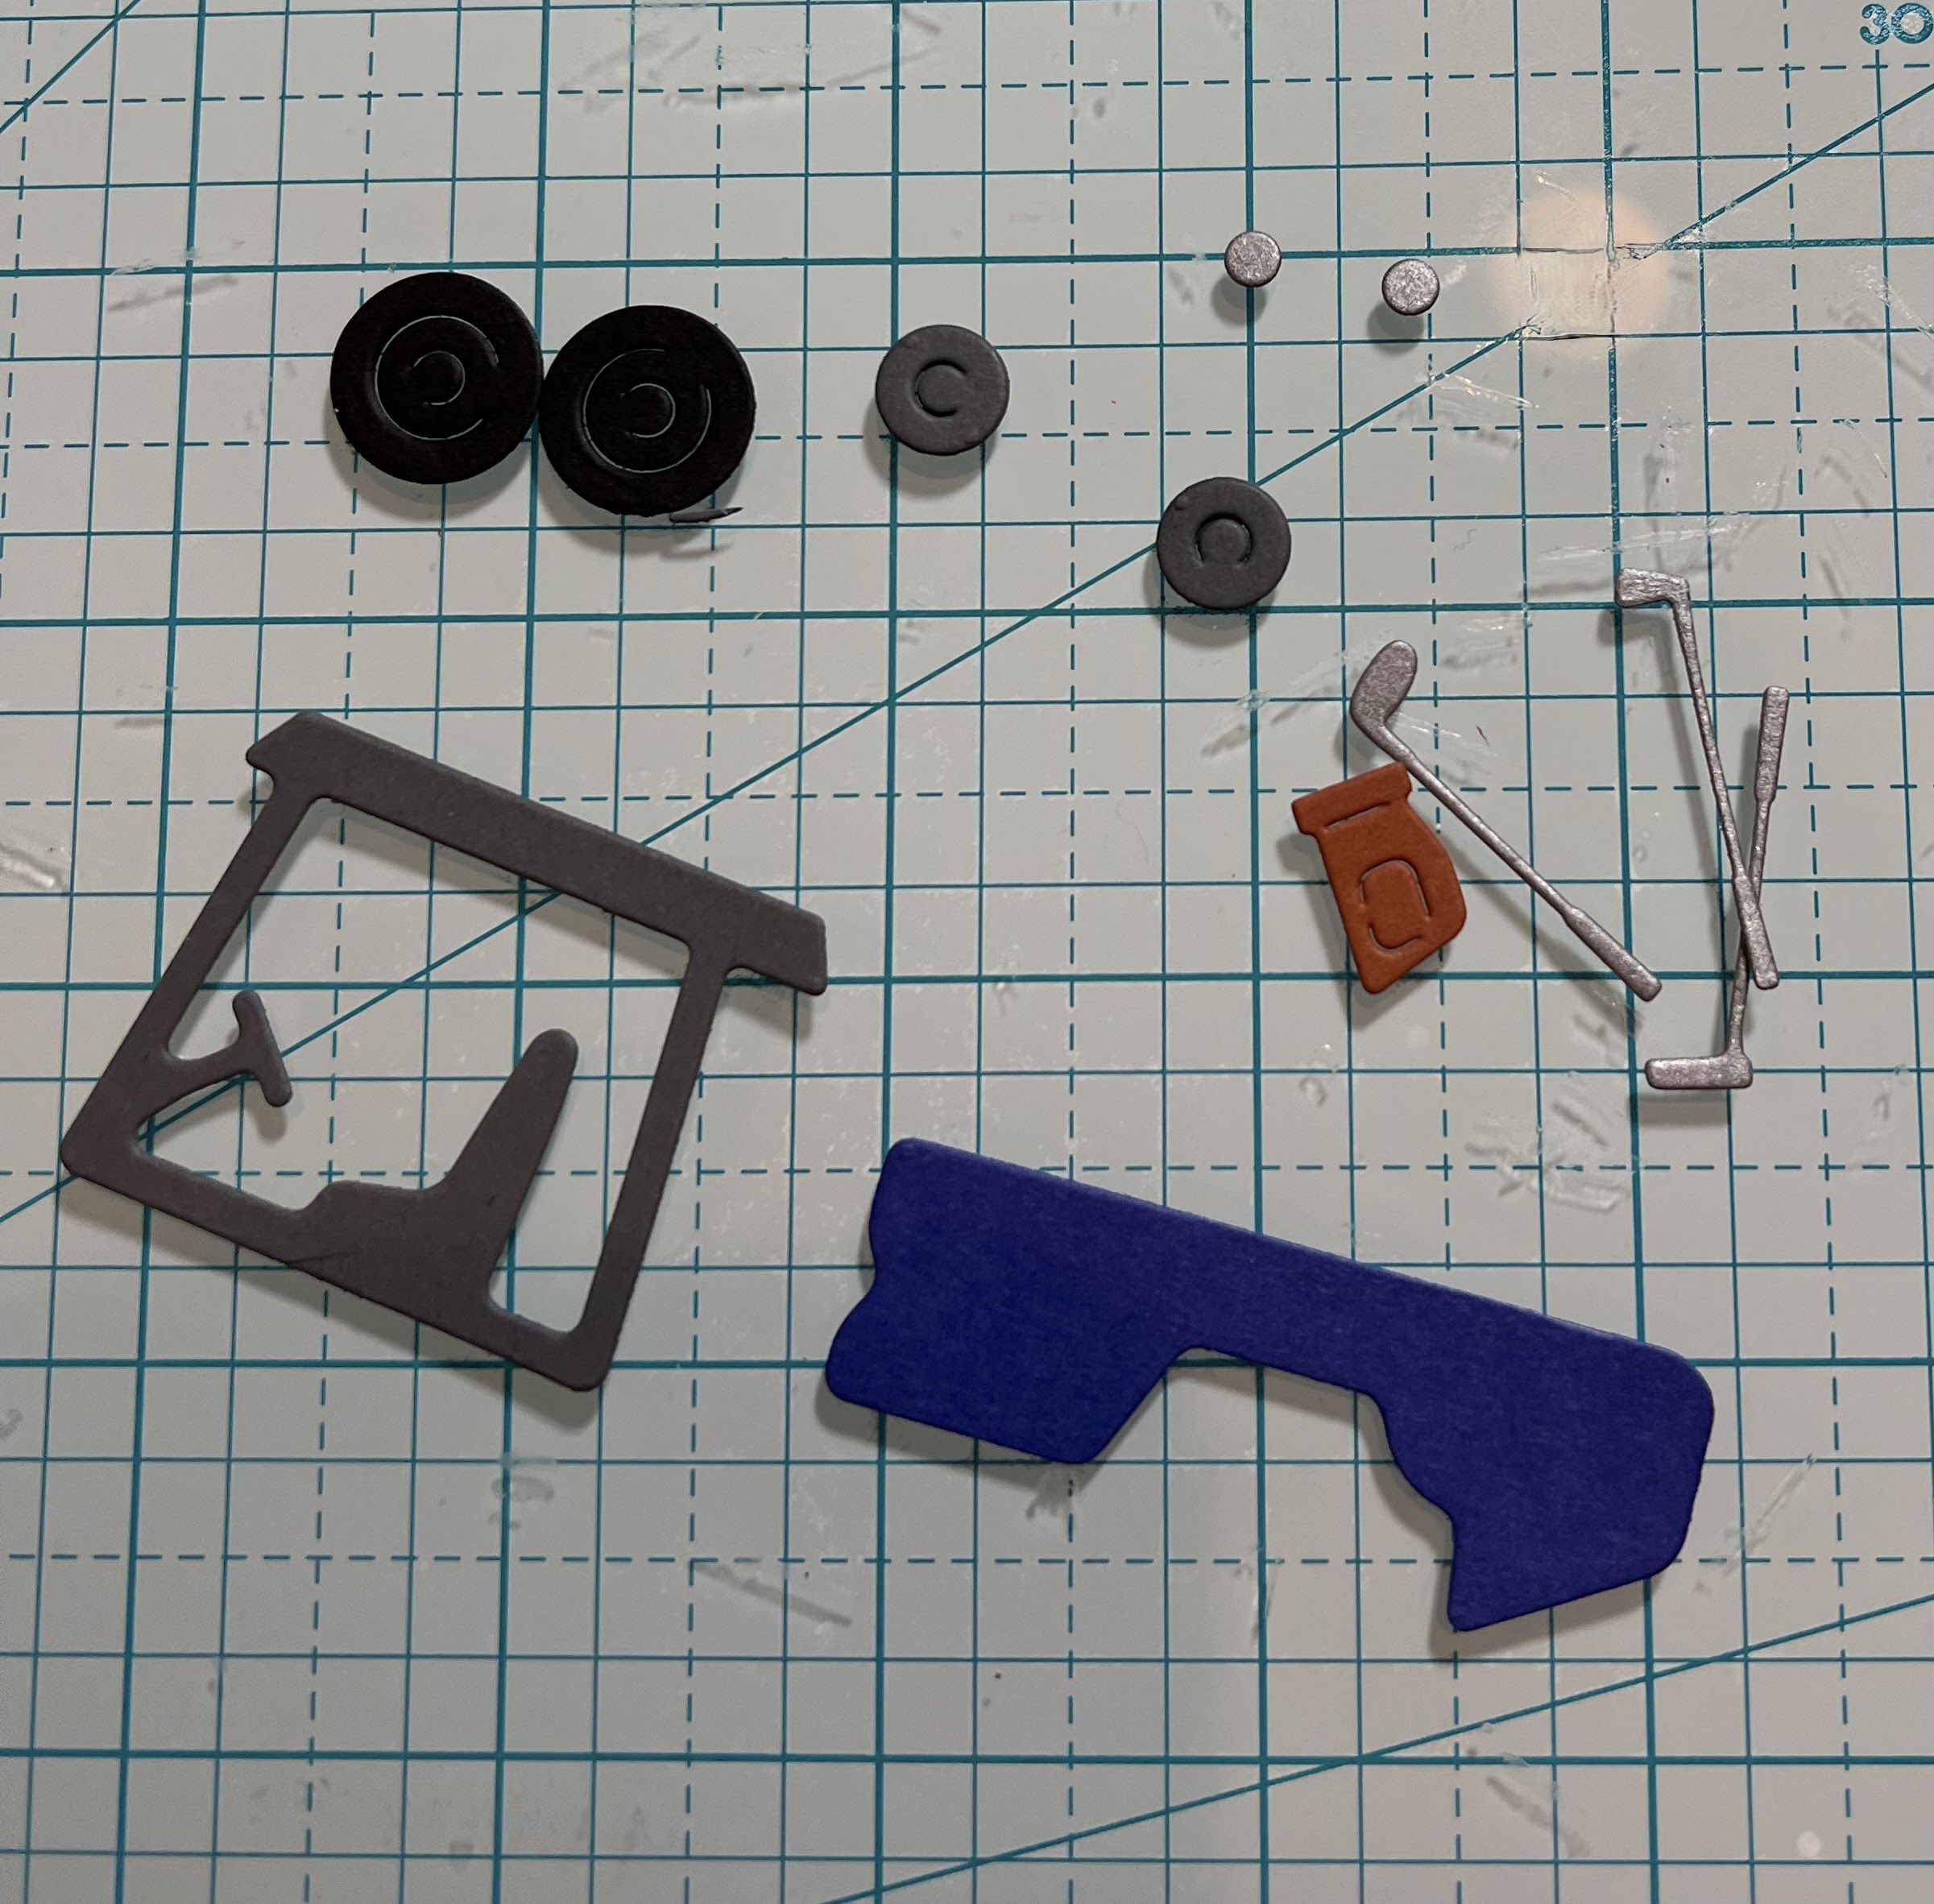
dies I used to create card:


Thursday, October 06, 2022

Halloween Kitties

Hello Scrapping Cottage Friends

Super Excited to announce we have a brand new release just in time for all of those amazing Halloween cards everyone makes!! The collection has 22 fabulous dies that are going to make those scrapbook layouts and cards look SPOOKTACULAR!!!  The dies are currently on sale so make sure you get them while they last at this special introductory offer!!

Today, I am using the Spooky Kitties.  It has so many cute pieces.  These pieces could be used in a variety of different ways!  For this card I decided to make a slimline.

Designer Steps:

1.  Using the Spooky Kitties die cut out the following colors of card stock:  orange, purple, brown, light and dark gray, yellow and white.  Ink the various pieces with TH inks and then assemble with a fine tip, fast drying glue.  I used a black Glaze Sakura pen for the eyes

2.  Use an orange 3 1/2 x 8 1/2 card base, cut a piece of purple card stock using the largest of the Slimline Scallop Stitched Rectangle dies, Cut a piece of DP 2 3/4 x 7 3/4,  and finally cut a piece of black using the Window Slimline.  Ink the edges of the orange base in black ink
2.  Glue the purple scalloped rectangle to the orange base then glue down the DP.  Before adhereing the black window frame to the base cut two pieces of green grass using the Grass Slimline die and cut a light gray cloud  using the Clouds Slimline.  Glue the pieces to the back of the black windows as shown above and cut off the extra.  Ink the clouds with a black TH ink
3.  Glue the black windows to the card base do not glue the tops of the grass so you can tuck your cats down into the grass
4.  Arrange your kitties in each of the window glueing the pieces flat to the card base make sure you tuck the kitties feet into the grass.  Add the sentiment and your card is complete

CottageCutz Products


Please make sure to check out this amazing Halloween release right HERE!


We have more inspiration on our YouTube Channel check it out HERE

Thanks so much for stopping by!  And I will see you next Thursday.

Blessings and Take Care


Sunday, September 25, 2022

Nativity Trio

Hello on this sweet Sunday!  Kris here with 3 Christmas cards using the nativity dies from the CHRISTMAS 1 RELEASE.  Before I get to them, here's an announcement:
❄❄❄
We are happy to announce that CottageCutz dies will be available for purchase in a boutique in Southern California. If you're in the neighborhood drop by.
Wild Skyes
42050 Main St.
Temecula CA 92590
❄❄❄
FUN!  My first 2 cards are super easy to create.  Using the same dies, but switching the colors, you can achieve different looks! (the lovely dies do all the work!)


My next card is a Pop Up Stage Card


When you close the card, it forces the popped up elements forward into a flat position so you can tuck this into an envelope ☺


Here is the front of my card.  I added a belly band to help keep the card closed.


THANK YOU for taking time to visit today!  
I hope I inspired you to get crafty with your favorite CotageCutz dies ~ Have a blessed week ☺

~Kristine

PRODUCTS I USED:

Thursday, August 18, 2022

Par-fect Day

 Hello Scrapping Cottage Friends,

We have a NEW RELEASE which is perfect for all those sports fans in the family! It is called Baseball & Golf! It has 16 fantastic dies which will make your card making and scrapbooking pages look great! The release has special pricing right now so go and check it out HERE!

My husband is a golfer so I am really going to enjoy creating with the golf dies.  I used the Putting Green and Golf Cart for this card.  I mixed it with a few of the slimline dies for the background.


Design Steps:

1.  I used the Golf Cart die and cut gray, silver, red, blue, rust and black card stock.  I then assembled with a fast drying, fine tip glue

2.  I used the Putting Green die and cut brown, red and green card stock.  I will assemble the putting green on the card. You will see on the card I added a little piece of white on the back side of the hole

3.  For the background of the card I used an A2 white base, blue DP for the sky 2 1/4 x 5 1/4, dark green card stock cut with Mountain & Trees Slimline, a piece of green measuring 3 x 5 1/4 cut with the Hills Slimline and not pictured a piece of white 2 x 5 1/4 cut with the Clouds slimline
4.  Glue the sky down first to the white card base. Glue the tree line to the green hills and then glue to the card
5.  Glue the putting green to the green hills as pictured above
6.  Pop up the golf card, add the clouds to the top and your sentiment to the bottom.  Your card is complete

CottageCutz Products


Here is the new release so please check it out in our store today!!


We have more inspiration on our YouTube Channel check it out HERE
Thanks so much for stopping by!  And I will see you next Thursday.

Blessings and Take Care