Showing posts with label Circle Window Slimline. Show all posts

Monday, April 11, 2022

A Trip Outback


Hi everyone and Happy Monday today I am excited to share our Australian dies which reminds me of Down Under and Outback and not the restaurant.  When I saw these dies it brought memories of a television show I watched “The Crocodile Hunter” with Steve Irwin I could hear his accent as I created lol I loved that show and how cute!
Here are all the amazing dies in this release


I used the circle slimline die to create a sort of collage of all these outback critters on some desert sand cardstock
I then diecut the parrot in pink and added a touch of color with my copics
I diecut the Outback Trees in various shades of green show I could add a tree to each opening and it blended so well with the tan
I used the Koala w/Floral as my focal point and used the baby from the Koalas set to hang from ine tree.
I had so much fun with this release I hope everyone enjoyed a trip down under…😆
Products Used:


Monday, January 31, 2022

Slimline Shaker

Hi, everyone it seems like the weekends go by so quickly as Monday is here again.  Today I am sharing a slimline window shaker card with two of the new release from the January 2022 release!  Peekers Bunny w/Pocket and Spring Kitten w/Envelope how cute?!! 
CARD

1.  I took the slimline window die and cut it using patterned paper.  I couldn't decide between red and teal so I actually cut it out twice
2.  I then cut two layers of the window using foam so that I could add height for my shaker window.  I added some acetate for the window and then adhered all the layers together

3.  I used some flock paper I had to cut out the bunny and cat to make them more life-like or give them a better look of fur and I love how it turned out.  

I glued all the layers together and added some sequins to my shaker window to complete the look of my card and I hope everyone enjoyed my shaker card and see you next Monday same time same place!

In case you didn't hear, The CottageCutz YouTube channel is up and running.  Head over and check out the latest video! There is a giveaway for subscribing too!

Tuesday, November 09, 2021

Gingerbread family


Good morning CottageCutz friends, it’s Wendy bringing you the blog today, I really hope you’ve had a lovely weekend and are braced for the week ahead.

Today I’m bringing you a light touch tutorial and Friday will be a full tutorial

I just love this gingerbread family and I liked the die as parts could be easily separated

To begin with I cut my base card from white pearlescent card measuring 9” x approx. 4”. I then cut the ‘Circle windows’ Slimline’ in green pearlescent card and attached to my based card worth 1mm foam pads. I only did this around the edge so that I had enough room to slot the gingerbread family in.

Next I cut out small 3 elements of the gingerbread family and their component parts. I assembled and added some white stitching using a gel pen for effect.  /i also did this around the card

Next I added the family to the card, starting with the child at the top, mummy in the middle and daddy at the bottom. Here are some close ups for you


I had a wonderful die from a few years ago with I really wanted to play with which was the ‘Handmade cookies 2’. I thought they were a perfect match for my card so I cut out the base in fawn Bazzill card and then overlayed with white pearlescent card. I then scattered these about on the card when they looked grounded.

To finish off, I added some white gelato to make the gingerbread and the card look like it had flour / icing sugar on it. I think this really worked with the theme

I really hope you like the card today. I had such fun making it and I hope it inspires you to start making your Christmas cards

Have a a wonderful week and I will see you Friday for a full tutorial
Wendy


Dies I have used


Monday, September 27, 2021

Slimline Windows

Hi everyone my name is Monica and today is my first official post for The Scrapping Cottage and I am so excited to have been given this amazing opportunity. Today I am sharing a slimline card which features the super cute "Farm Animals" from the Cottage Cutz shop!! 
SLIMLINE CARD FRONT

1.  I used watercolor paper (Fabriano) and die cut the "Circle Slimline Window" 

2.  Once done I then took a cloud stencil I had in my stash with some oxide ink in "Broken China" and blended some clouds on the front in various places

3.  I made the center circle a shaker by covering the opening with acetate and then used foam tape along the outer edge of the circle - next drop in some shaker elements and walla instant shaker!


4.  I die cut the farm animals on some blending paper and colored each with my copics and added a touch of shading to bring my animals to give them some life and finally I used the Celebrate Shadow sentiment to finish my card off…


Below is a quick video show you how I created this fun slimline hopefully it’s not too painful to watch 😜


PRODUCTS USED:

Friday, September 17, 2021

Congratulations on a New Home

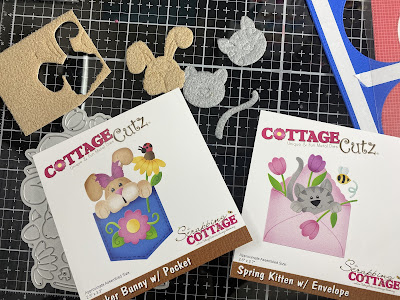
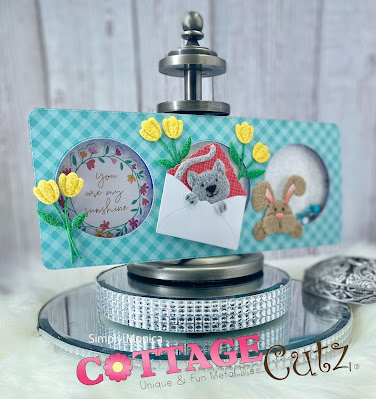
Happy Friday!  It's Jeanne with Friday's edition of the blog.  I have a card that would be perfect for welcoming a new neighbor or giving to a friend who just purchased a home.  It features the Home Sweet Home stampsand dies from Lil' Bluebird Designs, the Circles Windows Slimline and the Congratulations w/Shadow die.

To begin this card I colored and die cut several house and trees.  I actually did more but these are the ones I decided to use.

I used Spectrum Noir Tri-Blend markers to color them.


 My next step was to create the card base.

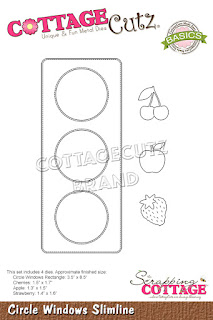
I cut a panel from white cardstock using the largest of the Nested Rectangle Slimline dies and the one from the Circles Windows Slimline die. 

I then cut 2 1/2 inch squares from three colors of the patterned paper and the coordinating solid colors.

I also cut the sentiment from coordinating cardstock.  Because the die cuts the shadow and script with one pass, I had two sentiments to choose from. I'll keep the extra with the die for future use.


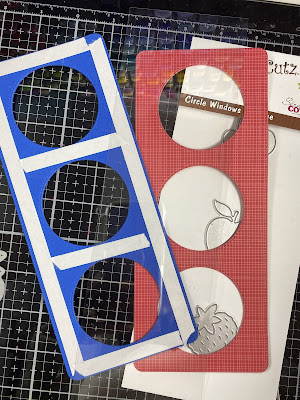
To get the curved ground, I used washi tape to secure the solid color squares to my die cutting plate.  Then I taped my curved die to the plate so it would not move while I cut it.

This gave me a nice continuous curve across all three colors!

Then I adhered my squares behind the circle windows.  To make sure they were even I drew a pencil line 1/2 inch up from the bottom on back of the window panel and marked the center point and sides of the middle square.

When aligning objects, it is best to start in the middle and adjust from the center as you can always adjust side to side. 

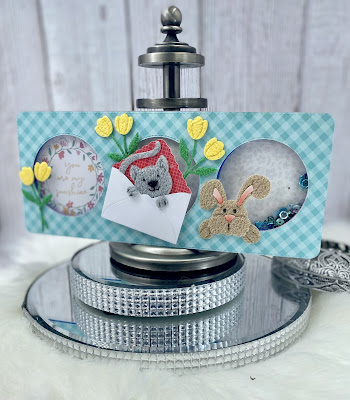
 I added my houses....

 ...and the sentiment.  Perfect for a new homeowner or new neighbor!  I hope you've enjoyed my card today.  Be sure to visit the online store where the Lil' Bluebird Stamps are on sale for a limited time.
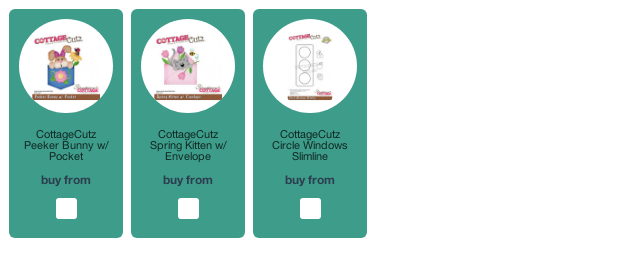
Products used:


Thanks for visiting today!  I hope you have a fun and creative weekend!