Kris here to share a tutorial with you on this cute shaker card featuring some dies from the Christmas Release #2 and more!
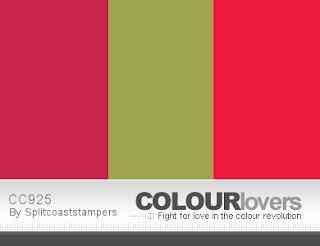
I am a Guest Designer this month for the Color Challenge at SplitcoastStampers and the colors this week are Real Red, Old Olive and Poppy Parade (CC925). The dessert option is to use a 4th color. I added in some Cinnamon Spice for the gingerbread girl.
DESIGN STEPS:
CUTTING:
Red Cardstock = Cut a 5-1/2" x 11" - score at 5-1/2"
Gold Cardstock = Cut a 5-3/16" square
Die cut the bow from the Halloween Wreath
Die cut the Joy from the Peace & Joy Wreath
White Cardstock = Cut a 5" square
Die cut largest die from the Pierced Wide Circle Frame set
Die cut the Ginger Friends
Crumb Cake (or Kraft) Cardstock =
Die cut the Ginger Friends
Peppermint Patterned Paper = 4-3/8" square
Acetate or Window Sheet = 4-3/8" square
Candy Cane Striped Paper = 4-3/4" square
ASSEMBLING:
• Fold and burnish red card base
• Attach gold square in center of card front
• Attach white square "
• Attach peppermint square "
• Add glue close to the circle opening of that patterned paper, and attach the white circle frame.
• Attach acetate/window sheet to the back of that paper.
• Color her bow red, scarf and earmuffs Olive green, and buttons dark brown. Add white gel pen polka-dots to the scarf and highlights to the bow and buttons.


2 comments:
I love shaker cards and this one Is so cute Kristine- such a cute Gingerbread image
Super cute shaker love the striped background
Post a Comment