
Happy Monday CottageCutz friends! Kris here with you today, sharing a card using the Classic 50's Release!


My dad and hubby's birthdays are in December, so this card works for either one! It's a Bridge Fold card and I'll show you how I made it, but if you'd like a video, there's a great one on Splitcoast Stampers here.
DESIGN STEPS:
Step 1
Cut a cardstock base to 5 1/2" x 9”.
Score at 3” and 6". Fold into a Z and burnish.
Step 2
Center one of the Clouds Slimline Dies (or die of your choice) over the Z folded piece at the top. Secure with Post it notes or Washi tape and run thru machine back and forth a few times to go thru all 3 sections.


Cut 3 pieces of white cardstock to 2-3/4” x 5". Using the same cloud die you used on your folded piece, and in the same position, die cut the tops of all 3 pieces.

Score down the center of the outside two pieces of card base and 2 of the white pieces, and mountain fold them. Adhere the non-folded white piece to the center of card and the folded ones to the outside panels.

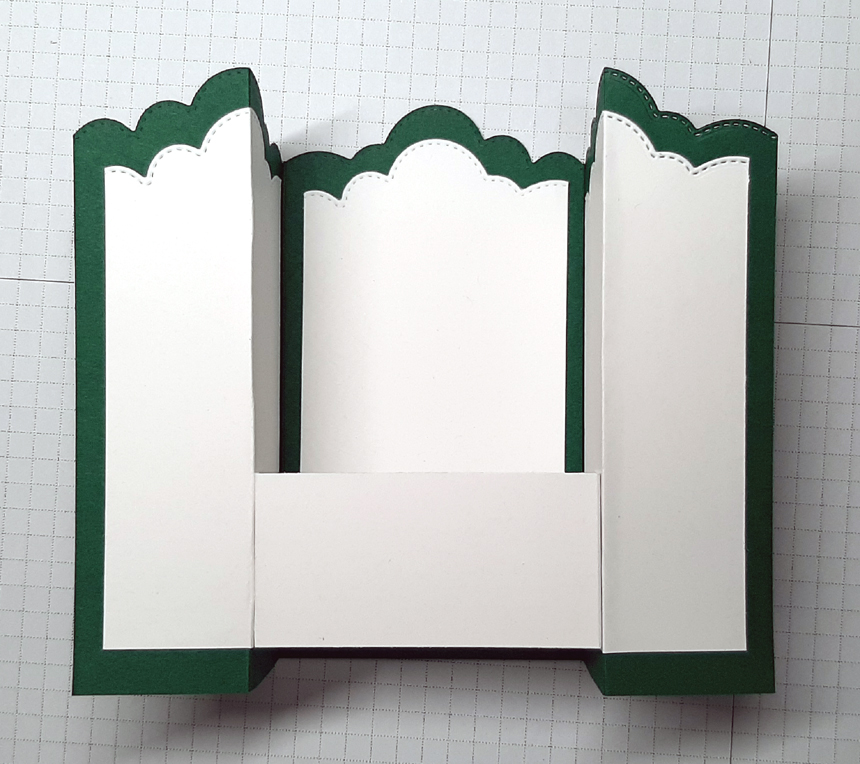
Cut a piece of white cardstock that is 4" x 1-1/2" and score 1/2" on each end.
Cut another piece of white that is 4" wide by about 2" tall and score 1/2" on each end. Then cut the top with one of the cloud dies.

Add glue to the side flaps of the straight-topped piece and adhere to the inside sides and so the bottom is flush with the bottom of the white sides as shown below.
Adhere the cloud-topped piece half-way between the front "bridge" piece and the back, but up higher, but so the bottom is hidden below the top of the front piece. (See photo in Step 9)
Die cut pieces from Classic Car (front), Woodland Pine Trees, and the Fifties Phrases #2 and assemble.

I added Snow Writer to the pine trees for a puffy snowy effect!

Adhere one tree to the center back of card with a foam strip/dot, and then glue 2 trees to the cloud-topped center piece.
Glue "You're a Classic" down the side panels.

Add foam strips to the bottom portion of the back of car and adhere to the front center piece.

How CUTE are those dice hanging from the mirror? {♥♥}
PRODUCTS I USED:


I hope you're inspired to create something fabby with your favorite CottageCutz dies!
Need more inspiration? Hop on over to our YouTube channel here!

2 comments:
This is a great card for a winter birthday Kris- my hubby’s birthday is 12-28- I am going to lift your design and make him this card (Lol) 😂😂😂
Thank you so much Mary, and Go For It!! 🥰 My hubby's is actually on Christmas Day!! And his favorite color is green so without being specifically "Christmas" I thought this would work.
Post a Comment