Tuesday, February 21, 2023

Pink Floral Card

Happy TuesDIE Cottage Cutz Friends!
Melinda here with you, on this wonderful day! It is scheduled to be pretty warm here in Florida so getting some crafty time in is a great way to send the day! For today's project, I am sharing a simple and pretty card I created with dies from the amazing new Flowers & More release from Cottage Cutz!

 All the dies in this collection are a wonderful addition to your crafty stash. Here is my projects for today.
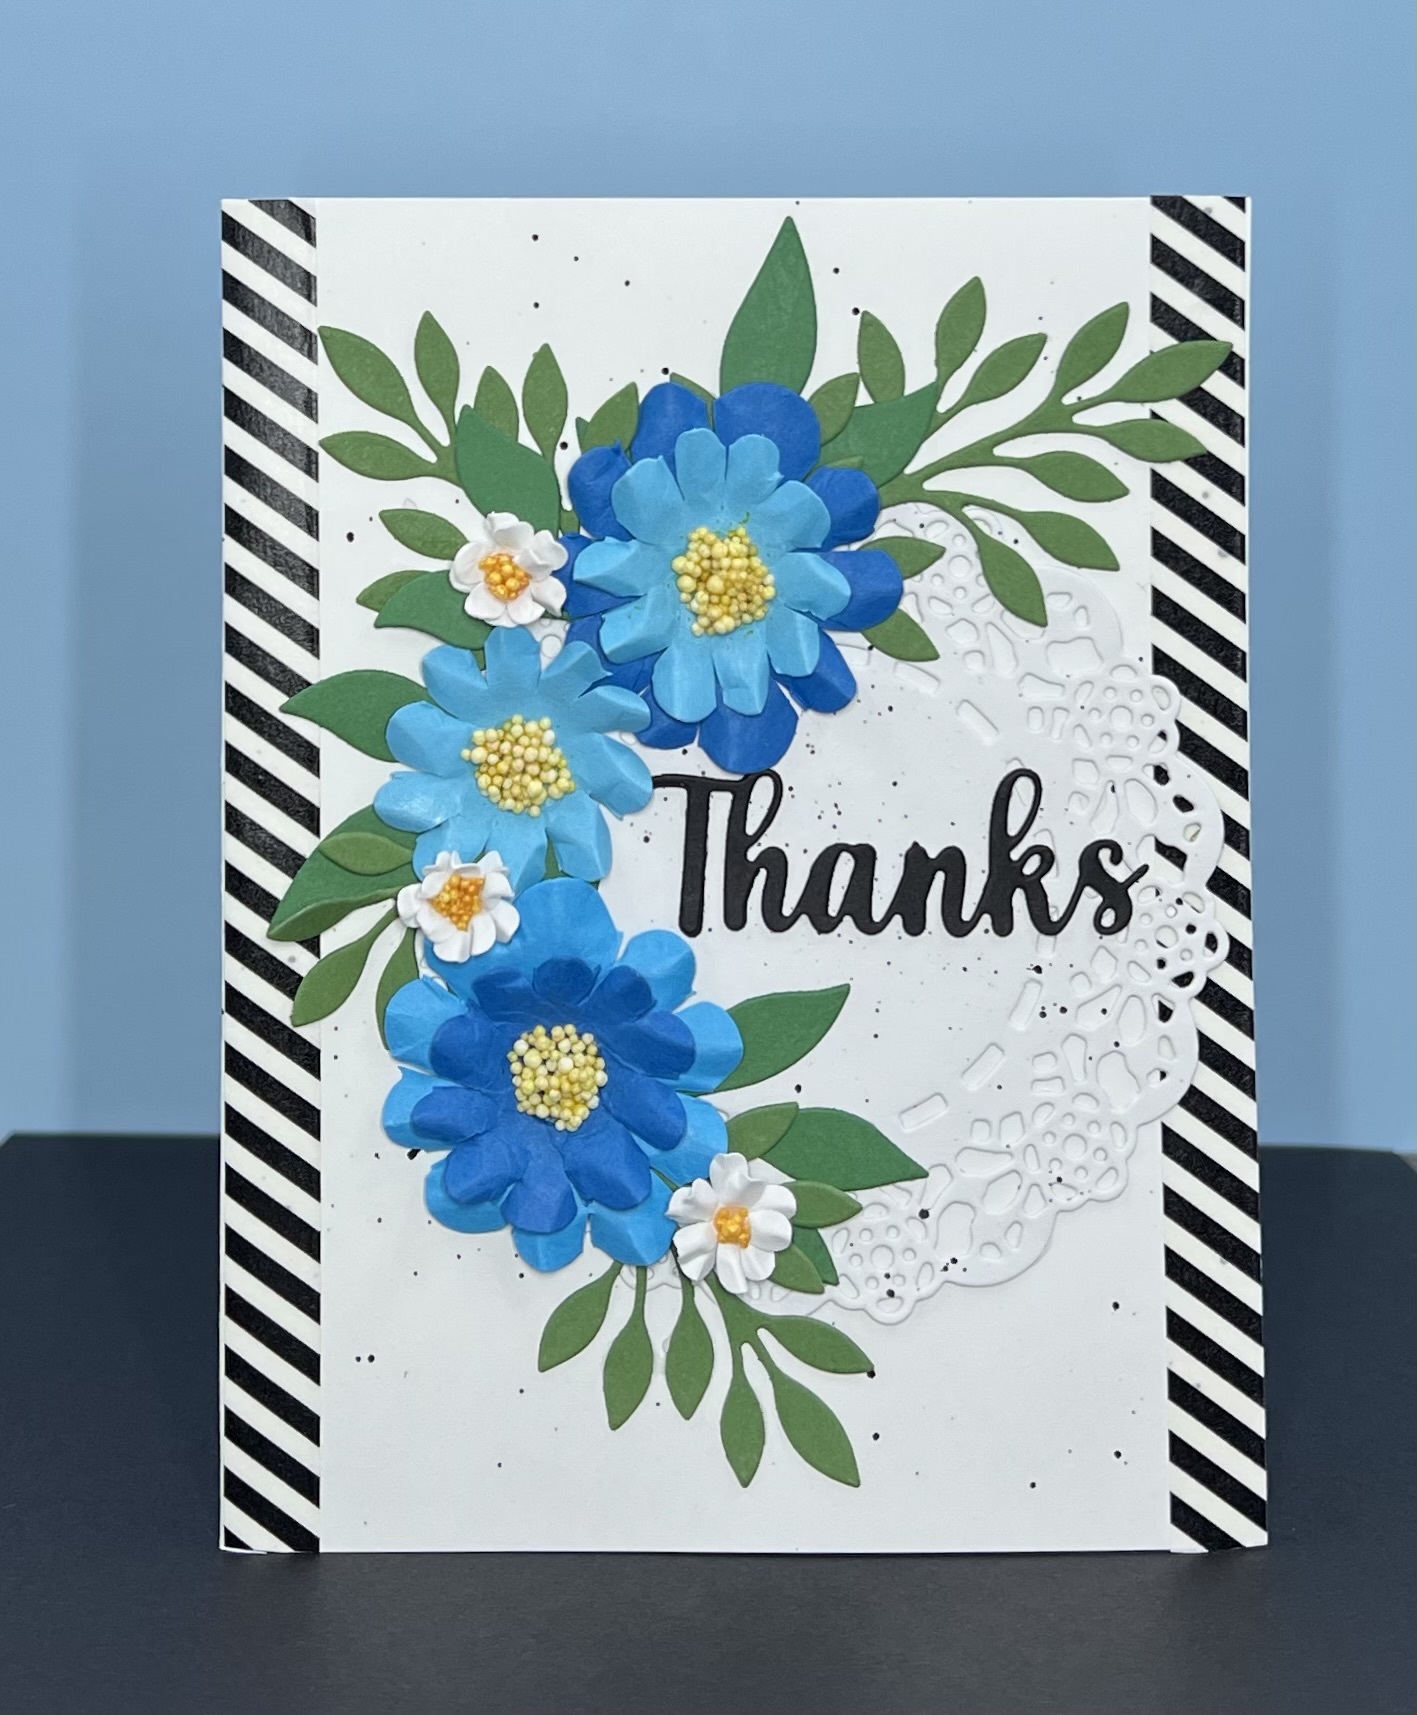
My card is an A2 top folding card. I started with a white cardstock base. I then added a mat from some patterned paper and also a mat of black cardstock. Each a 1/4" smaller than the mat.

I then cut out the pretty flower 1 die from regular white cardstock. I used my markers to color in the petals and the leaves. For this flower, I layered two layers of the flower petals together. I offset the top layer slightly and also gave the top layer a bit of curve so it would have a touch of dimension. I also layered the two smaller petals. 

You can also see that I used the double stitched oval die to cut out the patterned paper mat. I layered all of that onto a scalloped oval die cut with white cardstock. I then added some sequins for an extra decorative touch.

To finish off the card, I die cut the second smallest double stitched oval die cut from the set with white cardstock. I also cut out the Thanks die in white cardstock. I colored it in with some dark gray marker. It almost looks black but not quite. 


Here is one last look at my finished card. I think it turned out super cute! I think layering the main flower piece gives this flower some great dimension!

Flowers & More collection!
Here's a look at the entire collection of dies in this fabulous release.


Dies I Used

Flower 1


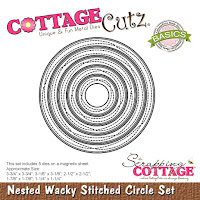
Double Stitched Oval Set


Scallop Oval Set


Don't forget to head over to the Cottage Cutz You-Tube Channel where you can see some of our amazing design team members create some beautiful projects!


Well that about covers it for today! May you have a wonderful Valentine's day and enjoy a little love in your day! Until the next time, have a wonderfully craft-die day!
Melinda Beltran


Monday, February 20, 2023

Heartfelt Sympathy

Hello and Happy President's Day crafty friends! 

Kris here sharing some inspiration with you, but first.... we have a HUGE President's Day Sale going on right now thru Friday, 24th!!  Save up to 70% OFF on selected CottageCutz dies in the store! Shop early for best assortment!


Today's card features flowers & leaves from the new Flowers & More Release -- which are still 30% off -- a great deal and these are a must-have for your all occasion stash!  All the CottageCutz products I've used on this card are pictured and linked at the end of my post.

CUTTING & SCORING:
  • Sand-colored Card Base = Cut 9-1/2" x 6" - then score the longest edge at 4-3/4"
  • Patterned Paper (Teal) = Cut 4" x 5-1/4"
DESIGN STEPS:

1.  I embossed my teal patterned paper with a Parisian 3D embossing folder, and attached to Suede card panel (4-1/4" x 5-1/2")


2.  I stamped a sentiment on my white circle, then sponged some Gathered Twigs distress ink to tone down the white.  I glued it onto the scalloped circle, then onto my card front, over to the right edge.

3.  I die cut Flower 3, Flower 5, Leafy Branches 1, 2, and 3, and the Butterfly Kayla from white cardstock and then added distress inks to color them; Gathered Twigs for branches & butterfly body.... Peacock Feathers for the blossoms and butterfly wings... Broken China for smallest blossom center.  


4.  I figured out placement of everything and glued in place, then adhered to center of my sand-colored card base. 

5.  I then spattered some metallic gold acrylic paint over my leafy branches (mostly).  I love the look this gives for a nice finishing touch.  


Here's one more look of the finished card...


COTTAGECUTZ PRODUCTS USED:


Want to watch CottageCutz designers in action? 

Follow the CottageCutz YouTube channel here.

~Kristine


Saturday, February 18, 2023

Corner Tuck Fun Fold Birthday

Hello CottageCutz friends! Thanks for taking the time to stop and visit with us today. It's Mary Marsh here bringing you the Saturday edition of the Blog.

We have a brand-new release of dies in the online store. It's our Flowers & More release. The individual dies are currently on sale for 30% off. This release has what we are calling "simple cuts". Meaning not as many pieces to put together so they assemble quickly.

We are also having a huge President's Day sale with savings from 40% to 70% on selected CottageCutz dies. Shop early before anything sells out. The sale will run through Friday, February 24th. 

For today I am showing two of the dies that is on sale. The Party Cake die is currently 50% off and the Happy Birthday w/Shadow die is 40% off.  I created a corner tuck fun fold card. It's a new to me fold that I saw Linh make on a recent YouTube video. Click here to see her card. 

Design Steps:
1. Start with cardstock measuring 4 1/4" x 11"

2. Cut cardstock to 4-1/4" x 8" Score the 8" side at 5-1/2" to create the base of the fun fold card. Leftover panel can be used for the image panel. I decided not to use this color panel on my card.
3. Cut a 2-3/8" x 4 1/8" piece of designer paper and adhere it to the front flap on the card base.  Cut a 5-3/8" x 4 1/8" piece of white card stock and adhered it to the inside of the card.
4. Cut a 2" x 2" piece of the same designer paper and cut the square in half on a diagonal. This is what you tuck the image panel into.
5. Add a bit of liquid glue to the top and right edges of patterned paper. Adhere it to the upper right corner of the white card stock piece on the inside of the card.
6. For my image panel, I cut a piece of granny apple green cardstock at 3 1/4" x 4 1/4". I used designer paper that has the granny apple green as a gradient and cut it at 3 1/8" x 4 1/8".

I cut the cake image and birthday phrase in colors that are in the designer paper.  Stamped the sentiment in chocolate chip ink.  
7. I attached the image panel to the front flap of the card base. You will be adhering the card stock directly onto the designer paper piece. I only added adhesive to the section that comes in contact with the flap of the card base. Once this panel is secured, you lift up on the right side of the card stock and tuck it under the corner piece.

To finish off the image panel, I added some "cake confetti". It's part of the Party Cake die.
Here is a photo of the card untucked from the corner.
Well, that's it for me for this post. See you next Saturday.

Reminder: Our YouTube Channel has a new video from Jen Hartsgrove. There is a giveaway for being a subscriber, liking the video and leaving a comment. Click here.

dies I used to create card:


Thursday, February 16, 2023

Thank You Flowers

Hello Friends

It is Pam sharing with you today!

IT'S NEW RELEASE TIME!  The collection is called Flowers and More.   The unique thing about this release is that there are fewer pieces in each of the dies.  So they go together really quickly and easily! 

I noticed I was getting low on Thank you cards. So I decided the flowers in this release are so pretty they would make a beautiful thank you! I used Flower 5 and Leafy Branches 12 and 3.  My inspiration for this card was one by Barbara Anders that I found on Pinterest.

Designer Steps:

1.  Using an A2 white card base splatter the card with black.  I used a watered down black acrylic paint
2.  Cut out a white doily with the Tea Time Doily then splatter it with the same black mixture as the card base


3.  Use a black striped washi tape to line each side of the card

4.   Using the following dies Leafy Branch 12, and 3 cut out the leaves in 2 different shades of green card stock.  Using the Flower 5 cut out the large and small flower in 3 shades of blue card stock.  Using the Garden Wheelbarrow cut out 6 of the small white flowers
5.  I cut a slit in the blue flowers between the petals and then cupped then with a stylus.  After I cupped them I pinched the petals to give them a little shape.  I also did this with the white flowers only on the small white flowers I glued 2 together for a little more strength
6.  For the centers I used white Prills which I dyed yellow with some distress ink

7.  Cut two Thanks in black using the Thanks Expression die.  Glue the two Thanks toghether.  Glue the doily slightly to the right of center as shown above and then glue down the Thanks as shown

8.  Arrange the blue flowers and glue dot then down.  Tuck the leaves in and around the flowers.  Then add the small white flowers and your card is complete

CottageCutz Supplies


We have more inspiration on our YouTube Channel check it out HERE

Thanks so much for stopping by!  And I will see you next Thursday.

Blessings and Take Care