Thursday, December 15, 2022

Joy to the World

Hello Scrapping Cottage Friends

It is Pam sharing with you today!

We are only a few days away from Christmas and I have another card for you today.  This one is a bit more country.  I used the Rustic Wreath and a great Christmas plaid for the design.


Design Steps:

1.  Use the Rustic Wreath die and cut out the following colors of card stock: dark brown, light brown, deep red, red, light red, pinkish red, yellow, dark green, green, light gray and dark gray.  After cutting the pieces assemble with a fine tip glue.  Dot the birds eye with a black gel pen
2.  Layer the pieces onto the wreath and adhere with a fine tip glue once you are satisfied with your design

3.  Use a kraft A2 card base, deep red 4 1/8 x 5 3/8, plaid DP 4 x 5 1/4, an embossed piece of kraft cut with a dove tail 4 1/2 x 2 1/2 (I layered the kraft piece with gold card stock which is not shown)

4.  Glue down the deep red to the kraft card base, next adhere the plaid and then add the gold and kraft dove tail piece all glued flat

5.  Glue down the wreath and then using the Joy Expression die cut it out of deep red.  Stamp your sentiment on kraft and layered it on deep red.  Glue the stamped sentiment down and then glue down the word Joy. To complete the card add a small raffia bow under the wreath

CottageCutz Products


We have more inspiration on our YouTube Channel check it out HERE

Thanks so much for stopping by!  And I will see you next Thursday.

Blessings and Take Care


Wednesday, December 14, 2022

Finding Card Inspiration


Hello, my crafty friends.  Marla here with another CottageCutz YouTube video.  Christmas is around the corner and I'm finishing up a few last-minute cards.  Often, when I am at a loss and not sure where to start, I look for card challenges.  Each month "Scrapbook Cards & Today" posts such challenges.  It was the December Challenge photo below that inspired my card today.


Not only did the color palette inspire me, but the new "Poinsettia Floral" die was the perfect jumping off point for the card design.  I've had the "Festive Elephant" on my desk begging to be used and think he adds a touch of cuteness to the card.    

If you want to learn more about this card design and would like to enter for a chance to win the "Poinsettia Floral" die, head over to the CottageCutz YouTube Channel.  

Until next time.... Marla


Tuesday, December 13, 2022

Stable Nativity Ornament And Greenery White on White Card

Happy Tuesday Cottage Cutz Friends!
Melinda here with you, and today I am sharing an elegant yet very easy Christmas themed card I created featuring the Stable Nativity Ornament and Christmas Greenery dies from this year's amazing Christmas release!
My card is a standard A4 card and the completed size measures 4.25 x 5.5. It is a side folding card with a white cardstock base.  


I started by cutting my card base and then a corresponding white mat. I ran it through my machine with a small swiss dot embossing folder to give the mat some texture. Texture plays a larger part when creating a card that is tone on tone... or in this case white on white :-).

Once I adhered the mat to the card base, I added some large glue dots towards the bottom center of the mat. See photo above.

I proceeded to cut out some of the various foliage from the Christmas Greenery die all in white. I then started placing them on the bottom of the card and used the glue dots to press them down on the end. Doing this keeps the die cuts "loose" on the other end and gives them a feel of being loose and gives them more movement. I finished by adding three little flat back pearls on the holly leaves instead of the dots themselves.

I then die cut the Stable Nativity Ornament out a couple of times and layered them together to give them some strength. I added some pop dots to the bottom to give them some lift. I then added that to the scalloped stitched square die from that set. To the top I added a small organza bow and a little pearl in the center. I then adhered all of that to the top of the card...and voila! All done! I purposely did not put a sentiment onto the front of this card. I wanted to let the dies speak!

Here is one last look at the completed card. I think this card turned out super cute!


Don't forget to head over to the CottageCutz YouTube channel and check out all of the amazing projects on there. Our video team is doing a wonderful job of filling the channel with all sorts of creative content! You don't want to miss it!

Dies I Used
Stable Nativity Ornament

Christmas Greenery


Nested Stitched Eyelet Square Set


Here's a look at the entire release. Be sure to head over and grab them while they last!

Well that about covers it for today! Until the next time, have a wonderfully craft-die day!
Melinda Beltran

Monday, December 12, 2022

Peppermint Shaker

Happy Monday Scrapping Cottage Friends!

Kris here to share a tutorial with you on this cute shaker card featuring some dies from the Christmas Release #2 and more! 


I am a Guest Designer this month for the Color Challenge  at SplitcoastStampers and the colors this week are Real Red, Old Olive and Poppy Parade (CC925).  The dessert option is to use a 4th color.  I added in some Cinnamon Spice for the gingerbread girl. 


DESIGN STEPS:

CUTTING:
Red Cardstock =  Cut a 5-1/2" x 11" - score at 5-1/2"

Gold Cardstock  = Cut a 5-3/16" square
Die cut the bow from the Halloween Wreath 
Die cut the Joy from the Peace & Joy Wreath

White Cardstock = Cut a 5" square
Die cut largest die from the Pierced Wide Circle Frame set 

Crumb Cake (or Kraft) Cardstock =

Peppermint Patterned Paper = 4-3/8" square
Acetate or Window Sheet = 4-3/8" square
Candy Cane Striped Paper = 4-3/4" square


ASSEMBLING:
• Fold and burnish red card base
• Attach gold square in center of card front
• Attach white square "
• Attach peppermint square "


• Using the 3rd largest die from the Pierced Circle Set, cut a circle from the center of your 4-3/4" square patterned paper (Candy cane striped paper).

• Add glue close to the circle opening of that patterned paper, and attach the white circle frame.

• Attach acetate/window sheet to the back of that paper.


• On the back side of your striped paper, add foam strips around the circle opening and around the straight edges, then remove the backing (from the foam strips).


• Add shaker elements to the center of your card front.  I used some of the cookies from the Cookies & Cocoa die, as well as some white and red sequins.


• Optional - use a used dryer sheet on front and back of your window sheet to reduce static and prevent sequins from "sticking" to it!  This really does work!!  :) 


• Carefully center your window layer on top of your card front so that there's equal amount of white border and press down.


• Ink blend Rusty Hinge Distress Ink to your ginger girl.

• Color her bow red, scarf and earmuffs Olive green, and buttons dark brown.  Add white gel pen polka-dots to the scarf and highlights to the bow and buttons.


• Glue "Joy" to the center of your shaker.

• Attach Ginger girl and cup of cocoa with foam dots.


Thanks so much for looking today!  
I hope you are inspired to create something fabby with your favorite CottageCutz dies! 

~Kristine 

PRODUCTS I USED:


Saturday, December 10, 2022

Baking Mice Slimline Christmas Card

Happy Saturday Cottage Cutz Friends!
Melinda here with you, and today I am sharing a cute and festive Christmas themed slimline card I created featuring the adorable Christmas Baking Mice die from this year's amazing Christmas release!
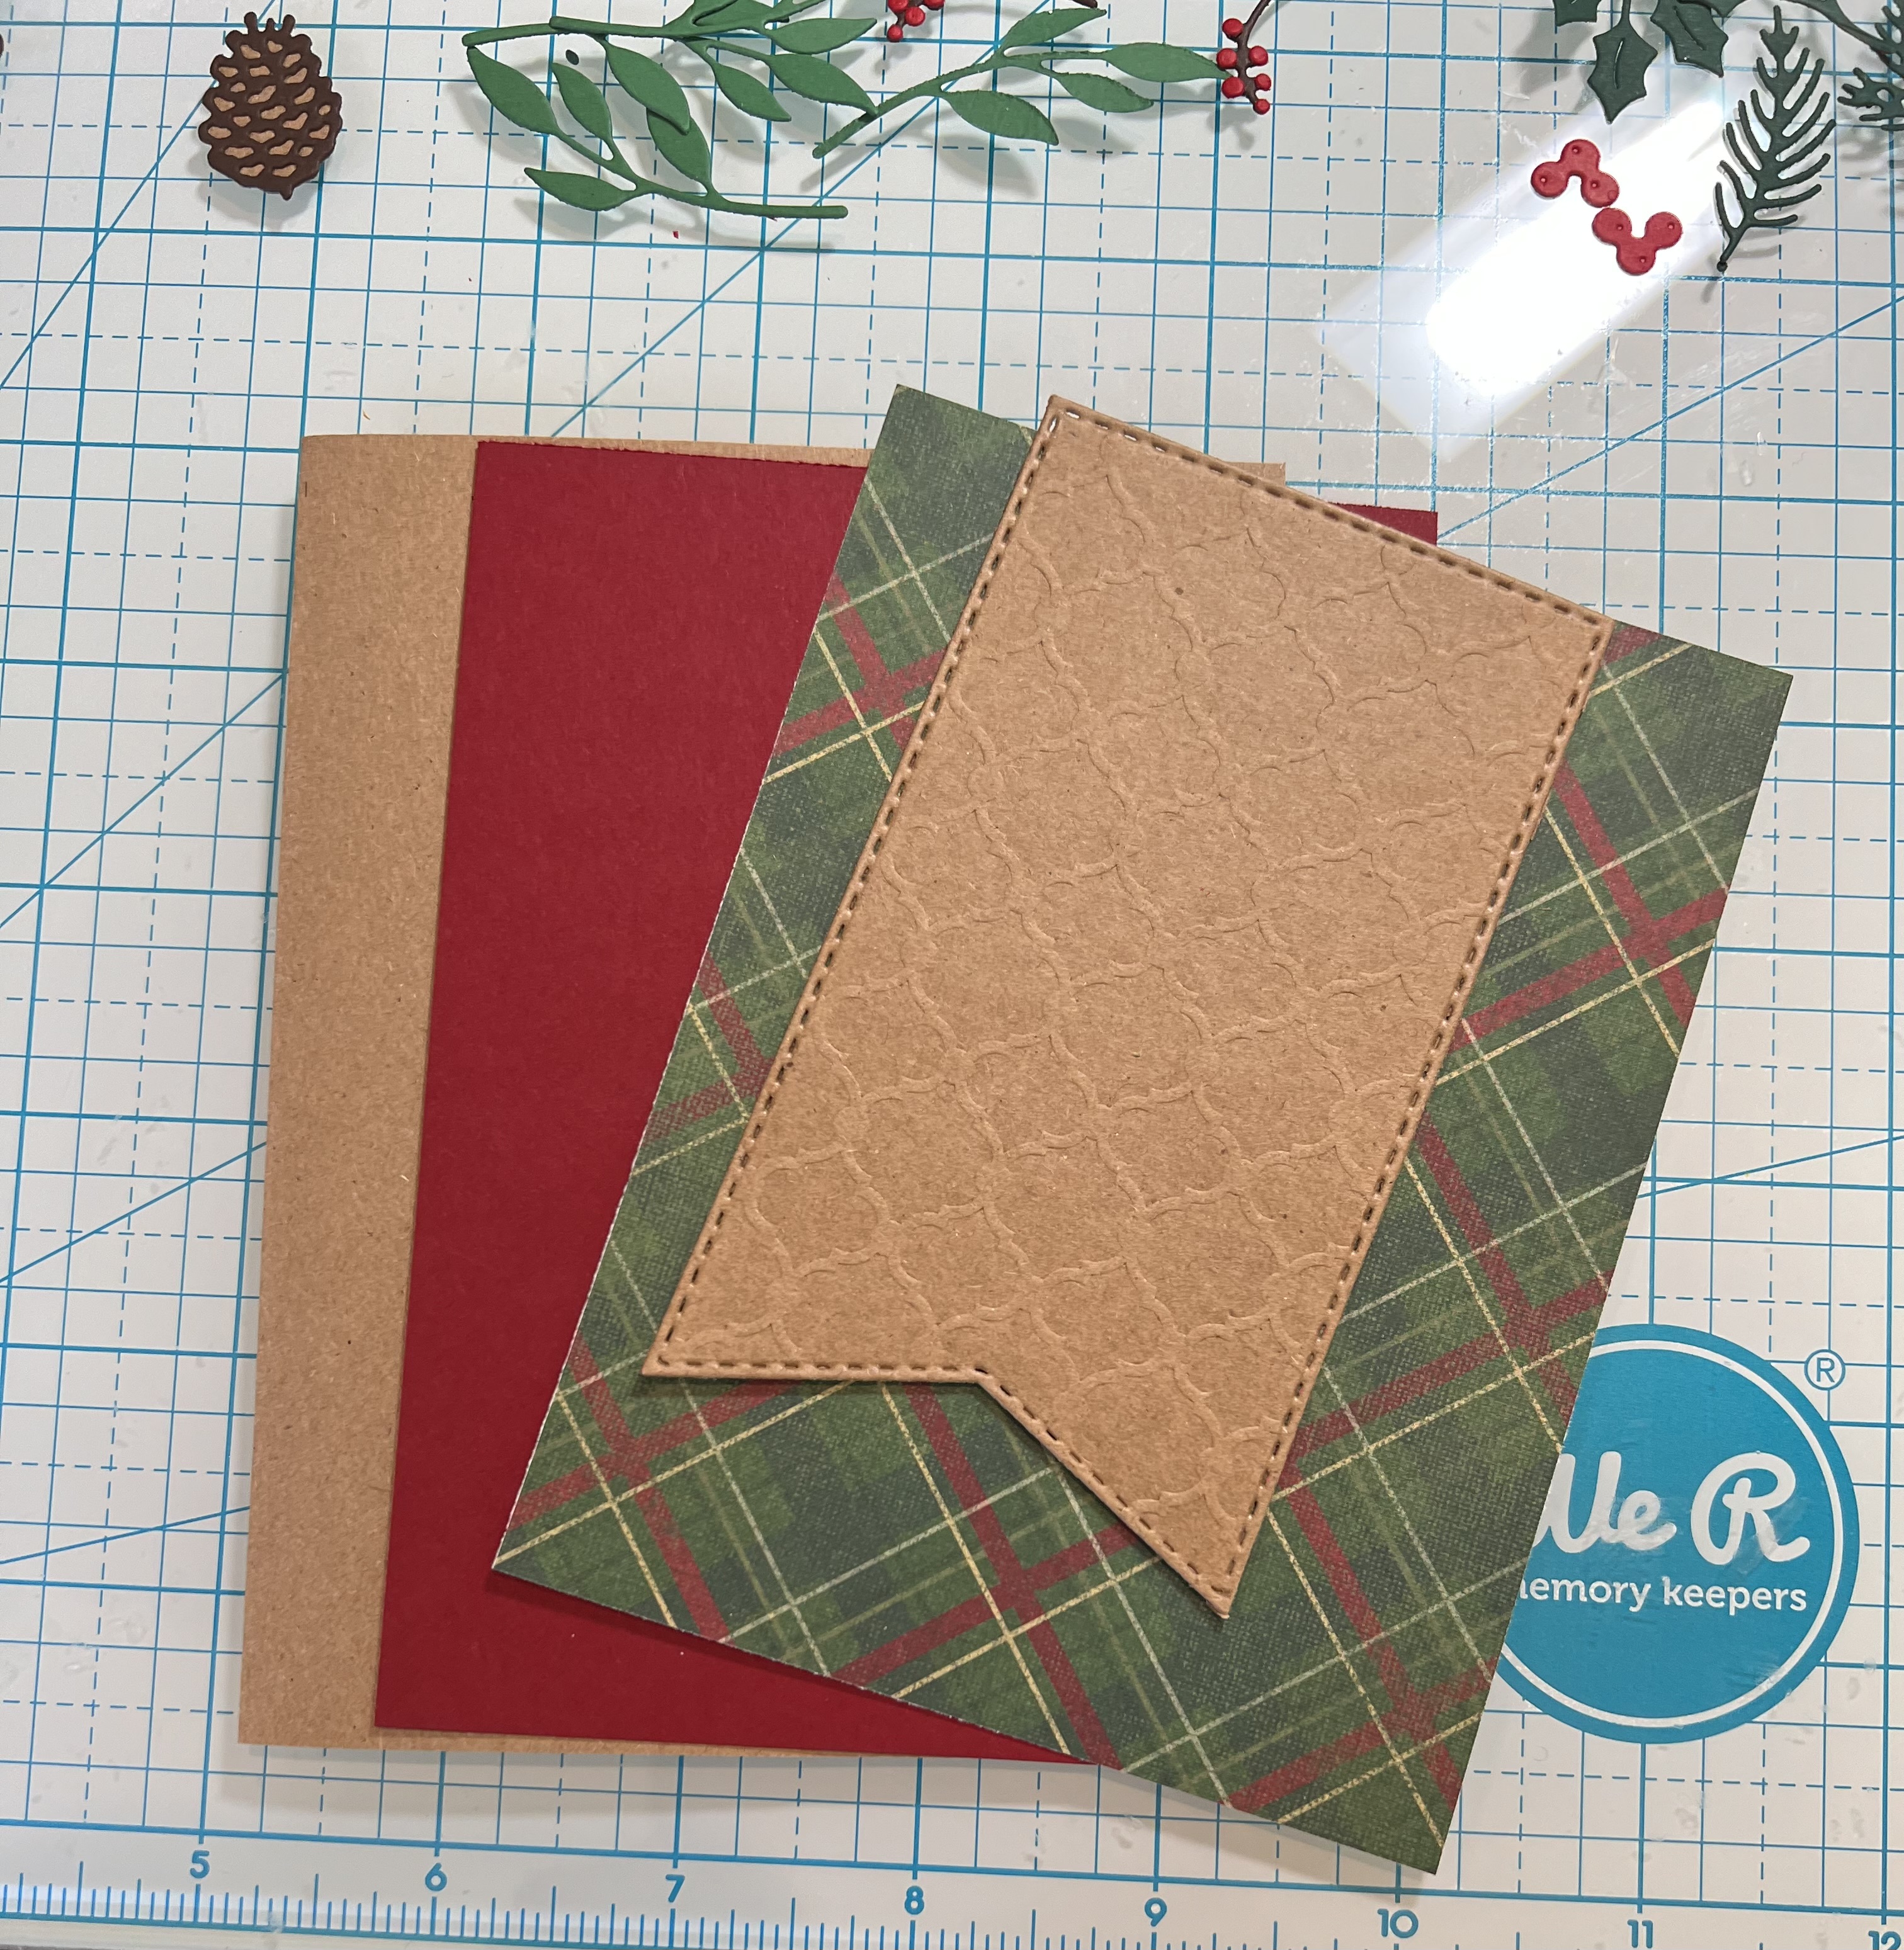
My card is a slimline card and the completed size measures 4 x 9. It is a side folding card with a white cardstock base.  


I started by die cutting all of my pieces in white cardstock. I then proceeded to color the various pieces in with my markers. I wanted to keep my little sweet baking mice close to the color of the packaging. Once all my pieces were colored, I began to assemble them.  on the lighter colored side. So I used shades of gray and light pink-peach for their ears. I used some chalks for their cheeks. I also added some stickles to the tiny chocolate chips in the batter. 
I then proceeded to cut out the largest two dies in white cardstock of the scalloped slimline die set
I then began to adhere my mice and all their little details onto my card base. I did use some pink cardstock for the main mat and also for a mat underneath.

Here is a closer look at the sweet little title. It is from the Baking Spirits Bright die set from last year. I also used some of the cookie pieces form the Sweet As a Christmas Cookie die. I colored them all with my markers. The cookies are a ginger brown and the lettering was read. I did leave the letters of the word spirits on the rolling pin white.

I layered that inner panel onto the larger scallop stitched panel. On the larger panel I added some of that diagonal Christmas plaid paper. Lastly I did add some stickles to the larger star cookie and the tree cookie.

Here is one last look at the completed card. I think this card turned out super cute!


Don't forget to head over to the CottageCutz YouTube channel and check out all of the amazing projects on there. Our video team is doing a wonderful job of filling the channel with all sorts of creative content! You don't want to miss it!

Dies I Used
Christmas Baking Mice

Scallop Stitched Rectangle Slimline Set


Baking Spirits Bright


Sweet As A Christmas Cookie


Here's a look at the entire release. Be sure to head over and grab them while they last!

Well that about covers it for today! Until the next time, have a wonderfully craft-die day!
Melinda Beltran