Thursday, May 13, 2021

Father's Day Gnome

Hello Scrapping Cottage Friends

It is Pam on the blog this fine Thursday!

Just like Mother's Day snuck up on us so will Father's Day!  I am getting a little head start with this fun little gnome just relaxing in his hammock perfect for a Father's Day card!


Design Steps:
1.  Start with a white slimline base use a cloud stencil and blue ink to create the sky
2.  Using the Grass Slimline die cut out all three designs in green card stock
3.  Glue the grass to the card base starting at the bottom only putting glue at the very bottom of the grass.  Next slip in the next layer of grass again only putting glue on the bottom of the grass.  Lastly slip the third layer of grass behind the second layer again only putting glue on the bottom of the grass.  You will add glue to the layers after you slip in the little gnome and the letters
4.  Using the Gnome Sleeping in Hammock die cut out all of the pieces in navy, brown, orange, green, kraft, white, tan and orange polka dot DP.  Shade the pieces using a variety of inks and a small applicator

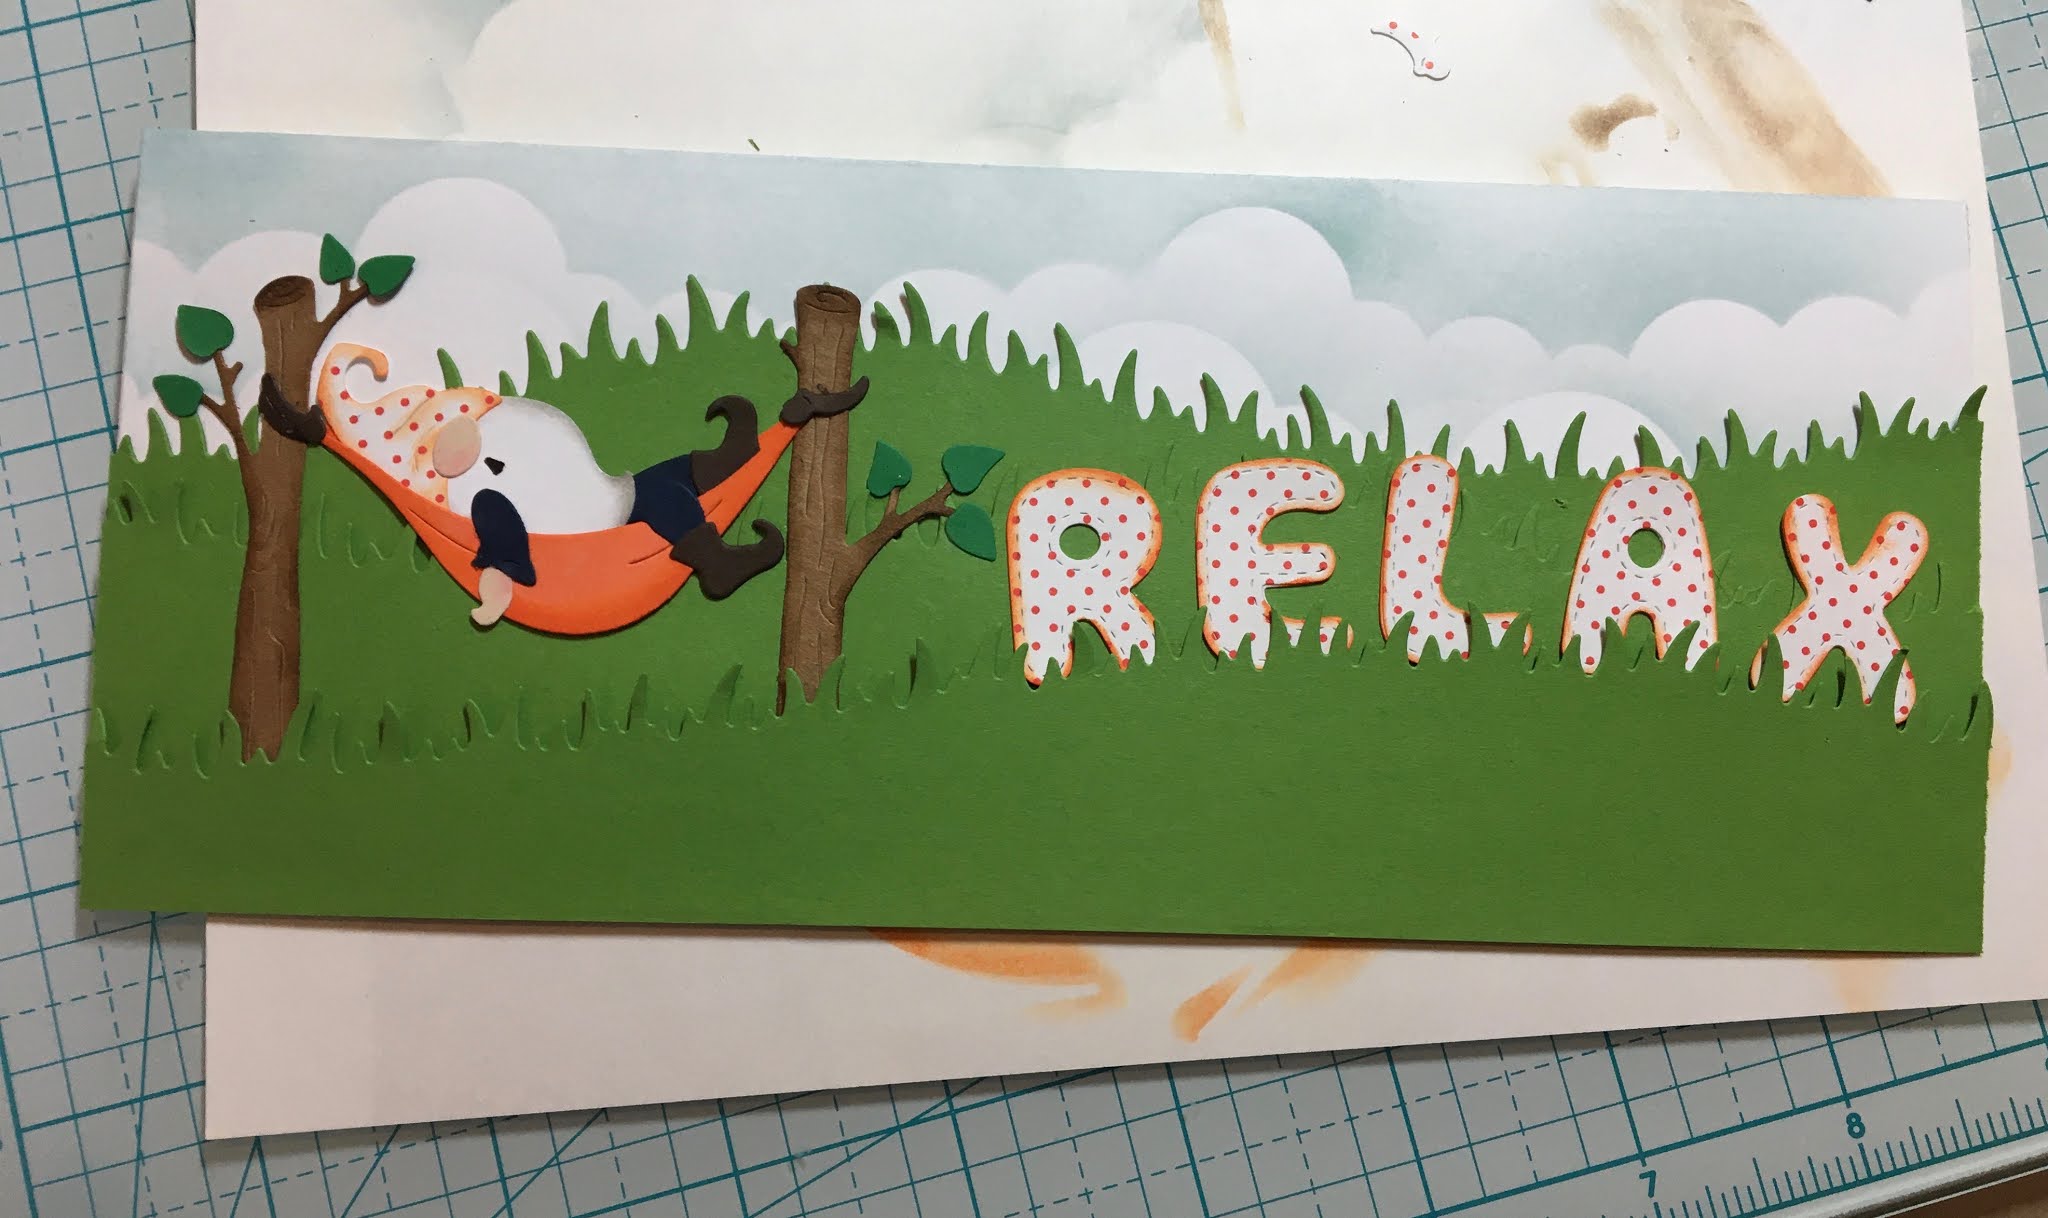
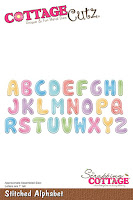
5.  Using the Stitched Alphabet die cut out the work relax in white and orange polka dot DP.  Glue the DP to the white letters and then ink the edges with orange ink.  Assemble the gnome and slip him in the grass as shown.  Next slip in the letters as shown

 
6.  The last step is to cut out 5 orange flowers using the Gnome Sleeping in a Hammock die and gluing them to the card front as shown.  I added some little orange sequin flowers on top of the cardstock flowers for a little dimension and shine

CottageCutz Products


We are so happy you have taken the time to stop by today!  We really love and appreciate it!

Take Care and Blessings
Pam


Wednesday, May 12, 2021

I Shore Love You!

Hello!  This is Sukie and today I have a project to share for my design team post.  My card features several dies from the new Slimline die release.  These dies make slimline cards so quick and simple to create!

My card base was cut with the Nested Stitched Rectangles Slimline die set.  I used a cloud stencil to create the puffy cloud background.  I left the bottom portion of my card alone since I knew it would be covered up.  I used the Hills Slimline for the sand border and the Clouds Slimline for the 2 sets of clouds.  The Sandcastle was cut with white card stock and shaded with some Oxide Inks.

The next step in my design process was to cover the bottom portion of my card base with the sandy hill.  The splattered paint adds a bit of interest to the sand.
Next, I layered the set of clouds on top portion of my card base.  The addition of the white cloud border breaks up all of the blue in the background.

The sandcastle was affixed on top of the sandy hill as the focal point of my card.  This die cut is so detailed and was perfect for finishing off the beachy scene!

The sentiment was stamped on a hand cut flag and was affixed between the sandcastle and clouds.
Here are the die sets used on my card, available in store:

Tuesday, May 11, 2021

Show Time

Hi!

It's Anja here for my Throwback Tuesday post. I have a lot of Circus dies I haven't had the opurtunity to try so I decided to use this and combined it with slimline dies. This is the final result.

For this card I used:

- Cottage Cutz dies (Circus Train Animals, Circus Signs, Lift Flaps Stitched Rectangle Slimline, Windows Slimline, Hills Slimline),

- Distress Inks,

- white card base (10x21 cm),

-patterned paper for background (9,5x21 cm) and die cuts,

- red card stock for background (8,5x21 cm),

- white card stock for die cuts,

- scissors,

- paper glue. 


First I cut and colored all three animals and the signs. Then I die cut the lift flaps from patterned paper. I also used one of the hills dies to put inside of the flap lifts for the ground. I also trimmed patterned and red card stock for the background. When I had all the pieces ready I glued it on the card base. Last I added the animals in all three windows. And my card was done.


And that's all from me for today. Have a nice week and see you again on Sunday. 

Anja Z.


Cottage Cutz dies I used:


Sunday, May 09, 2021

Love You Mom

Hi!

It's Anja here. I made a card for mom today. I used combination of new and older dies to make a card, full of spring flowers. 


For this card I used:

- Cottage Cutz dies (Spring Flowers in Pot, Love You Mom Phrase, Rounded Rectangles Slimline),

- Distress Inks,

- white card base (10x23 cm),

- water spritzer,

-scissors,

- heat gun,

- adhesive foam pads,

- paper glue. 


First I cut and colored all the little pieces for the flowers. I cut the vase three times to give it a bit more dimension. 

Next I cut and colored the sentiment.

Then I started on the background. I used the smooching technique. When the paper was dry I colored around the edges with green ink.

I used all the left flowers to decorate the inside. First I cut the rectangle and colored it around the edges. Then I glued the flowers and greenery around the edges. I used the scissors to cut the parts that overlapped the edge of the paper.

I arranged all the parts together. I adhered the bouquet with the adhesive foam pads. And my card was done.


And that's all form me for today. Have a nice Sunday and see you again on Tuesday for my next post. 

Anja Z.


Cottage Cutz dies I used:


Saturday, May 08, 2021

Hello There Kitty

Hello Cottage Cutz fans!  It's Jeanne with the Saturday edition of the blog.  I am loving the new Slimline dies - they make creating slimline cards a breeze.  For my card today, I used the Nested Stitched Rectangles, the Hills Slimline along with the Cat in Spring Window die to create a bright all occasion card.

I love slimline cards, but I have a lot of patterned paper that is only 6 x 6 inches - way to short to cover the card!  And I'd love to use my embossing folders but they don't cover the whole card either.  So today, I have design tips that will allow you to use both of these from your stash!

I started by cutting and assembling the adorable Cat in Spring Window.  (You may have noticed I usually make a gray kitty - this is because we had one for years! So Andreya shows up on many of my cards.)

Using the largest Stitched Rectangle I cut a rectangle from white cardstock and a partial rectangle from the 6 x 6 inch patterned paper. 

Using an embossing folder I embossed as much of the white panel as possible.

I placed the lavender panel over the white panel along with my sentiment and window so I could decide where I would place the Hills die to cut my curve.

After it was cut I glued it to the white panel covering the plain side. Then added my phrase and window.  I used foam dots for the window box to give some dimension.

I love the stitching on the Stitched Rectangles and Hills dies. They give a cohesive and polished look when combining panels on a card.  The stitching goes all the way around the card and the added panel has a nice finished look to the curved edge. Any of the Hills dies will work for this giving a variety of looks!

Be sure to visit the online store where the new Slimline release is on sale for a limited time!

Dies used:


I hope you enjoyed my card today!  Have a wonderful weekend!