Wednesday, May 12, 2021

I Shore Love You!

Hello!  This is Sukie and today I have a project to share for my design team post.  My card features several dies from the new Slimline die release.  These dies make slimline cards so quick and simple to create!

My card base was cut with the Nested Stitched Rectangles Slimline die set.  I used a cloud stencil to create the puffy cloud background.  I left the bottom portion of my card alone since I knew it would be covered up.  I used the Hills Slimline for the sand border and the Clouds Slimline for the 2 sets of clouds.  The Sandcastle was cut with white card stock and shaded with some Oxide Inks.

The next step in my design process was to cover the bottom portion of my card base with the sandy hill.  The splattered paint adds a bit of interest to the sand.
Next, I layered the set of clouds on top portion of my card base.  The addition of the white cloud border breaks up all of the blue in the background.

The sandcastle was affixed on top of the sandy hill as the focal point of my card.  This die cut is so detailed and was perfect for finishing off the beachy scene!

The sentiment was stamped on a hand cut flag and was affixed between the sandcastle and clouds.
Here are the die sets used on my card, available in store:

Tuesday, May 11, 2021

Show Time

Hi!

It's Anja here for my Throwback Tuesday post. I have a lot of Circus dies I haven't had the opurtunity to try so I decided to use this and combined it with slimline dies. This is the final result.

For this card I used:

- Cottage Cutz dies (Circus Train Animals, Circus Signs, Lift Flaps Stitched Rectangle Slimline, Windows Slimline, Hills Slimline),

- Distress Inks,

- white card base (10x21 cm),

-patterned paper for background (9,5x21 cm) and die cuts,

- red card stock for background (8,5x21 cm),

- white card stock for die cuts,

- scissors,

- paper glue. 


First I cut and colored all three animals and the signs. Then I die cut the lift flaps from patterned paper. I also used one of the hills dies to put inside of the flap lifts for the ground. I also trimmed patterned and red card stock for the background. When I had all the pieces ready I glued it on the card base. Last I added the animals in all three windows. And my card was done.


And that's all from me for today. Have a nice week and see you again on Sunday. 

Anja Z.


Cottage Cutz dies I used:


Sunday, May 09, 2021

Love You Mom

Hi!

It's Anja here. I made a card for mom today. I used combination of new and older dies to make a card, full of spring flowers. 


For this card I used:

- Cottage Cutz dies (Spring Flowers in Pot, Love You Mom Phrase, Rounded Rectangles Slimline),

- Distress Inks,

- white card base (10x23 cm),

- water spritzer,

-scissors,

- heat gun,

- adhesive foam pads,

- paper glue. 


First I cut and colored all the little pieces for the flowers. I cut the vase three times to give it a bit more dimension. 

Next I cut and colored the sentiment.

Then I started on the background. I used the smooching technique. When the paper was dry I colored around the edges with green ink.

I used all the left flowers to decorate the inside. First I cut the rectangle and colored it around the edges. Then I glued the flowers and greenery around the edges. I used the scissors to cut the parts that overlapped the edge of the paper.

I arranged all the parts together. I adhered the bouquet with the adhesive foam pads. And my card was done.


And that's all form me for today. Have a nice Sunday and see you again on Tuesday for my next post. 

Anja Z.


Cottage Cutz dies I used:


Saturday, May 08, 2021

Hello There Kitty

Hello Cottage Cutz fans!  It's Jeanne with the Saturday edition of the blog.  I am loving the new Slimline dies - they make creating slimline cards a breeze.  For my card today, I used the Nested Stitched Rectangles, the Hills Slimline along with the Cat in Spring Window die to create a bright all occasion card.

I love slimline cards, but I have a lot of patterned paper that is only 6 x 6 inches - way to short to cover the card!  And I'd love to use my embossing folders but they don't cover the whole card either.  So today, I have design tips that will allow you to use both of these from your stash!

I started by cutting and assembling the adorable Cat in Spring Window.  (You may have noticed I usually make a gray kitty - this is because we had one for years! So Andreya shows up on many of my cards.)

Using the largest Stitched Rectangle I cut a rectangle from white cardstock and a partial rectangle from the 6 x 6 inch patterned paper. 

Using an embossing folder I embossed as much of the white panel as possible.

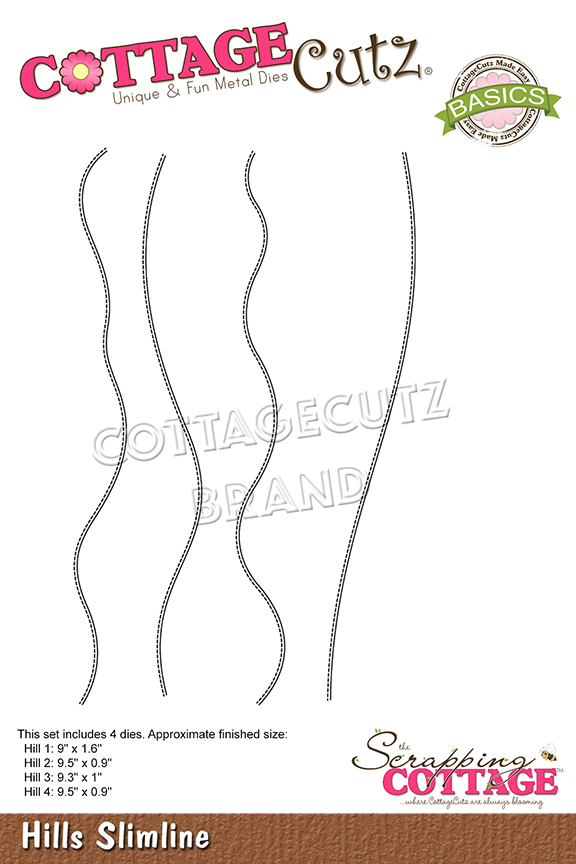
I placed the lavender panel over the white panel along with my sentiment and window so I could decide where I would place the Hills die to cut my curve.

After it was cut I glued it to the white panel covering the plain side. Then added my phrase and window.  I used foam dots for the window box to give some dimension.

I love the stitching on the Stitched Rectangles and Hills dies. They give a cohesive and polished look when combining panels on a card.  The stitching goes all the way around the card and the added panel has a nice finished look to the curved edge. Any of the Hills dies will work for this giving a variety of looks!

Be sure to visit the online store where the new Slimline release is on sale for a limited time!

Dies used:


I hope you enjoyed my card today!  Have a wonderful weekend!


Friday, May 07, 2021

Birthday Hugs & Kisses

Hello Scrapping Cottage friends! Thanks for taking the time to stop and visit with us today. It's Mary Marsh here bringing you the Friday edition of the Blog.

We have a brand new release of dies in the online store. Your slimline cardmaking is going to get a lot easier. We have 9 Slimline designs and they are on a 25% off sale. These are wonderful, basic dies that should be a part of every card maker's collection especially if you are liking the new slimline style.

Today for your viewing pleasuring, I am using the Window Slimline, Balancing Elephant and Clown with Balloons  dies and I created a 1st birthday card for my great niece. So let's get started with some details on how I created my card.

Design Steps:

Since I knew I would be using the Window Slimline die, I looked for images that would work in the window openings. I also wanted something for a one year old girl. I selected the elephant and monkey. I thought these ones could be made girly by using shades of pink cardstock on their hats, clothes and accessories.  
Next, I cut the window slimline with a magenta shade of cardstock. 
I cut a white card base 8" x 6" and scored at the 3" mark. The window frame is attached to the base with double sided tape. 
Stamped the birthday sentiment in magenta ink. It's a one line stamp but with the help of my MISTI, I masked off and stamped it on a second line. 
I cut the window slimline a second time in a heart designer paper. I used the die inlay technique and secured these back in the window frame. Left the middle window white because that's the sentiment panel. I didn't want the heart background to interfere with the sentiment. 
Secured the elephant and monkey with dimensional adhesive. On the sentiment panel I attached the balloons with glue dots. I cut a small bow from an older die - the Elegant Champagne Glass die. The number 1 candle is also an older die- number candles.

And that completes my card for this week. I hope I have given you another way to use your Circus + Slimline dies. See you next Saturday.

dies I used to create card: