Wednesday, September 23, 2020

Happy Halloween

Hello!  This is Sukie and today I'm switching it up to share a Halloween card.  There are so many new holiday dies in the store which are sure to fit any creative style!  I'm showcasing several of them on this slimline card!

I cut out the adorable warlock gnomes with the cauldron, pumpkin and cat from card stock.  I used patterned card stock for their outfits.  All of the accessories are from the Spooky Camper die set.  
The 4x9 card panel was blended with Oxide Inks and splattered with water.  The color combination reminded me of candy corn which is perfect for Halloween.  I hand cut a grass border and adhered it along the bottom of my card.  The card panel was then lightly splattered with a bit of ink.
The warlock gnomes were placed on the grassy hill with their accessories.  The detailed die cuts are just amazing.
The final gnome was placed on the other end of my card.  The scary black cat is creeping along the bottom edge of my card as the ghost floats above.
No Halloween scene can be complete without a couple of sweet pumpkins.  The twin pumpkins filled in the empty space between the gnomes with another ghost above.
A simple Happy Halloween sentiment was stamped on a hand cut flag.  The font on the sentiment adds to this spooky card.  A few of the tiny bats were added as a finishing touch.
Here are the die sets used on my card, available in the store:

Monday, September 21, 2020

O Holy Night

Hi Scrapping Cottage Friend

It Pam sharing with you this fine Monday morning.

I am using a gorgeous die today and it reminds me of the songs O Holy Night and Silent Night.  I have already made at least a dozen Christmas cards so I feel pretty good.  I usually make about 30 cards for special friends and family.  

Background Photo by Jerry Larry on Unsplash

  • This card went together really quickly.  I used a black A2 card base and then cut some music DP 4 x 5 1/4. Glue the music DP to the black card base.  
  • Cut a strip of black card stock 5 1/4 x 1 and glue it to the bottom of the card.  
  • Cut a piece of tan DP for the hills 5 1/4 x 3 and glue it to the music DP just above the black strip.   
  • Cut black card stock using the die Nativity Christmas Scene.  I decided to add just a touch of sparkle so I put some gold DP behind the star and and then glued the manger scene to the card.  
  • For the sentiment I used the Holy Nativity die cut out of black card stock.  As you can see I cut the O Holy Night from the bottom of the die then added gold DP to the back of the sentiment and glued it to the card
  • For the inside of the card I used another die Night in Bethlehem.  I cut it using black card stock and then glued it to the bottom of the inside of the card.  Stamp your sentiment and the card is complete

CottageCutz Products


Thanks so much for stopping by today and please take the time to stop by the online store.   As you can see we have some wonderful dies for this most holy time of year.
Blessings
Pam


Sunday, September 20, 2020

You Are Sweet

Hi!

It's Anja here. I have another summer inspired card for you today. 

For this card I used:

- Cottage Cutz dies (Tropical Fruit, Aloha & Ukulele, Nested Wacky Stitched Square Set),

- Distress Inks,

- craft card base (15x15 cm),

- watercolor paper for background (13x13 cm),

- white card stock for die cuts,

- sentiment stamp,

- black pigment ink,

- acrylic block,

- water spritzer,

- heat gun,

- paper glue. 


First I cut and colored the ukulele and the cocktail.

Next I did the fruit.

Then I started on the background. I smooched the paper on the glass surface. Prior to that I tapped two shades of Distress Ink and spritzed it with water. I dried the paper with the heat gun.

Then I cut a square out of the paper. I used the biggest square die from the set. I glued the square frame on the card base. And then I added the sentiment.

When I added all the other cut and colored pieces my card was done.


That's all from me for today. Have a nice Sunday and see you again next week.

Anja Z.


Cottage Cutz dies I used:


Saturday, September 19, 2020

Trick or Treat Frankie


Hello Scrapping Cottage friends! Thanks for taking the time to stop and visit with us today. It's Mary Marsh here bringing you the Saturday edition of the Blog.

We have three brand new releases in the online store. It's Christmas Part 1 (22 new designs), Christmas Part 2 (21 new designs) and a Halloween release (14 new designs). They are all currently on sale and you can save anywhere from 25% to 60%.

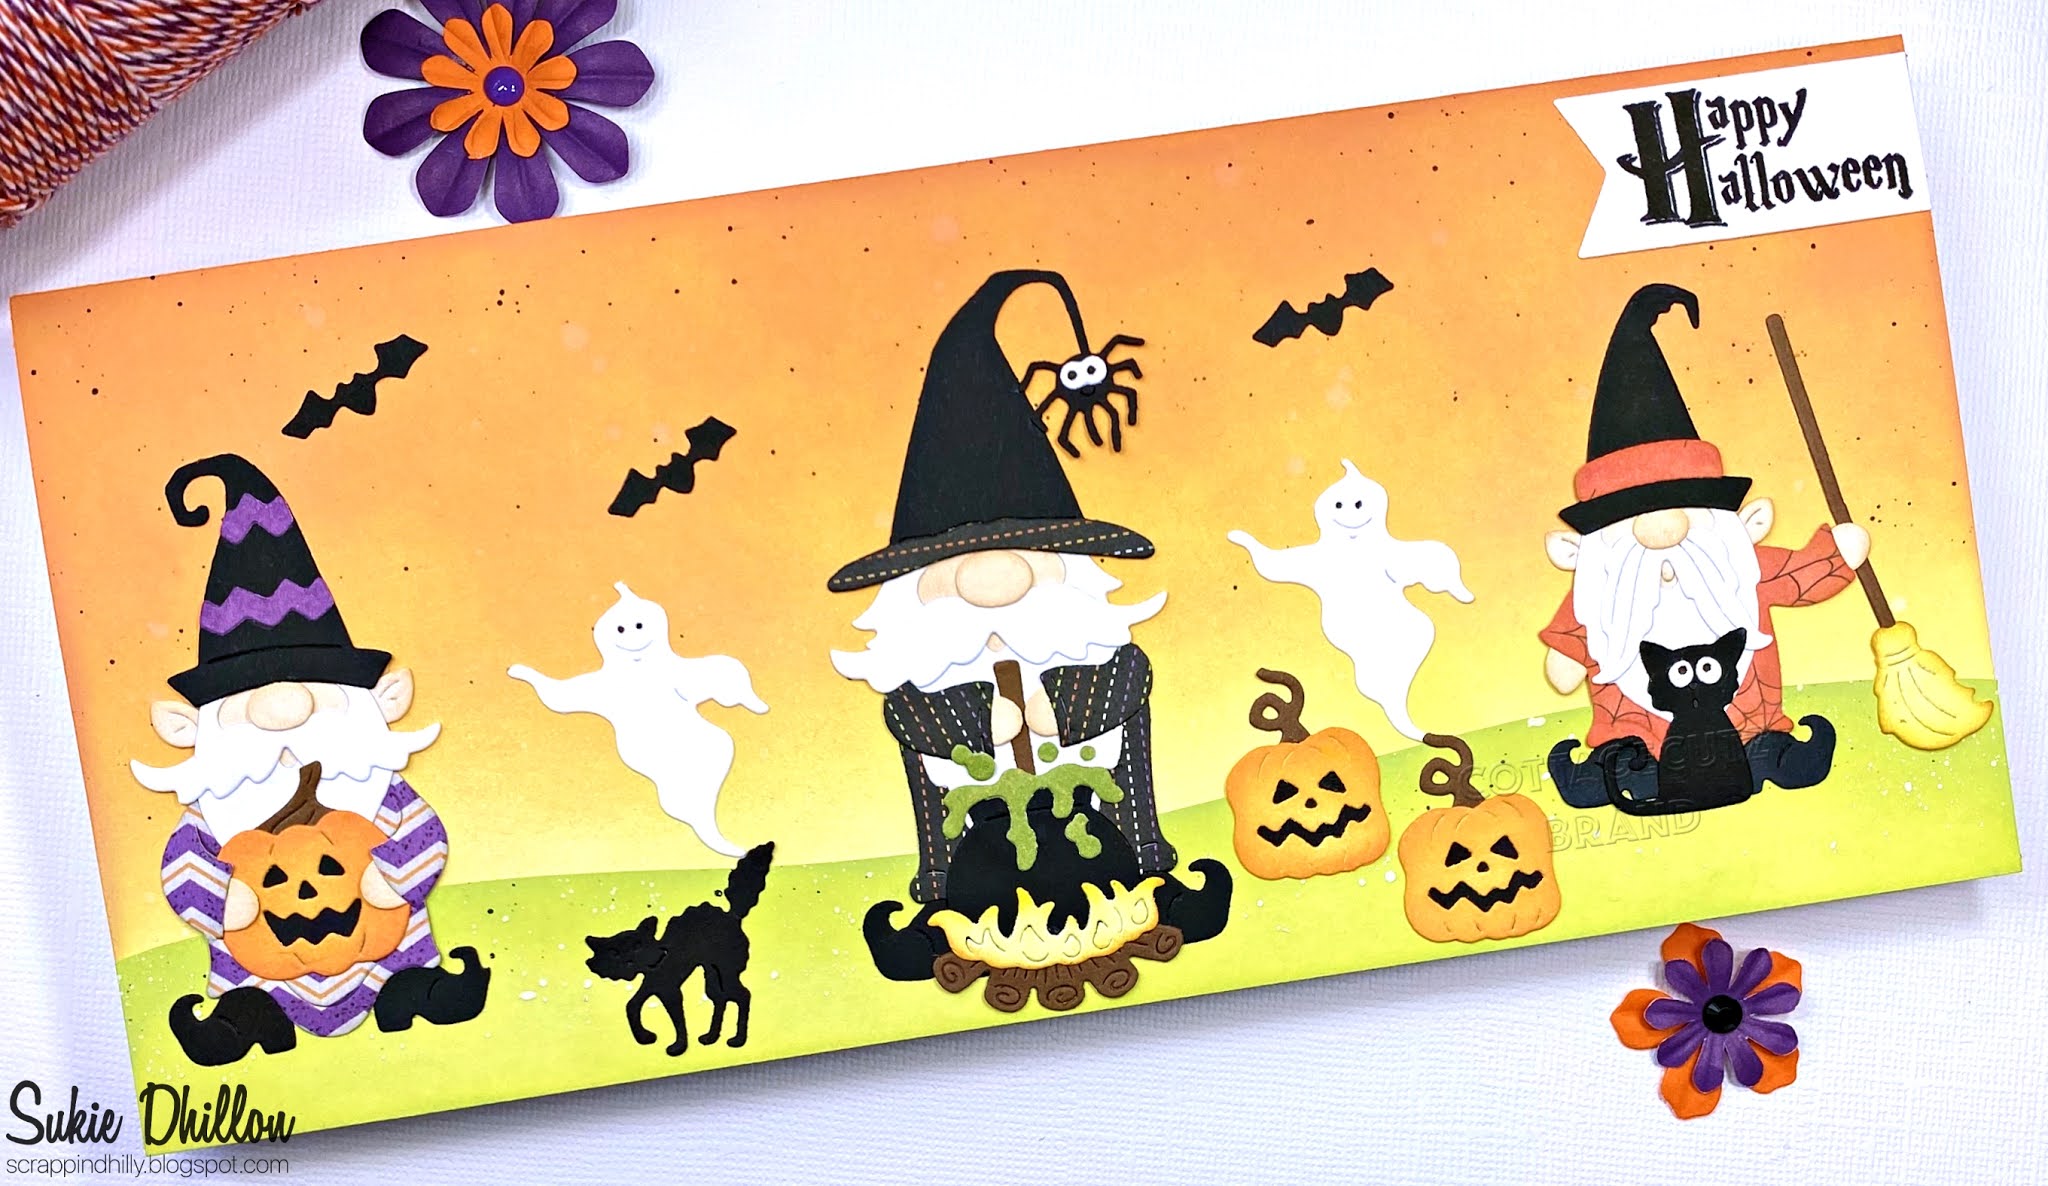
Today, I am here with a card from the Halloween release. Many of you create cards for Halloween and are looking for ideas to use these new dies. So, I am featuring the new Trick or Treat Frankie die. I thought he was just too cute with his trick or treat bag and the big balloon. So let's get started with some details on how I created my card.

Design Steps:

Since I knew I was going to use this die, I wanted a different color combination for his outfit. Although the packaging colors look great and you could certainly stick with those. I used the colors from this week's Splitcoaststampers color challenge #809. We were to use pumpkin pie, garden green and cherry cobbler for the color trio.
cherry cobbler, pumpkin pie, garden green

I cut the Frankie image in the challenge colors with cardstock. Again you could use white cardstock and color with your favorite coloring medium. I just like using cardstock. 
I wanted  to use a fun fold for this card to show Frankie off. I decided on this one that's called a double triangle fold. I found a tutorial on Pinterest and I will show you how I created this easy and fun fold. 

For this tutorial I am showing a mustard cardstock. But, I actually used  black cardstock measuring 8 1/2" x 11". I scored it at 5 1/2"  
 and then turned it and scored it at 4 1/4".

Once the scoring is done, You place the paper in your paper cutter. Mine didn't fit in the cutter I have, so I used a craft knife (x-acto) to cut it on the diagonal. You end up with 2 card bases.

Here is what my black bases look like after I folded them on the score lines. You can use them for a horizontal or vertical fold. For my sample I chose the vertical fold because my designer paper had writing on it. 
Next, I selected two different patterns of Halloween themed designer paper. The paper measures 5 1/4" x 4".
I cut them both on a diagonal. 
Now I am ready to start card assembly. I first attached the designer paper to the card base using double sided tape.
 

Next, I am ready to build my image panel. I used the 2nd largest wacky stitched circle and also the 3rd largest circle dies. Frankie is secured with dimensional adhesive. 
 
To finish off the card front, I attached the image panel to the card base. I just used double sided tape on the left side so it wouldn't interfere with the card opening.

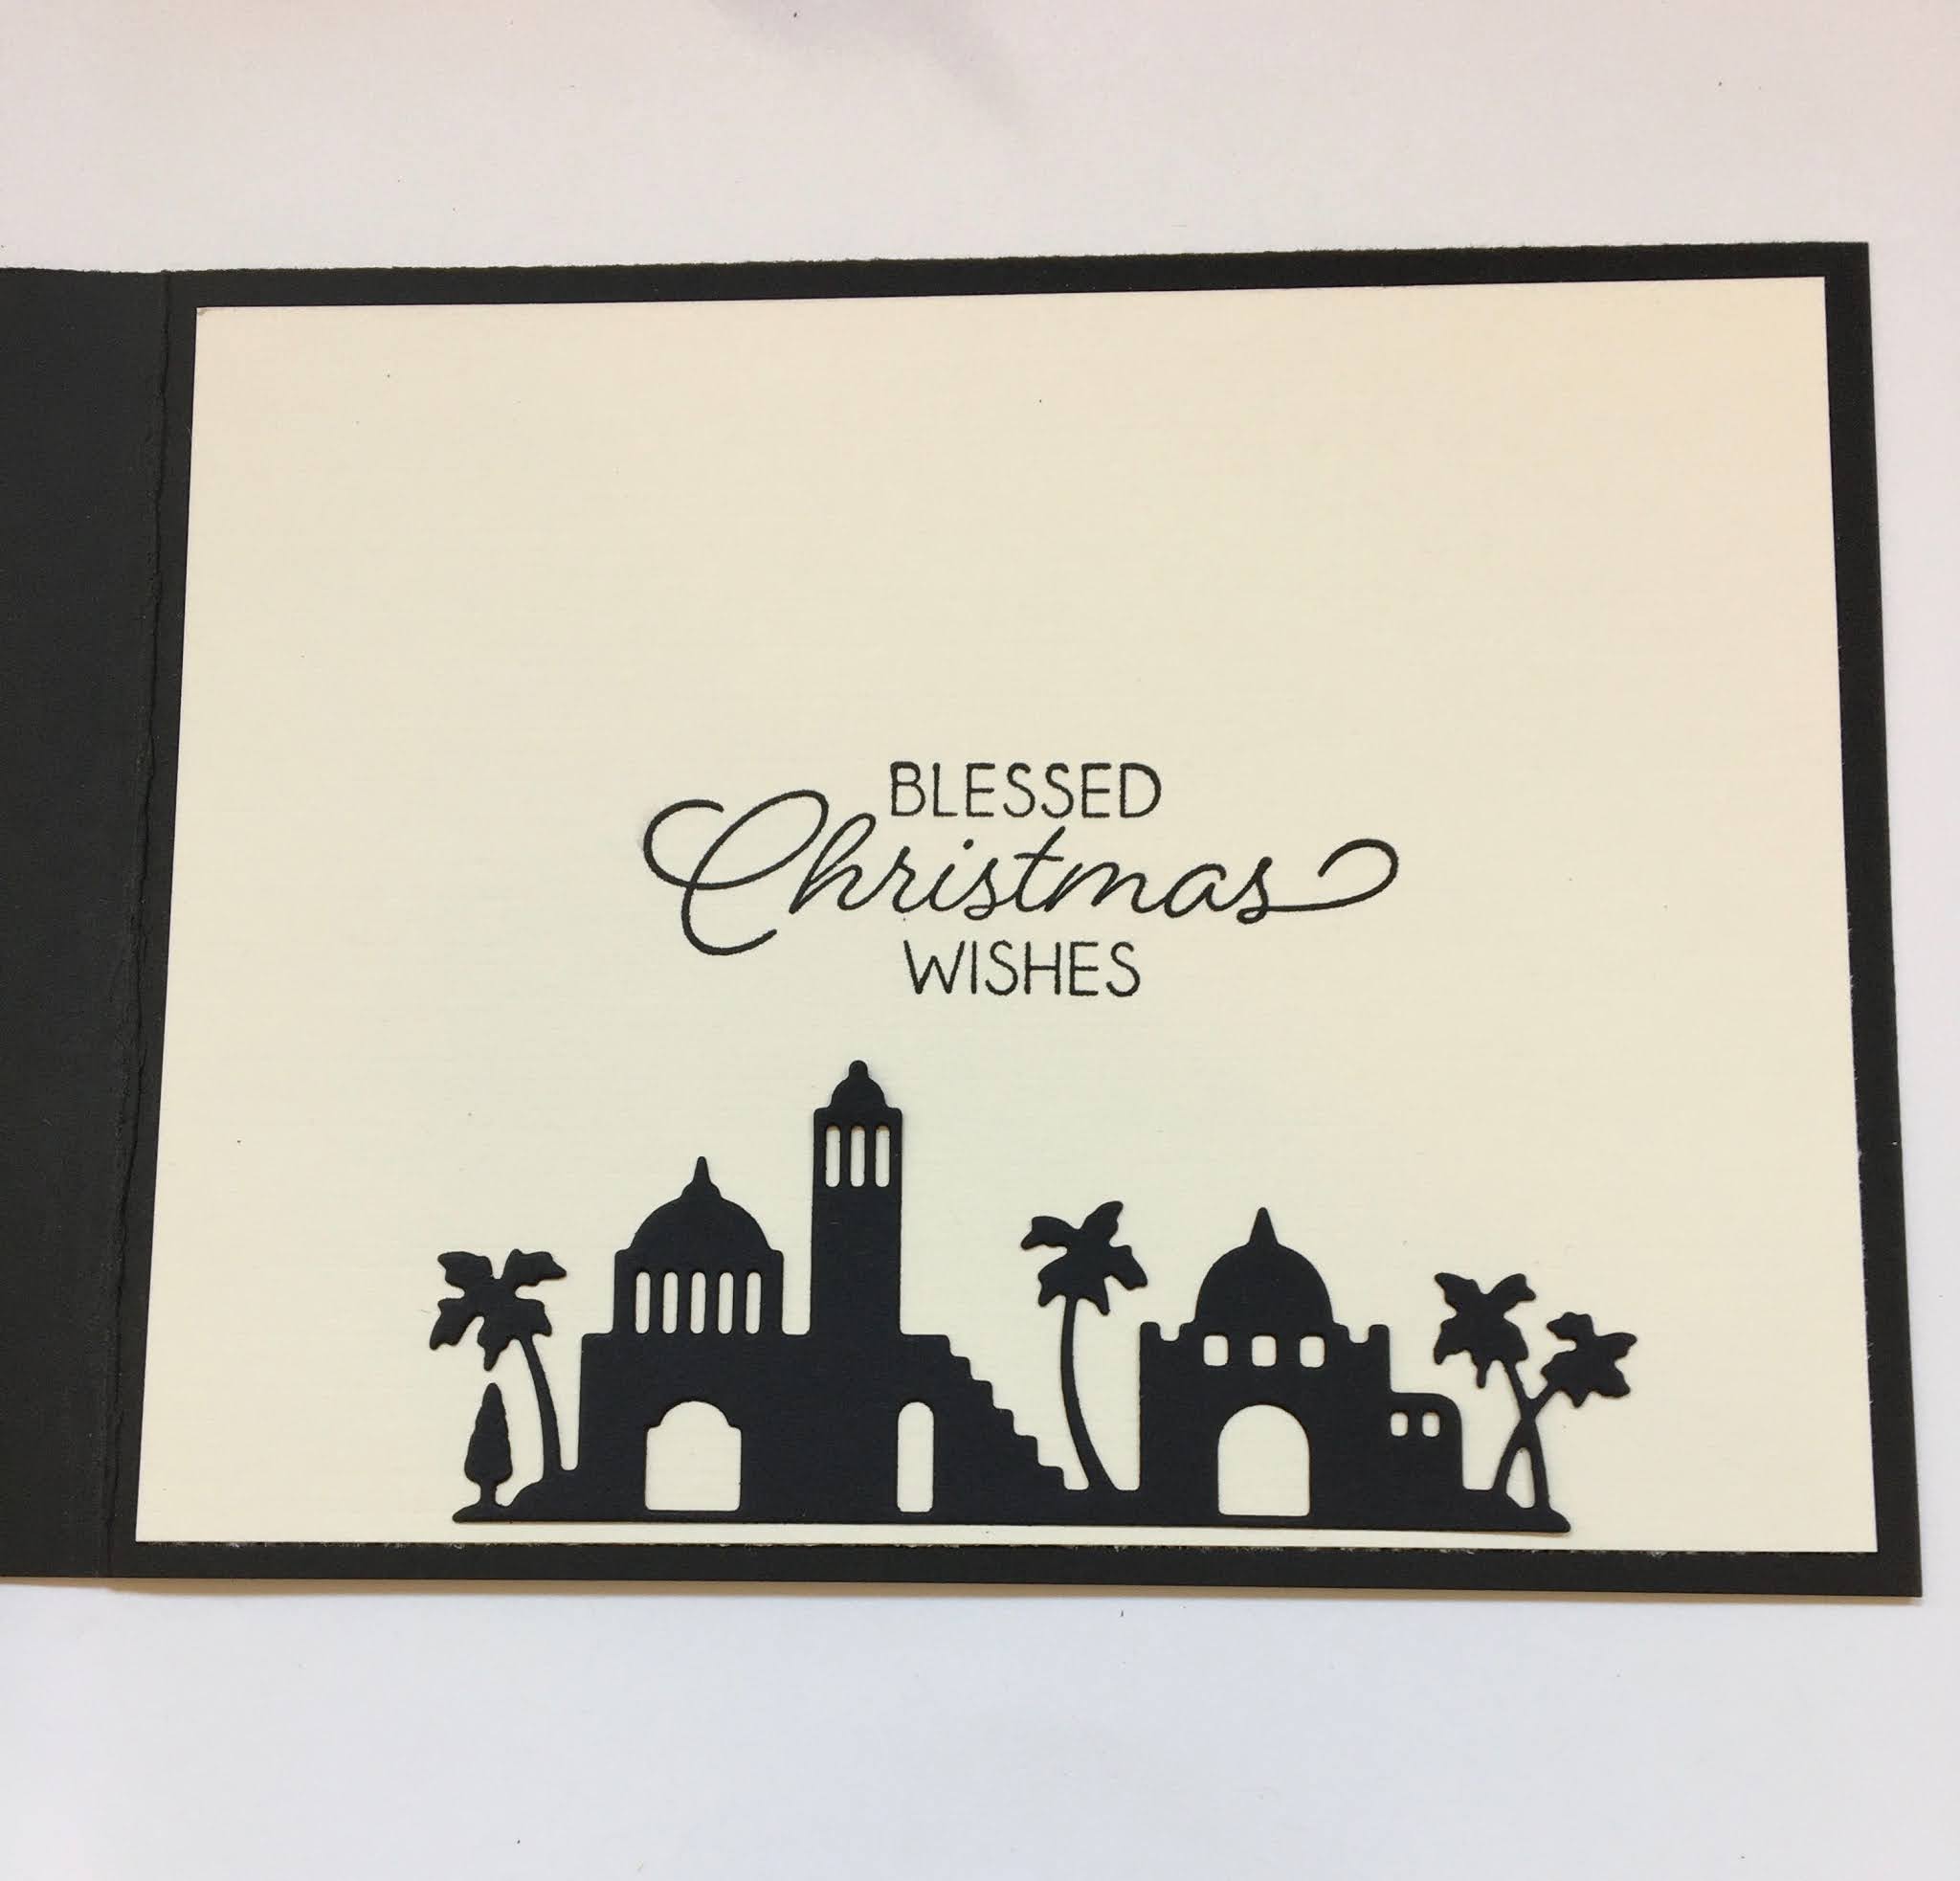
 I decided to finish off the inside of my card as well.  I used the Halloween Phrase & More die. It's an older one from CottageCutz.  I cut the trick or treat words in the pumpkin pie cardstock. 

And, that's it for me for this week. I hope I have given you an idea for a different fun fold and a way to use this new die. See you next Saturday!

dies I used to create card: 


Friday, September 18, 2020

Merry Christ-moose!

Happy Friday!  It's Jeanne today with the Friday edition of the blog.  I have a soft spot in my heart for moose and reindeer at Christmas so I was naturally drawn to this die.

Normally I start with the die(s) I'm using but for this card I began with the background.  I choose a plaid paper in holiday colors.  This plaid reminds me of flannel and gives the card a cozy feel.

I cut an A2 card base from white and stamped the sentiment and tree.  I stamped the tree low enough that the base would be cut off by the panel.  I wanted a light tree in the background with the focus on the moose!  My yellow panel is 4 1/4 x 2 inches and my plaid panel is 4 1/4 x 1 7/8 inches.

I adhered the panels to the base and used a Copic marker to color in the star on the tree.


Next it was time to start on my moose.  I cut him from white cardstock and used some Distress Oxide ink to color and shade him.

Normally for my die cuts, I use this method of cutting everything from white cardstock and shading OR cutting everything from various colors of cardstock.  I used a hybrid on this card.  The moose is shaded and I used Copic markers to color his hooves, eyes and the bird.  His scarf, hat and antlers are cut from colored cardstock.

This gave me a sweet moose with some shading!  The last things I assemble when making a critter looking at something, are the eyes.  That way I can make sure they are pointed in the right direction! 

I used  foam dots so the moose would be popped up from the base.  I probably do a bit of overkill on the foam dots, but I like my dimensional focal points to have a solid feel.

I popped him up on the card and added a few rhinestones for interest.

Dies:


Be sure to visit the online store where the new Christmas dies are on sale for a limited time.  There is also a great selection of new Halloween dies!

Thanks for stopping by today.   Have a fun and creative weekend!