Happy Friday! It's Jeanne today with a Christmas card featuring dies from the new Christmas Part 2 release. It's hard for me to believe that it's time to start making Christmas cards! Some crafters make them throughout the year and I try to do that, but the holidays always seem to sneak up on me. However I know that if I start now in September, I'll have the cards I need to mail out by the beginning of December. This release comes at the perfect time and is on sale right now!
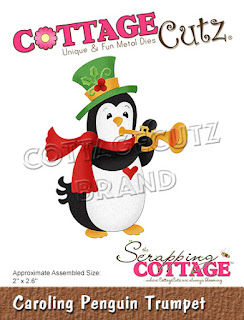
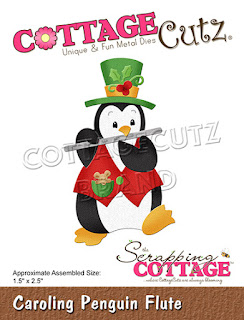
This card features the Caroling Penguins dies. These little guys are too cute and can be used as a group or individually. As I was making them I realized they would also be adorable for New Years by changing their top hats, the vest and bow tie to either black or silver in order to dress them in "formal wear"!
I cut all the pieces from black, white, red, green and yellow cardstock. I used a metallic gold for the trumpet and a metallic silver for the flute and drum. I also placed all the pieces for each penguin in an individual cup so I wouldn't get them mixed up when assembling. (I have also used a muffin tin to do this in the past.)
I made a slimline card by folding a piece of 7 x 8 1/2 inch card stock in half and cut a panel for the front from mixed media paper for a watercolor wash background. So I would know where to make the wash, I loosely arranged the penguins on the front of card base along with the sentiment as a guide.
The word "Joy" uses the Joy Ornament die from the Christmas Part 1 release. After die cutting from the gold metallic paper, I used small scissors to trim away the ornament.
I then made my wash from a medium and a dark blue ink concentrating the dark blue at the bottom. I wanted the gold to stand out against the background.
After adhering the word "Joy", I placed the panel in my stamping platform and stamped the rest of the sentiment using a black archival ink.
I placed a piece of washi tape with music notes and a 1/4 inch strip of red cardtsock down the right side of the card base. After trimming my panel to 3 1/8 inches I glued it to the card base. Because watercoloring often warps the paper, I placed heavy books on top after gluing to flattened the card before adding my penguins.
The top and bottom penguins are glued to the panel and the flute player is popped up using foam dots. I added some self adhesive crystal gems to simulate ice and snowfall.
Dies used:
Be sure to visit the online store where both Christmas releases and the new Halloween release are on sale for a limited time!
Thanks for stopping by today. Have a fun and creative weekend!