Sunday, October 21, 2018

Hello Autumn

Hi!

It's Anja here. Autumn is in full bloom. I just love all the colors surrounding us right now. And I wanted to capture it today.


For this card I used:
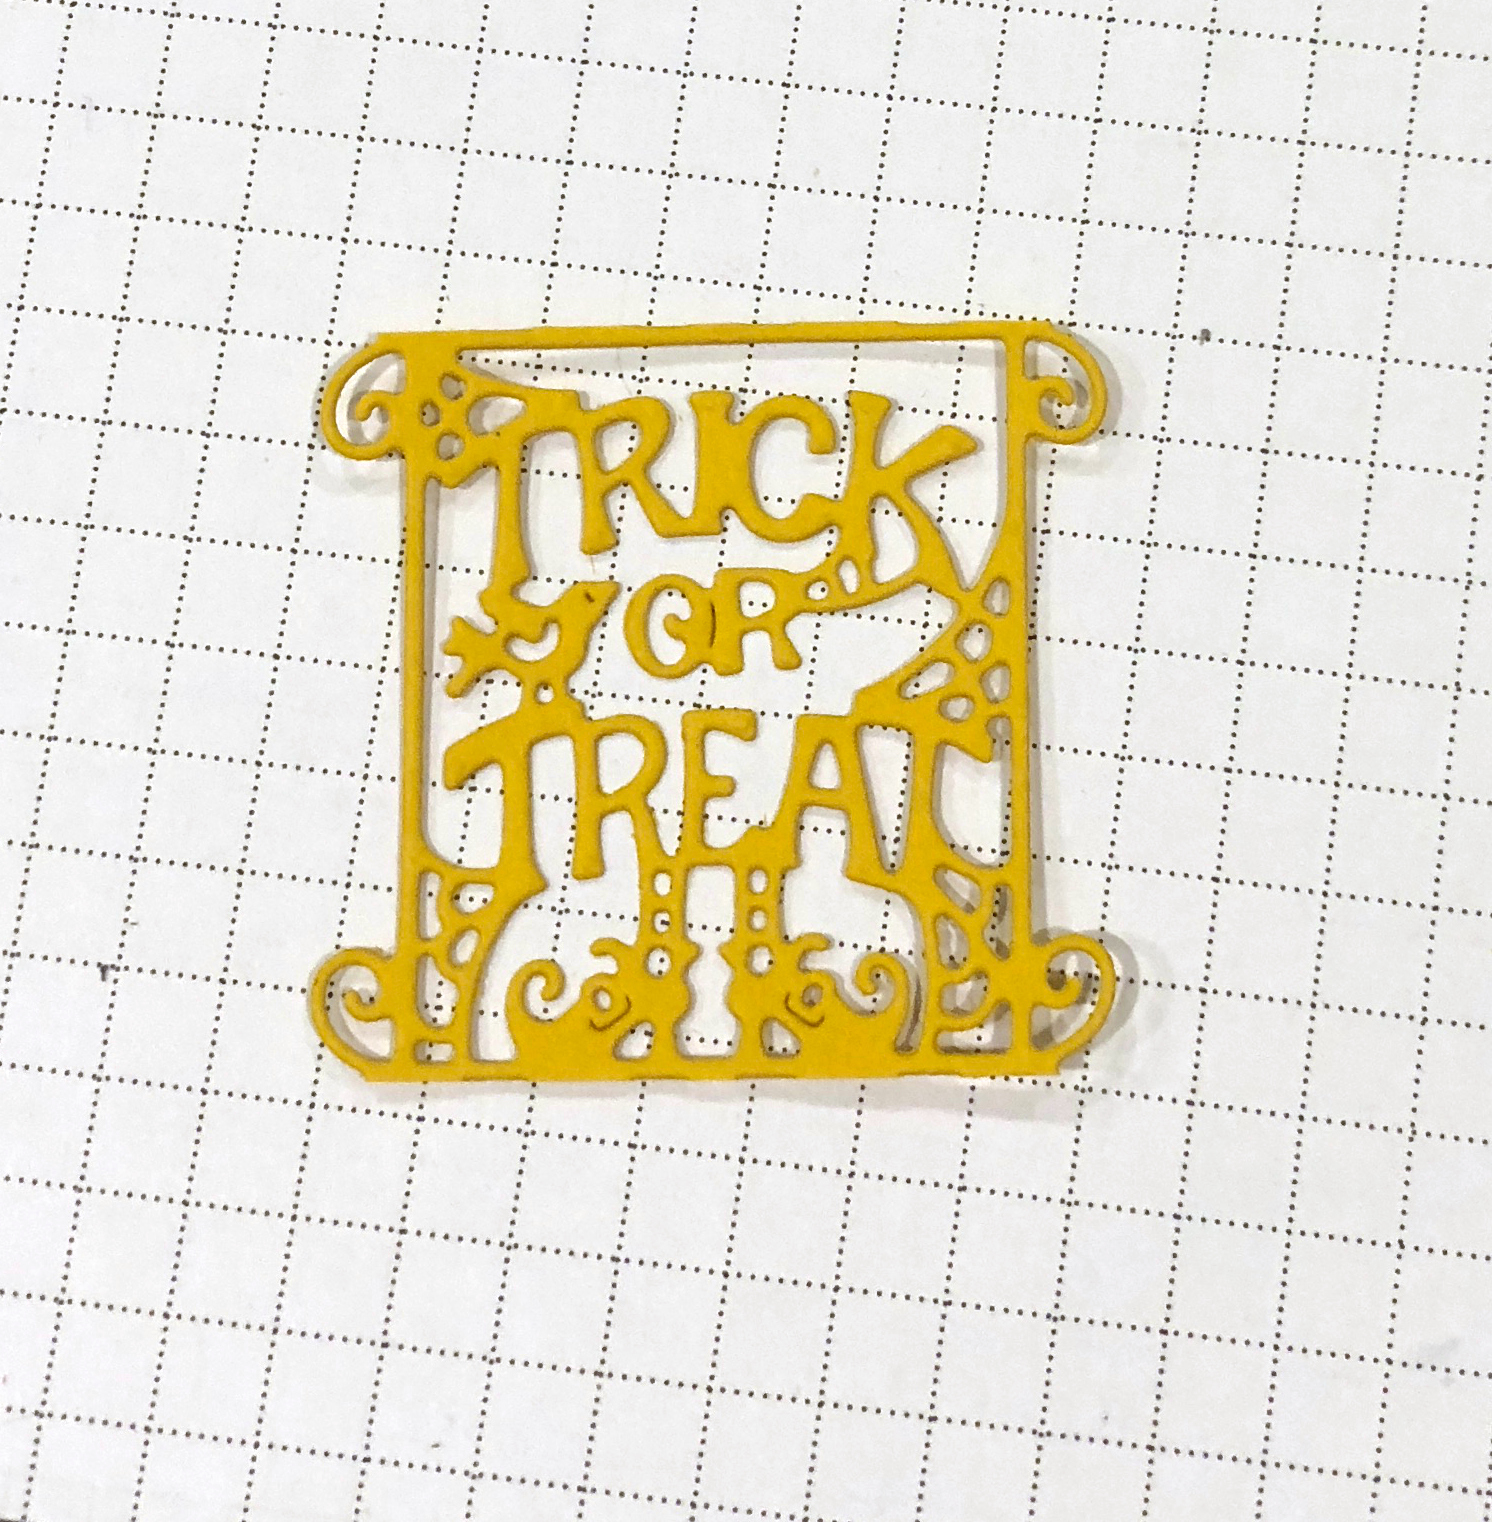
- Cottage Cutz dies (Fall Fox & Hedgehog, Fall Phrases, Fall Leaves, Autumn Sweets, Circle Set),
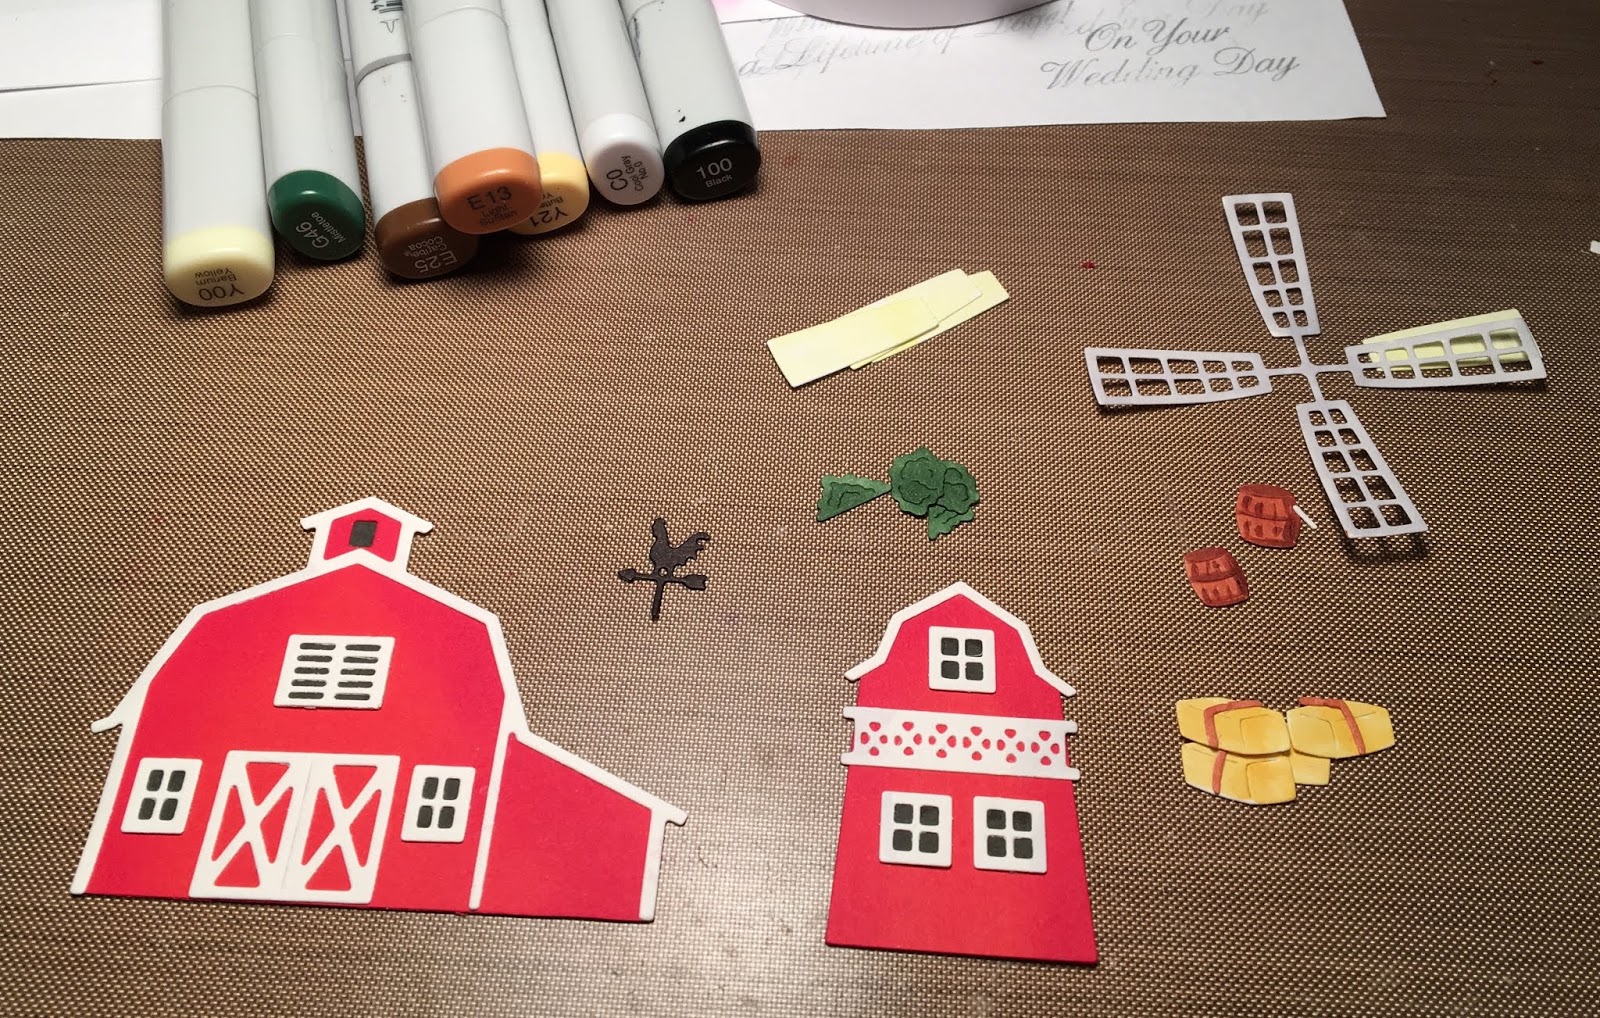
- Distress Inks (Wild Honey, Fired Brick, Mustard Seed, Spiced Marmalade, Crushed Olive, Peeled Paint, Pumice Stone, Black Soot, Vintage Photo, Walnut Stain, Aged Mahogany, Brushed Corduroy)
- white card base (15x15 cm),
- white card stock for backgound (14,5x14,5 cm) and die cuts,
- heat gun,
- brush,
- black pen,
- water spritzer,
- paper glue.

First I die cut the fox and the hedgehog. I colored it with Distress Inks. I used black pen for the eyes.


Then I colored the small leaves.


And then the big ones. I really love this die.


And then I colored the sentiment.


Then I made the background. I used Distress Inks, mixed it with water nd spritzed it on the paper withe the brush. I dried it wth the heat gun.


I cut out the bggest circle from the set.


And then I colored around the edges. I colored from light to dark.


And when I had everything colored I arranged it and glued it on the card base. And this is my fnished card.


Before I go I'm inviting you to The Scrapping Cottage store to check Fall Into Autumn Sale and get all the dies I used for less.

Have a great Atumn Sunday and see you again next week.

Anja Z.


Cottage Cutz dies I used:


Saturday, October 20, 2018

From Our Nest To Yours (New Die)

Hello Scrapping Cottage friends! Thanks for taking the time to stop and visit with us today. It's Mary Marsh here bringing you the Saturday edition of the Blog. 

We have a new release of dies over at the online store. Our Autumn 2018 dies are here with 10 new designs. They are currently 25% off for a limited time. There is also an Autumn sale currently going on with savings of up to 50% on select dies. Check it out here.

Today's card is from the Christmas Release Part 3. There are 14 new designs in this release and it is also on a limited time sale at 25% off. I used the Winter Birdhouses to create a Christmas card. So let's get started with some details on my card.
Step 1:  When I saw this week's sketch #719 on Splitcoaststampers I thought it would work well to show off the new birdhouse die.
 
Red Card Base: 4 1/4" x 5 1/2"
Olive Green Layering Panel: 4" x 5 1/4"
Patterned Paper: 3 7/8" x 5 1/8"
Vanilla Image Panel: 2 3/4" x 4 3/8"
Red Layering Panel: 2 5/8" x 4 1/2"
Step 2: I cut the Birdhouse using red and green cardstock. I love the detail on the birdhouse itself. It has texture like real wood. There is such amazing detail in all the CottageCutz dies.
I stamped my sentiment in red ink. The Christmas Blessing phrase is a clear stamp so, I used my MISTI for placement and just in case I needed to reink a 2nd time. I did need to stamp it again.
 
The 2nd part of my sentiment is a red rubber stamp and I used my stamp-a-ma-jig this time. With this tool you stamp on the clear plastic and then place it over your cardstock. The plastic alignment tool holds the spot for stamping.  Haven't figured out how to use the MISTI for red rubber stamps.
I wanted a snow fall background so I used an embossing folder after my sentiment was stamped.  
Step 3: Now that all the card elements and panels are completed, I am ready to start card assembly. I started with my card base and layers.
To attach the image to the embossed panel I used dimensional adhesive and also glue dots. The glue dots I rolled and placed those on the birdhouse hanger for dimension.
I attached the image panel to the card base using dimensional adhesive to life the entire image panel off the patterned paper.
For another idea, Here is a link to another card I created using the other birdhouse in this set. I used the same layout but different pattern paper and colors.
 
To complete my card, I added a few sequins. That's my card for this week. I thought this card would be an easy one to mass produce for your Christmas card giving. I intend to create a few more using this layout.
 
 Well that's it for me for this week. See you next Saturday.
 
Die I used to create card:
http://www.scrappingcottage.com/cottagecutzwinterbirdhouses.aspx


Friday, October 19, 2018

A "Hootie" Halloween

Happy Friday!  It's Jeanne today and before I get to my card, I'd like to tell you about Cottage Cutz' fantastic sale on their web site right now.  Select dies are on sale for up to 50% off.  It's for a limited time so check it out soon.  Now, my card for this Friday.  I'm in the Halloween mode so I just had to make a Halloween card.
For this one, I used the witch owl from the Spooky Night Owl set.  A super fun set that includes a witch and a pirate owl!
I first cut all my owl and branch pieces from white card stock.
I used Copic markers to color them.
Next, I cut the second and third largest circles from the Double Stitched circle set and the sentiment using the Halloween Trick or Treat die.  I cut two circles because I was unsure of what size I wanted to use for my moon.
To make the sentiment better fit my card I cut off the top and bottom pumpkins and foliage.  I thought about cutting out just the "trick or treat" but I liked the framed look.
I laid it out on a navy blue A2 card base.  I decided to use the smaller of the circles as I like the way the owl fit into it.
I added a few sequin stars to finish it off.  This is a fun and easy card to make and would also look terrific with the pirate owl as well!

Dies:
http://www.scrappingcottage.com/cottagecutzspookynightowl.aspx
http://www.scrappingcottage.com/cottagecutzhalloweentrickortreatelites.aspx
http://www.scrappingcottage.com/search.aspx?find=love+letters
http://www.scrappingcottage.com/cottagecutzdouble-stitchedcirclesetbasics.aspx


Thanks for stopping by today.  Have a fun and creative weekend!


Thursday, October 18, 2018

Fall Harvest


Good Morning Scrapping Cottage Friends!

It is Pam sharing on the blog today!  But before we get started CottageCutz has a beautiful Fall release and the dies are just incredible!  Be sure to check the online store because they are currently on sale for 25% off.  The sale also includes the Halloween and Christmas Handmade too.  So don't miss out on this great savings.

I am using a very detailed die from the Fall release called Barn and Windmill. 

Design Steps
1.  Cut all of the pieces out of white card stock using the Barn and Windmill die

2.  Color all of the pieces with your favorite markers and assemble the pieces using a fine tip glue
 3.  Use an A2 white card base.  Cut a slightly smaller piece of cloud DP.  Use the Spring Grass die and cut 2 pieces of green grass.  Glue the grass to the bottom of the DP
 4.  Add the barn and windmill to the card then add the hay and barrels.  Stamp your sentiment and layer it onto red card stock.  Glue the sentiment to the card as shown


CottageCutz Products


Thanks so much for stopping by and please visit our store for all of the wonderful sales going on today!  Remember these fantastic dies make great Christmas gifts!
Blessings
Pam