Showing posts with label circle set basics. Show all posts

Wednesday, April 06, 2016

Gate Fold Flower Card


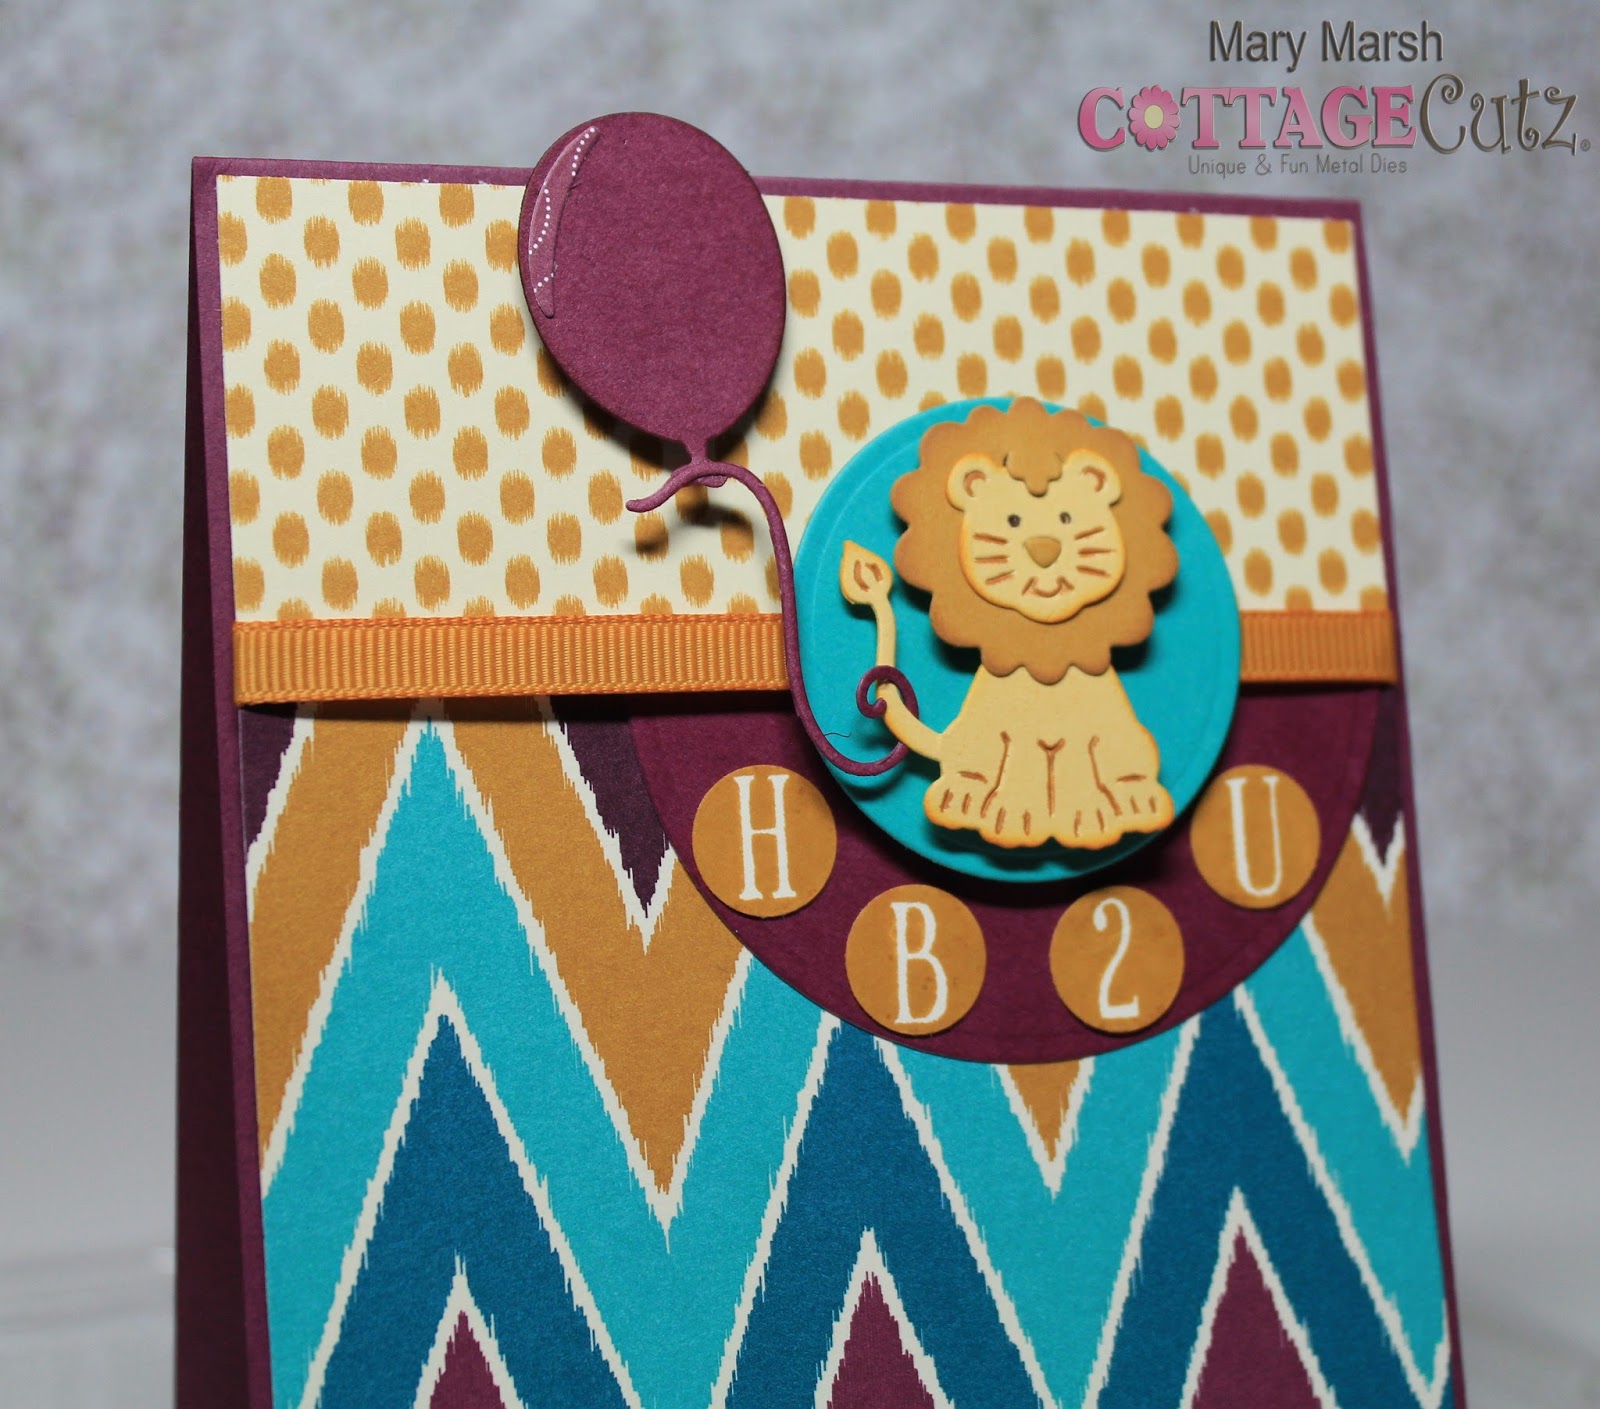
Hello Scrapping Cottage fans. Thanks for taking the time to drop by and visit with us today. It's Mary Marsh here with the Wednesday edition of the Blog.

Today for your viewing pleasure, I have created a fancy fold card and used some fabulous CottageCutz dies. The fold is called the Gate Fold and I have all the instructions on how you can make one. So let's get started.

Card Base: White Card Stock 8½” x 5½” and scored at 2 1/8” and 6 3/8”
 
 
White Panels: when folded are 2 1/8” x 5 ½”. Card is still 4 1/4" x 5 1/2".
 
Dark Green Layer: 2” x 5 3/8”
Patterned Paper: 1 7/8” x 5 ¼”
Pink Rear Panel: 5 5/8" x 4 3/8"
 
Taped layers with double sided tape and adhered to white card base. After I took this picture, I remembered I wanted to use some pink ribbon. Oops! I had to remove the left panel to  add my ribbon. But, I forgot to take another photo.
 
Now for the die cuts: I used the 3D Flower #2 from the March release and cut in pink cardstock.  Between each layer of the flower I used dimensional adhesive. I also used a bone folder and curled the ends of the petals. It creates a nice rounded look to the flowers.


For some added greenery, I used the CottageCutz Butterfly with Flowers die. I cut once in dark green and once in pink. I cut the pink flowers and adhered them over the green.
The CottageCutz circle set basics is the backdrop for my flower. I used the 3rd largest die and cut in white and then the 4th largest die and cut in pink. Attached this to my card, but I just taped the left side of the circle. That way it won't interfere with the card opening.
 
To finish off the front of my card I cut a butterfly from the Butterfly with Flowers die. I attached one to the patterned paper and then for some added height I cut another one and used glue to secure just the middle.
 
 
I also finished the inside of the card simply by adding a piece of pink cardstock and stamping a sentiment.
 
 
Well, that's it for me for today. I hope my card has inspired you to try a gate fold card. So until next time......inky hugs!


Thursday, March 17, 2016

A Sailor's Hello

Hello everyone,

It's Donna here to share with you how to make a square box card. I have lots of pictures to share with you so sit down with a cup of coffee to check out my tutorial. This card box was so much fun to make and I love these sailior dies with lots of other dies that go perfect with them. Here is my square box card.


Here is a closer look of all the elements....a list of each die I used is at the bottom of this post.


Let's get started on how I put this square box card together. To put this box together you will need a cutting board, score board, bone folde, and liquid glue or score tape.  Pictures are below the instructions for your viewing.

1. You will need your cardstock cut to 6" x 12" (I cut a 12 x 12 inch cardstock in half)

2. You will need to score your card stock on the short side at 2", 6", 7 5/8" and 11 1/2. Turn your sheet on the long side and score at 2 7/8 down to the score line of 7 5/8".

3. Take your scissors or cutting board and cut the 2", 6" and 7 5/8 score line down to the 2 7/8 score line (half way down). Cut the 11 1/2 score line half way down. So now you are ready to add your paper to the base of the square box card.

4. This is a picture of the inside of the box. You will need one piece of cardstock cut at 5 5/8" x 3 5/8"4 pieces of cardstock cut at 1 7/8" x 2 3/4 and two pieces at 3 5/8" x 2 3/4". As you can see I used several different patterns.

5. This is a picture of the outside of the box. I used the same measurements I used for the inside of the box.

6. This is your finish box. You will tape the small tab around so that the box closes up.

7.  The box is almost complete.


To put the tabs inside of the card you will need a piece of white card stock 1" x 4 5/8" scored at 1/2" and 4 1/4".  The last step is to cut all your pieces from your dies and put them together and attach them inside the box card.

The card is complete! I hope you will take a shot at making a box card, they are so much fun.


Wednesday, March 16, 2016

Beach Life


Hello CottageCutz Fans! Thanks for taking the time to stop and visit with the Scrapping Cottage Blog. It's Mary Marsh here with the Wednesday edition of the Blog. Today for your viewing pleasure, I have made a pop-up card box with some great nautical dies from CottageCutz.

This type card is really easy to make and when it's decorated has a WOW factor! It also folds flat so it can be put in an envelope for mailing or hand delivery. Lets get started with some instructions.

Step 1:
Cut cardstock to 9” x 5 1/2”. Score on the long side at 2 1/8", 4 1/4”, 6 3/8", and  then at 8 1/2”. Turn the cardstock 90° and score at 2 3/4".
Step 2:
Use a paper cutter or scissors and cut the score lines to the center score. On the end ½” score line cut it off on a diagonal to create a tab.


Step 3:
For this step you need a bone folder, to fold all the score lines for a sharp crease. Once that’s done you tape the tab. Use red line tape and tape the outside of the tab. Bring the tab side over first to the middle and then bring the other half and press together. 
Step 4:
Now you have the look of the box. To add support to the outside back of the box, I used white cardstock measuring 2" x 4 7/8". You can use this panel to stamp a sentiment.  I added the lighthouse, birds (from lighthouse die) and star fish from the paddles and rope ladder die.


Step 5:
To create my layers on the box, I used red card stock cut at 2" x  2 1/4" and patterned paper cut at      1 7/8” x 2 1/8” for the 3 box flaps that are hanging down. I decorated it with the CottageCutz Crab die cut in red cardstock. On the inside back panel the red cardstock measures 2" x 4 7/8" and patterned paper measuring 1 7/8" x 4 5/8".

Step 6:
For the inside dividers, cut cardstock to 3 1/8” x 3 1/8” and score this at ½” and 2 5/8”. Cut this piece in half and fold on the score lines. Both tabs should be folded back.

You use red line on these tabs as well. Tape on the outside of each tab. Tuck the tabs on the inside of the box to create your dividers. You can slightly close the box in this step to make sure the tabs line up straight.


Step 7: Decorating the box
I decorated the inside of the box with several CottageCutz nautical dies. On the back panel I used the large sailboat die, cut in navy blue cardstock. I stamped my "beach life" sentiment and used the circle set basics to cut it out. I cut another circle in red cardstock and slightly offset it.

I also used the Pelican die cut in a white confetti cardstock. Sponged his beak with distress inks. The wood mooring he is standing on is cut in a medium brown shade and the ropes in kraft cardstock. The detail on the pelican and the wood mooring is amazing.

The lighthouse is another detailed die. I cut this one in red cardstock and used navy blue accents. There is even a small cut panel that I cut in yellow for the inside light. If I haven't said it before, I just love these dies.


Well friends, that's it for me today. I hope you enjoyed this card and will give the pop-up box technique a try. So until next time.......inky hugs!!!


Sunday, March 13, 2016

Birthday Lion with Balloon

 
Hello CottageCutz fans! Thanks for taking the time to visit with The Scrapping Cottage Blog. It's Mary Marsh here with the Sunday edition of the Blog. For my sample card today, I am featuring the super cute baby lion die as well as the balloon round mini die. This one is out of stock right now but here is another balloon variety die that would work well.
 
Using these dies together creates a really sweet birthday card for a child. It's another way to use the lion die other than on a baby card. Let's get started with some details on how I put this one together.
 
cardstock and patterned paper sizes:
purple card base measures 4 1/4" x 11" and scored at 5 1/2"
chevron patterned paper measures 4 1/8" x 4"
mustard pattern panel measures 4 1/8" x 1 3/8"
blue circle is 4th smallest from the circle set (basics)
purple circle is the 3rd largest from the circle set (basics)
 
To assemble my card I used double sided tape, glue dots and dimensional adhesive. I taped the 2 patterned papers together and to cover the seam of where they meet, I added a mustard shade of ribbon. Secured the ribbon with glue dots on the back panel.
 
My next step was to die cut the lion. I used a lighter yellow for his body and the mane in a mustard shade. I took a mustard marker to add some definition to his legs and whiskers. Using dimensional adhesive I placed him on the blue die cut circle and attached the balloon to his tail.
 
 
Next up is the half circle I placed under the ribbon. This was cut from the circle basics set. I used the 3rd largest die and just cut it in half.
I used this circle layer for my sentiment. I have a birthday stamp with this HB2U sentiment.  Something different and perfect for a child's card. Stamped with a mustard ink and used a small circle punch and punched out the letters and placed them along the curve of the circle.  
 
Ta-Da! Card is complete and ready for the next time I need a child or even a masculine birthday card. That's it for me for today. So until next time.......inky hugs!!!
http://www.scrappingcottage.com/search.aspx?find=baby+lion

http://www.scrappingcottage.com/cottagecutzballoonroundminipre-order.aspx
 
http://www.scrappingcottage.com/cottagecutzcirclesetbasics.aspx