Showing posts with label Stitched Rounded Square Set. Show all posts

Sunday, July 23, 2017

Cabin in the Woods

Hi!

It's Anja here. Today I have a nature themed card for you. I made a scenery using the cabin and mushrooms die. A card is a bit different than usually because it has a window.


To make this card you will need:
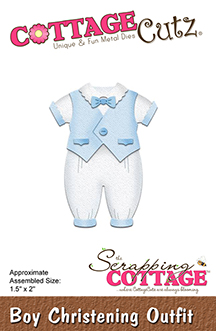
- Cottage Cutz dies (Woodland Cabin, Mushrooms & Greenery, Snowcapped Mountains, Stitched Rounded Square Set),
- Distress Inks (Peeled Paint, Black Soot, Forest Moss, Fired Brick, Barn Door, Pumice Stone, Stormy Sky, Pine Needles, Shabby Shutters, Antique Linen),
- Distress Oxides (Pumice Stone, Vintage Photo, Fossilized Amber, Walnut Stain),
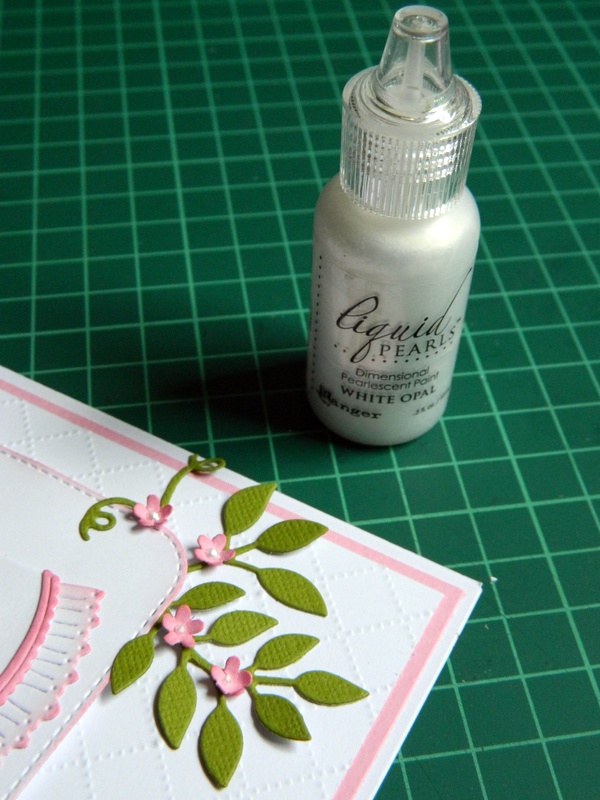
- white pigment ink,
- craft card base (15x10,5 cm),
- white paper (14,5x10 cm),
- white card stock for die cuts,
- white pen,
- paper glue.

First I die cut a rounded square shape window in to the card base. I also made a white frame using two of the largest stitched rounded squares.


I colored all the pieces with combination of Distress Inks and Distress Oxides. I used small make up pads to color the little pieces of the cabin.


For the background I used blue and grey and spritzed with a bit of water.


And then I just glued all the pieces together.


Don't forget to check out the new wedding and nested shapes dies in the store. I will start showing my projects using the new dies very soon.

Have a beautiful Sunday.
Anja Z.


Sunday, May 21, 2017

Slider & shaker card

Hello!

It's Anja here. Today I'm sharing a card where I used two popular card designs. I combined a shaker and a slider card. I used mini toys dies that are perfect for these kind of interactive cards.


I used:
- Cottage Cutz dies (Toy Airplane Mini, Toy Submarine Mini, Toy Tugboat Mini, Stitched Rounded Square Set),
- Distress Oxides (Fired Brick, Spiced Marmalade, Peeled Pint, Fossilized Amber, Broken China, Faded Jeans),
- white card base (12,5x12,5 cm),
- watercolor paper (9,5x9,5 cm and 12x12 cm),
- white foam,
- clear acetate,
- shaker filler material (seed beads),
- foam adhesive pads,
- pennies,
- spin&slide discs,
- glue.


 I die cut all the toys and colored them with the Distress Oxides. I glued little pieces of paper on the backside to make the windows.


Then I made the background. I took 9,5x9,5 cm watercolor cardstock. I used blue shades of Oxides and blended them together. Then splashed some water drops on top and dried them with a heat gun.


Then I used the biggest square die for the 12x12 cm paper and the 3rd and 5th biggest for the 9,5x9,5 cm paper. I also cut another square from white cardstock that was the same size as the small blue frame (not pictured).


Next I made the shaker part of the card. I used the second biggest square die to cut the acetate and 3rd and 5th biggest die to cut foam. I adhered the acetate on the colored frame first and added the foam. I let it dry before continuing. I glued the other two pieces as shown on the picture below. Bigger blue frame on the card base and the smallest blue square on the bigger white square. When all was dried I put shaker fillers inside and closed it. I let it all dry again. I used liquid glue but could also used double side adhesive tape and made it a little quicker.


I used foam adhesive foam pads to glue the shaker part and white frame on the card base.


Before I adhered the white frame I made the slider mechanism. I used pennies and discs for that and inserted them on. Then I glued the frame.


In the end I added the toys. I glued the boat directly on the acetate.


And this is the finished card.


Thanks for stopping by. Have a beautiful Sunday.
Anja Z.


Wednesday, May 03, 2017

Christening cards

Hi!

It's Anja here. The new Cottage Cutz baby collection has these two beautiful dies with which you can make gorgeous christening gowns. Today I made two cards, one for a baby girl and one for a baby boy. They are very simple to make and can be used as a christening invitations or congratulation cards.


I used:
- Cottage Cutz dies (Boy Christening Outfit, Girl Christening Gown, Fancy Mary Jane Shoes, Spring Greenery, Stitched Rounded Square Set),
- Distress Inks (Stormy Sky, Worn Lipstick),
- white card base (15 x 10,5 cm),
- white, pink, blue and green card stock,
- white liquid pearls,
- embossing folder,
- paper glue and foam glue pads.

First I cut all the pieces for the outfits. I used white, blue and pink paper. I put distress ink around the edges of every small piece.


I used the same procedure for the flowers. I used a special tool to make a 3D effect.


Then I cut some greenery from the green card stock.


I made each background from two pieces of paper. First I cut pink and blue (14,5 x 10 cm) and then white (14 x 9,5 cm). I embossed the white one with an embossing folder. I could use any other design. Then I cut the third largest square from the Stitched Rounded Square Set to put my gowns on. 


Then I just had to put all the pieces together. This is how I glued the greenery.


And in the end I glued the little flowers and decorated it with liquid pearls.


And this is it from me today.

Have a nice Wednesday.
Anja Ž.

Cottage Cutz products I used: