Showing posts with label Spring Bicycle. Show all posts

Thursday, April 01, 2021

Country Bicycle Ride

 Hello Scrapping Cottage Friends,

It is Pam creating with you on the blog today.

It is time to get out all of our summer toys!  How does a bike ride in the country sound to you?

I am using the Spring Bicycle for my card today.  


Designer Steps:

1.  Using the Spring Bicycle die cut it out of white card stock.  Use your makers to color the bicycle.  I used my Copic Markers
2.  Use an A2 Kraft card base, cut a piece of cream colored card stock 4 x 5 1/4 and run it through a brick embossing folder.  Cut a piece of kraft card stock 4 x 1 3/4 and give it a little hilly cut
3.  Glue the hilly kraft card stock to the bottom of the embossed cream paper.  Add the ribbon to the panel and then glue to the base of the card
4.  For the top of the card I used the little bird banner cut in white and then colored with Copic Markers.  I popped the banner up on the top of the card as shown below.  Glue the bicycle down flat and then add the sentiment glued flat also and your card is complete
I hope where ever you live here in the US you are able to get out doors and enjoy the beautiful spring weather.  

CottageCutz Products


Take Care and Blessings
Pam

Saturday, March 27, 2021

Spring Bicycle Shaker Card

Happy Saturday!  It's Jeanne with the Saturday edition of the blog.  I have an easy card that is sure to delight your recipient.  I don't know anyone who doesn't like a shaker card.   And while they can be intimidating, this one is pretty straightforward to create!

I started by backing the cardstock for my bicycle with an adhesive sheet.  This allows the bike to stick to the background of the shaker with no gaps.

Because the die is intricate I used a special tool I have to help separate all the pieces of the die.

My card is A2 in size so I cut a background panel and a front panel 5 1/2 x 4 1/4 inches along with a coordinating patterned paper.  Again, I used the adhesive sheet to adhere the paper to the card front.

Using the largest of the Stitched Square dies I cut a square centered side to side and up and down in the front panel.

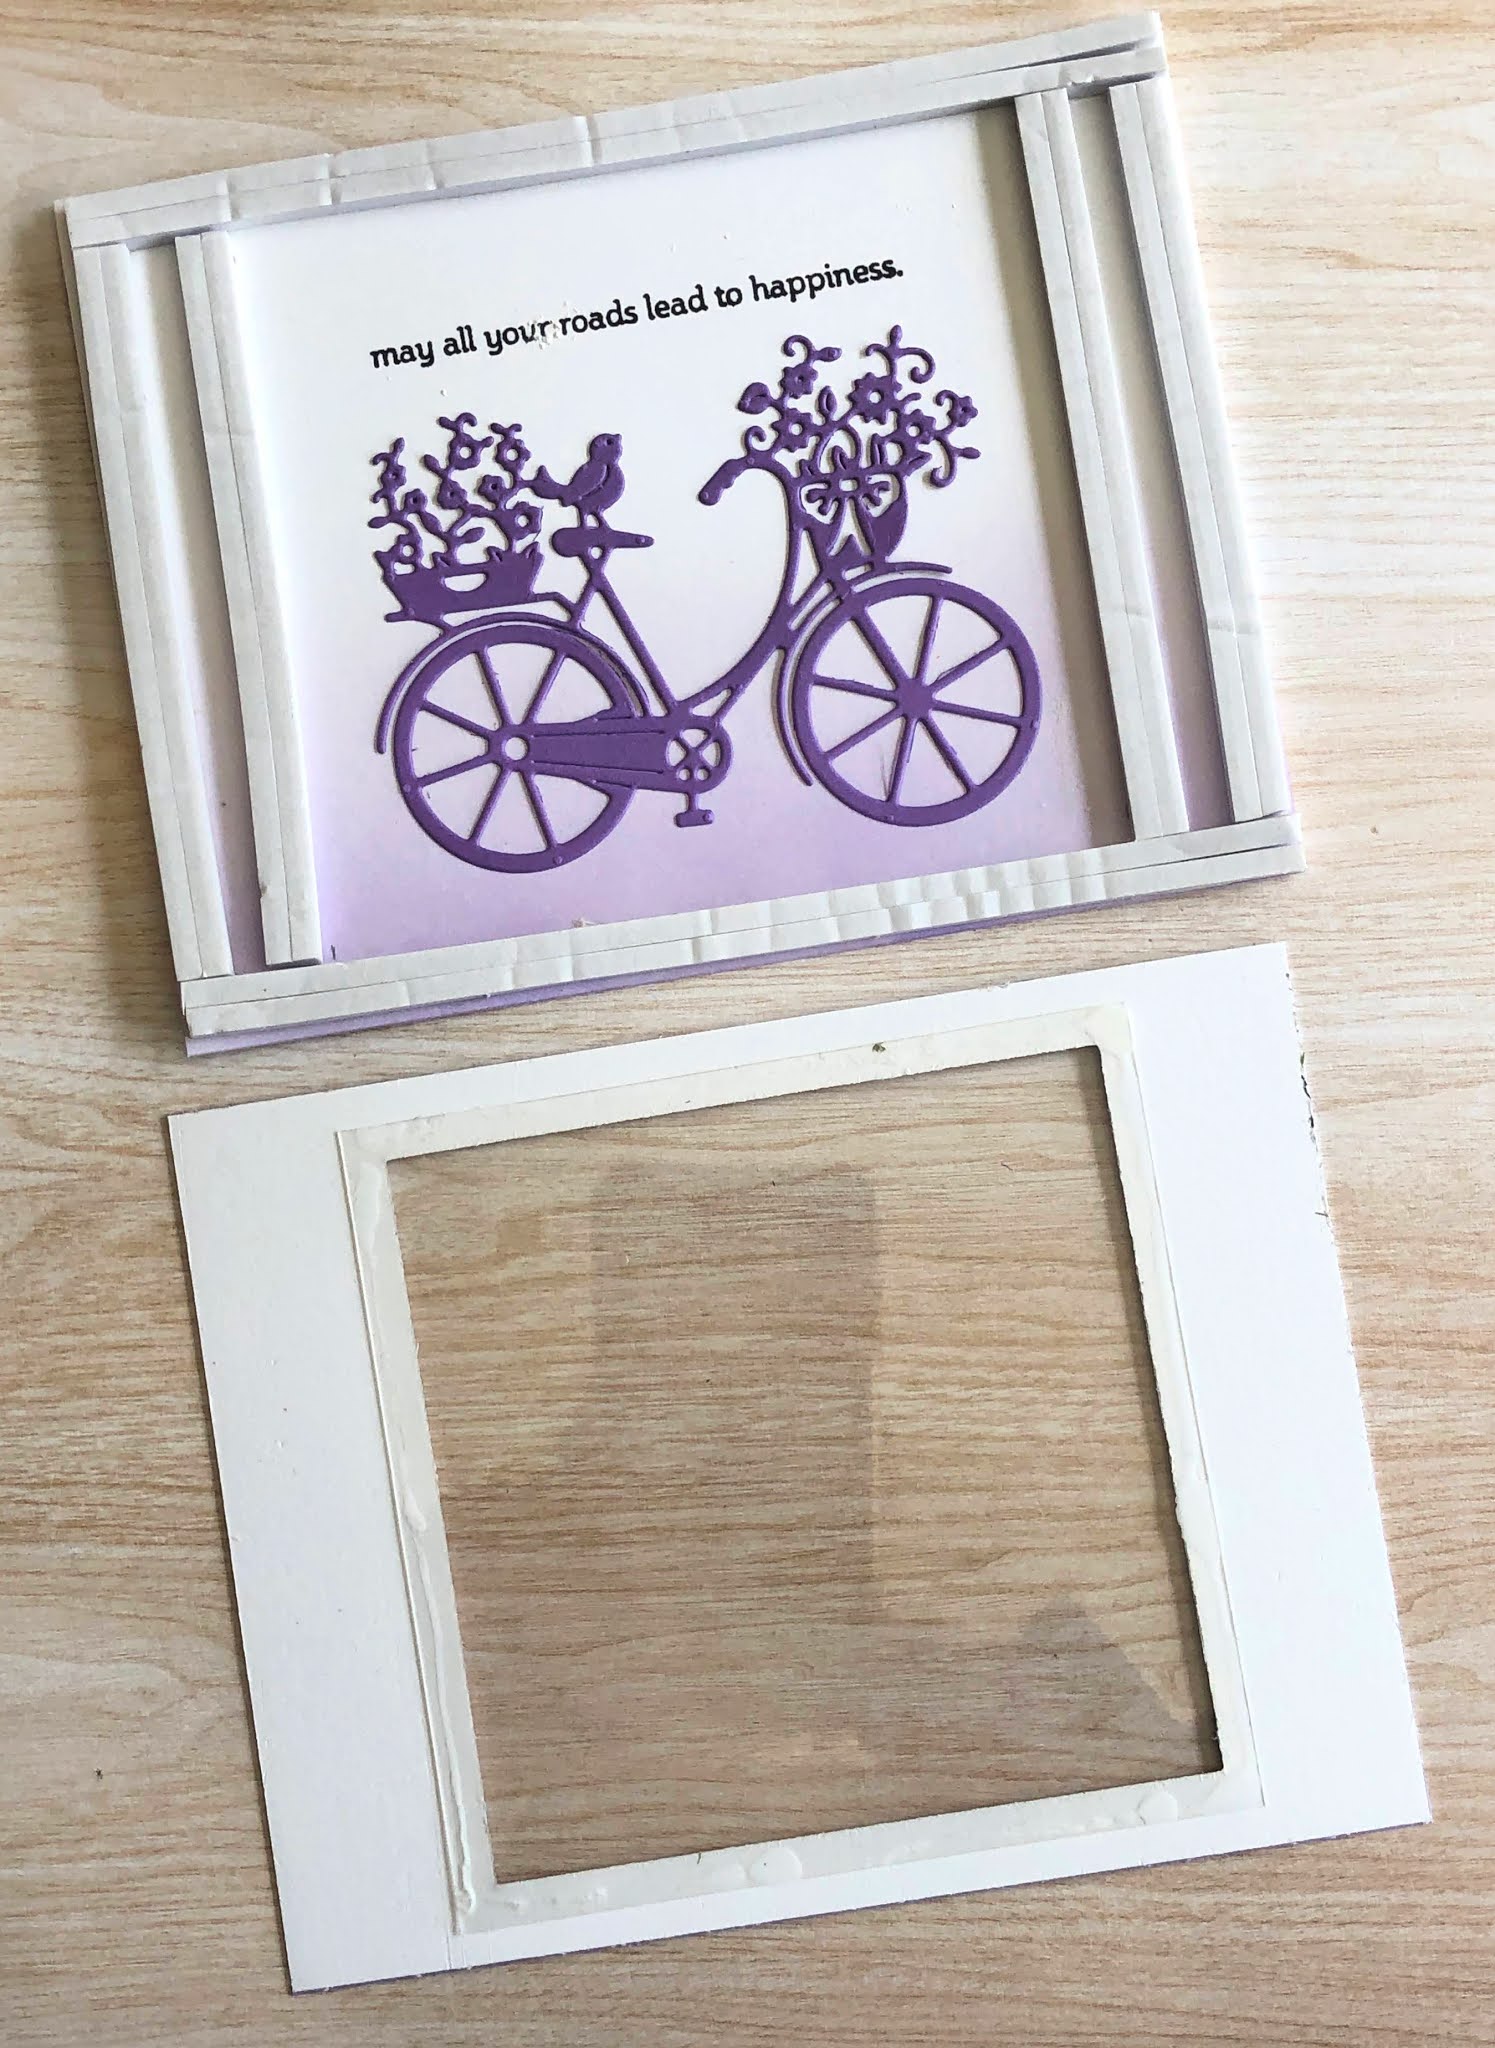
I placed the top panel on the bottom and drew a light pencil line where the opening will be.  This allowed me to know where to stamp my sentiment.

Using a blending brush, I blended a medium purple and darker purple up from the bottom.

I glued an acetate window sheet to the opening on the front panel and added foam strips to the outside of bottom panel and just to the outside of the pencil lines. Then I erased the pencil lines.

Next I filled the inside of the shaker with sequins.  I would love to be able to say use a certain amount, but filling a shaker is really just by eye.

I put the top panel on the bottom panel and the shaker panel was finished.  All that was left was to add some embellishments and glue it to the card base!

I hope you've enjoyed my card today.  Be sure to visit the online store where the Spring release is on sale for a limited time!

Dies used:


Thanks for visiting today.  I hope you have a fun and creative weekend!

Friday, March 26, 2021

Spring Bicycle Scene

Hello Scrapping Cottage friends! Thanks for taking the time to stop and visit with us today. It's Mary Marsh here bringing you the Friday edition of the Blog.

We have a brand new release of dies in the online store. It's our Spring Release with 22 new designs. Everything you need to create Spring, Easter, Birthday, Mother's Day, Father's Day, Thinking of you cards and so much more.

The Design Team has been showing samples using these new dies. So if you haven't seen them check back on the blog for lots of great ideas. The dies are currently on sale at 25% off so check all the new designs in the online store for some great selections. The Safari & Circus releases are still available at 25% off as well.

Now onto my card for today. I am featuring the new Spring Bicycle and I created a clean and simple outdoor scene. I will send this to a bicycle riding friend as an Easter card. So let's get started with some details on how I created my card. 

Design Steps:
I started my outdoor scene by stenciling some clouds with 2 shades of blue distress inks. I used a blending brush and peeled pain distress ink for the ground area. The colors I used are a little peek of what's coming for this week's Splitcoaststampers color challenge. 
Next, I started my die cutting. The Spring Bicycle is cut in a royal blue. I decided to add some tulips and a garden fence as well. The tulips and tree are from the Spring Bloom Cottage and the fence is from the Picket Fence Border die. 
I stamped my sentiment directly on the image panel using the same shade of blue ink as the bicycle and the card base. It's two separate stamps so I used my MISTI to line everything up. I attached the fence with glue dots and the tree + flowers with Ranger multi medium matte. I rolled up adhesive dots and attached to the bicycle image. I wanted it lifted off the background scene slightly.
 
To complete my card I attached to the royal blue card base. Scattered a few sequins and added  2 little bunnies. They are cut in a light gray cardstock from the Bunny Gnome 1 & Bunny Gnome 2 dies.  I attached them with dimensional adhesive.
Well, that's it for me for this week. I hope I have given you an idea for a way to use this new Spring Bicycle die. Hope you are getting your Easter cards finished. There is still time to order from the store.  See you next Saturday!

dies I used to create card:  


Monday, March 01, 2021

May your day Bloom with Happiness!

Hello!  This is Sukie and today I'm sharing a slimline card for my design team post.  I created a cheerful scene with several of the new Springtime die sets.  These dies are currently on sale too!

I lightly inked a stencil to create a subtle look of brick in the background.  Next I created the Spring themed scene by adding die cuts from the Cat in Spring Window and Spring Bicycle at the focal point of my card.  I had to do a bit of creative fussy cutting and ink shading to give the bike a unique look.  The Bunny Tree Cottage die set added the oversized tree, the partial tree branch, the grass and mushrooms to the scene.  The fence pieces are from the Picket Fence Border die set which were trimmed down to fit on each side of my card.
Here are the die sets used on my card, available in the store: