Showing posts with label Hugs Phrase. Show all posts

Thursday, February 02, 2023

Valentine Hug - New Release

 Hello Friends

IT'S NEW RELEASE TIME!  The collection is called Flowers and More.  The whole set is on sale at a bundle price of 50% off and individual dies are at 30% off.  The unique thing about this release is that there are not as many pieces in each of the dies.  So they go together really quick and easy!

I am making one last Valentine with one of the beautiful flowers.  The flower is called Flower 4.  To me it looks like a carnation which I love.


Design Steps:

1.  I cut a couple of the flowers in white trying to decide which to use and I decided on Flower 4.
2.  Using my Copic makers I colored the flowers: G99, G94, G21, YG63 for the stems R22, R02, R01 for the flowers.  I glued them together with a fine tip glue

3.  The card base is white 5 x 5
  • cut a piece of DP 4 7/8 x 4 7/8  
  • using the Hug Phrase die cut it out of white twice then glue together
  • using the Be My Valentine Puppies die cut out the heart in white

4.  Glue the DP to the white card base.  Glue the heart to the center of the card slight toward the top as shown.  Last glue down hugs leaving the letter s with no glue until you slip in the flowers or you can glue the hugs down last

5.  Place your flowers and glue to the card as shown above

6.  Add the ribbon to the top left of the heart and add the pearls in the center of the flowers.  Your card is now complete

CottageCutz Products


Here is just a peek at the new release to see it all click HERE


We have more inspiration on our YouTube Channel check it out HERE

Thanks so much for stopping by!  And I will see you next Thursday.

Blessings and Take Care


Friday, April 09, 2021

Sending Hugs Slimline Card

Happy Friday!  I'm so excited - there is a new release of SLIMLINE DIES!  These are wonderful, basic dies that should be a part of every card maker's collection. My card today utilizes several of these dies along with an adorable mouse from the Spring release.

Here is how I created the card:

I started by using the second largest of the Stitched Rectangles Slimline dies to cut two panels - one from white and the other from green cardstock. 

I then used one of the Grass Slimline dies to cut a strip of grass.  By cutting the grass from the Stitched Rectangle first the stitching continues around the whole rectangle when they are glued together.

I then used the Clouds Slimline to make three stencils for my background.
Using a blending brush and Distress Oxide ink I stenciled the clouds.
I glued the grass to the background making sure I only glued the bottom and side edges (so I can slip my image under the grass.)  I stamped my "sending" sentiment and adhered the Hugs Phrase.  I placed a self adhesive sheet on the back of Hugs before die cutting to make this easier to place on the card.

Next I cut my image using the Mouse w/Flower Cart die.  The image is colored with a combination of Distress Oxide inks and Copic markers.

I wanted to use this yellow flower paper for my panel to cover the card base.  Because it was so lightweight, I cut a panel from lightweight white cardstock using  the largest of the Nested Rectangles Slimline dies.  I cut the floral from the largest of the Stitched Rectangles and glued them together.
I tucked my mouse and cart under the grass and adhered the image panel to my floral panel.  This all was glued to a card base.

I hope you've enjoyed my card today.  These slimline dies allow so many creative possibilities for your card making.  They are on sale for a limited time (52% off the bundle or 25% off individual dies) so please visit the online store.  There is also an Anniversary sale with up to 60% off select dies!

Dies used:


Thanks for visiting today!  I hope you have a fun and creative weekend!


Friday, September 20, 2019

Teacup Christmas Kitty

Happy Friday!  It's Jeanne today with a die from the new Christmas release.  When I saw this Kitten in Teacup die I fell in love.  The kitty is so cute and although it is a Christmas die, it doesn't need to be.  Just take off the Santa hat and holly and it can be used all year long!
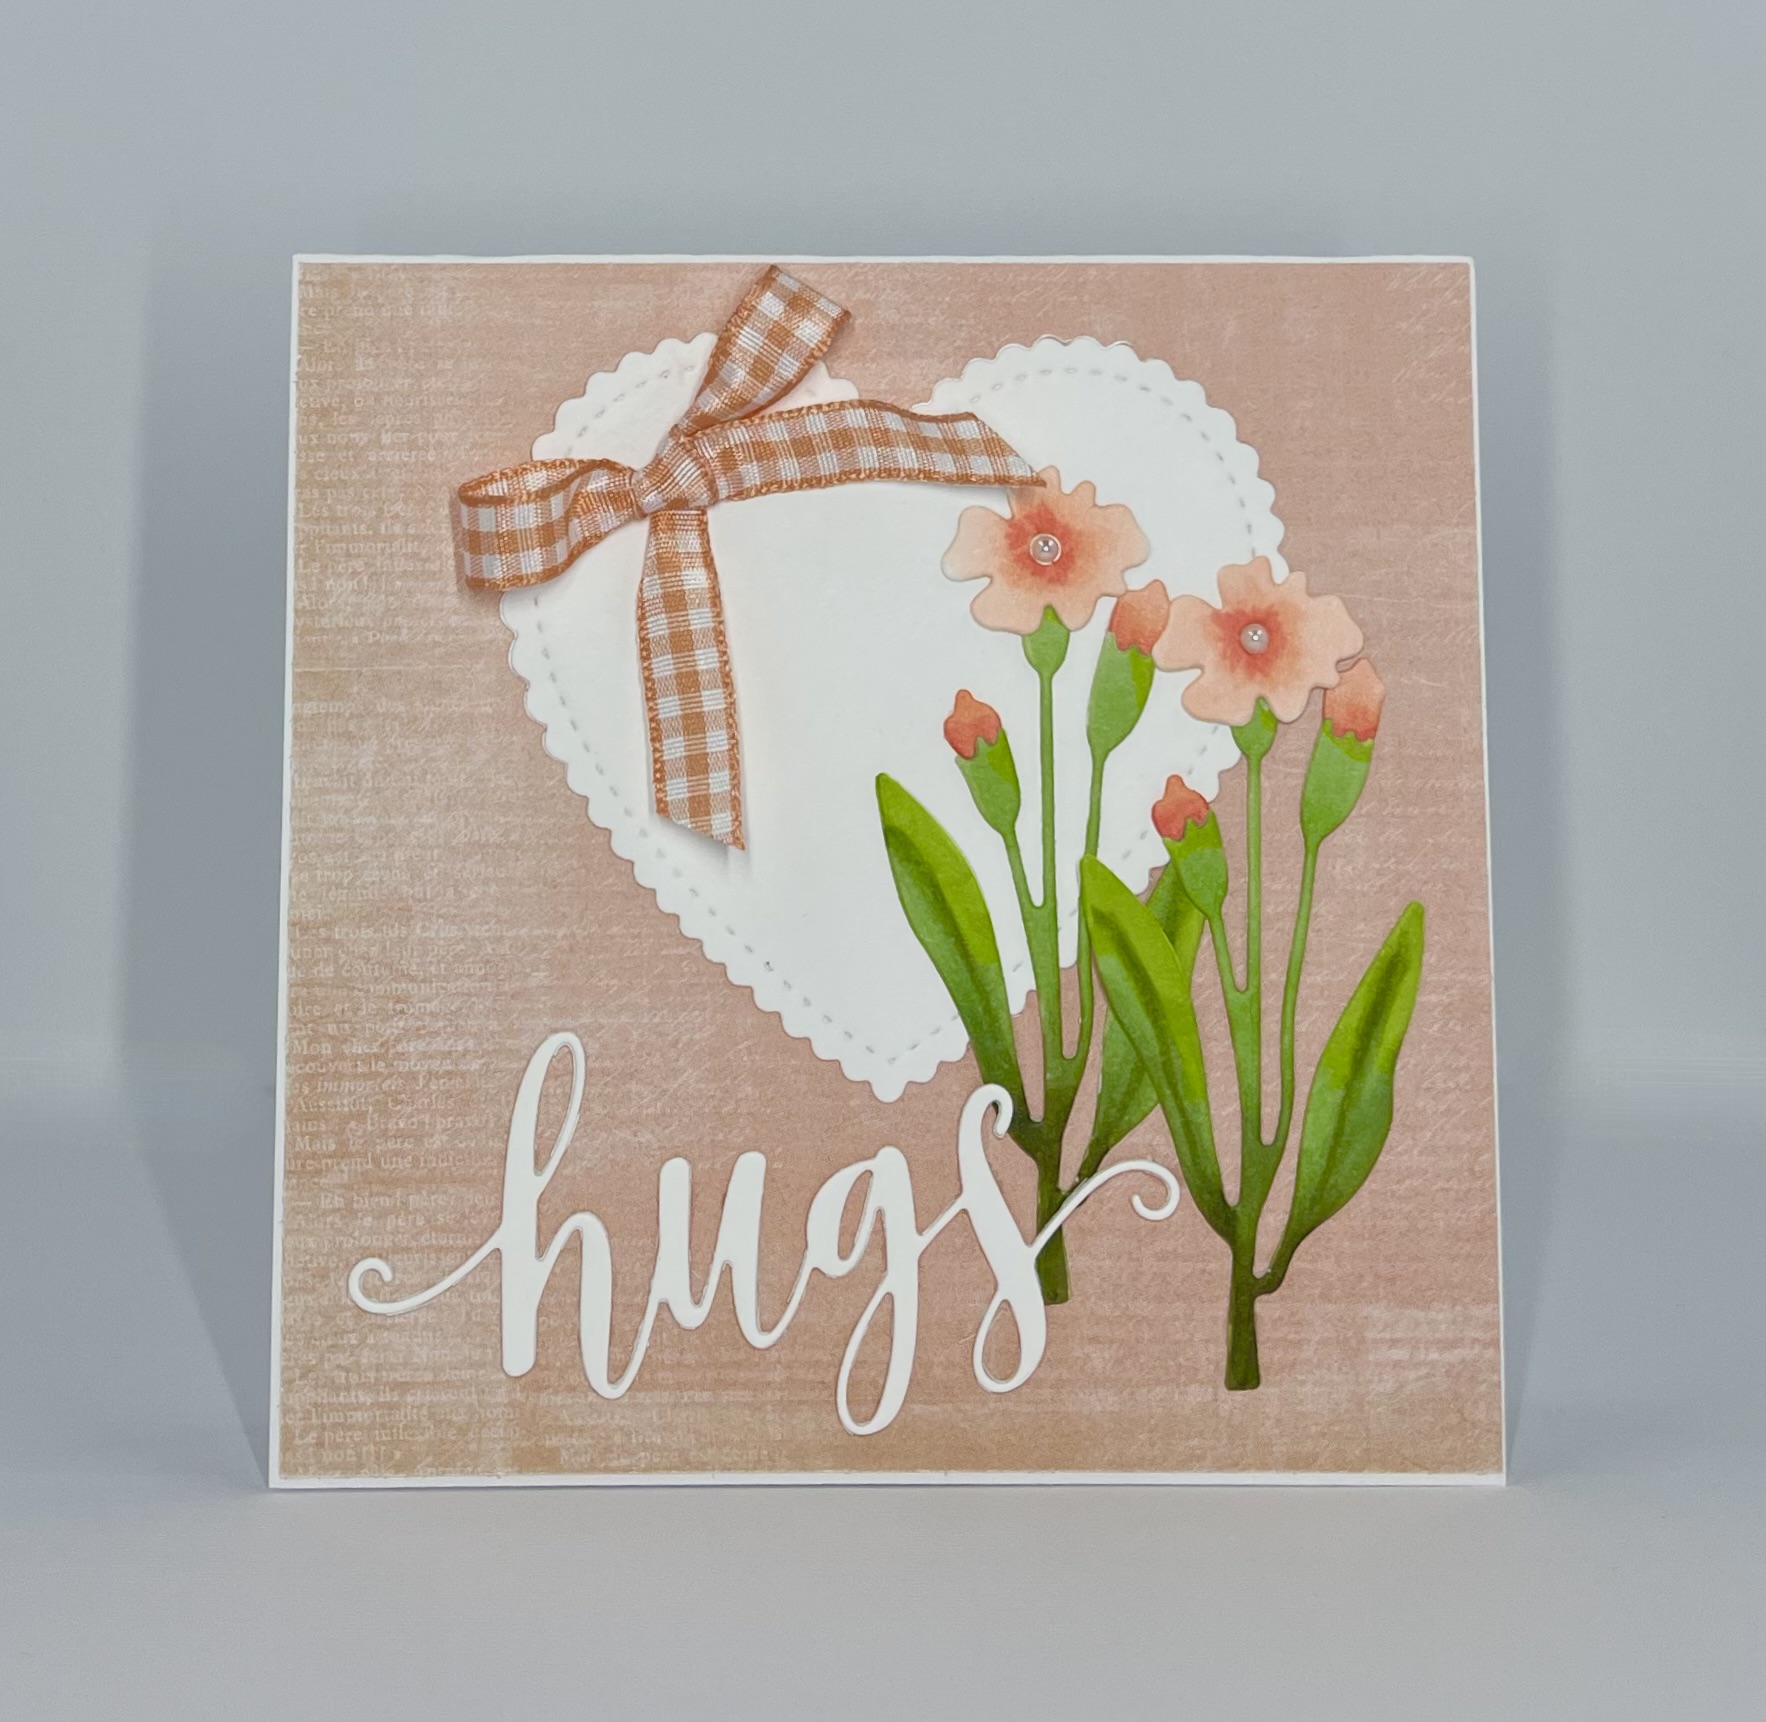
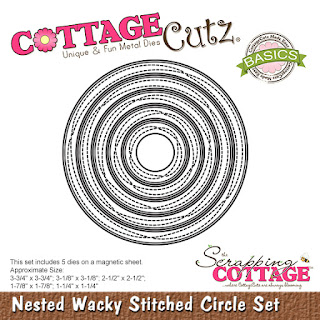
To start I chose some Christmas paper so I would have my colors.  I like the two tones of red in this pattern.  I cut an A2 panel and a circle in vanilla using the second largest of the Wacky Stitched Circle dies.
Then I cut my pieces using various colors of card stock.  I cut two sets of paws, one grey and one white as I wasn't sure which ones I wanted to use.  I used two shades of red - bright for the hat and berries, and a dark for the saucer and teacup decoration.  For the greenery, I used an older Christmas die in two shades of green. To make the teacup a bit "fancy" I cut the rim in gold to match the sentiment.
Using a fine tip liner pen I colored his eyes.  I used Distress Oxide ink and a sponge dauber to tip the edges of the cup, cat, paws and hat pompom and band.  This gives them a little bit of depth.
I assembled my teacup and kitty on a silicone mat.
The I assembled my card front, angling my sentiment and using a thin gold washi tape down the left side.
My kitty is popped up using foam dots on the back.  I adhered the panel to a vanilla A2 card base.
As you can see, I decided on the white paws.  I think this card will be my Christmas card for a friend who adores her gray and white cat.  (And it has white paws!)

Don't forget to stop by the online store where the new Christmas release is 25% off for a limited time.  They are adorable and the design team is looking forward to sharing them with you!

Dies used:
http://www.scrappingcottage.com/cottagecutzkitteninteacup.aspx

http://www.scrappingcottage.com/cottagecutzexpressionsplushugsphrase.aspx

http://www.scrappingcottage.com/cottagecutzchristmasfloral2.aspx
http://www.scrappingcottage.com/cottagecutznestedwackystitchedcircleset.aspx

Thanks for joining me today.  I hope you have a fun and creative weekend!

Friday, January 25, 2019

Sending Hugs!

Happy Friday!  It's Jeanne posting today and I have a card that can be either a thinking of you card, or if you change the colors, a Valentine's Day card.
This card uses the new Puppy Love Letter die along with the Hugs Phrase and Kitty Love Mail Dies.

To start I cut all the pieces from white card stock.
This card has a lot of pieces and one of the things I do when working with many pieces is divide them into specific items - the dog, the mailbox, etc. - and put like pieces in small plastic containers.  (In the past, I have also used a muffin tin for this.)
I took the pieces for my dog and cat, colored them with Copic markers and glued them together.
Then I colored the rest of the pieces and assembled them.
For my card base I used a piece of 4 1/8" x 5 3/8" designer paper and glued that to an A2 Highland Heather card base.  I wanted to have a spring-like look so I decided to use a yellow background.  The first image a put down was the kitty and mailbox.

I then adhered the word "Hugs" and used foam dots to pop up the puppy and letter.  I'm very pleased with this card - it would be perfect for a friend who needs a pick-me-up or as a Valentine's Day card!

Dies:
http://www.scrappingcottage.com/cottagecutzpuppyloveletter.aspx

http://www.scrappingcottage.com/cottagecutzkittylovemail4x4.aspx
http://www.scrappingcottage.com/cottagecutzexpressionsplushugsphrase.aspx

Thanks for visiting today!  Don't forget to stop by the online store where the new Valentine's and St. Patrick's Day dies are on sale for a limited time!