Showing posts with label Halloween Wreath. Show all posts

Monday, December 12, 2022

Peppermint Shaker

Happy Monday Scrapping Cottage Friends!

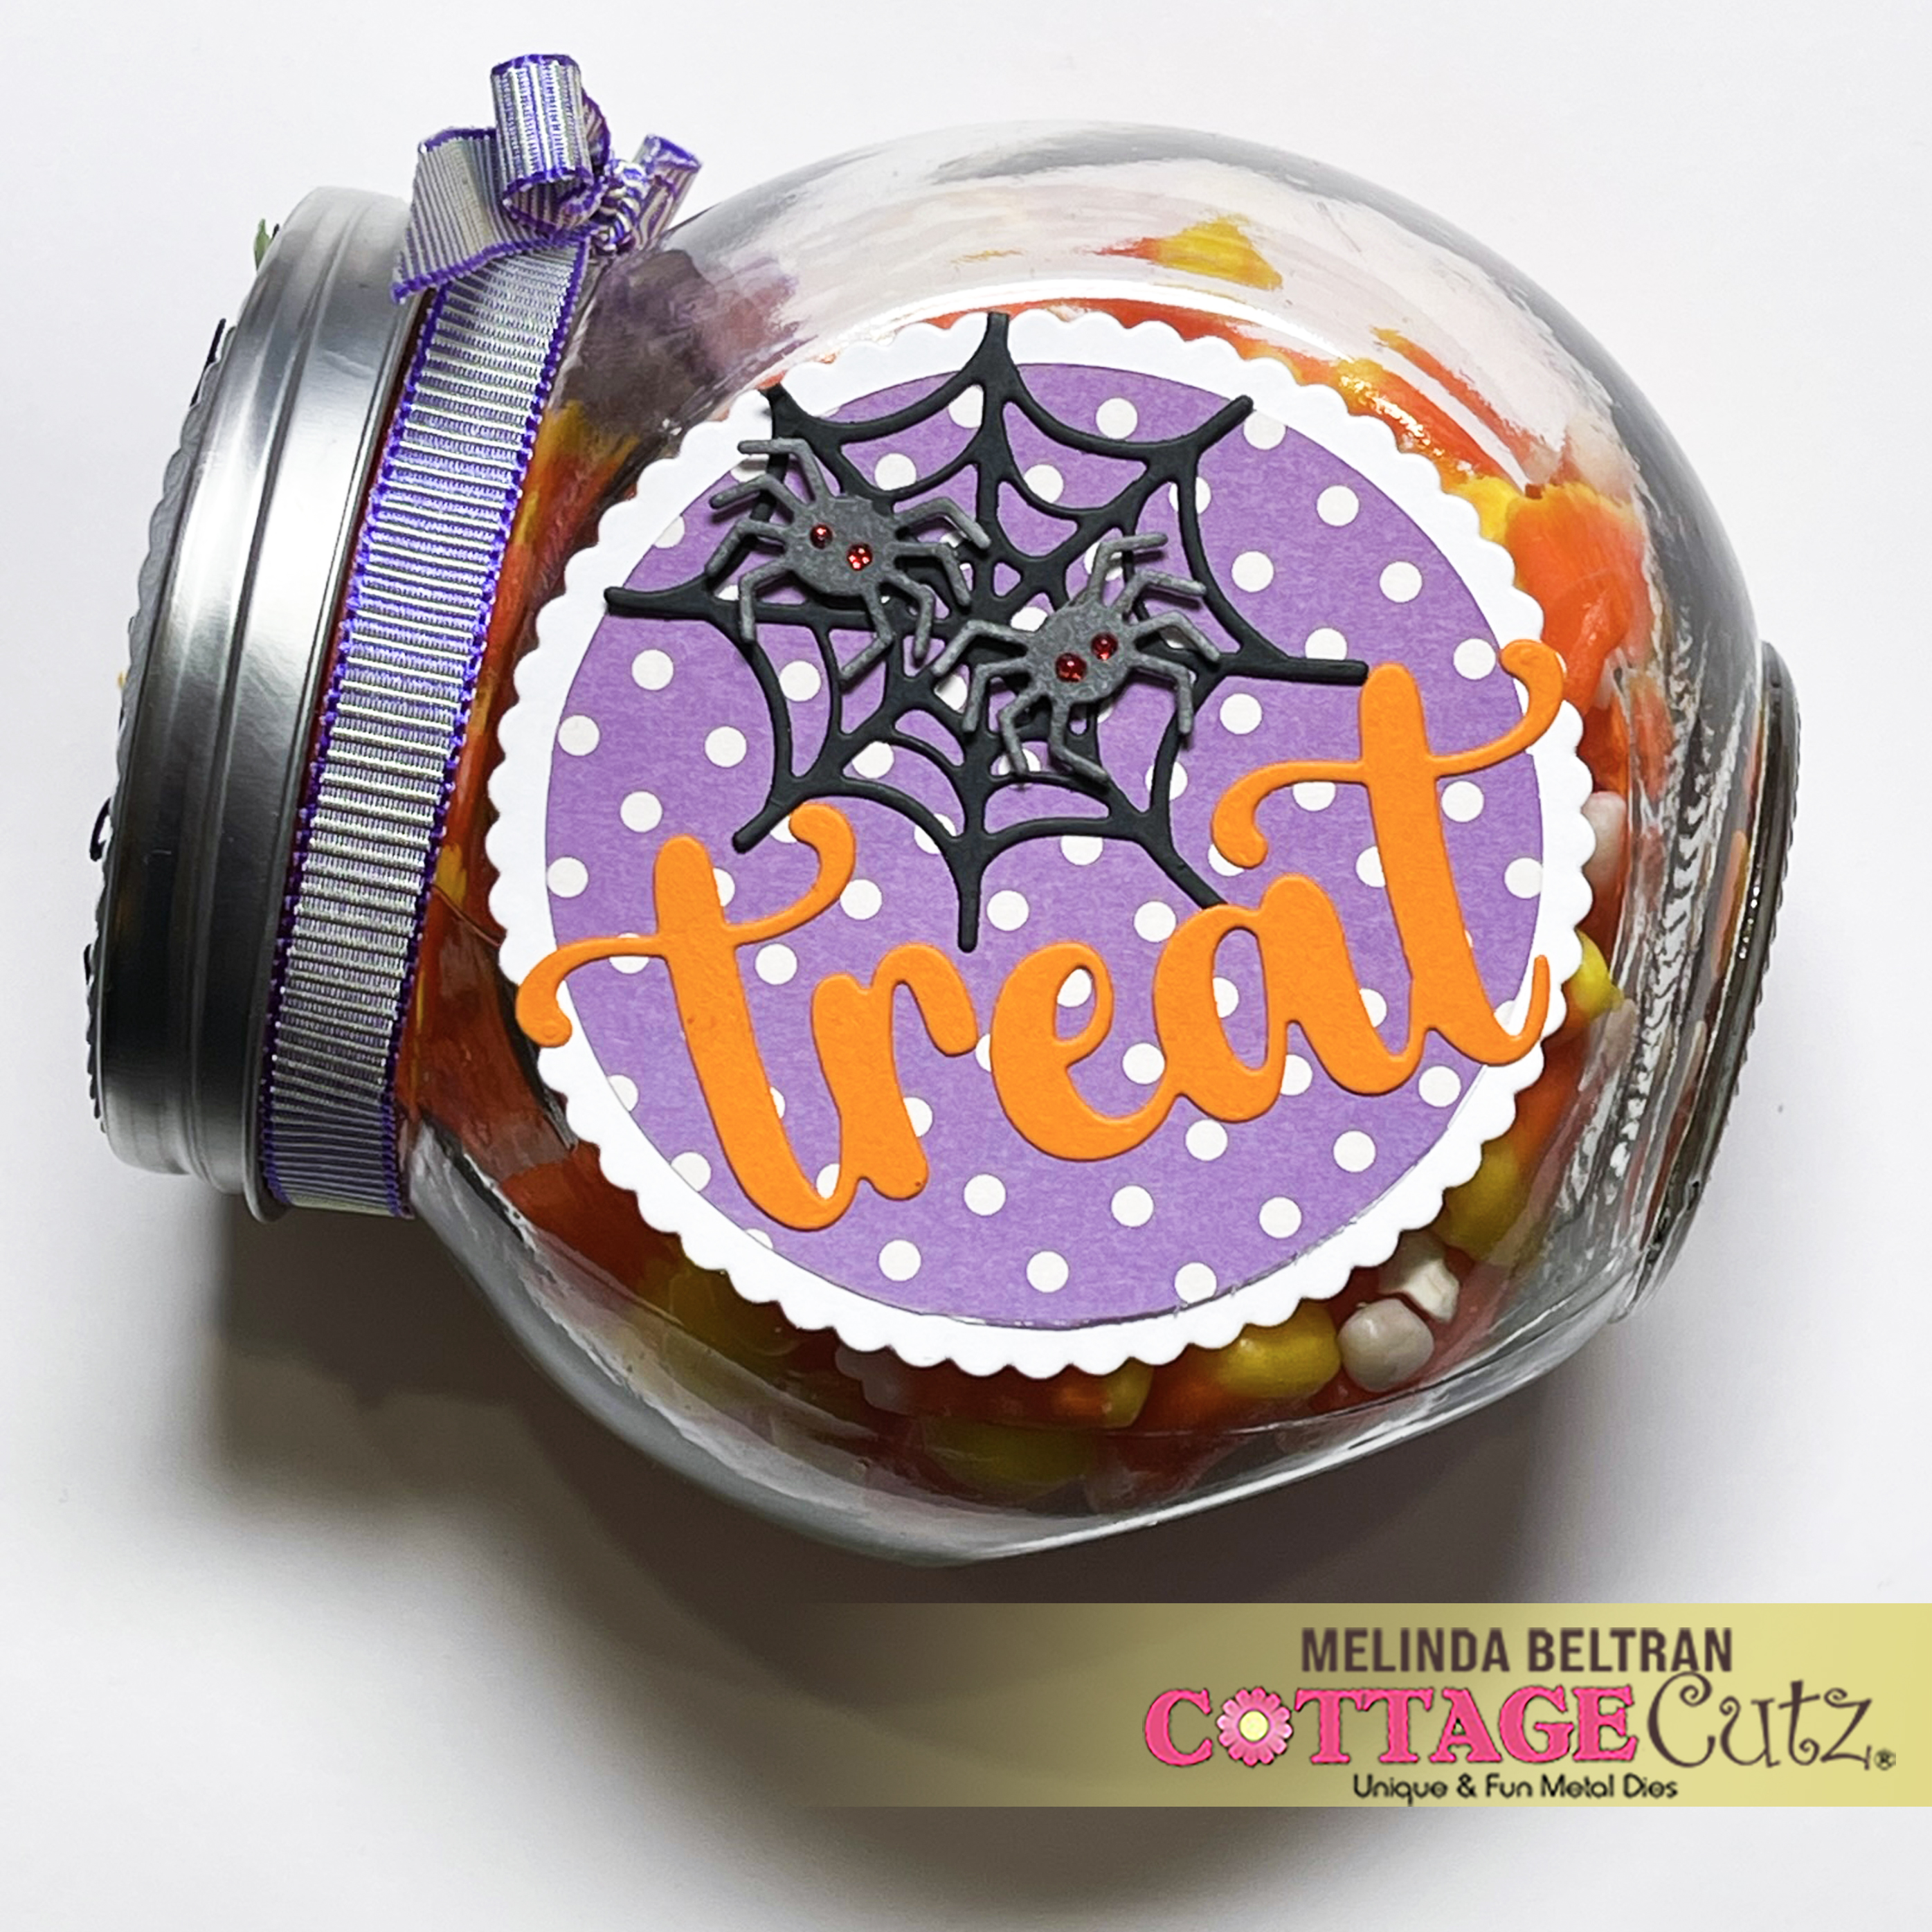
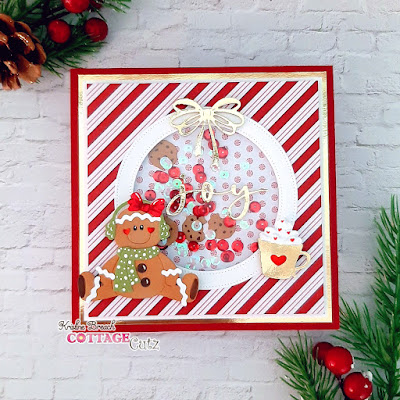
Kris here to share a tutorial with you on this cute shaker card featuring some dies from the Christmas Release #2 and more! 


I am a Guest Designer this month for the Color Challenge  at SplitcoastStampers and the colors this week are Real Red, Old Olive and Poppy Parade (CC925).  The dessert option is to use a 4th color.  I added in some Cinnamon Spice for the gingerbread girl. 


DESIGN STEPS:

CUTTING:
Red Cardstock =  Cut a 5-1/2" x 11" - score at 5-1/2"

Gold Cardstock  = Cut a 5-3/16" square
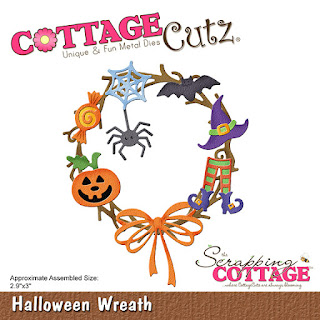
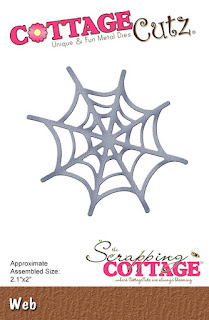
Die cut the bow from the Halloween Wreath 
Die cut the Joy from the Peace & Joy Wreath

White Cardstock = Cut a 5" square
Die cut largest die from the Pierced Wide Circle Frame set 

Crumb Cake (or Kraft) Cardstock =

Peppermint Patterned Paper = 4-3/8" square
Acetate or Window Sheet = 4-3/8" square
Candy Cane Striped Paper = 4-3/4" square


ASSEMBLING:
• Fold and burnish red card base
• Attach gold square in center of card front
• Attach white square "
• Attach peppermint square "


• Using the 3rd largest die from the Pierced Circle Set, cut a circle from the center of your 4-3/4" square patterned paper (Candy cane striped paper).

• Add glue close to the circle opening of that patterned paper, and attach the white circle frame.

• Attach acetate/window sheet to the back of that paper.


• On the back side of your striped paper, add foam strips around the circle opening and around the straight edges, then remove the backing (from the foam strips).


• Add shaker elements to the center of your card front.  I used some of the cookies from the Cookies & Cocoa die, as well as some white and red sequins.


• Optional - use a used dryer sheet on front and back of your window sheet to reduce static and prevent sequins from "sticking" to it!  This really does work!!  :) 


• Carefully center your window layer on top of your card front so that there's equal amount of white border and press down.


• Ink blend Rusty Hinge Distress Ink to your ginger girl.

• Color her bow red, scarf and earmuffs Olive green, and buttons dark brown.  Add white gel pen polka-dots to the scarf and highlights to the bow and buttons.


• Glue "Joy" to the center of your shaker.

• Attach Ginger girl and cup of cocoa with foam dots.


Thanks so much for looking today!  
I hope you are inspired to create something fabby with your favorite CottageCutz dies! 

~Kristine 

PRODUCTS I USED:


Saturday, October 15, 2022

Halloween Treats in a Pillow Box

Hello CottageCutz friends! Thanks for taking the time to stop and visit with us today. It's Mary Marsh here bringing you the Saturday edition of the Blog.

It's new release time!!! We have new dies in the online store. Our Christmas Part 2 release with 36 new designs is available and ready for shipment. There are 3 different bundles available. The individual dies are on sale for 30% off.  It's only for a limited time so don't delay.  You are going to love all the whimsical designs that are available in this release. There is something for everyone.

And we still have the Halloween release with 22 new designs. They are on a 30% off sale as well. So many fun and spooky designs that are perfect for your Halloween card-making, Scrapbooking or making treat boxes. The CottageCutz dies are so versatile, and the DT has been showing samples of all these different ways of crafting. 

Today I am featuring a Halloween pillow box. A friend asked if I could make a treat holder to send into her son's 2nd grade class for a Halloween party. I used an older die -the Pillow Box Plus to create the treat holder. It's retired and available at 72% off retail. It could be used for so many occasions not just Halloween. 

Design Steps:

I started by cutting the pillow box. I used various Halloween themed designer paper from my stash. The die cuts in one piece with the fold lines scored for you. You simply fold, tape and the box is done and ready for decorating. I used Scor-tape to make sure the box stays together after adding the treat. 
On this photo I turned the designer paper over so you can see the fold lines the die creates. 
This photo shows where I applied the Scor-tape to secure the box. I only taped one of the flaps so my friend can fill these with the treats.
Next, I cut images from the Potions Bottles in cardstock for my first box. I thought these bottles would definitely appeal to the boys in the class. I found some cork paper in my class and used that for the bottle corks. 
I stamped several different sentiments. This one is on a label that is part of the Pillow Box die. Some of the sentiments I stamped on labels that were part of a Halloween collection kit from my stash.  
Now I am ready for the assembly of the boxes. This is the first box design. I used one of the potions bottles, bat designer paper and a stamped trick or treat phrase. 
This is the 2nd box design. For this one I used the Cute Ghosts die and the Stitched Alphabet die. 
The 3rd design is using the Potions Bottles and a sentiment stamped on one of the labels from my stash. 
The 4th design is using the Web & Halloween Wreath dies. I just used the spider and bats from this die. 
Well, that's it for me for this post. I hope I have given you some ideas for ways to use these new Halloween dies. There is still time to order and receive these dies to make your projects for Halloween.
See you next Saturday when it will be back to Christmas.

Dies I used to create projects:


Tuesday, October 11, 2022

Halloween Decorated Treat Jar

Happy TuesDIE Cottage Cutz Friends!
Melinda here with you on this terrific Tuesday. Today I am sharing a little treat jar I decorated with some dies from the super cute new Halloween Release.
Here is a look at my cute little jar. It is a mini glass candy/apothecary type jar I picked up at the Dollar Store. I decided to decorate it with several of the dies from the Halloween release.
Here's a closer look at the lid. To decorate it I started with the super cute Candy & Bucket die. I mounted that onto a purple polka dot circle mat. I used a black wreath from the Halloween Wreath die and then mounted all of that onto the nested scallop die.


Here is a closer look at one side. I used the same polka dot paper for the circle mat and mounted that onto the white scallop nested die. I then cut out the word Treat from the Trick Or Treat Phrase. Then I used one of the adorable kitties from the Spooky Kitties die and decorated my little furry friend with the hat and the cute little handkerchief.

For the other side I once again used the same scallop circle and plain circle polka dot mat. For this side I once again used the word treat from the Trick Or Treat Phrase die. For this side I added the spider web and two of the spiders from the Jack O Lantern Witch.
Here is a view of the jar opened up. I finished it off by tying a bow with some ribbon around the neck. I added in some of Halloween's most recognized treat, some candy corn! I love how this turned out and will be taking it to work.


Don't forget to head over to the CottageCutz YouTube channel and check out all of the amazing projects on there. Our video team is doing a wonderful job of filling the channel with all sorts of creative content! You don't want to miss it!


Web


Nested Scallop Die set


Here's a look at the entire release. Be sure to head over and grab them while they last!

Well that about covers it for today! Until the next time, have a wonderfully craft-die day!
Melinda Beltran

Saturday, October 08, 2022

Cute Halloween

Hello CottageCutz friends! Thanks for taking the time to stop and visit with us today. It's Mary Marsh here bringing you the Saturday edition of the Blog.

It's new release time!!! We have new dies in the online store. Our Christmas Part 2 release with 36 new designs is available and ready for shipment. There are 3 different bundles you can pick up at 50% off retail.  It's only for a limited time so don't delay.  The individual dies are on sale for 30% off. You are going to love all the whimsical designs that are available in this release. There is something for everyone. 

And we still have the Halloween release with 22 new designs. They are on a 30% off sale as well. So many fun and spooky designs that are perfect for your Halloween card-making. 

For today's card I am featuring the Spooky Kitties & Cute Witchy dies but just using the smiling pumpkins.  I wanted to make a simpler card that would be easy to make multiples of and isn't scary. Maybe you want to send a card to school with your child with a treat attached. Or maybe you're a teacher and you want to give a card to your students. Or you send out cards to your family or neighbors. There are lots of possibilities here. 

Design Steps:

I started by selecting my papers from a cute Halloween collection I had from last year. I thought the dotted designer paper would just add to the fun of the card. I paired it with the bright colors that are in the designer paper.  

Light purple card base: 4 1/4" x 5 1/2"
Pumpkin layering panel: 4 1/8" x 5 3/8"
Designer paper panel: 4" x 5 1/4"
Image Panel: purple layer - Stitched Rectangle die (2nd largest - 2 7/8" x 3 7/8") 
White Layer: 2nd largest Rectangle die (2 3/4" x 3 3/4") 
Next, I cut the pumpkin images with orange & black cardstock. 
I stamped my sentiment in a grape ink with the help of my MISTI. It did require a 2nd inking. The sentiment had some other words on it that I didn't want to use so I just masked them off and inked the part that I did want. 
Now that all my elements are prepared, I am ready to start card assembly. I attached the pumpkins to the image panel. I added my smile phrase using the Smile w/Shadow die.  
This panel was added to the card base with double sided tape. I wanted to add some ribbon to my card but since this is going out in the mail, I knew that would make it a bit bulky. So I added a 3/8" strip of purple cardstock across the panel and then cut the bow from the Halloween Wreath die. 
To finish off the card, I added a few pumpkin-colored enamel dots. 
Well, that's it for me for this week. Make sure you visit again tomorrow; we are having Part 2 of the DT group post. The team has created some great samples.

Reminder:  Our YouTube Channel has a new video featuring a princess card using the Halloween dies from Linh Van. There is a giveaway for being a subscriber, liking the video and leaving a comment. Click here.

Dies used to create card: