Showing posts with label Double Stitched Rectangle. Show all posts

Tuesday, December 26, 2023

Thank You Berry Much Card

Hey crafty friends,
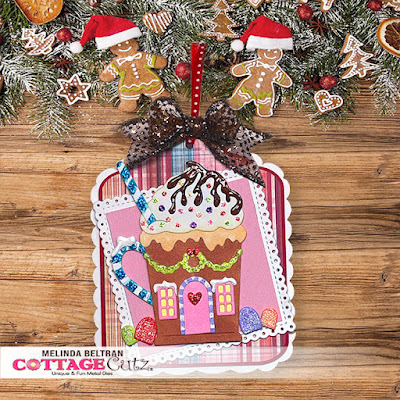
So glad you stopped in today! Whew what a whirlwind this holiday season has been.... but wait it's not over yet...lol! We still have the new year coming. Today it's my turn to share here on the Cottage Cutz blog...so I wanted to take a break from all the holiday "stuff" and create a thank you card that is completely out of this season...
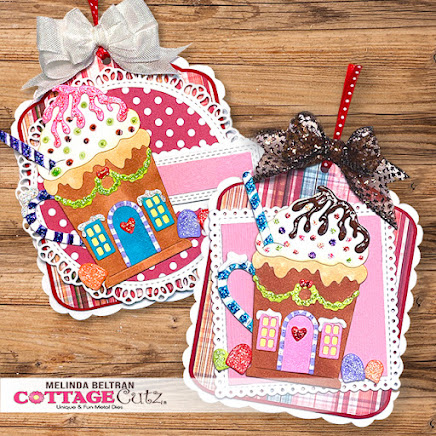
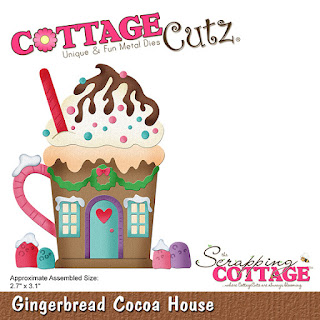
I needed a thank you card, so I decided to go with a fun, bright and very spring"ish" card. I used the new Strawberry Thank You Berry Much die that was part of the recent Black Friday release. This die is a fantastic one to have in your craftty arsenal!

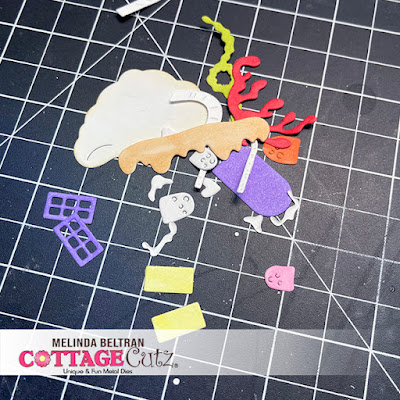
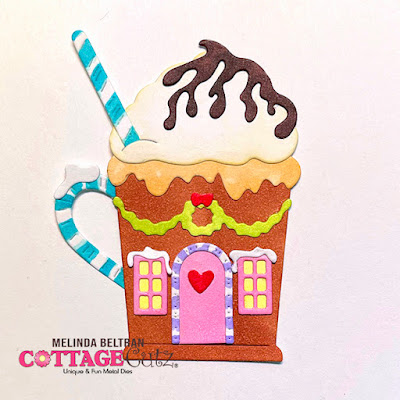
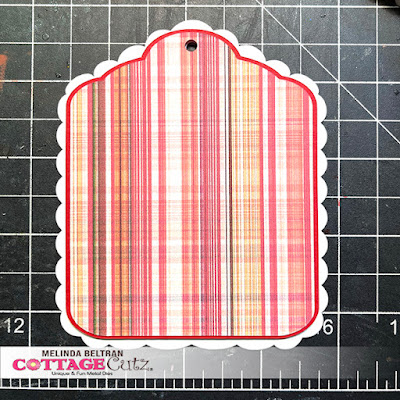
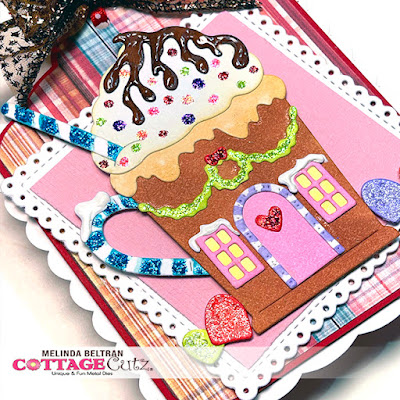
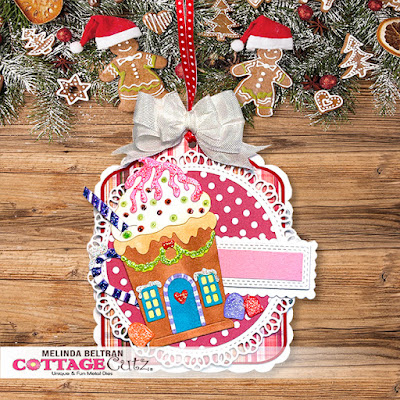
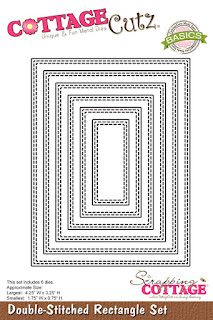
Here's a closer look at the berry. I cut it out in white and also some patterned paper. I did ink the edge of the large berry and then added the white letters. I then used the Strawberry plant die and added the flowers and the smaller strawberries. I anchored all of the berrylicious goodness onto a double-stitched circle cut from some patterened paper. Lastly, I used the double stitched rectangle die and cut that out in white. I added a multi-colored polka dot mat to that and then seated all of that onto my card base that has another patterned paper mat. I do like to put lots of layers on my cards.

This is a quick and easy card that you can recreate very fast and in a variety of themes to have on hand.

Dies Used For This Project
Strawberry Plant

Sentiment, Thank You Berry Much


Well, that about covers it for today. Be sure to come back real soon. You will want to keep up with my crafty adventures! Until the next time, have a wonderfully crafty day!
Melinda

Saturday, May 06, 2023

O Snap Card

Hello Cottage Cutz friends,
Melinda here with you today. I am sharing a fun and quick card for that time when you "forget" someone's birthday or "special" day.

Here is what I created. It is a horizontal A2 card base from white cardstock. I then used a green cardstock for the base mat. I used some cute patterned papers from Doodlebug and matted them with a black cardstock mat as well as a double stitched rectangle mat. I also used the double stitched oval die for the base of the title and to put on the camera. I used the sweet little Elephant die and one of the birthday hats. I also used the cute Celebrate Banner. I colored in all those sweet little heart and stars. I then used the cute little camera and then used the Lemonade Stand title for the sentiment.


Here is a closer look at the banner. I cut it out in white and then colored in the various stars and hearts with my markers. This sweet banner is from the Celebrate Banner die.

Here is a closer look at the Camera. I also put on the title O Snap I created. I adhered all of that to one of the Double-Stitched Oval Dies. I cut it out in white cardstock so the camera and title would really pop. 
I used the O from the lemonade title. I then used the title stand and created the word snap by cutting out the "t" and flipping the "d". I also moved the n in front of the a. This is from the Lemonade Phrases die set.


Here is a closer look at the sweet little elephant from the Festive Elephant Die set. I colored him with my gray markers and some chalks. I used one of the birthday hats from the Party Hats die to dress him up. I used some stickles for some extra touches.


Here is one last look at my finished card. I think it turned out super cute!

Dies Used


Well that about covers it for today! Be sure to stop back by and see what the other super talented designers create and don't forget to check out Cottage Cutz on YouTube!

Until the next time, have a wonderfully crafty day! Melinda.

Sunday, October 24, 2021

Gingerbread Cocoa House Christmas Tags

Happy crafty Sunday Scrapping Cottage friends! Melinda here with another fun, cute project featuring some of the fabulous dies from the 1st Release of Christmas! Here's a look at what I created.


 They feature the adorable Gingerbread Cocoa House die. It is one of the new dies in this season's 1st Christmas Die release. Now is the perfect time to pick them up! They are 30% off and they are terrific! They will make your holiday crafty projects look fabulous! The two tags are approximately 3.5" wide by 4.5" high. 

I started by cutting out my dies with white cardstock. I like to do this so I can color my pieces in. Here is a photo of my coloring in progress. I bought some economy markers on Amazon for coloring. They are a budget friendly alcohol marker set and do the job just fine.

Here's a look at the Gingerbread Cocoa House
as it is assembled. It doesn't have any glitter, drops or puffy paint yet.

Here's a look at the first tag. It turned out so sweet. I layered the focal die cut piece onto a scalloped tag shape I created. I then used some brown sparkly ribbon for a bow up top.

Here's a look at the tag base. I created it and then cut it out of some white cardstock, red cardstock and then out of some patterned paper I created.


For this one I layered the cute little Gingerbread Cocoa House
 piece onto the Scalloped Stitched Eyelet square die. I also cutout a piece of pink cardstock. I then used a variety of my Stickles to give all the little pieces some sparkle. I also used just a bit of puffy paint on the dollops of snow above the windows and on the handle. For the chocolate I used some of my Nuvo Clear Drops


Here's a look at the second tag. For this one, I once again started with a tag base. I used the same pieces of cardstock for the base. I then used the largest die from the Nested Stitched Doily Set die cut. I cut out a circle from the polka dot paper I created and printed out. I then layered the cute die piece onto the circle mat.
 I also added the Stitched Scallop Rectangle, with the Double Stitched Rectangle Set to the top of that. I will write the person's name on there one I get ready to give them their gift.

The Dies I used to create my tags:


Be sure to head over and check out the fantastic
CHRISTMAS PART 2 RELEASE!!!!
SOME AMAZINGLY CUTE DIES! 

You can get the whole release for 55% OFF!!!
Don't miss out! Head over and scoop 'em up today!

Well that about covers it for today! Be sure to head over to the Cottage Cutz You Tube Channel where some of the designers will be posting videos! You can also catch us on Facebook and Instagram!

Make sure to come back by each day for some more great crafty inspiration from the super talented team. Until the next time, have a wonderfully crafty day!

Saturday, July 31, 2021

Whisking You a Happy Day (new stamps & die)

Hello Scrapping Cottage friends! Thanks for taking the time to stop and visit with us today. It's Mary Marsh here bringing you the Saturday edition of the Blog.

IT'S NEW RELEASE TIME! The Scrapping Cottage has just added a new brand to the company line. Lil' Bluebird Designs is being introduced with 16 new Photopolymer Clear Stamp Sets and 16 coordinating dies. There are stamps for so many of your card making occasions and then some. The coordinating dies just make it a perfect fit for your card making designs. 

Today for your viewing pleasure I am featuring the new In the Kitchen stamp & Coordinating die set. I created a birthday card for my next door neighbor who is an avid baker and shares many of her creations with my hubby and I. A card using these new stamps would be perfect for her. So let's get started with some details on how I created my card.

Design Steps:

I started my card by stamping and coloring the images. The coordinating dies made it so easy to cut the images.  
I used a combination of alcohol markers and Prismacolor pencils as my coloring medium. The photo below shows the markers and pencils I used. 
Before I started card assembly, I stamped the sentiment from the stamp set. I used my MISTI just in case a double inking was needed. 
Once that was done I put together my card layout. I wanted to use designer paper for the background images but I didn't have paper that wasn't overpowering the images. Then I happened to notice some washi tape that I had. So I covered a panel of white cardstock with the tape. I used the 3rd largest Double Stitched Rectangle die and the 4th largest Stitched Square die and cut from the washi tape panel I created. 
Now I am ready to start card assembly. I attached the images to the washi tape panels with glue dots and the panels to the image base with double sided tape. The vanilla image panel is 4 1/8" x 5 3/8".
To complete my card, I added a mint green card base 4 1/4" x 5 1/2" and scattered a few mint green enamel dots. 
And that's it for me for this post. I hope I have given you an idea for this new stamp & die set. Many more samples coming from the DT next week. See you again next Saturday. 


Stamps & Dies I used to create card: