Showing posts with label Christmas Farmhouse Floral. Show all posts

Monday, January 10, 2022

Woodsy

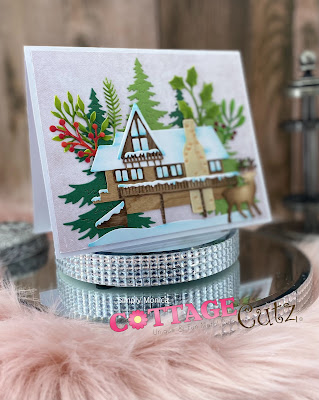
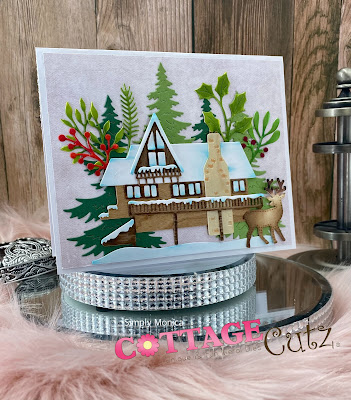
Hi everyone today I am back sharing a fun woodsy card perfect for the men in your live or just a friend just because...  I used one of the latest new releases Winter Ski Lodge along with a variety of other sets from The Scrappin Cottagge listed below.
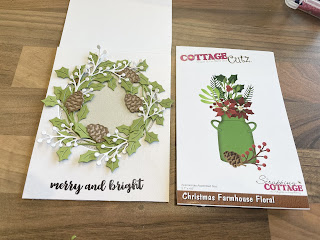
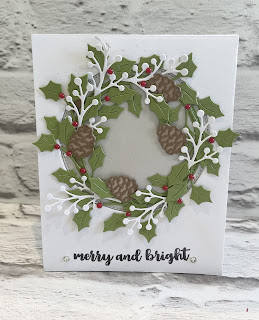
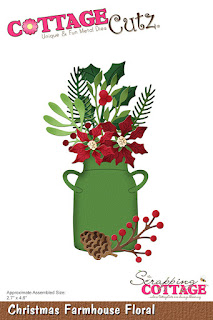
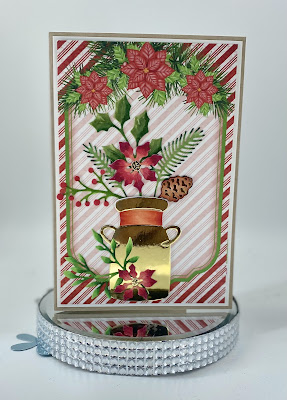
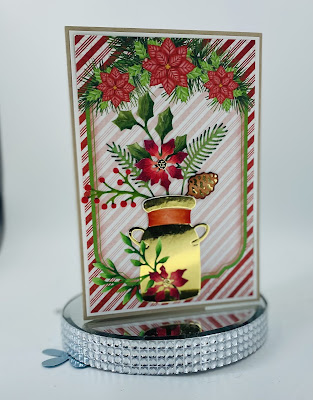
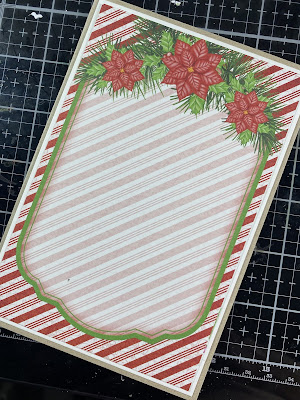
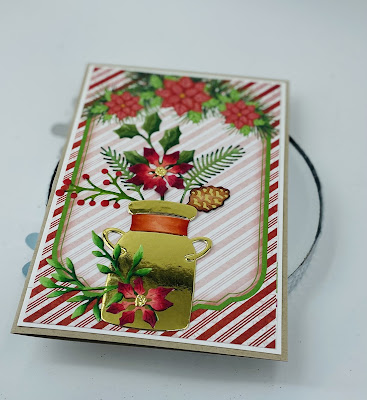
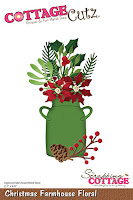
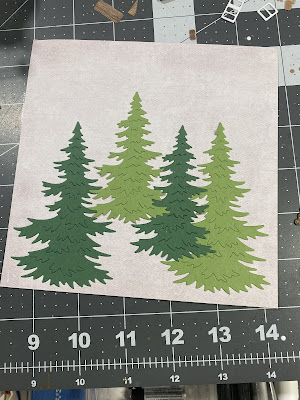
I took the trees from the Rustic Sign & Trees set to set behind my Winter Ski Lodge but to add some fun details I took various pieces from the Christmas Farmhouse Floral set and colored them with my copics to give it a different look to the greenery.
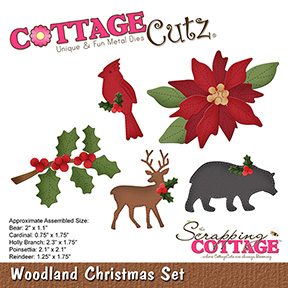
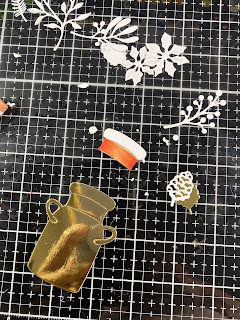
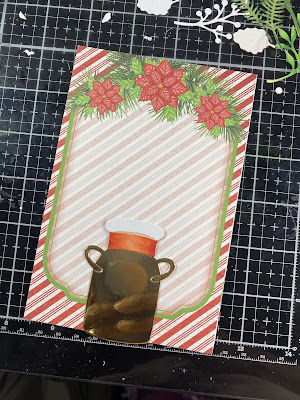
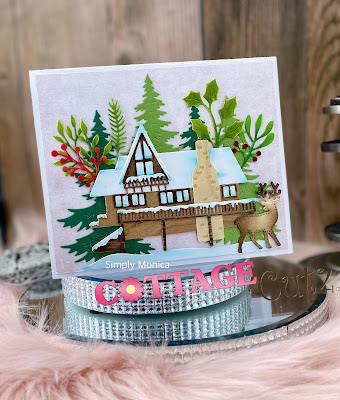
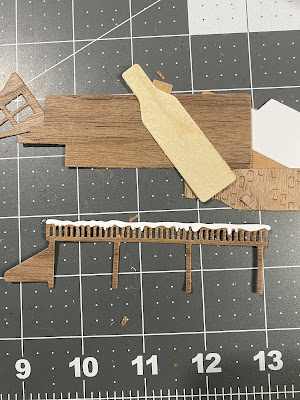
Then I used some balsa wood paper to create the ski lodge and colored various pieces with copics but also used colored cardstock for different pieces to bring everything all together.  Then I put a stitched reindeer from the Woodland Christmas set because what is a lodge without a deer around right?!!
I hope everyone enjoyed my post and welcome 2022 looking forward to an amazing year!


In case you didn't hear, The CottageCutz YouTube channel is up and running. We are featuring videos every Wednesday. Drop by and subscribe so you don't miss one and give us a thumbs up on our videos.
Products Used: 


Friday, December 10, 2021

Christmas Wreath


Dear Cottagecutz fans. Thank you for continuing to stop by to see the blogs each day, it means so much. It’s Wendy bringing you the blog today and I have a very simple stylish card for you.

To begin with I cut a piece of card when folded measured 5.5” x 4.5”. I also cut another piece of card the same size and cut a 4’ hole just above the centre as i wanted to add a sentiment to the bottom of the card. I then stuck the single piece of card onto the main card with 1mm foam pads.

Next I cut a great piece of card in grey, which was the same size of the hole I cut in in the main card and attached the alcove in the card with glue adhesive.


Here is the design bis far


Next, I wanted to create a wreath and the best way of doing this is to create a ring. I made this from the ‘Nested Stitched Circles’ sizes, 3” x 2 3/4”


Once cut out I decorated the started to decorate the wreath before sticking down to the card. I used the ‘Christmas Farmhouse Florals’ to do this. I took some green holly, top tip, take the end off the holly as it sits better without it. Add some white mistletoe and then a few pine cones to finish. Attach to the main card with glue


Finally I added some red germs to look like holly and your card is complete.


Thank you for popping by today. I really hope you like the card.  It is super easy to make and will give your stash the wow factor. Have a wonderful weekend and I will see you Tuesday with another design
Hugs, Wendy

ooh and don’t forget to visit the YouTubre channel


Dies I have used:


Monday, November 01, 2021

Floral Christmas

Hi everyone.  Welcome back to the Scrapping Cottage blog today I am here sharing a Christmas card for a huge exchange I am in so I wanted to make sure it was very Christmas (if that makes sense).   I used "Christmas Farmhouse Floral" for my card today.


I used gold foil paper for the Floral jar that the flowers are held in.  I diecut it and then colored the band around the jar red to break up the color and give my jar additional pizzaz.


I then colored all the pieces with my copics and yes I am loving coloring my die pieces with my copics because you can give the pieces more depth by adding color.
To make my card front I used a piece of Christmas patterned paper and matted it against a piece of kraft colored paper to match the colors in the paper.
I then added all my diecut pieces and arranged the floral to finish off my card.
Here is an angled look and I really love the versatility of this set. 
What is so nice about this set is that it comes with so many elements this one die gives you endless possibilites so talk about a bang for your buck!  This die is definitely it!!

I hope everyone enjoyed my post and...

The CottageCutz YouTube channel is up and running. We are featuring videos every Wednesday. Drop by and subscribe so you don't miss one and give us a thumbs up on our videos.


Products Used:


Sunday, October 10, 2021

Christmas Farmhouse Floral Card and Mini Gift Bag Set

Hello Scrapping Cottage friends! I'm so glad you stopped by. Melinda here with another fun project! Today I am sharing a pretty card and little gift bag set. It features the fabulous Farmhouse Christmas die. It is one of the new dies in this month's new release. Now is the perfect time to pick them up! They are 30% off and they are FANTASTIC! They will help you get your Christmas projects done in style!

Here is my project. I created this pretty card and little gift bag set. It is the perfect set for a co-worker or teacher gift. It features the Christmas Farmhouse Floral die. 

The card is an A4 top folding card. The base is from black cardstock. I cut a mat from some plaid digital paper I created. I then used the largest Double-Stitched Oval die from the Nesting die set. It is part of Cottage Cutz Basics line of dies.


I then cut the Christmas Farmhouse Floral die from some white cardstock. I set about coloring all of the images. I picked up some markers on Amazon to give them a try. I then used some of my chalks to blend the colors.

I then used this sponge applicator to ink some dark gray ink all over. This gave the can some pretty good texture.
Here is a closer look at all the beautiful foliage and flowers you get with this one die! I layered the poinsettias and then added some touches of stickles and scattered some sequins for a little extra bells and whistles. Of course I finished off the can with a cute little organza bow.

Here's a look at just the little bag. I created the file for the little bag. I cut it out of some black cardstock. I used some more of the plaid paper I created to cut a mat for the front and back of the bag. It matches nicely with the card. I used another double stitched oval die from the set and then created a couple of mats. I layered that all underneath another of the beautiful Christmas Farmhouse Floral die set.

To finish off both of them, I added a sentiment to the smallest scallop stitched rectangle from that basics set. 
Here is one last look at the set. I think it turned out super cute and it was simple enough, that you can re-create it in multiples.

The Dies I used to create this banner:


Well that about covers it for today! Be sure to head over to the Cottage Cutz You Tube Channel where some of the designers will be posting videos! Make sure to come back by each day for some more great crafty inspiration from the super talented team. Until the next time, have a wonderfully crafty day!

Thursday, October 07, 2021

Slimline Nativity

Hello Scrapping Cottage Friends

It is Pam sharing with you today!

Our new release for Christmas is available for purchase today!!  It has 40 darling dies that would make gorgeous cards, gift tags or toppers for a gift bag.  In this new release there are 4 beautifully detailed slimline dies perfect for those of us who love making that style of card.  Today I am using one of them called the Slimline Nativity w/Wisemen.


Designer Steps:

1.  Using the Slimline Nativity w/Wisemen cut out a piece of gold foil card stock
2.  Cut your base slimline I used a 3 1/2 x 8 1/2 base in kraft card stock.  Cut a piece of snowy DP 3 1/4 x 8 1/4.  And finally for the frames I used the Nested Stitched Rectangle Slimline.  I layed the largest one down on my cutting surface and then evenly tucked in the second from the largest and cut.  I did this twice to create a more sturdy frame and glued them together
3.  Glue the snow DP to the card front next add the Nativity scene and last add dimension strips to the frame and pop it on

4.  To make the flowers I used the Christmas Farmhouse Floral die.  I used white card stock and cut 2 of the larger ones and 3 of the smaller ones.  I cut the centers out of the gold foil card stock.  Also cut out one of the branches of leaves in green card stock.  To give the flowers a little curve I used my stylus and some foam.  Rub the backs of the flowers then flip over and push down in the center
5.  Arrange 3 flowers in the right corner of the card.  And place one in the upper left corner.  To finish the card stamp your sentiment in VersaMark and emboss with gold powder

CottageCutz Products


Thanks so much for stopping by and don't forget it is never to let to start on those Christmas cards or even start to shop for our crafty friends!  One more bit of info our YouTube channel is up and running with some wonderful video inspirations check it out HERE.

Blessings and Take Care
Pam