Monday, November 14, 2022

Peace Dove with Floral

Hello friends - welcome back on this inspirational Monday ☺

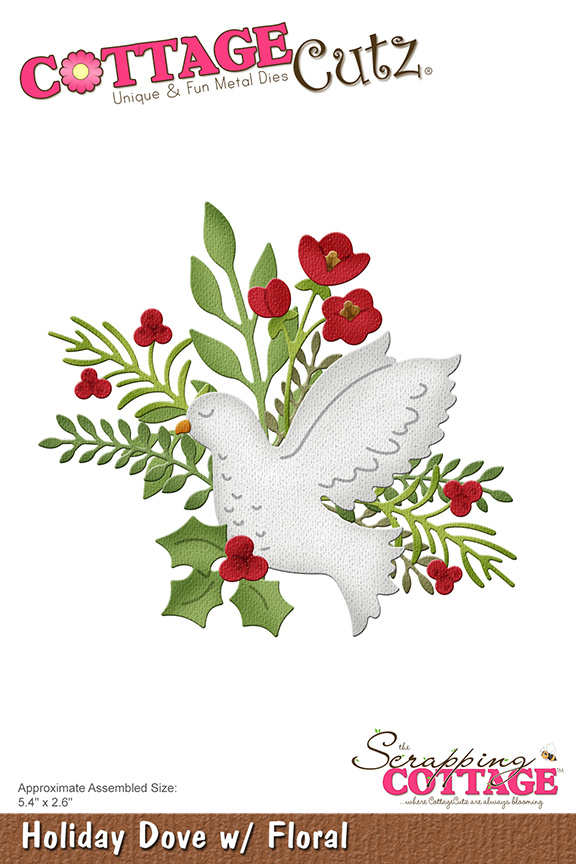
Kris here with a Christmas card featuring the Holiday Dove w/ Floral die from the Christmas Part 2 release!


I played in the color challenge at Splitcoast Stampers again (#CC921):


I got out my Let It Snow 6x6" paper pad from Doodle Bug Designs and found a paper that had all those cute colors in it!  So even though it is flowery, I think it totally goes with this beautiful die!
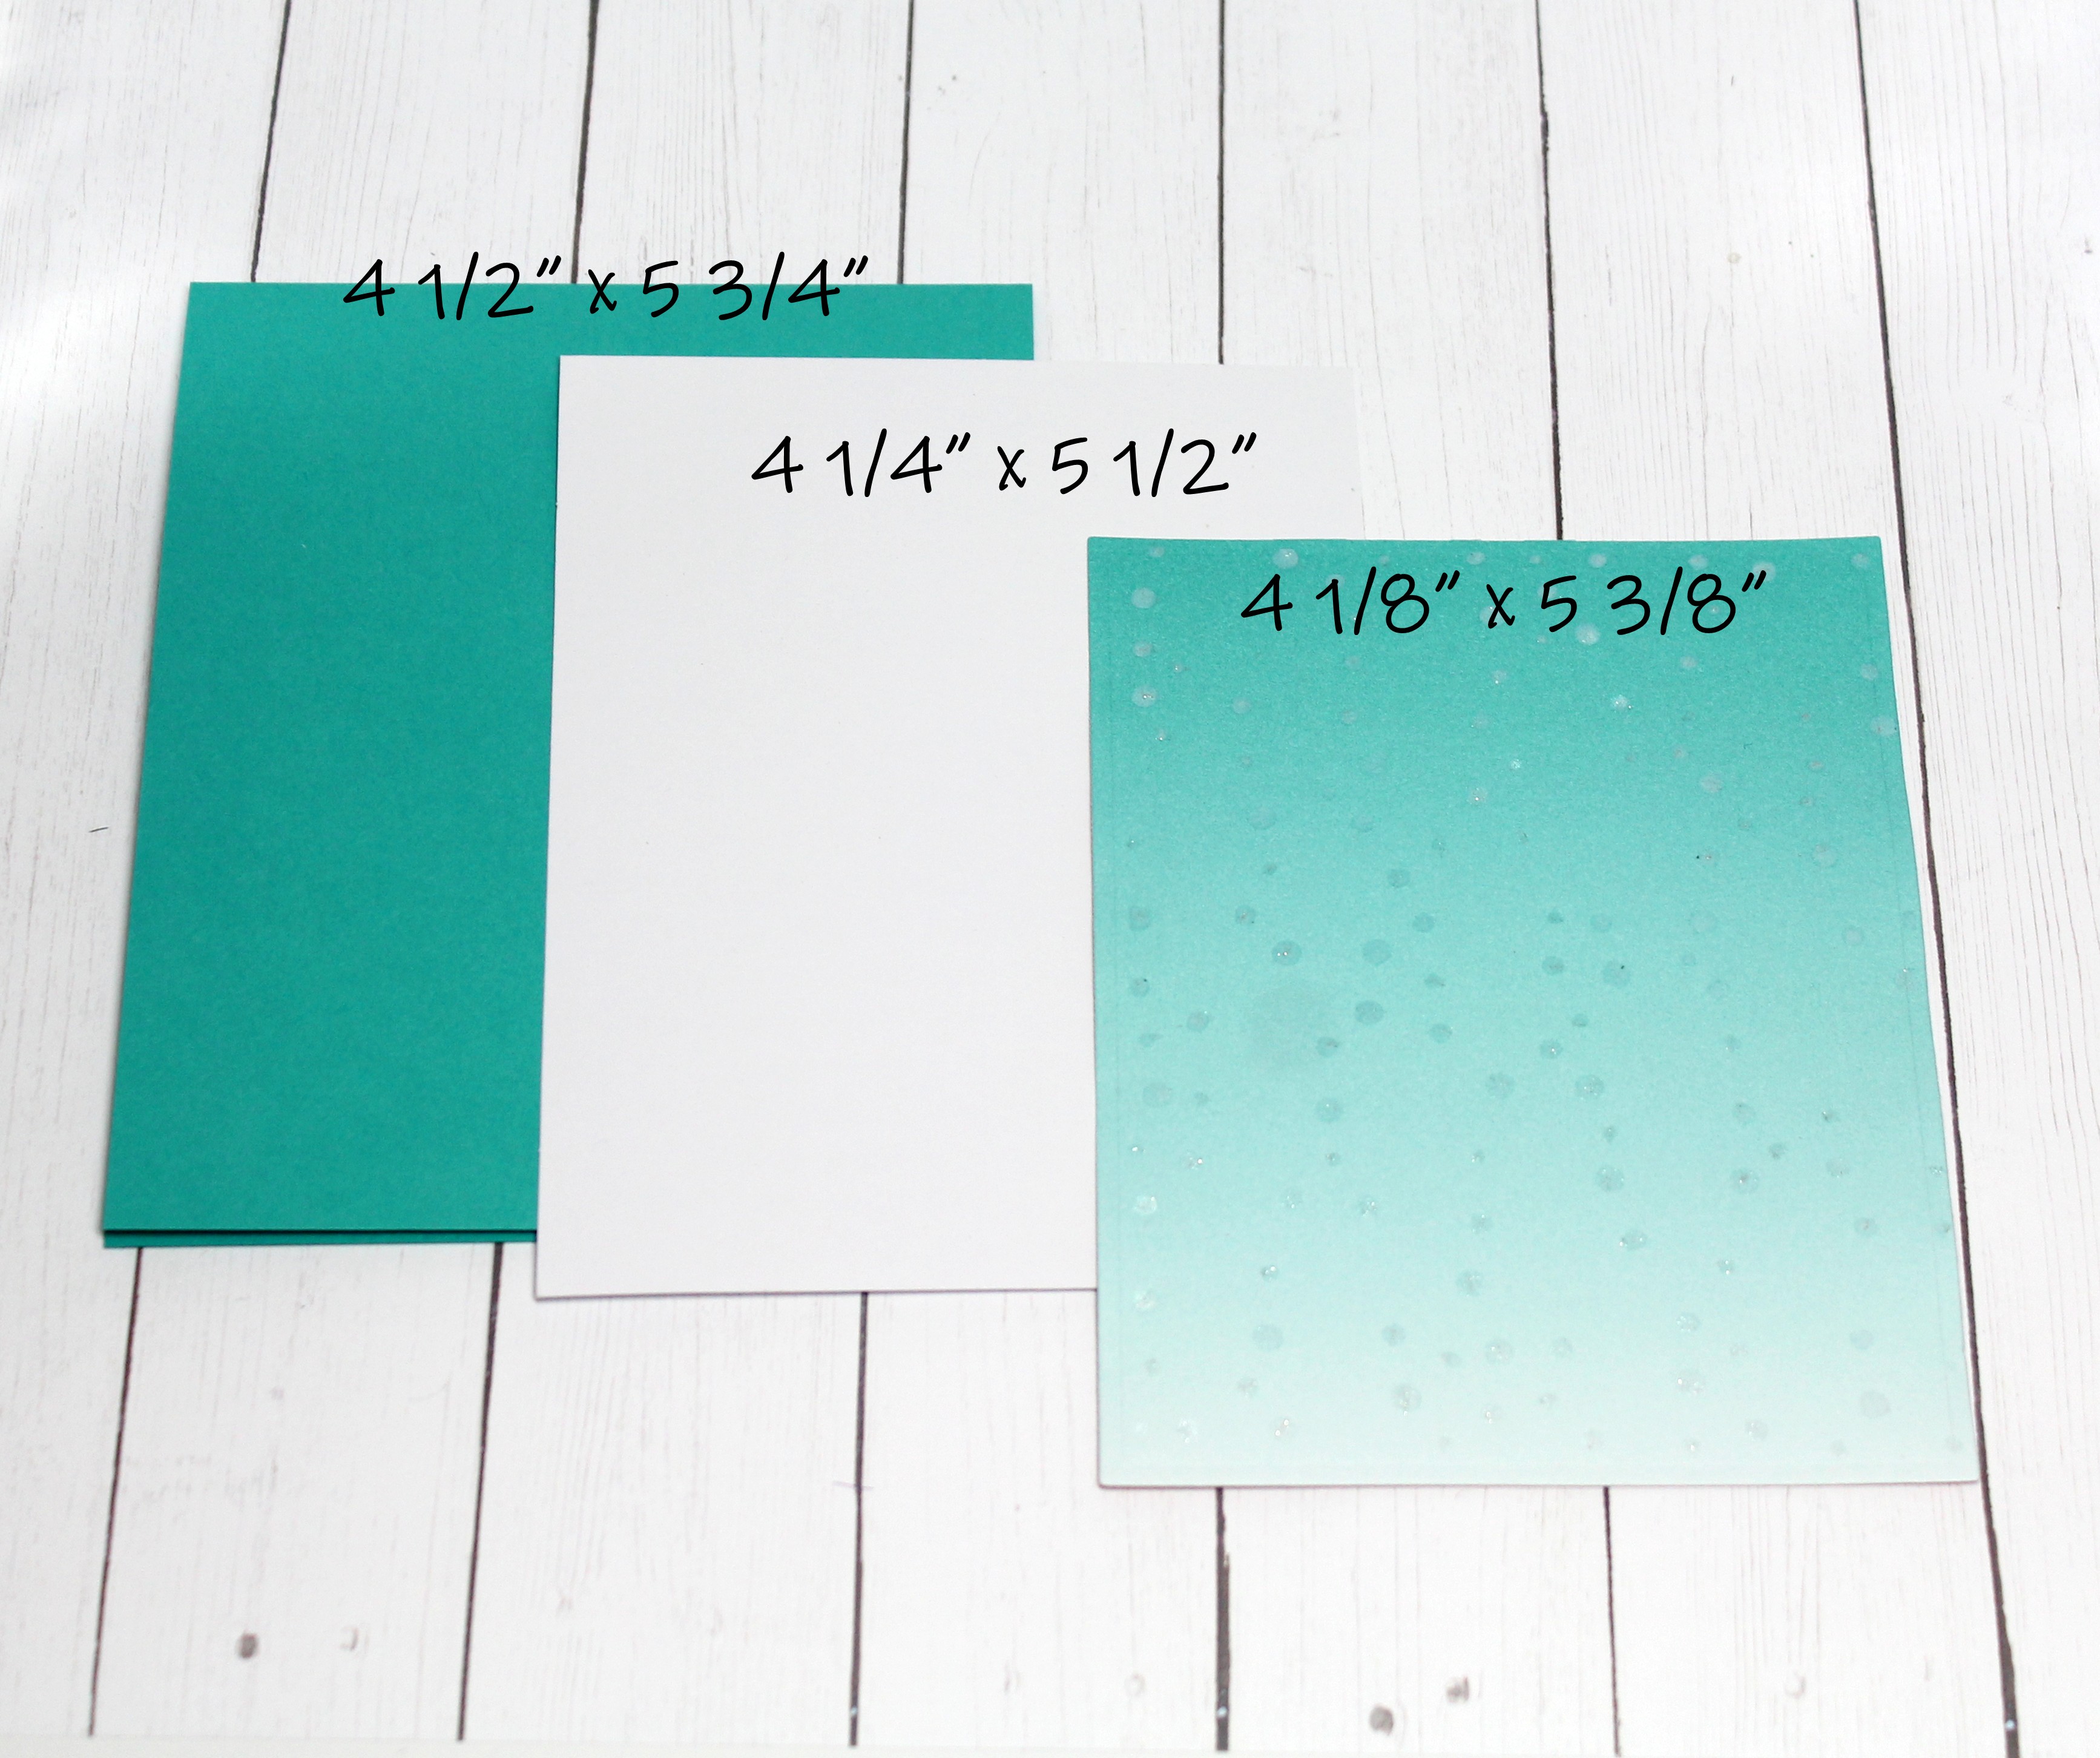
CUTTING & SCORING:

• Thick White Cardstock -  5-1/2" square, top folding card base
• Flowery paper from Let it Snow -  5-1/4" square 
• Pink Hearts paper (oldie from SU!)  -  4-1/8" x 3-7/8"
• White Cardstock - Die cut largest of the Nested Scalloped Rectangles *With the extended cut technique to make it slightly larger than the Heart paper
• White Cardstock - Die cut the largest of the Nested Stitched Scallop Circles set

• Die cut the Holiday Dove w/ Floral from the following cardstock colors: 
 White / Granny Apple Green / Melon Mambo / Bermuda Bay

***Use my card photo at top to assemble your layers***

 I colored the beak, flower centers and dove with Copic marker on the white die-cuts.  Then I gave the Melon Mambo flowers some shadows with a Copic marker and white gel pen highlights.  


I popped the dove onto my scalloped circle with foam dots and then I glued the branches and flowers behind. 

I die cut the "peace" from the Peace and Joy Wreath and glued it to the bottom of the scalloped circle.

 I finished it off with some pretty silver half beads. ☺

If you haven't been to the store yet, NOW is a great time to shop!!  All the Christmas Part 1 & Part 2 dies are on sale - 30% OFF!!  

PRODUCTS I USED:


I hope you're inspired to create with your favorite CottageCutz dies!

Kris

Saturday, November 12, 2022

Gingerbread and Cocoa Easel Card

Happy Saturday Cottage Cutz Friends!
Melinda here with you, and today I am sharing a cute and easy Christmas themed easel card I created with some dies from the FABULOUS Part2 Christmas release!
Here is my finished card. It is an A4 sized card. I created an easel card base to give this little card some extra wow. My card features one of the super adorable Ginger friends. I also included the phrase die, Cookies & Cocoa with those cute chocolate chip cookies and that adorable cup of cocoa. I also used the tree from the Merry Christmas Tree die from the Christmas Release Part 1.  I mounted the cookies and the cup of cocoa onto the smallest nested stitched doily from that die set. I then layered some patterned paper mats onto the two different largest sized scallop stitched rectangle dies for some extra layers and dimension. To keep the Easel open, I added some layers of the double-stitched rectangle dies and used some thick foam tape to give them some lift. I added the "Tis the Season Sentiment" to those dies along with some patterned and cardstock mats.


Here's a closer look at the front of the card standing in the easel position. Here you can see all of the fun dimension I added to the die cuts with some foam tape. For the cup of cocoa, I added some dimensional white paint and some stickles glitter to add some dimension to the "whipped cream". I also added some stickles to the cute little hearts and the little snowflakes.

TIP: Making an Easel card is super easy!
Simply score the top of your card in half. Then cut a piece of the same base of cardstock paper you are using and cut it to the same size as the top. You will always adhere it to the lower half of the scored top only. This will allow the card to lay flat for giving and storing and will allow the top to stand once you use something in the inside to create a "stop".


Here's a look at the inside of the card. I used a Scallop Stitched Rectangle die and mounted it to the top of the inside of the card. This is where I will write my personal greeting.

Here's a closer and side view of the inside, "Tis the Season" sentiment. You can see I added some glitter to the sentiment. It adds a nice touch without being too overbearing.

Here's a closer look at the sentiment "Cookies & Cocoa" die. I cut them out of some plain white cardstock. I then colored them in with my markers. 


Here's a view of what the card looks like closed.

Here's a closer look at the gingerbread girl. I cut her out of some gingery brown cardstock. I edged her with some chalk and then added the cute little stitch lines. I colored her bow and scarf with some pink markers and my spectrum noir glitter pen. The photo doesn't capture the subtle glitter from the pen. I also added some stitch lines to her scarf and bow. 


Don't forget to head over to the CottageCutz YouTube channel and check out all of the amazing projects on there. Our video team is doing a wonderful job of filling the channel with all sorts of creative content! You don't want to miss it!

Dies I Used


Double Stitched Rectangle Set


Nested Stitched Doily Set


Nested Scallop Rectangle Set


Here's a look at the entire release. Be sure to head over and grab them while they last!


Well that about covers it for today! Until the next time, have a wonderfully craft-die day!
Melinda Beltran

Friday, November 11, 2022

Gift Card Holder Tags!


Hi everyone! Linh here and I have a new video up on the Cottage Cutz YouTube channel. Do you like to give out gift cards? Here's a fun tutorial for creating gift card holder tags! These tags feature "zipper" pockets that tear away to reveal the gift card!  In this video, I'll show you how to create that zipper pocket without any special dies!


Tear away the zipper strip to reveal the gift card!


Thursday, November 10, 2022

Give Me a Cookie!!

 Hello Scrapping Cottage Friends

It is Pam sharing with you today!

We have Part 2 of the Christmas release available today! This amazing release has 36 designs!  This time we have Gingerbread Cookies, Gnomes, Santa in a Cadillac and much much more!!  Check it out HERE.  The best part about this new release is that it is on sale now!!

The die I used for today's card is Santa Gnome with Cookies.  


Design Steps:

1.  Use the Santa Gnome with Cookies die and cut out the following DP and card stock: white, green, black, kraft, DP brown checked, blue checked, and red checked.  Assemble with a fine tip glue
2.  Use an A2 kraft card base, blue checked DP 4 1/8 x 5 3/8, kraft cut with the second to the largest Pierced Wide Frame Rectangle, cookie border 1 1/4 x 5 3/8, and mustard dotted DP 2 1/2 x 3 1/2
3.  Glue the blue checked DP to the card base.  Add the border to the bottom of the card as shown.  Glue the mustard dotted DP to the back of the frame and then glue to the card slightly right of center as shown.  Tuck in the sentiments on the left side of the frame
4.  Glue down the cookie jar and then glue down the little gnome and your card is complete

CottageCutz Products used in this project


Please take a peek at this Cheery Christmas collection!  I promise you will want every single one of this incrediable release!!! Click HERE to see all the cuteness!!

We have more inspiration on our YouTube Channel check it out HERE

Thanks so much for stopping by!  And I will see you next Thursday.

Blessings and Take Care


Wednesday, November 09, 2022

All Die for All Seasons "Holiday Door"


Hello, my crafty friends, Marla here with another CottageCutz YouTube video and GIVEAWAY.  Today, I am using the new "Holiday Door" die from the Christmas Part II release.  My card uses some of the Christmas decor elements, but with a few changes, the die moves past the holiday season.   This die would also work well for a "Congratulations on your new home" or "Welcome home" card. 

You can see how this card came together and enter the GIVEAWAY to win this die over on the CottageCutz YouTube Channel.  Don't forget if you entered to win the "Polar Bears & Igloo" in my last video, you have two weeks to claim your prize.  The winner is announced in the video.

Thanks for stopping by.  Until next time.... Marla


Tuesday, November 08, 2022

Snowman Friends

Hello CottageCutz friends! Thanks for taking the time to stop and visit with us today. It's Mary Marsh here bringing you the Tuesday edition of the Blog.

It's new Christmas release time!!! We have new dies in the online store. Our Christmas Part 2 release with 36 new designs is available and ready for shipment.

The individual dies are on sale for 30% off. It's only for a limited time so don't delay. You are going to love all the whimsical designs that are available in this release. There is something for everyone to make your Christmas cards extra special this year.


The Christmas Part 1 dies are also available with 21 new designs and on sale for 30% off individual dies.

Today, I am featuring the new Snowman Friends die. It's such a cute and playful die so perfect for a fun Christmas card. So, let's get started on some details of how I created my card. 

Design Steps:

I started with the card background. I had this 6x6 piece of bermuda bay ombre designer paper. I stenciled some snowflakes with white pigment ink and then embossed with an icicle embossing powder. I didn't realize the ep would be clear. In hindsight I should have used a white embossing powder. So, I just added some clear wink of stella to each snowflake IRL they are sparkly and stand out a bit more. 
My card colors are from the color challenge #921 on Splitcoaststampers. We are to use bermuda bay, melon mambo and granny apple green for our color trio. Optional was to use a snowman. 
bermuda bay, melon mambo, granny apple green

Then I moved onto my snowmen images. Their faces are so cute and happy. Just makes you want to smile looking at them. I cut them in various shades of cardstock. You could also cut in white and then color with your favorite medium. Either way works fine. 
My card base is the bermuda bay color. I used a white layering panel against the designer paper. 

Bermuda Bay card base: 4 1/2" x 5 3/4"
White layering panel: 4 1/2" x 5 1/2"
Designer paper layer: 4 1/8" x 5 3/8"
Now that all my card elements are prepared I am ready to start card assembly. I wanted a snowbank for the snowmen to stand on, so I used the Happy Reindeer & Snowman die. I cut 2 of the snowbanks and then used some dazzling diamonds glitter for a little sparkle. 
I attached the snowmen with double sided tape. 
I wanted a fun sentiment to compliment these fun images, so I decided on the "tis the season" sentiment. It's from the "Tis the Season" die. I cut it in the melon mambo cardstock. The same color I used for the showgirl's scarf. The snowflakes are part of this die so I used a few. 
To finish off my card, I attached the image panel to the card base. Well, that's it for me for this week. 
Reminder: Our YouTube Channel has a new video from Jen Hartsgrove. There is a giveaway for being a subscriber, liking the video and leaving a comment. Click here.