Thursday, October 13, 2022

Halloween Treat Box!

 Hello Scrapping Cottage Friends

We have a brand new release just in time for all of those amazing Halloween cards everyone makes!! The collection has 22 fabulous dies that are going to make those scrapbook layouts and cards look SPOOKTACULAR!!!  The dies are currently on sale so make sure you get them while they last at this special introductory offer!!

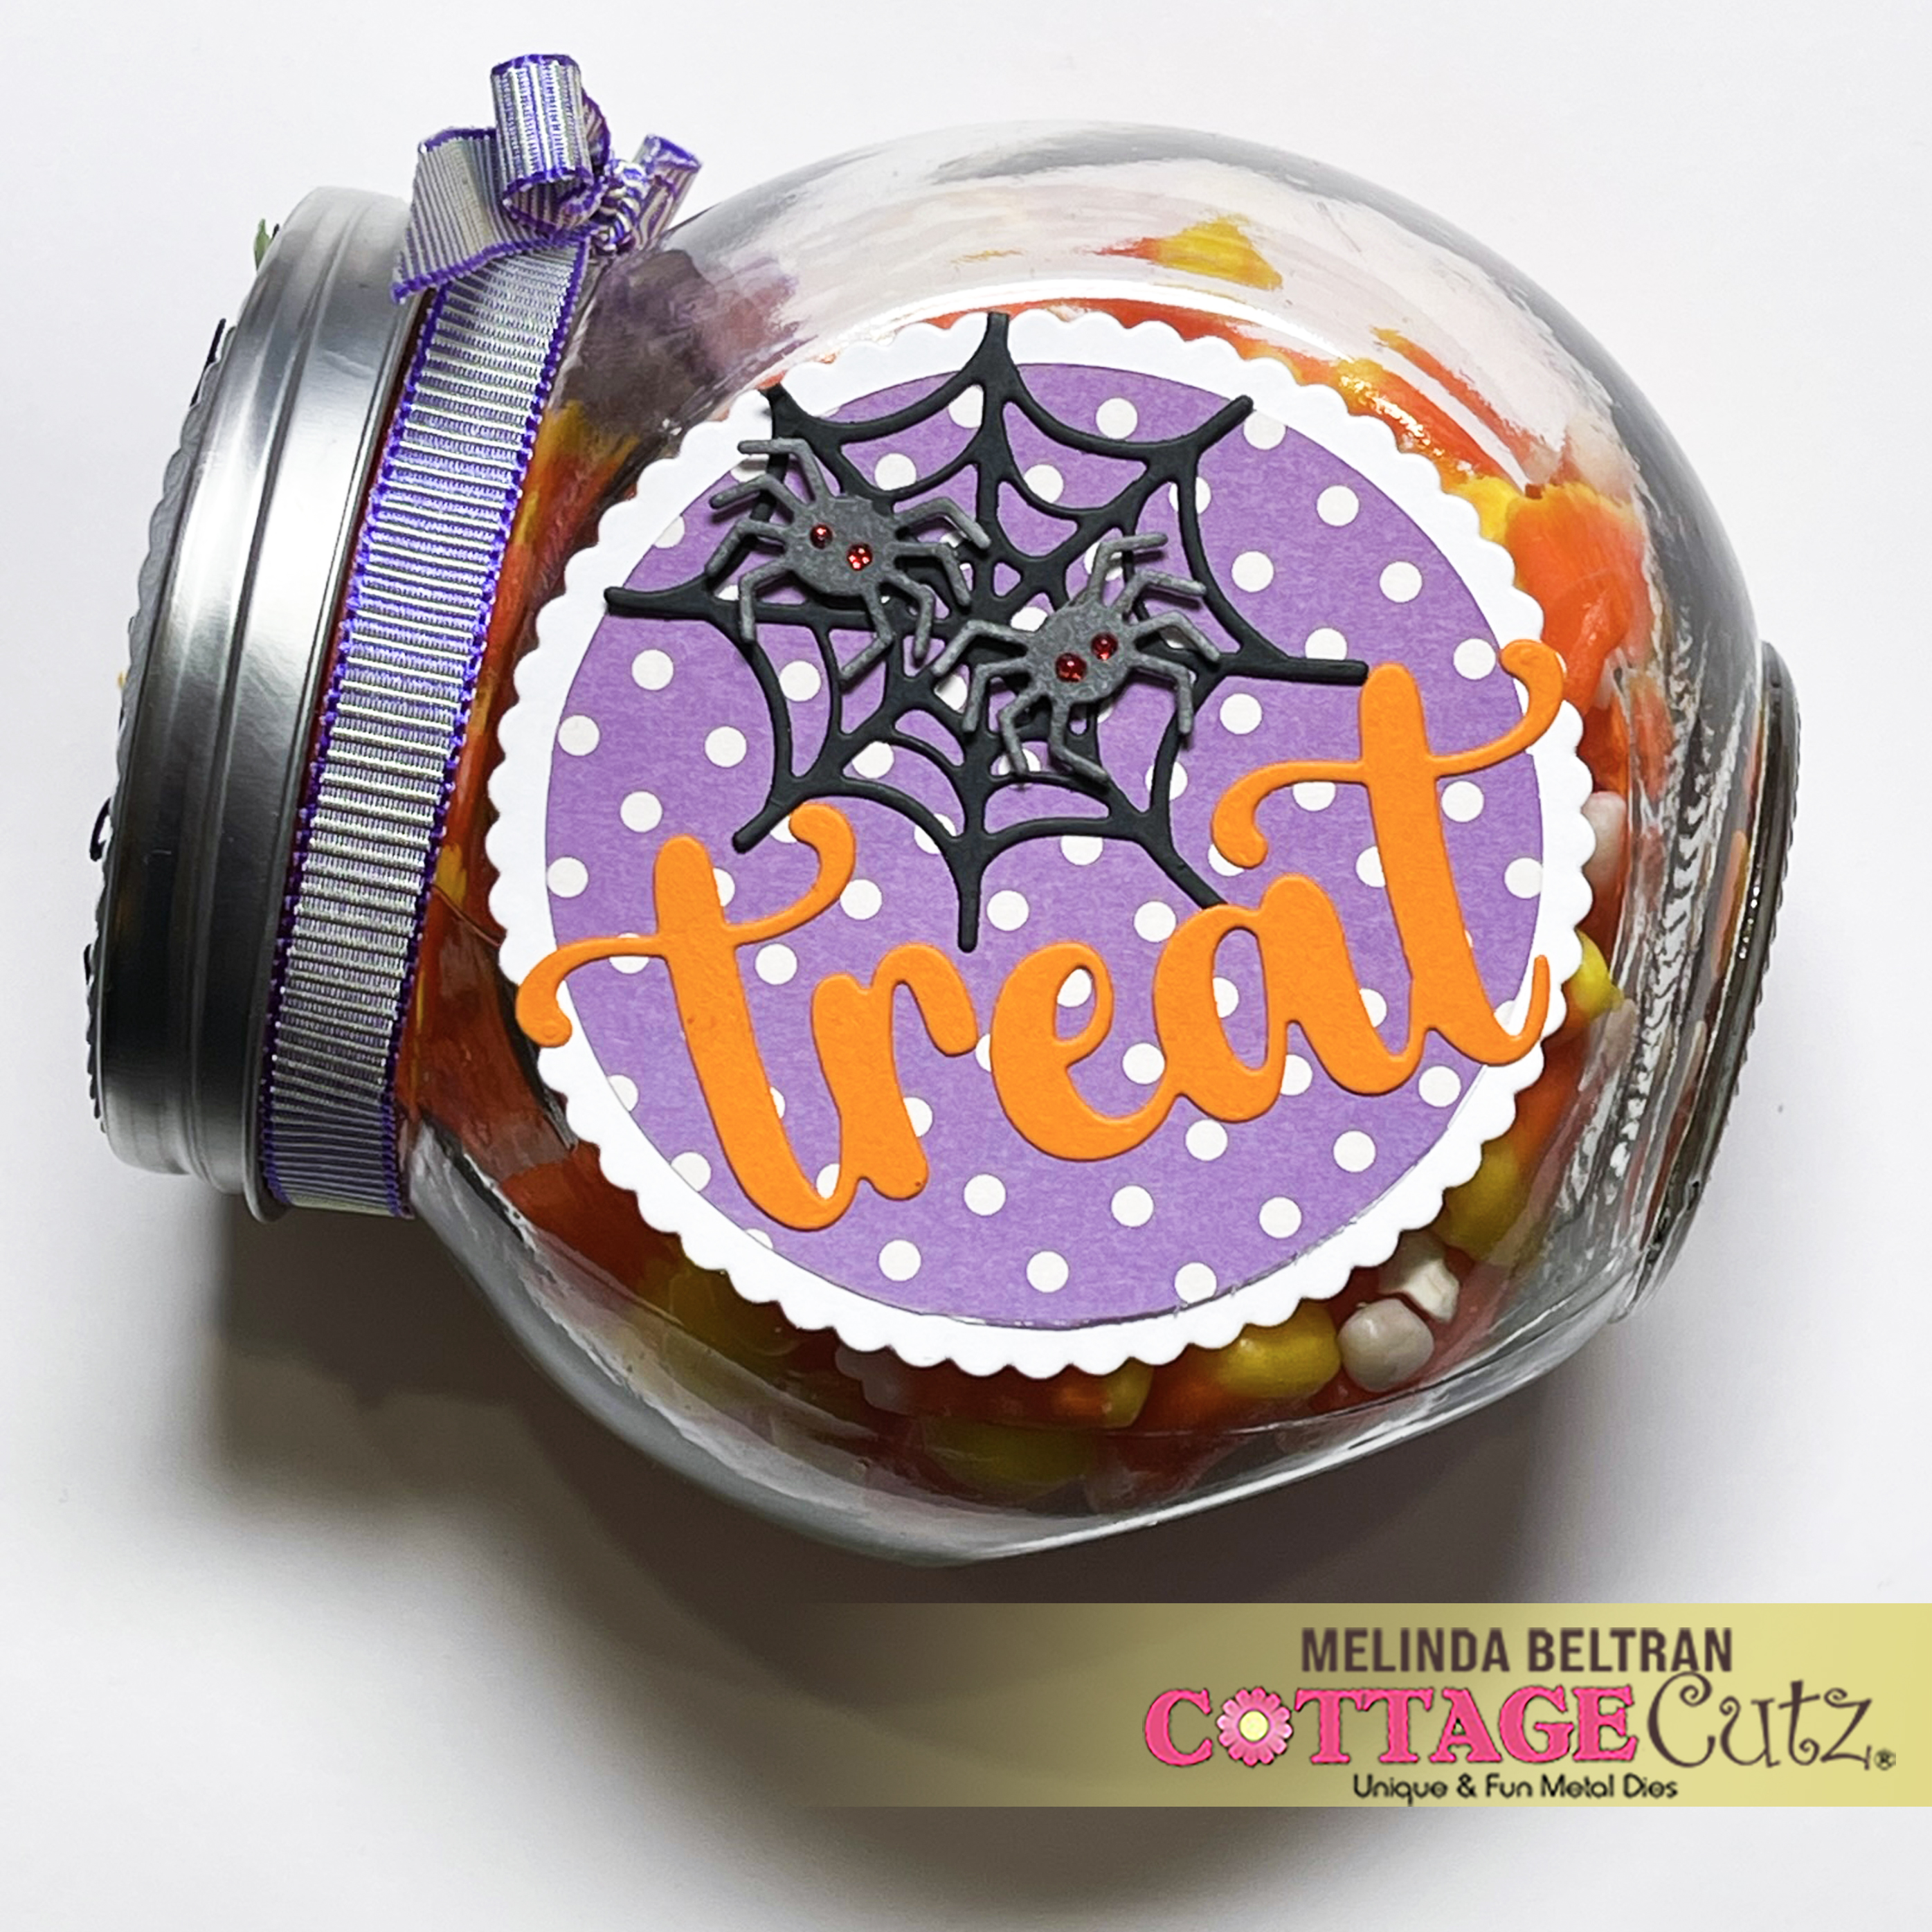
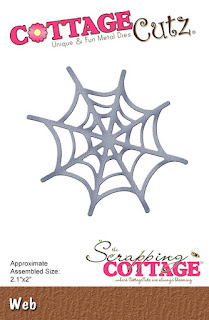
Today, I am using the Witchy Ghost.  It sits perfectly on top of the tiny treat box.  I also used the Web and a spider from the Jack-O-Lanter Witch.  I think this cute little box will be perfect for a teacher's gift or some special Trick or Treaters!

Design Steps:

1.  Cut a piece of orange card stock 9 1/4 x 4 1/2 and then score

2.  Horizontal 5/8, 4 3/8,  5,  8 3/4
3.  Vertically 5/8, 3 3/8, 4
4.  Use a bone folder and burnish the score lines then open flat with the two score lines horizontally on the top of your work area
5.  Cut the tabs on the bottom of the orange card stock as shown above
6. Then flip the orange card stock so that the 2 horizontal score lines are now at the bottom of your work area as shown above  

7.  Cut the bottom of the orange card stock to match the picture above 
8. Flip the box over so the double scored longest flap is now at the top of the work space.  The longest flap is the part that will close the box so round those corners
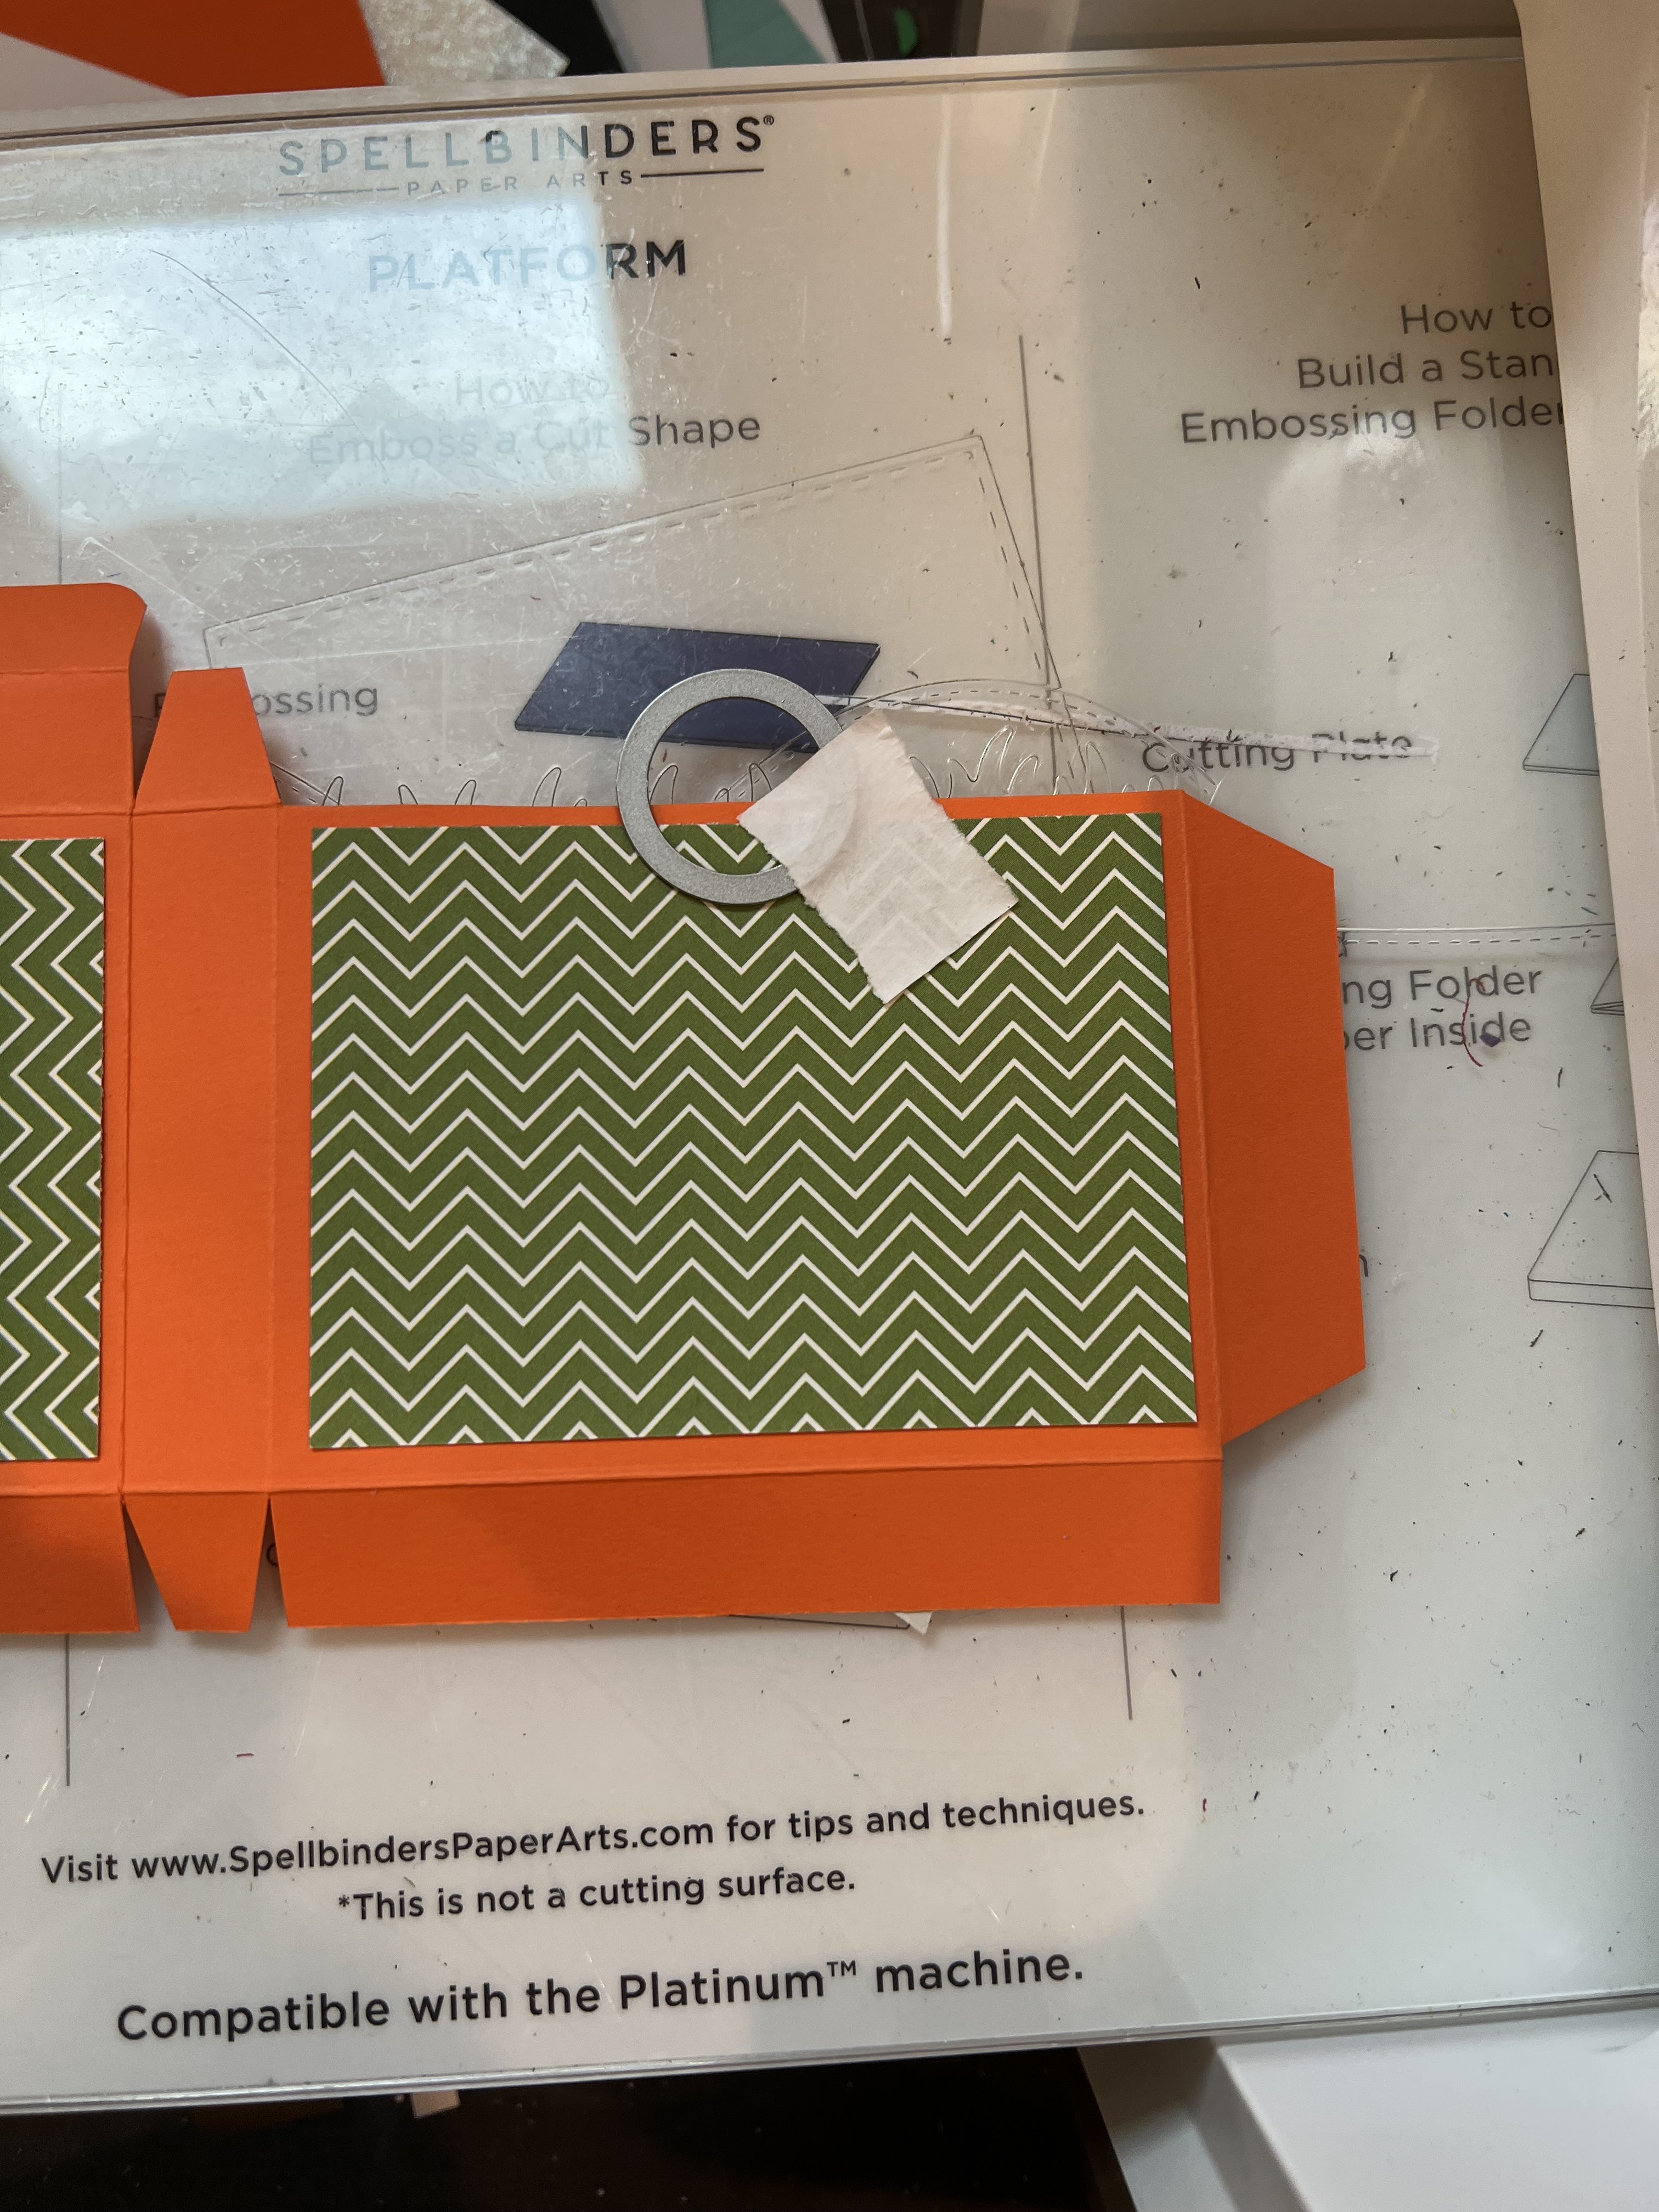
9.  Glue two pieces of DP each measuring 2 1/2 x 3 1/2 to the box as shown above
10.  Cut a notch on the side that does not have the flap that closes the box.  I used the second to the smallest from the Circle dies.  As shown above
11.  On the opposite side of the notch cut you will cut the window of the candy box with the 3rd from the smallest Pierced Retangle dies.  As shown above
12.  Flip the orange piece over and tape the acetate to the back of the window
13.  Assemble the box using glue or a strong double sided tape making sure you do not glue the flap that opens and closes the box

14.  Place the candy in the box.  You can use any kind of candy you wish
15.  Use the Witchy Ghost die, the
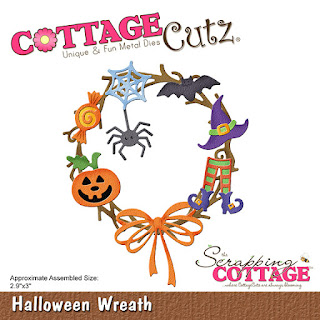
 Web die and the 
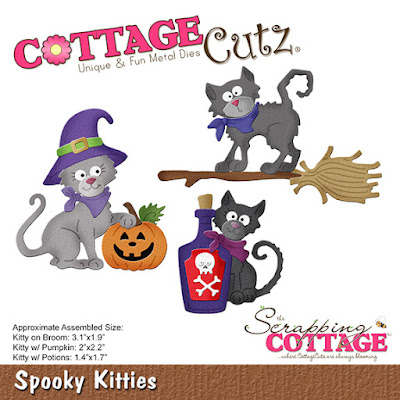
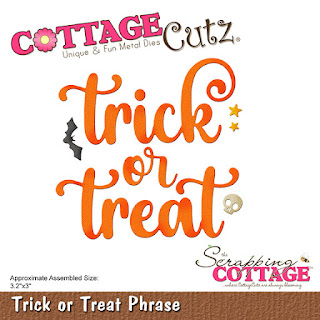
Jack-O-Lantern Witch die (for the spider) to cut out the pieces in the following colors of card stock: white, yellow, orange, purple,  green, gray and black.  Assemble the pieces with a fine tip quick drying glue.  Glue the pieces to the front of the box as shown below then add the sentiment and your little treat box is finished

 CottageCutz Products


Please make sure to check out this amazing Halloween release right HERE!


We have more inspiration on our YouTube Channel check it out HERE

Thanks so much for stopping by!  And I will see you next Thursday.

Blessings and Take Care


Wednesday, October 12, 2022

Keeping Things in Perspective


Hello, crafty friends!  This is Marla back with another YouTube video tutorial.  Halloween is around the corner and the new CottageCutz Halloween release is filled with both spooky and cute products. I mixed a little of each for a non-spooky slimline.

 It's no surprise that I am a fan of slimline cards. I know they aren't for everyone, but let's talk about one of the reasons you should considered using them, perspective.  The dies from this new release come in a variety of sizes, but for this card two of the focal points are pretty much scaled the same.  In reality, one should be much bigger than the other and that's where a slimline card changes the visual design to allow you to stretch your products.  I hope you will head over to watch to see what I mean.

In case you are wondering, I used the "Pinking Shear Edge" Slimline die to begin building my scene.  I found it hard to choose between all the fun dies, so I used a little bit of this and a little bit of that from several dies and then some.  I included the "Haunted Ghost House", "Spooky Tree Gnome" and "Fresh Strawberry Patch" sign.  I also used the "Spooky Truck" that will be restocked soon.  

I am giving away the "Haunted Ghost House" over on the CottageCutz YouTube Channel.  Please join me and while you're there don't forget to comment, like and subscribe to enter.  

Until next time .....Marla


Tuesday, October 11, 2022

Halloween Decorated Treat Jar

Happy TuesDIE Cottage Cutz Friends!
Melinda here with you on this terrific Tuesday. Today I am sharing a little treat jar I decorated with some dies from the super cute new Halloween Release.
Here is a look at my cute little jar. It is a mini glass candy/apothecary type jar I picked up at the Dollar Store. I decided to decorate it with several of the dies from the Halloween release.
Here's a closer look at the lid. To decorate it I started with the super cute Candy & Bucket die. I mounted that onto a purple polka dot circle mat. I used a black wreath from the Halloween Wreath die and then mounted all of that onto the nested scallop die.


Here is a closer look at one side. I used the same polka dot paper for the circle mat and mounted that onto the white scallop nested die. I then cut out the word Treat from the Trick Or Treat Phrase. Then I used one of the adorable kitties from the Spooky Kitties die and decorated my little furry friend with the hat and the cute little handkerchief.

For the other side I once again used the same scallop circle and plain circle polka dot mat. For this side I once again used the word treat from the Trick Or Treat Phrase die. For this side I added the spider web and two of the spiders from the Jack O Lantern Witch.
Here is a view of the jar opened up. I finished it off by tying a bow with some ribbon around the neck. I added in some of Halloween's most recognized treat, some candy corn! I love how this turned out and will be taking it to work.


Don't forget to head over to the CottageCutz YouTube channel and check out all of the amazing projects on there. Our video team is doing a wonderful job of filling the channel with all sorts of creative content! You don't want to miss it!


Web


Nested Scallop Die set


Here's a look at the entire release. Be sure to head over and grab them while they last!

Well that about covers it for today! Until the next time, have a wonderfully craft-die day!
Melinda Beltran

Monday, October 10, 2022

Treat Yourself

... because whether we have kids at home or not, what's Halloween if you can't sneak a few treats for yourself, am I right?!  LOL


Welcome Scrapping Cottage friends!  Kris here with a simple card featuring the Candy & Bucket die and the Trick or Treat Phrase die which are both part of the HALLOWEEN RELEASE!  

These individual dies are still 30% OFF, so if you're needing to make some Halloween cards or plan to scrapbook those adorable photos of your kids/grandkids, now is a perfect time to shop!

Design Steps:

Mary, our awesome DT Coordinator here at TSC, is hosting this week's Color Challenge #916 at SplitcoastStampers, so I joined in! 
-  White Card base:  A2 top folding card 
-  Gorgeous Grape cardstock:  5-1/4" x 4".
-  Yellow star paper (Doodlebug Designs' Happy Haunting)  3" x 3-3/4" 
-  Plaid paper (from the same pack):  3-3/4" x 2-1/2" 
-  SU! Grape paper:  cut diagonally, about 1" tall


I die cut the pieces from Candy & Bucket die from orange, yellow and white cardstock and colored the white portions (handle and candy) with Copic markers.  Added some definition to the pumpkin with markers also and attached with foam dots.


I die cut the Trick or Treat Phrase from patterned paper (same Doodlebug Designs HH pack) and another from Grape cardstock to offset behind as a shadow, then mounted with foam dots.  

I printed my sentiment in white ink with an orange text box behind, then die cut and offset a Grape version behind it, then popped it up with foam dots.  To finish off my card, I added some sparkly dew drops.


PRODUCTS USED:


I hope my project today inspires you to get crafty with your CottageCutz dies!  

Kristine