Sunday, February 06, 2022

Jesus Is Risen Card

Happy Sunday Scrapping Cottage friends!
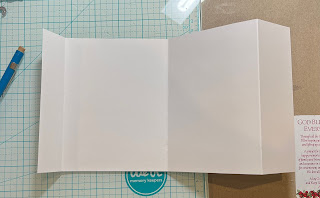
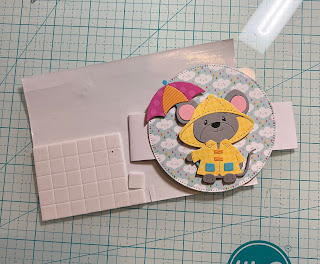
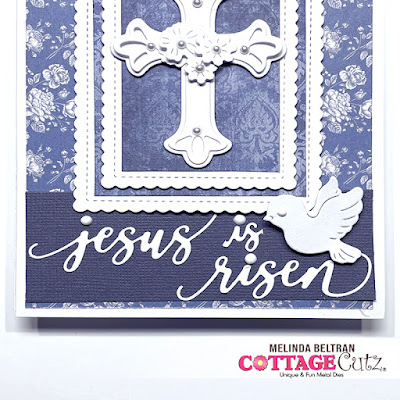
Melinda here with you today. It's another Sunday Funday and I hope you are enjoying some crafting! I am sharing a card created with dies from the new SPRING RELEASE! Here's my card.
I created a top folding A2 size card. I used some white cardstock for my base. I then used some pretty floral paper for the base mat from my stash.

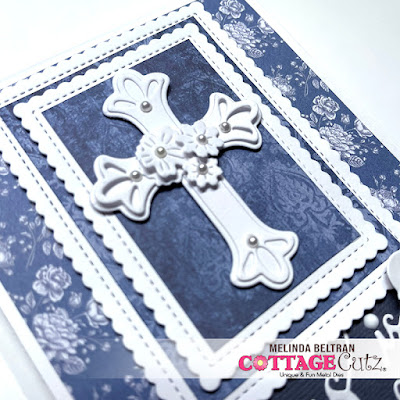
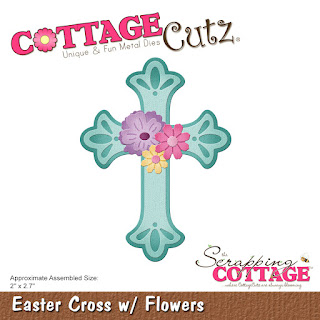
I used the beautiful Cross die the Easter Cross with Flowers Die. I cut them out in white and decided to leave them all in white. I thought it would look elegant that way. I used a little foam tape to give the flowers some additional lift. I also used some tiny pearls from my stash. I mounted the cross onto a mat using some more patterned paper from my stash. I  mounted that onto some scallop stitched nested rectangles.


For the bottom border and sentiment, I used words from the Faith Sentiments die set.


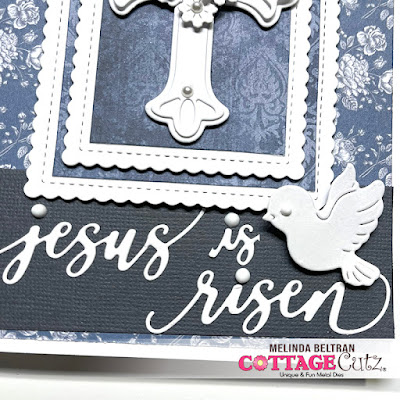
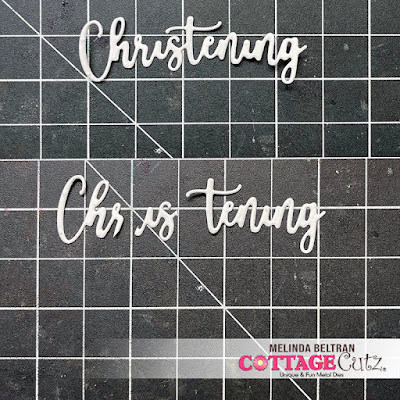
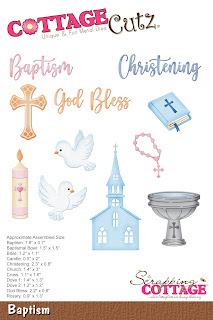
For the "is" sentiment, I cut it out of the word Christening from the Baptism Die.


I added some Pearl Nuvo drops for the "i's" in each letter as well as the eye for the sweet little dove.

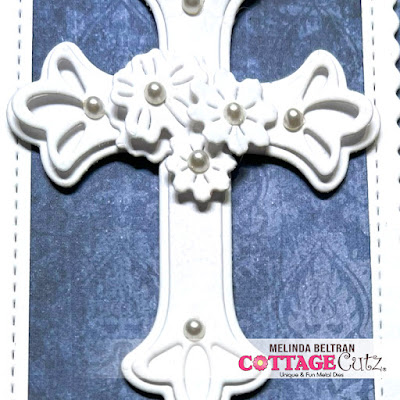
Here is a closer look at the cross.


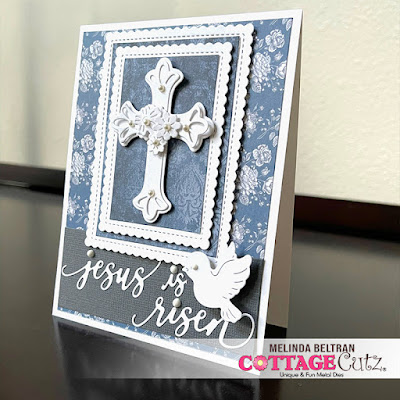
Here is one last look at my card.


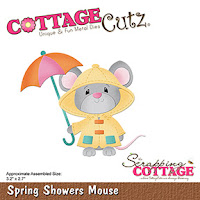
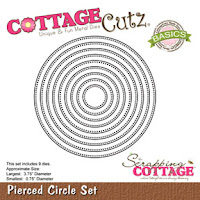
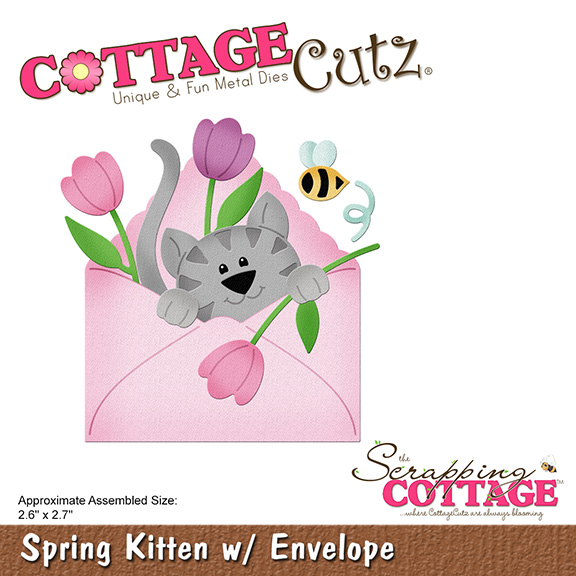
The Dies I used to create this project:


Faith Sentiments Die Set.

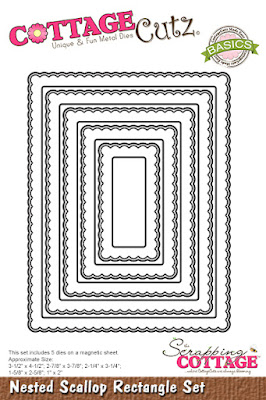
Nested Scallop Rectangle Set
I used the Stitched version but it is currently not available. Here is a great alternative!


In case you didn't hear, The CottageCutz YouTube channel is up and running.  Head over and check out the latest video! There is a giveaway for subscribing too!


Well that about covers it for today! Until the next time, have a wonderfully crafty day!
Melinda Beltran

Saturday, February 05, 2022

Bunny Birthday Hugs & Kisses (new die)

Hello CottageCutz friends! Thanks for taking the time to stop and visit with us today. It's Mary Marsh here bringing you the Saturday edition of the Blog.

IT'S NEW RELEASE TIME! The Spring Release with 20 new designs is in the online store. The individual dies are currently at 30% off.

There is a nice combination of both religious and whimsical designs. So perfect for all card makers out there. And the dies don't have to be used strictly for Spring or Easter. Today I have a birthday card using the new Peeker Bunny w/Pocket die and the Spring Sentiments die. So, let's get started with some details of how I created my card. 

Design Steps:

This week I started with the card colors. I used the colors from the Splitcoaststampers color challenge #881. We were to use gorgeous grape, smoky slate and crushed curry for the color trio. Optional was to use our favorite green. 
gorgeous grape, smokey slate, crushed curry
Next, I chose my designer paper and card base. I have many green shades that I like but for this card I chose pear pizzazz because of this heart designer paper. 

pear pizzazz card base: 4 1/4' x 5 1/2"
designer paper layer: 4 1/8" x 5 3/8"
Then I cut the peeker bunny and pocket in the challenge colors. This sweet little bunny is just too sweet. I love the expression on her sweet face and how she peeks up over the pocket holding a flower. I thought the image was just right for my friend's summer birthday.
The bunny sentiment is from the Spring Sentiments die. Notice the bunny ears on the phrase. How cute is that? 
For the stamped sentiment, I cut a banner from a light green designer paper and stamped the phrase in the gorgeous grape ink. I used my MISTI for placement and because I thought it might need a double ink. And turns out it needed a triple inking.  
Now that all my card elements are prepared, I am ready to start card assembly. I attached the designer paper to the card base and the bunny & pocket with double sided tape. 
I attached the bunny phrase with Art Glitter Glue. A great adhesive that dries clear. The banner is attached with double sided tape. And that's my card for this week. I hope I have given you an idea for a way to use this new die. See you next Saturday!

dies I used to create card:


Friday, February 04, 2022

Cute Bunny Peeker Bookmarks


Happy Friday Cottagecutz fans. I hope you’ve had a lovely week and are looking forward to the weekend. I shall be trying to fit in as much crafting as possible this weekend as I have a knee op on Monday 
(deep joy!)

Anyway, back to the project in hand,

I really wanted to use some of the longer nested shapes and then I thought, bookmarks! I used the 7” ‘Scalloped Stitched Rectangle Slimline’ and cut it out in 3 colours twice. I wanted to the bookmark have some heft so it lasted well so I stuck them together


Next I printed out my nieces names and popped their names on white card. Once printed I cut them using the 6 and 1/4” ‘Nested stitched Rectangles’ and then glued them onto the main tag


Next I cut from the ‘Miss Spring Bunny’ die, 3 heads and 3 sets of arms to be used shortly. I used a matching bow in the bunnies ear too


I wanted a focal point to the bookmark and something that the page of your book could link onto. So I cut out the 2nd largest ‘Nested Stitched Scalloped Circles’ twice in each of the main colours. In one of the scalloped circles I cut out the middle so that it will look like the bunny was peeking over the circle. I also cut out 3 white nested circles 

I stuck the white circle to the scalloped circle and then the rim on top of that


So the bunny was attached to the scalloped circle then attached to the end of the main bookmark. Make sure you use 3D foam pads so you have that give for the bunny to sit on the page you mark in your book

I added the little chick to each die and also a diamanté to finish on the bow


 I really hope that you like the project for today and have inspired you to make little gifts for Easter.
Have a wonderful weekend and I will see you next week
Hugs
Wendy

Dies I have used:


Don’t forget to check out our YouTube page. I know Theary has made a wonderful project this week


Thursday, February 03, 2022

Never to Old to Puddle Jump

 Hello Friends

I am enjoying the versatility of the new Spring Release.  I have made two Valentines using them and today I am making a fun fancy fold belly band Birthday card.


Design Steps:

1.  Start with the Spring Showers Mouse die and cut out the pieces in: grey, pink DP, yellow DP, orange DP,  pink, black, and turquoise 
2.  Assembly the mouse using a fine tip, clear drying glue.  Color in the eyes with a fine tip black maker and add the white with a white ink gel pen.  Set the little mouse aside
3.  For the base start with a white piece of card stock cut 5 1/2 x 11.  Score at 1 1/4, 5 1/2 and 9 1/4.
Fold as shown above first score is a valley fold, second score is a valley fold and the last is a mountain fold 
4.  When you close it up it should look like the above picture
5.  To cover the front cut 2 pink polka dot papers 1 x 5 1/4,  cut 1 orange stripe paper 1 1/2 x 5 1/4 and last cut the rain cloud paper 5 1/4 x 3 1/2
6.  Glue the pink to the first flap and then open the first flap and glue the second pink strip under the first pink strip, next flap glue down the orange strip and last open the orange flap and glue down the rainy paper
7.  To make the belly band cut a white strip 1 x 11 inches.  Wrap the belly band around the card and staple it together.  Make sure you don't get it to tight.  Use the second from the largest Pierced Circle die to cut out the rainy DP then glue to the center of the belly band
8.  Take your little mouse and pop him to the rainy DP on the belly band
9.  For the inside I cut a piece of turquoise card stock 4 x 5 1/4 added some left over strips to the bottom and stamped Happy Birthday.  To complete the front stamp your sentiment and layer onto pink and pop to the side front of the card

CottageCutz Products


Don't forget to check out the new Spring Release.  It is perfect for Valentines, Spring Birthdays and of course Easter!
We have more inspiration on our YouTube Channel check it out HERE
Thanks so much for stopping by!  And I will see you next Thursday.

Blessings and Take Care
Pam


Wednesday, February 02, 2022

Wishing You A Beautiful Day


Hello there friends! 
It's Theary here back on the blog today. For today's card, I wanted to share a fun card that I created using some new products from the New Release


This card just screams springtime! I'm not quite over the winter season just yet but, creating cheery cards with one of my favorite flowers makes me so happy.


You can check out the video on our YouTube Channel here. And, don't forget to subscribe, comment, and thumbs up for a chance to win another GIVEAWAY!

CONGRATULATIONS goes out to A Creative Muse for winning the last giveaway. Please contact us at mrmarsh917@msn.com to claim your prize.

Have a wonderfully blessed day!
Theary❤