Thursday, April 21, 2022

Sassy Croc!

  Hello CottageCutz Friends

I have a sassy little birthday card today.  I made it using the new release die called the Crocodile.  There are 14 different dies in this release and all of them are just as cute as they can be!!  If you haven't checked out the Australian Friends Release click HERE.


Design Steps:

1.  Using the Crocodile die and the following colors of card stock: green, pink, white, black, yellow and dark green cut out the pieces.  After the pieces are cut shade with different colors of inks and a small applicator.  After shaded glue the crocodile together usings a fine tip, fast drying glue
2.  Cut a piece of white card stock 4 1/4 x 2 1/2.  Next use the Hills Slimline die and cut the top of the card stock to create the hill.  Use a piece of black card stock and cut out Oh Snap which is included in the Film Strip Slimline die.  Glue the Oh Snap as shown above and then stamp the sentiment just under it in black ink
3.  The base of the card is an A2 white.  Using the Cloud Horizontal Slimline die cut out a variety of different size cloud.  Glue the hill with the sentiment to the bottom of the card and pop up the clouds as shown making sure to leave room for the crocodile
4.  Place pop squares on the back of the Crocodile and then pop him to the front of the card as shown below.  Your card is complete

CottageCutz Products


We have more inspiration on our YouTube Channel check it out HERE
Thanks so much for stopping by!  And I will see you next Thursday.

Blessings and Take Care


Wednesday, April 20, 2022


Hey there Krafty Friends, Jen from Katahdin Krafts, back with another  CottageCutz YouTube  video on the CottageCutz Channel.  Today, I am sharing my "Miss You So Much Swan Card" using a few dies from the new Australian Friends release.  


You can find all of the card details in my video and also enter for a chance to win the "Swan" die!  

Congratulations to our winner from my last video, Sue Baker!  Sue won the "Spring Sheep" die!  


Tuesday, April 19, 2022

Happy Birthday Crocodile Card

Happy Terrific TuesDIE Scrapping Cottage friends!
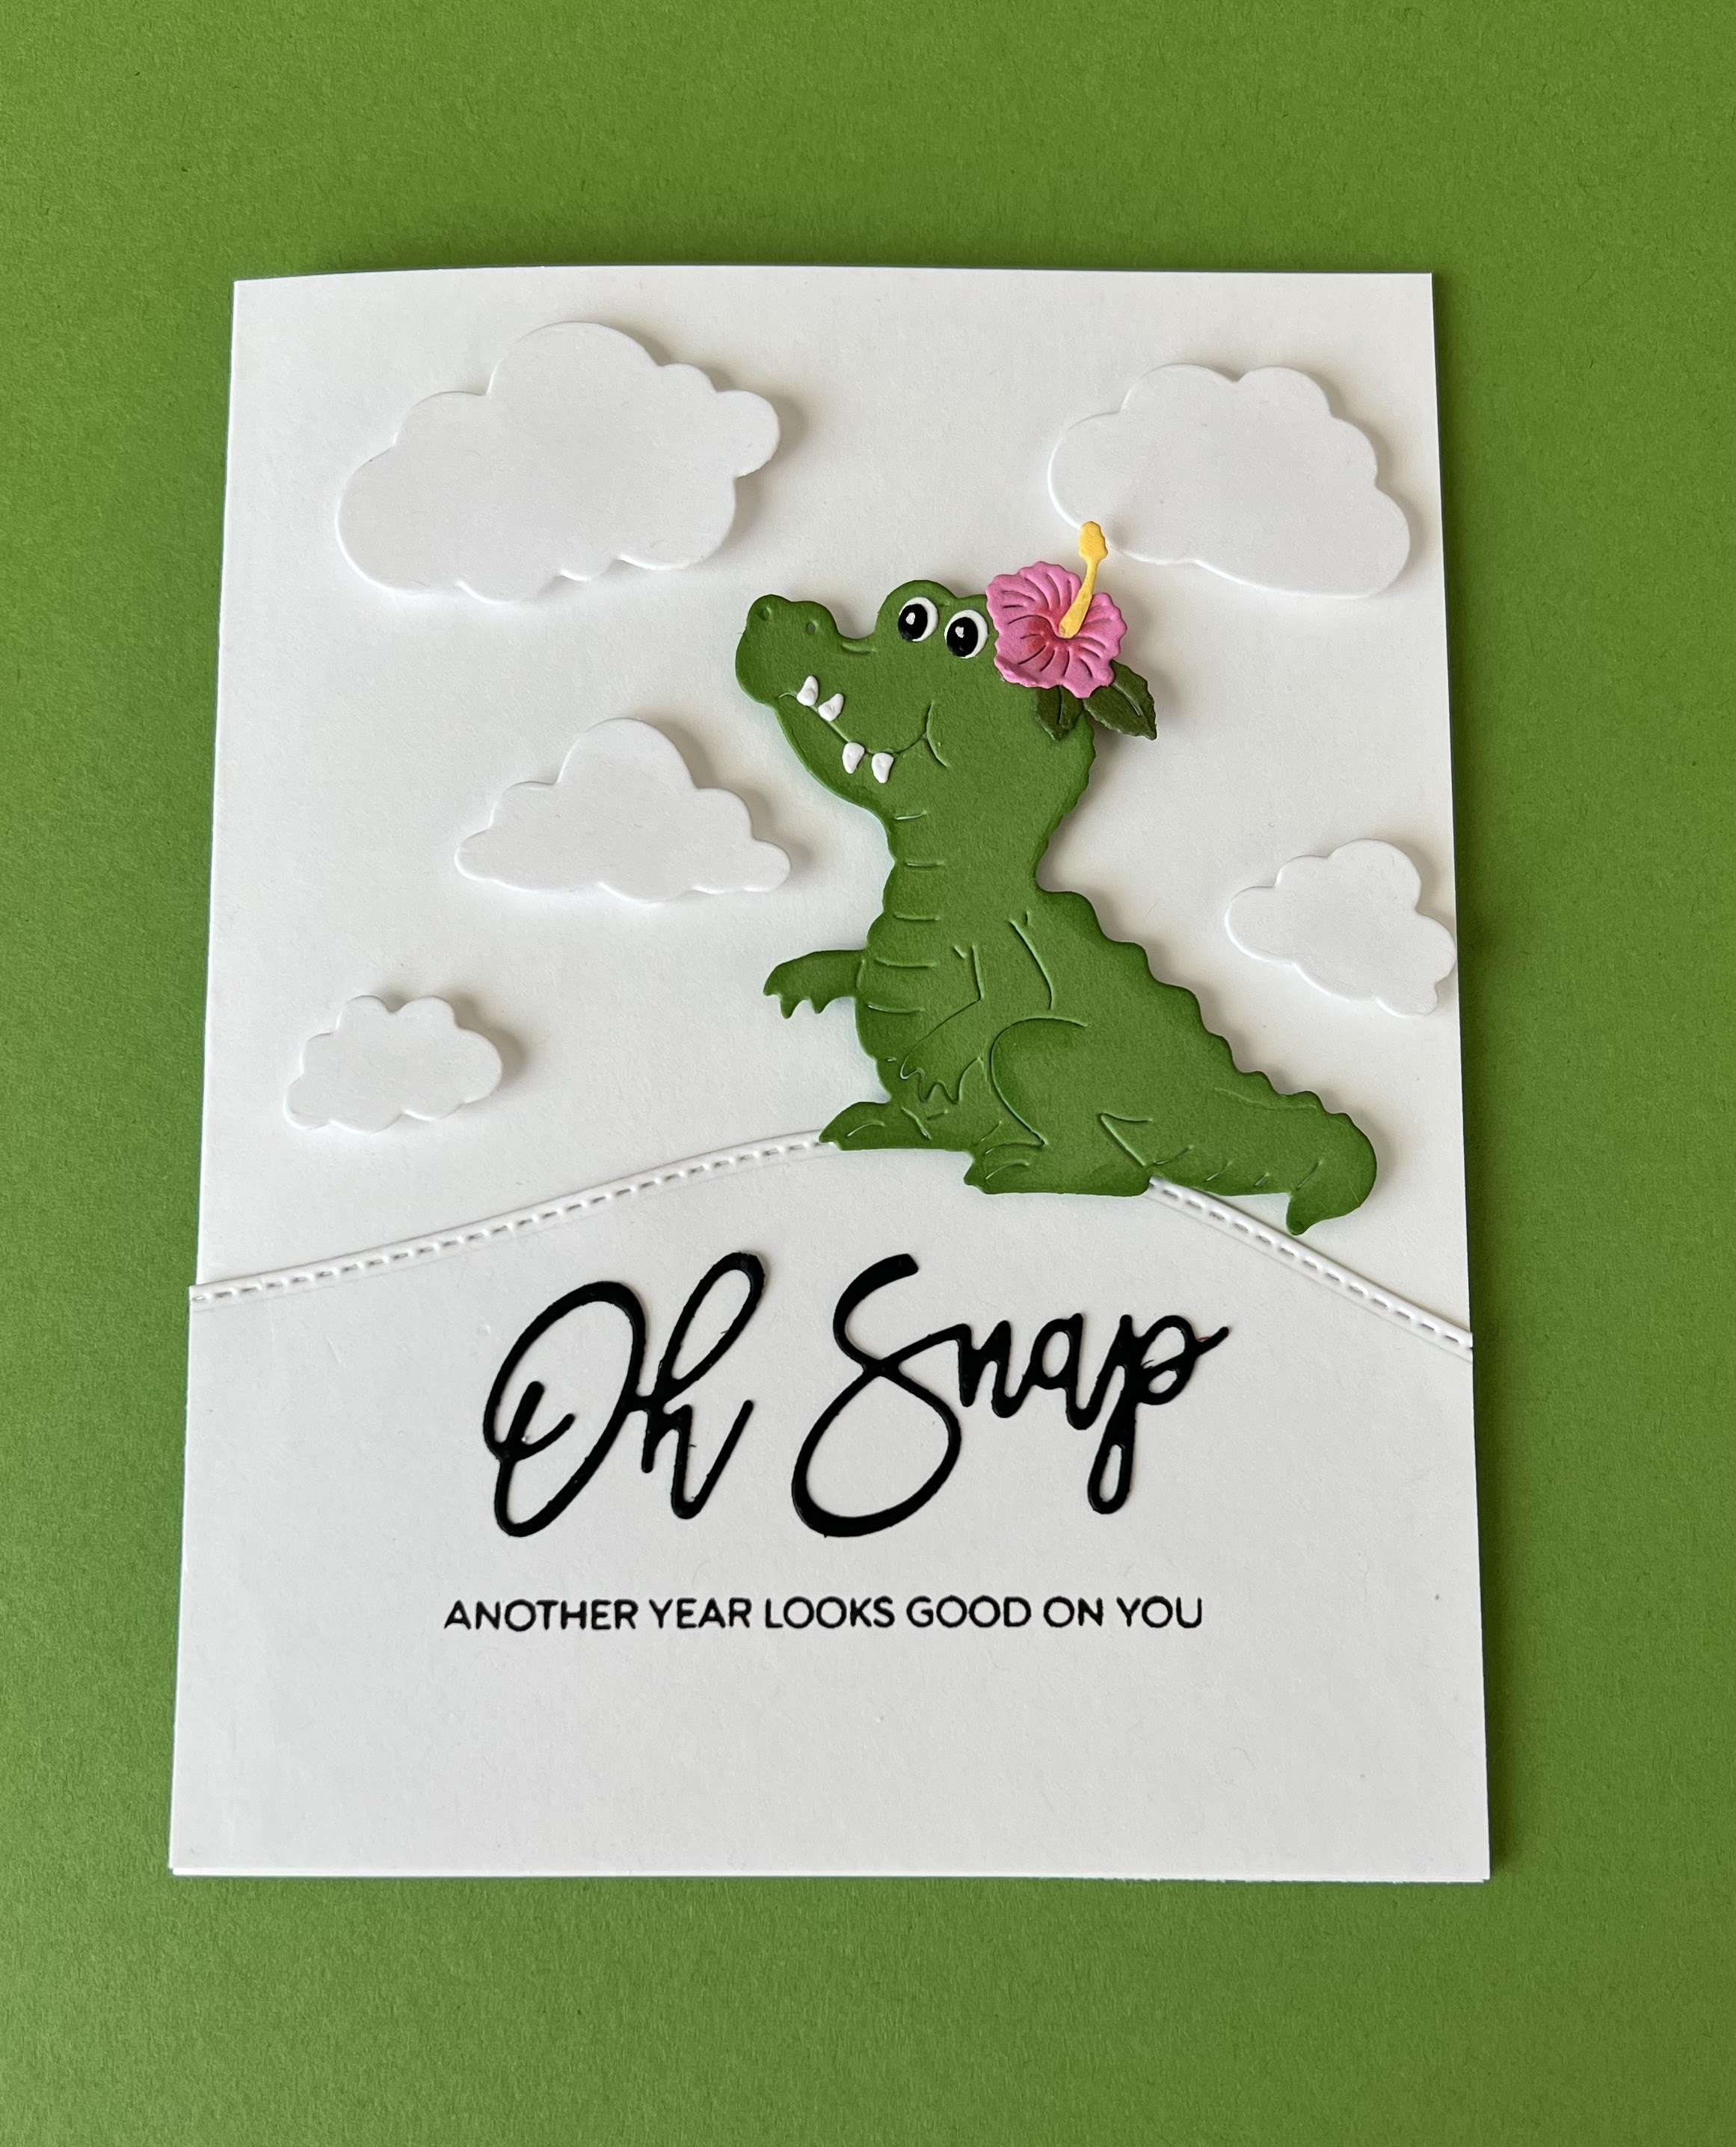
Melinda here with you for another fun Tuesday. My project today features some dies from the fabulous new Australian Friends Die Release!!! Here is what I created.

This super cute scalloped stitched rectangle shaped birthday card featuring that Croc-o-licious Croc from the new release! She is too cute!

To Make The Card Base

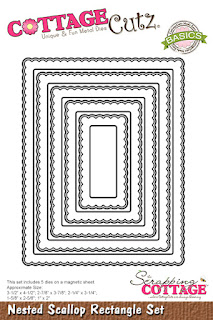
You start with two cuts of the same die. For this one I used the largest die from the scallop stitched rectangle die set. I cut them out of some craft cardstock.


Next, I scored a crease 1/2" from one edge.

I added a mat to the one that would be on the top. Here you can see where the crease is on the one.

Next you put adhesive just on the top 1/2" of the scored mat. Then you line them up, one right on top of the other and adhere them together.

Once adhered, this is what it looks like when opened from the side view.


You can then decorate the interior just making allowance for the portion of the top that is used for the fold. Doing it this way allows for a fold without creasing the top mat.

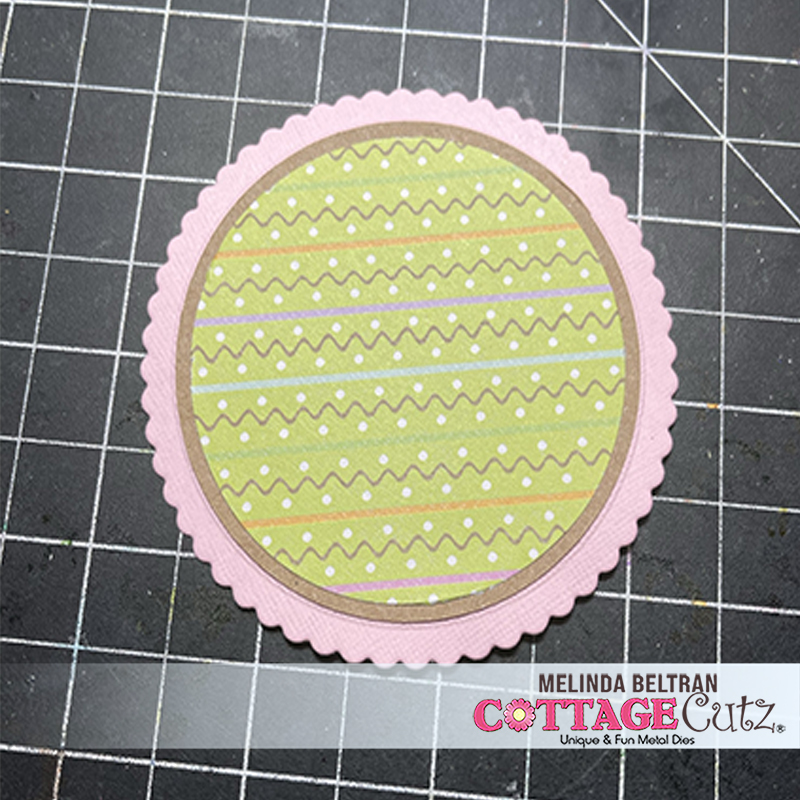
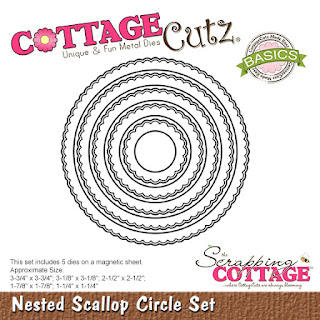
Next, I used the largest die from the scallop circle set and cut it out of some pink cardstock. I added a couple of mats. In this shot I had a different piece of patterned paper. I ultimately changed it out as it blended to much to miss croc...in my humble opinion...lol.

Here she is all ready for her close up! What an adorable die! I of course cut her out in white and then colored her in. My favorite thing to do. She is just too stinkin' cute with those little teeth and that flower!!!! 

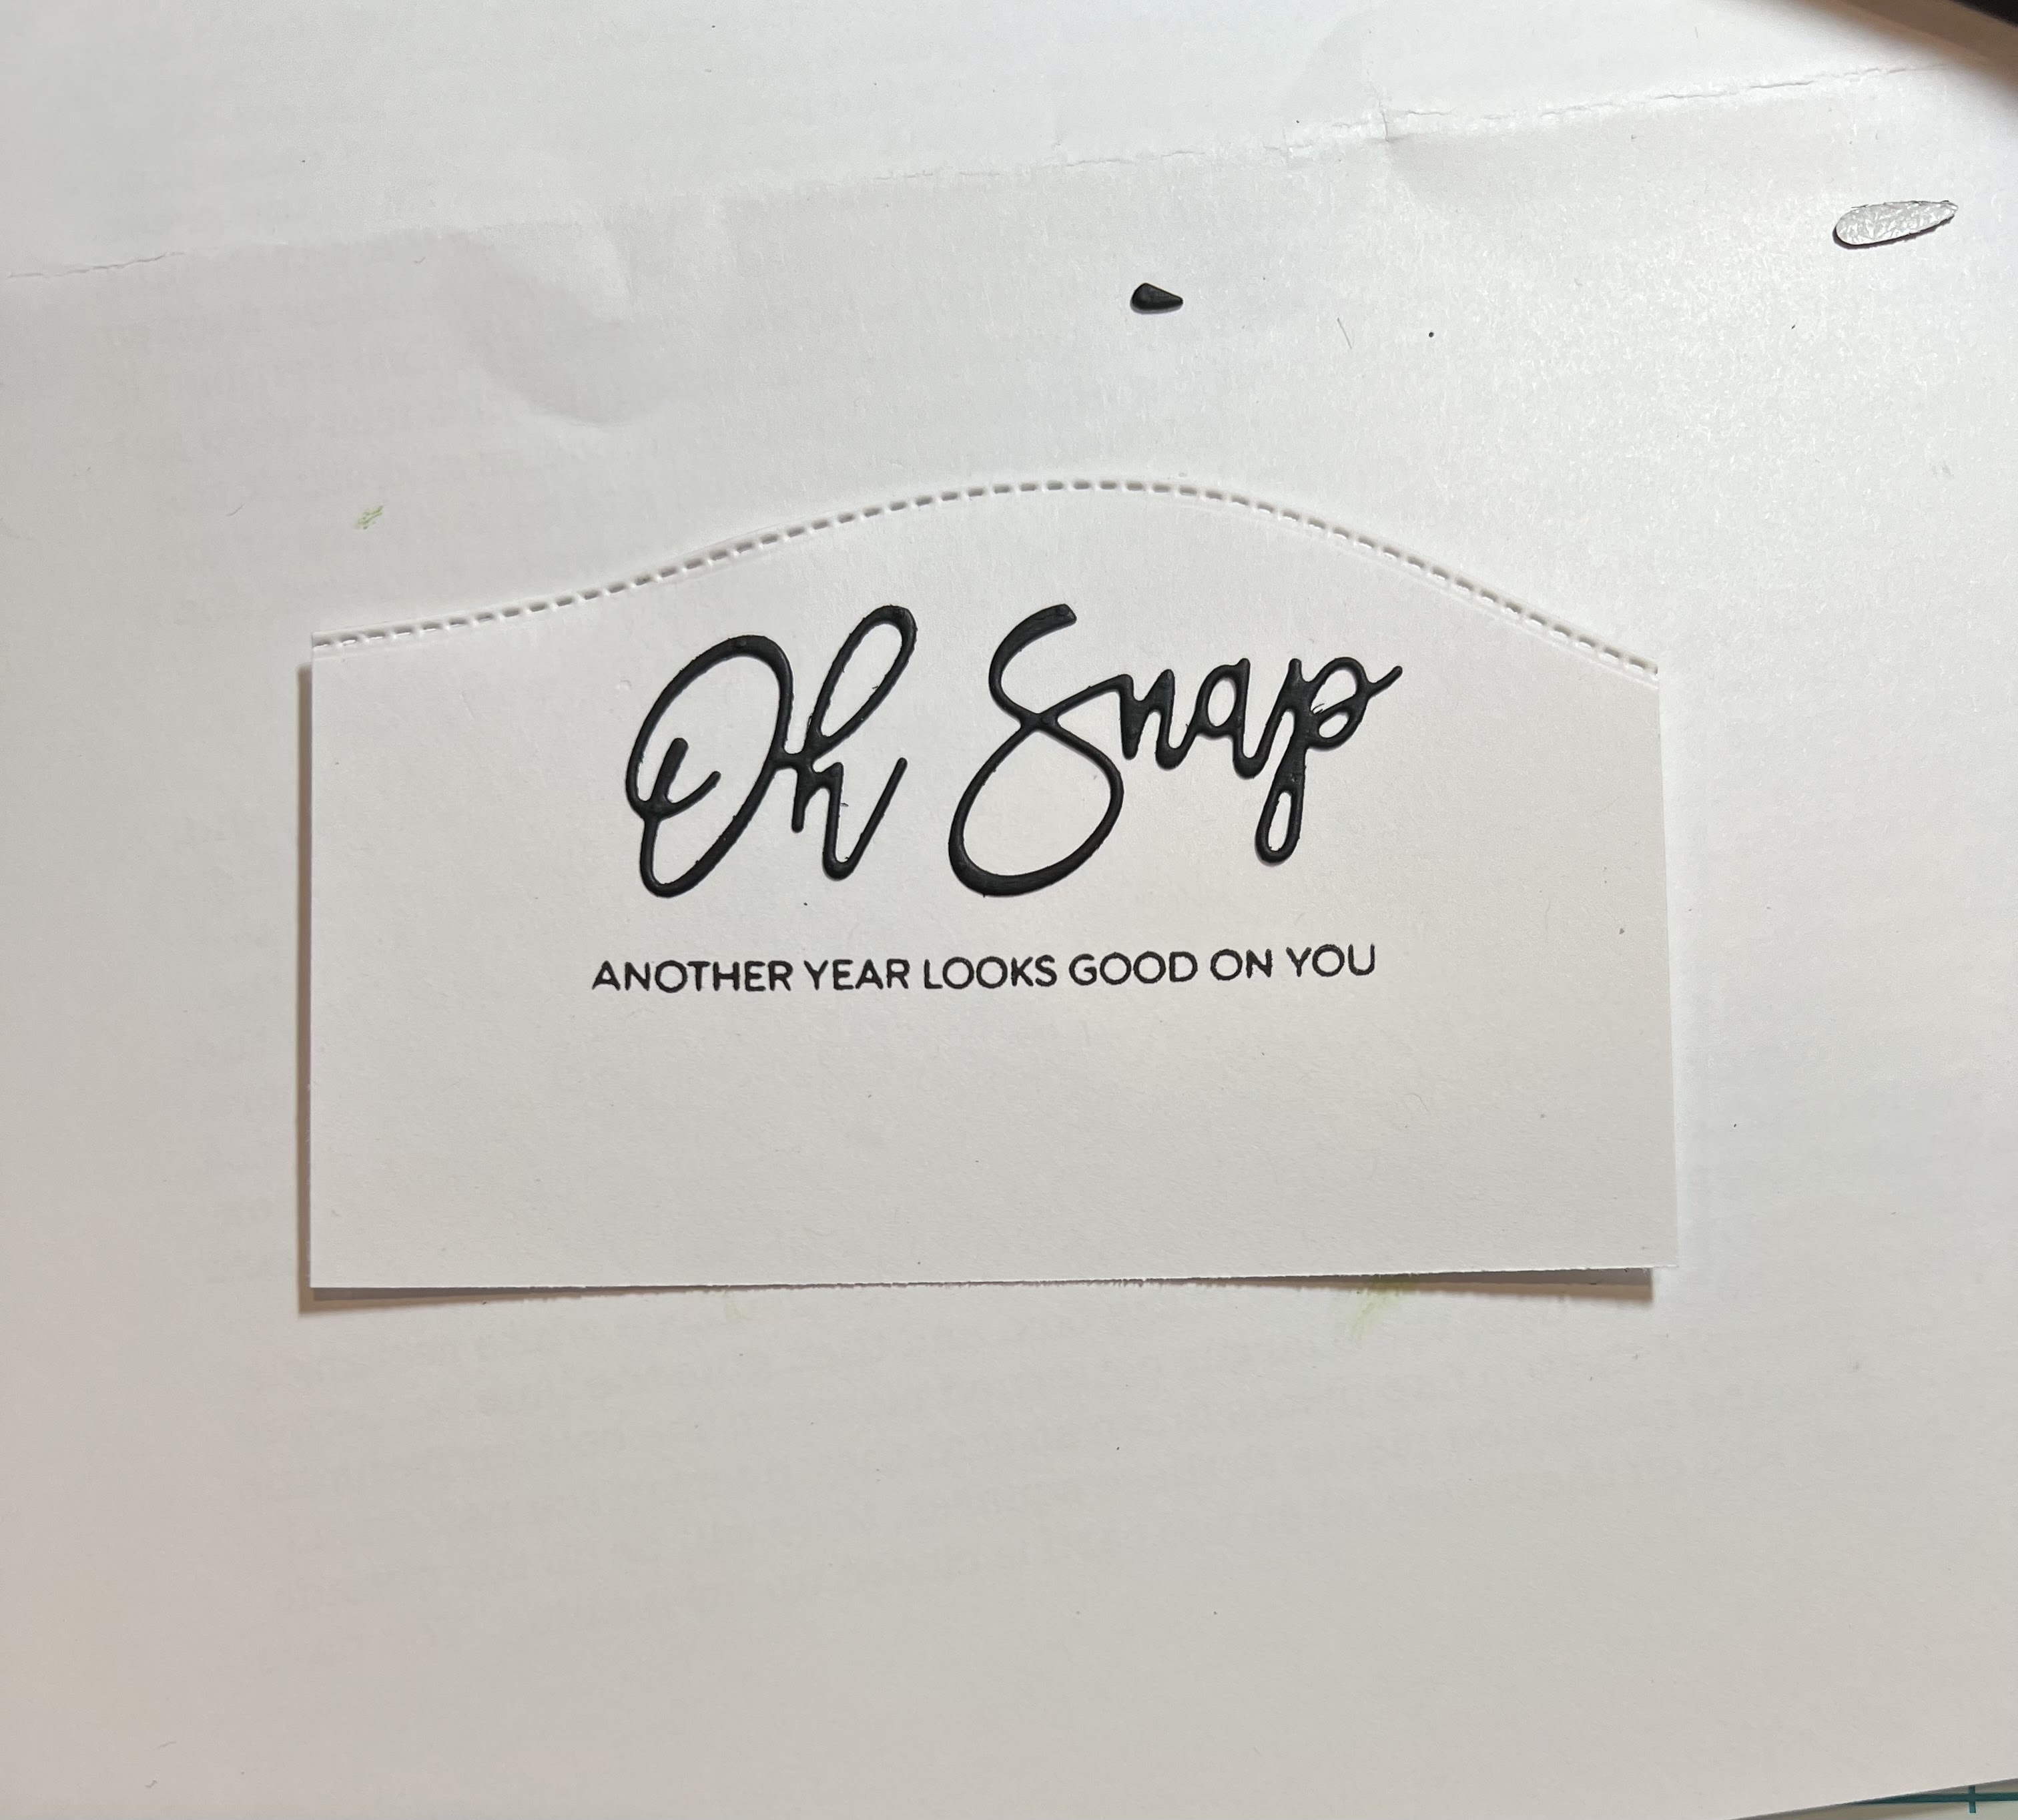
For the sentiment, I used the Shadow Happy Birthday Die. I added a dot of Star Dust Stickles for the Dot in the "i".

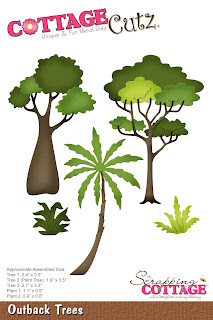
I also layered in the cute little palm tree from the Australian Trees die from the new release. I added some more Stardust Stickles and some Cinnamon to kind of resemble some coconuts.

Here a couple more shots.

I think it turned out super cute. This is such a fun way to add a little "shape" to your cards without really any effort at all! You can try it with your oval, circle, heart and other fun shaped dies!

Here is the fantastic new collection 
FROM DOWN UNDER!
Hurry for a limited time...
New CottageCutz 


PLUS FOR A LIMITED TIME....


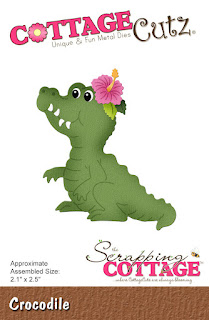
The Dies I used to create this project:


I used the Scallop Stitched Rectangle set, however that is currently sold out. This is a great alternative through.


Have you checked out the CottageCutz YouTube channel yet? 
It is filling up with beautiful projects and great how-tos!  
Head over and check out the latest video! 

Well that about covers it for today! Until the next time, have a wonderfully crafty die day!
Melinda Beltran

Monday, April 18, 2022

Double Step

Hi everyone another Monday has creeped up on us and time sure goes by fast when your crafting and right now it’s pouring rain here in Florida youck…
So my card today is how I wish things were here inFlorida nice and sunny 🌞 this card features the beautiful majestic Swan from the Australian release.

To make my card I took a piece of white cardstock and cut it to 5.5x7.5 and cut slits 4 inches down each side 
Next score between the slits you just  cut at the bottom and from the top and then score 1 in down from the top and another 1in after

Use a bone folder to get nice crisp creases and form your card and now diecut all the added pieces from the trees using color cardstocl and add depth using some copics

I diecut my swan and colored it with copics and added some stickles in crystal to sparkle my swan up a bit

My completed card at and angle where you can see how the trees really surround my swan


Supplies Used


Saturday, April 16, 2022

Happy Birthday Koal-ity Friend

Hello CottageCutz friends! Thanks for taking the time to stop and visit with us today. It's Mary Marsh here bringing you the Saturday edition of the Blog.

We have a new release in the online store. It's our Australian Friends with 14 new designs. The dies are perfect for Mother's Day, Baby Cards, Kids & Adult Birthdays, Thinking of You, Thank You - just about any occasion you would need a card for.

They are currently on a limited time sale of 30% off the individual dies. There is also an anniversary sale going on right now with savings up to 75% off. Shop early for best selections.  

Today, for your viewing pleasure I have created a birthday card using the new Koalas die. So let's get started with some details on how I created this card. 

Design Steps:

I started my card this week using the colors from the Splitcoaststampers color challenge #891. We were to use rococo rose, pretty peacock, so saffron and just jade. Any neutrals are allowed as well. 
Rococo Rose, Pretty Peacock, So Saffron, Just Jade

I cut the koala image in a gray cardstock and sponged the edges for a bit more depth. The eucalyptus tree I cut from white cardstock and colored with Copic and Stampin' Up markers in the challenge colors. 
For my card base I used an espresso cardstock. It's a rich shade of brown that complemented the rose shade nicely. I had an ombre designer paper in the rococo rose color and then used the Pierced Wide Rectangle Frame die to create a frame. 
I stamped my sentiments in a chocolate chip ink. I laid the koala image down first on the background so I could get my placement correct. Then I used the MISTI for stamping. When I saw the new dies being released I bought a few stamp sets with some punny sentiments this is one of them. 
Now that my card elements are prepared, I am ready to attach my Koala image. 
To finish off my card I attached the image panel to the Espresso Brown card base and scattered a few yellow enamel dots to get that color in for the challenge. Well that's it for me for this week. See you next Saturday!
Reminder: Our YouTube Channel has a new video from Marla Harris. There is a giveaway for being a subscriber, liking the video and leaving a comment. Click here.

dies I used to create card: