Sunday, August 22, 2021

Hi! How Are You?

Hi!

It's Anja here for my Sunday post. I have another card for you were I combined one of the slimline dies and country farm animals.

For this card I used:

- Cottage Cutz dies (Circle Window Slimline, Baby Farm Animals),

- Distress Inks,

- white card stock for die cuts and card base (22,5x10 cm),

- patterned paper for die cuts

- sentiment stamp,

- black pigment ink,

- acrylic block,

- black pen,

- white pen,

- scissors,

- adhesive foam pads,

- paper glue. 


First I cut and colored the animals.

Next I made a card base and cut the background from patterned paper. I used Distress Ink to emphasize the edges.

Last I stamped the sentiment and cut it out with the scissors.

Then I adhered all the pieces together. I used adhesive foam pads to add the animals. And my card was done. 


And that's all from me for today. Before I go I want to invite you to The Scrapping Cottage online store to check the new Sentiments With Shadows release. And there is a Sizzling Summer Sale going on.
 
Have a nice week and see you again tomorrow for my Monday post.

Anja Z.


Cottage Cutz dies I used:


Saturday, August 21, 2021

Another Birthday - No Prob-llama

Hello Scrapping Cottage friends! Thanks for taking the time to stop and visit with us today. It's Mary Marsh here bringing you the Saturday edition of the Blog.

IT'S NEW RELEASE TIME! The Scrapping Cottage has just added a new brand to the company line. Lil' Bluebird Designs is being introduced with 16 new Photopolymer Clear Stamp Sets and 16 coordinating dies. There are stamps for so many of your card making occasions and then some. The coordinating dies just make it a perfect fit for your card making designs.

They are currently on a great bundle price at 40% off and the individual dies are 25% off. And speaking of sales there is currently a sizzling summer sale with savings of up to 65% on selected dies. It's time to get those dies you have on your wish lists.

Also just introduced are some new Sentiment Phrases with Shadows. You can pick up this bundle at a 51% savings and or the individual dies at 25% off. The shadow dies are so popular right now and they coordinate so well with the new Lil' Bluebird Stamps and dies that were just released. 

Today for your viewing pleasure I am featuring the new Llama Love stamp & die set. I used it to create a birthday card. I like to have birthday cards on hand to send out to my family and friends. I have a large extended family so I am always in need of cards. So let's get started with some details on how I created my card. 

Design Steps:

Having a layout in mind at the card start is always a big boost for me. That way I can just choose the card colors and designer paper and I am good to go. I liked this week's sketch #867 on Splitcoaststampers because of the somewhat simplistic design. The circle was also a good resting spot for my llama image. 

I looked through my designer papers for a fun and festive designer paper. I found this one with a fiesta theme and I thought it would be a good background for the llama. I also embossed the angled rectangle panel with a cactus folder. 

Turquoise Card base: 4 1/4" x 5 1/2"
Designer Paper Layer: 4 1/8" x 5 3/8"
Crushed Curry (Yellow) Angled Rectangle Layer: 1 1/2" x 5 3/8"
White Image Circle: - Stitched Circle Set (4th largest)
Melon Layering Circle: -  Circle set (3rd largest die) 
Next, I stamped, colored and die cut the llama and cactus images. For my coloring mediums,  I used a combination of alcohol markers and Prismacolor pencils and Gamsol. 
For the llama body I decided to use some Stampendous fun flock. It gives a fuzzy texture and is adhered with a 2 way glue pen. You press it into the image and let it dry. IRL it looks great on my card. The recipient will love the added touch. 
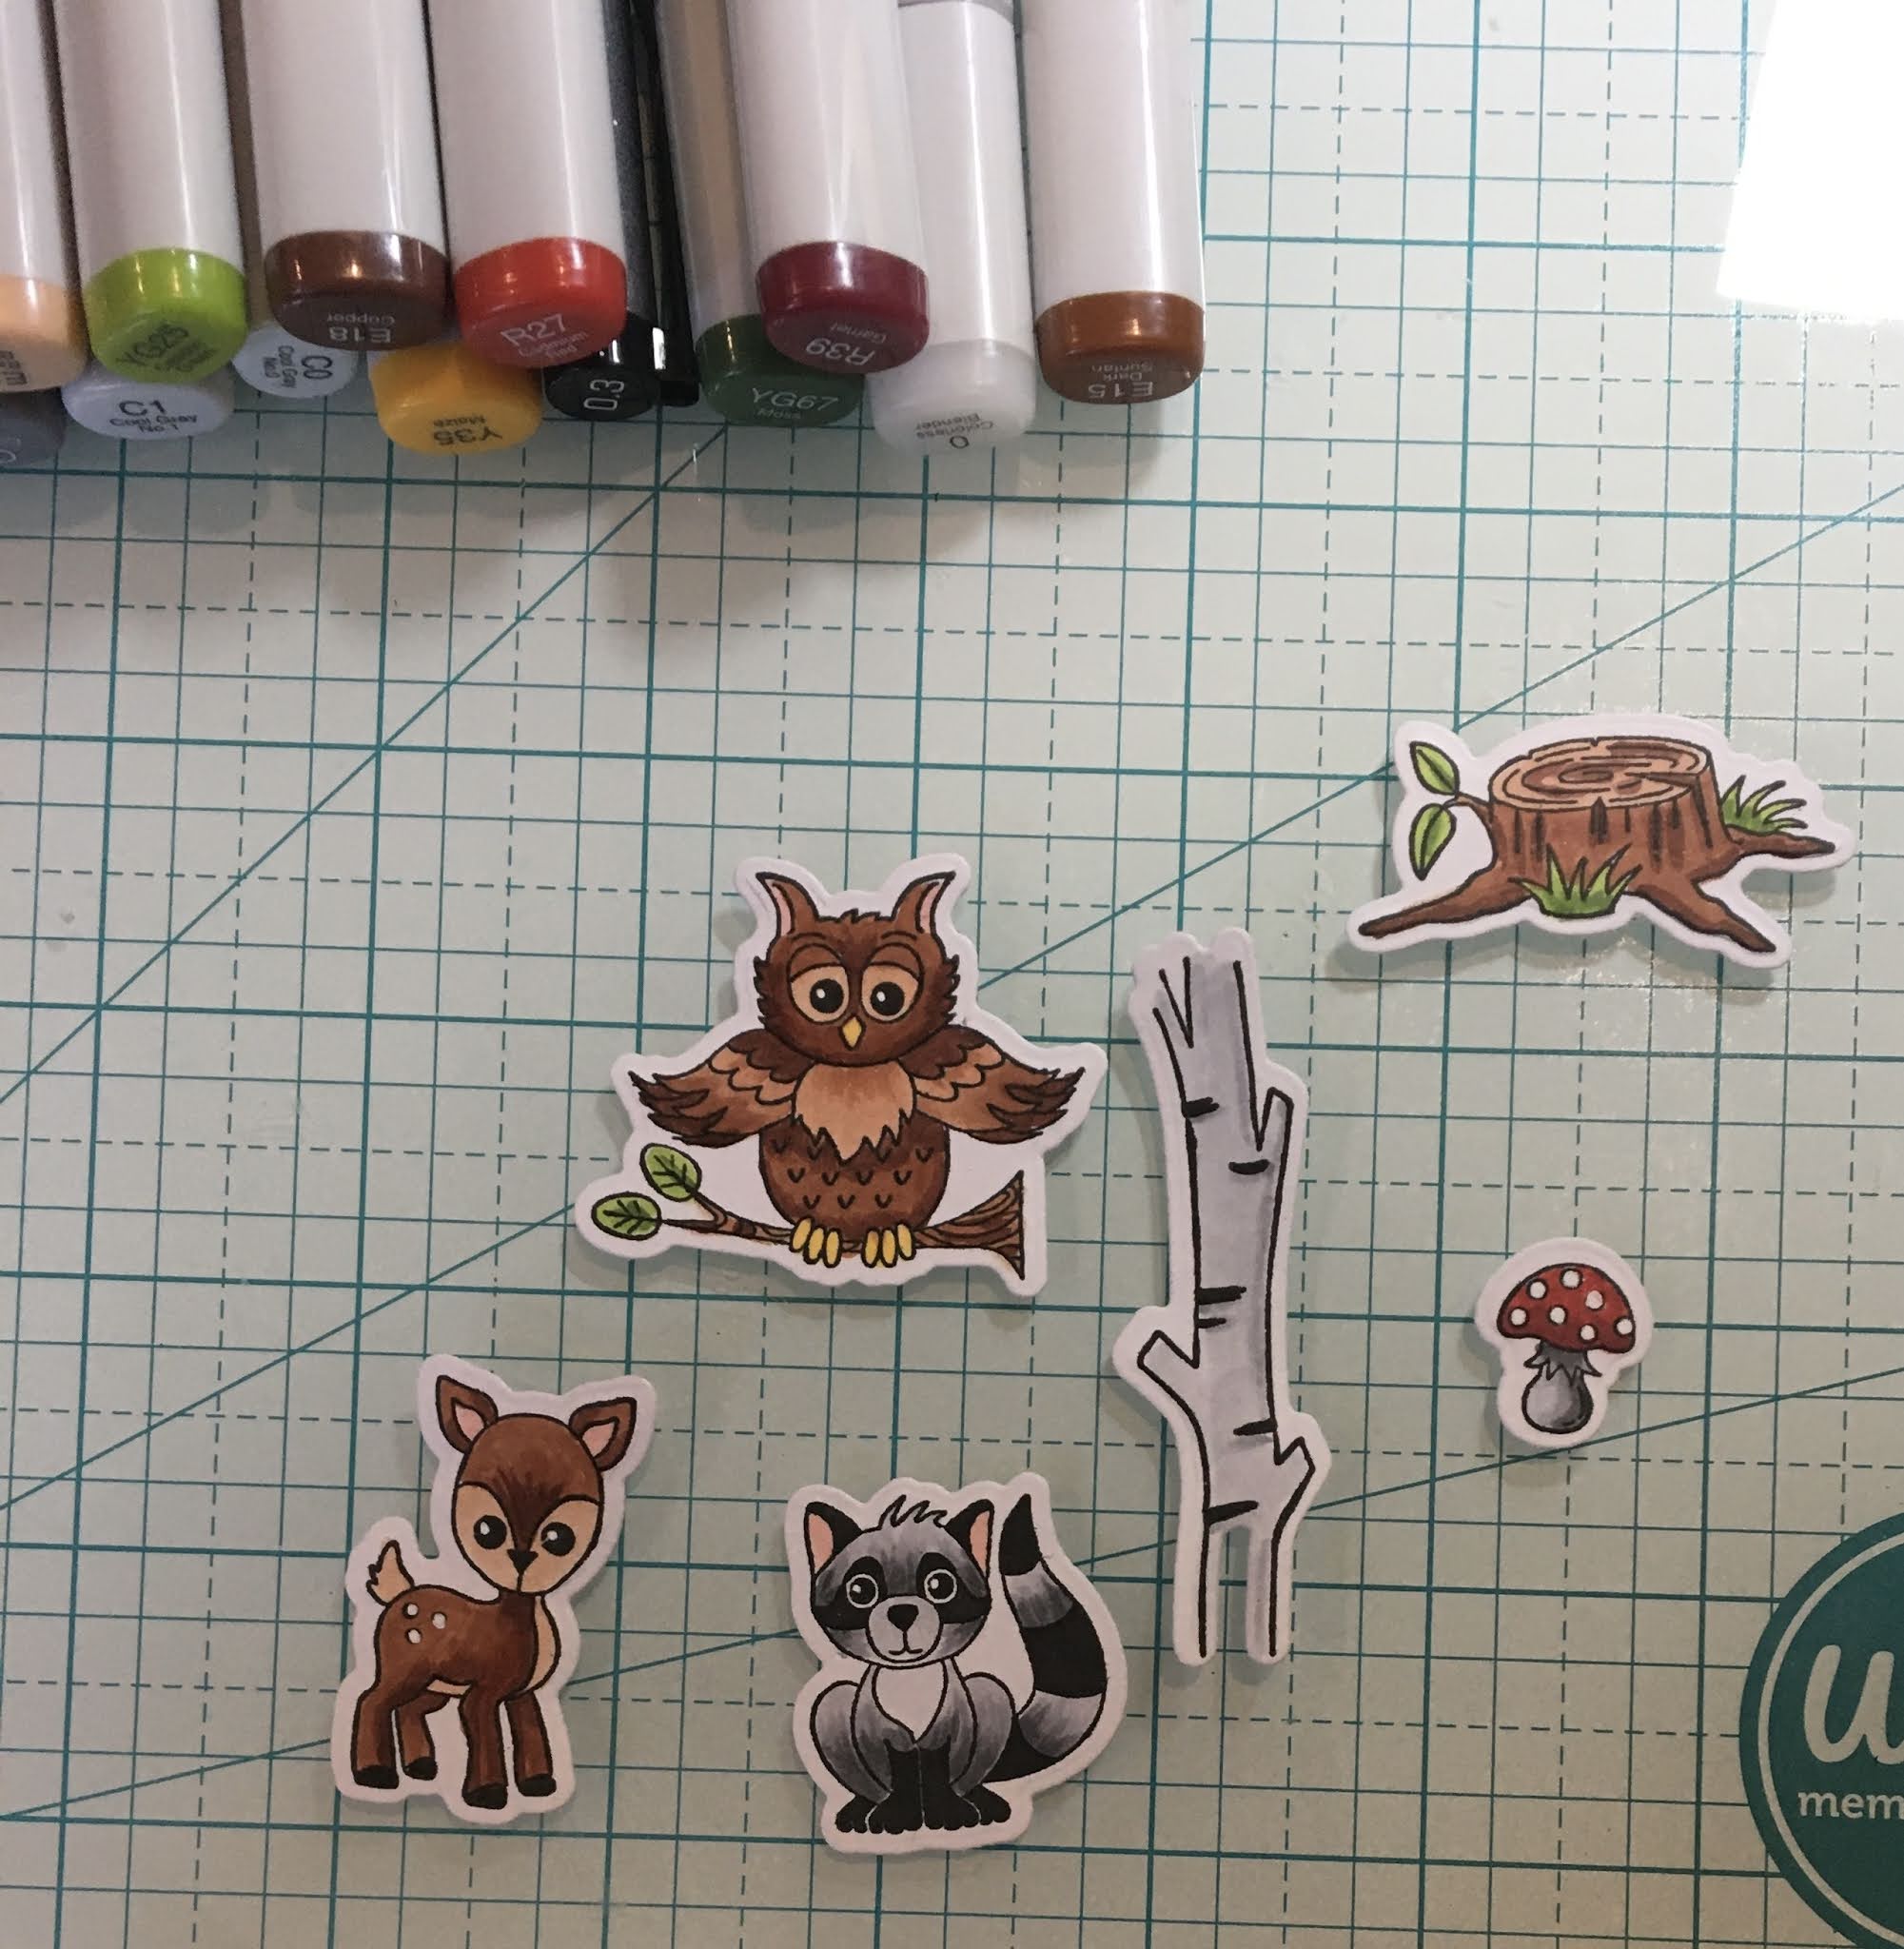
The photos below show what makers and pencils I used.
I stamped the first sentiment on the white circle with a turquoise ink. I placed it at an angel for added interest. This sentiment is not part of the Llama Love stamp set. 
 
Now that my elements are prepared, I am ready to start card assembly.  I attached the embossed panel first because it needed to be trimmed once I angled it. 

Next, I attached the circles to the panel with double sided tape. The images are attached with dimensional adhesive. 
For the flag element below the circle, I used a white flag I had in my stash and stamped my 2nd sentiment in turquoise ink. This sentiment is part of the Llama Love Stamp set. I layered it with a strip of melon cardstock and attached with dimensional adhesive. 
To complete my card I added the turquoise card base to the image panel with double sided tape. And, that's my card for this week. I hope I have given you another idea for a way to use this new stamp set. See you next Saturday! 


Stamps & Dies I used to create card:


Friday, August 20, 2021

Wild About You

Happy Friday!  It’s Jeanne today with a card that is on the wild side. My card uses the Safari Friends stamps and dies from the new Lil’ Bluebird Designs release.  These designs are adorable and are on sale right now in the online store.

I was inspired to make this card by a challenge at Splitcoaststampers last week to make a jungle card!

I started by coloring the lion, hippo and zebra with Copic markers.  There are so many cute critters in this set that I had a hard time choosing which ones to use.  I cut them out using the coordinating dies.


Next I cut a piece of patterned background paper 4 1/4 x 5 1/2 inches so I could mount it to an A2 card.  I cut three white scalloped circles using the second smallest of the Nested Stitched Scallop  Circles.  I also leaves from two coordinating green cardstock using the leaves from the Safari Gang dies.

I glued down the two top circles, sentiment and the leaves in the lower left corner.  I love that the sentiments in these stamp sets have coordinating dies.

I popped up the lower circle and placed some linen thread underneath.

Finally I glued down all the animals and added a few metallic dots.

These new stamps are so adorable and fun to color! Be sure to check out all the designs in the online store.

Products used:


Thanks for visiting today!  I hope you have a fun and creative weekend!

Thursday, August 19, 2021

Missing You

 Hello Scrapping Cottage Friends,

It is Pam creating with you today on the blog!

It is time to make the CottageCutz family a little bigger.  We are adding a brand new line of Photopolymer Clear Stamps call Lil' Bluebird Designs.  We are kicking off this new line with 16 new stamp sets that have coordinating dies.  Make sure to check all of them out by clicking HERE

 Today, I am featuring the Forest Friends set.  I have family all over the country so I love sending Miss You cards to them.

Design Steps:

1.  Use a Slimline card which measures 8 1/2 x 3 1/2.  Cut a piece of blue DP 3 1/4 x 8 1/4,  also cut out 3 white Windows using the Window Slimline die
2.  Stamp your images in Memento Black ink using the Forest Friends Stamp set
3.  Color the stamped images with Copic markers.  The colors I used are in the picture above.  After you are finished coloring use the Forest Friends Coordinating die set to cut them out
3.  Glue all three frames together then glue the blue DP to the back of the frame.  Use the Spring Grass die to cut out 2 pieces of grass on green card stock.  Cut the grass down to 2 1/2 inches and glue them into the bottom two frames as shown

4.  Using the Lighthouse w/Clouds die cut out 2 white clouds. For the little hearts I used the Love Cupcake die and red card stock.  I cut out 3 hearts.   Glue all of your pieces into the frame as shown above.  Add the sentiment, sequins and hearts and your card is complete

CottageCutz and Lil' BlueBird Designs


Thanks so much for stopping by today!  Please check out all the adorable new stamp set we have in the online store!
Blessings and Take Care
Pam