Monday, October 18, 2021

Snowy Days

Hi everyone I am back with another Monday post. Today I am sharing a Christmas card inspired by a movie I saw but I sort of forgot the name. 😂. It was a Christmas show an oldie but goodie anyhoo. So I came up with this slimline

I used to Lift Flaps to create my card base with some desert sand cardstock and I just love this die. When I was done I added some foam tape to the back to give it some height. 


Next I colored some trees from Rustic Sign & Trees to create a sort of sky for my Snowman flyer and I colored my pieces with my COPIC markers 


Next I colored my High Flying Snowman and I glued some pieces on the top layer of my slimline and other pieces like the tree later below on the bottom layer.

Finally I added a sentiment Celebrate which says it all to complete my card

Here is the inside of my slimline and I hope everyone enjoyed my post!!


Sunday, October 17, 2021

Snowman With Country Shed Christmas Card

Happy Sunday Scrapping Cottage friends!  Melinda here, and today I am sharing a fun Christmas card. It features the super cute, Snowman With Country Shed die. It is one of the new dies in this month's new release. Now is the perfect time to pick them up! They are 30% off and they are SUPER FUN! They will help you get your Christmas projects done with some fun and pizazz!

Here is a look at my project. I created this cute card filled with frosty country charm!
The card is an A4 horizontal top folding card. The base is from some gray cardstock. I cut a mat from some cute pink snowflake digital paper I created. I then used the cute Snowman With Country Shed Die. I cut all the pieces in white and then used a combination of markers and colored pencils to color my pieces.
For the country shed, I colored it with a base of my red marker.

I then added some details to give the "wood" some additional dimension with my colored pencil. I proceeded to color all of the other pieces in the same way.


I then used the largest Double-Stitched Oval die from the Nesting die set. I cut it in half length wise.

I layered the dies on the bottom of my mat. The mat is the largest Stitched Scallop Rectangle from that nesting die set. I added a mat of some pink snowflake digital paper I created. I trimmed the ovals down to match the width of the pink mat paper. They made some perfect snow mounds for my background.

Here is the base of the card. As I mentioned above, it is a top folding horizontal A2 base. I then cut another mat of my patterned paper and mounted onto the base. From there I assembled the rest of the pieces onto the scalloped stitched base. Once everything was in place, I mounted that mat onto my card base. I finished it off by adding some white paint and stickles glitter glue.

Here is a look at the finished card. For the Warm Wishes sentiment, I used them from the Coffee & Cocoa Warm Wishes Die Set. I think this card turned out super cute! I know the perfect person to get this card! 

The Dies I used to create this project:


Well that about covers it for today! Be sure to head over to the Cottage Cutz You Tube Channel where some of the designers will be posting videos! You can also catch us on Facebook and Instagram!

Make sure to come back by each day for some more great crafty inspiration from the super talented team. Until the next time, have a wonderfully crafty day!

Saturday, October 16, 2021

Gingerbread Teapot

Hello Scrapping Cottage friends! Thanks for taking the time to stop and visit with us today. It's Mary Marsh here bringing you the Saturday edition of the Blog.

IT'S NEW RELEASE TIME! The new Christmas dies are in the online store with 40 new designs and they are on a limited time sale at 30% off. It's not too soon to get started on your Christmas cards.

Today for your viewing pleasure I am featuring the new Gingerbread Teapot die. I created a Christmas card for my neighbor who has an exquisite holiday tea at her home every year. So let's get started with some details of how I created my card. 

Design Steps:
I started my card today with colors. I was the hostess on the Splitcoaststampers color challenge #865 this week. I chose the colors based on this Gingerbread Teapot die. I chose cinnamon cider, polished pink and coastal cabana for my color trio. Optional was anything goes and I added 2 additional colors. 
cinnamon cider, polished pink, coastal cabana

Next, I cut the teapot elements in the challenge colors. Love the way it's looking so far. 
Next, I looked for a designer paper as a background for the Teapot house. I found this one that I thought would work great. I liked the silver trees, the falling snow and the snowy ground at the bottom. 

Polished Pink card base: 4 3/8" x 6"
Designer Paper Layer: 4 1/4" x 5 7/8"

Now that the card elements are prepared, I am ready to start assembly. I attached the designer paper to the card base with double sided tape.
I attached the teapot using a dimensional adhesive. I wanted it lifted slightly off the designer paper for added depth.
I wanted a sentiment on this and after several attempts that I didn't like I settled on this one. Season's Greetings w/Snowflakes is from the 2017 Christmas release. I cut it 2x in polished pink cardstock and used Art Glitter glue to connect them together. 
I attached the phrase to the image panel using the same glue. I like this one because it dries clear. 
Well that completes my sample for this week. I hope I have given all you tea lovers out there a way to use this die for a special Christmas card for a friend or family member. See you next Saturday!

Announcement: Don't forget to visit our YouTube Channel for the latest video from Marla Harris. If you subscribe to our channel, leave a comment and like the video you have a chance to win the Santa's Delivery die she used to create her card.


Dies I used to create card:


Friday, October 15, 2021

Snowball Fight!


Good morning CottageCutz fans, its Wendy bringing the blog to you today. I hope you’ve had a wonderful week and are looking forward to a super weekend. Mine will be full of dog walks and Christmas crafting so I’m looking forward to that.

Today I’m bringing you a fun simple card. Santa and the joyful snowman are having a snowball fight and Santa really needs to get his reindeer ready for the night of present deliveries.

I have made a snowy scene using the slimline hills both on the top and the bottom of the card. I cut 2 hills out for the bottom of the card so that I could slot some items behind one of the layers.

One of the new designs I have used is the Reindeer stable. This is such a cute die and I thought one of them had to be Rudolph with his red nose. 

I really hope you enjoyed the card today. These dies are amazing and I hope that it has inspired your Christmas crafting. Remember to take time to craft!

Announcement: Don't forget to visit our YouTube Channel for the latest video from Marla Harris. If you subscribe to our channel, leave a comment and like the video you have a chance to win one of the dies she used to create her card. 

Take care and I’ll see you Tuesday
Wendy 

 
    Dies I have used


Thursday, October 14, 2021

Christmas Hound and Friend

Hello Scrapping Cottage Friends

It is Pam sharing with you on the blog today!

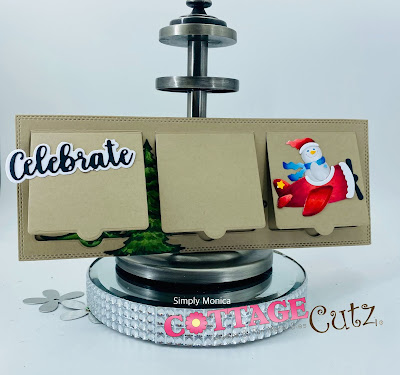
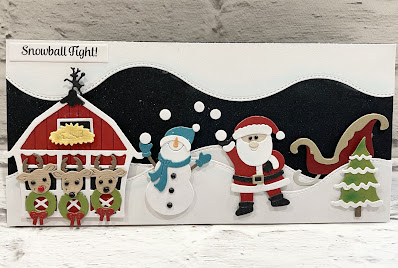
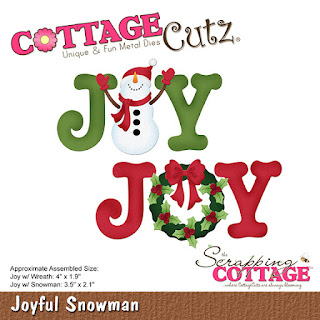
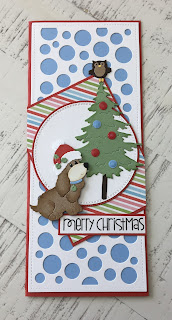
Our new release for Christmas is available for purchase today!!  It has 40 darling dies that would make gorgeous cards, gift tags, banner or toppers for a bag.  In this release there is everything from farm animals to beautiful Navitiy Scenes.   Today, I am using the Holiday Hound Dog.

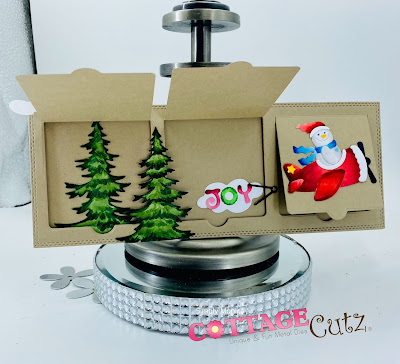
My card was inspired by a fun and playful design by Meghan Kennihan.  I just loved the sketch she created so I had to give it a try.  Thanks for the wonderful idea Meghan.  


Design Steps:
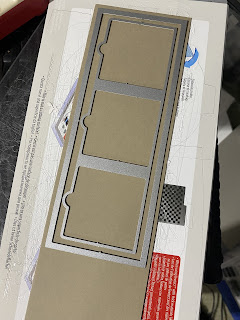
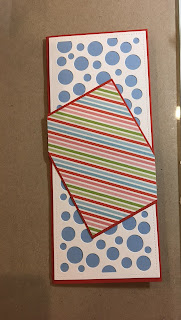
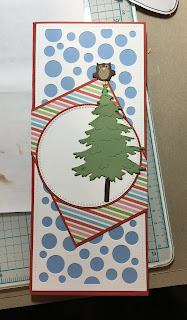
1. Start out with a red slimline card base 8 3/4 x 3 3/4.  Next use the 
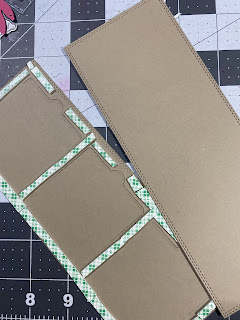
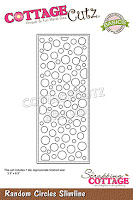
Random Circle Slimline die and cut it out of white card stock.  Cut a piece of blue card stock 8 1/2 x 3 1/2.  Cut a piece of red card stock 3 x 4 1/3 and a piece of striped DP 2 3/4 x 3 3/4.  Glue the blue to the red card front, next glue the white random  circle piece to the blue and last mount the striped DP to the red and glue to the card front at an angle as shown
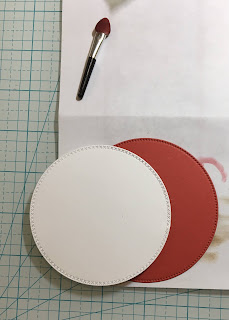
2.  Cut out a white circle using the Crossed Stitched Circle die second from the largest and a red circle cut with the second from the largest Pierced Circle die.  Glue together and then to the card front
3.  Using the 
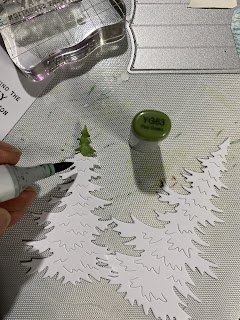
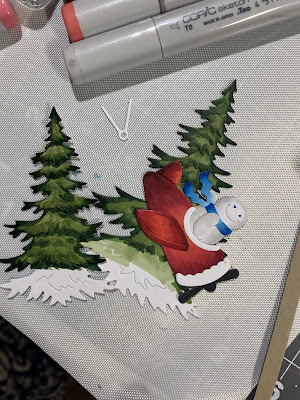
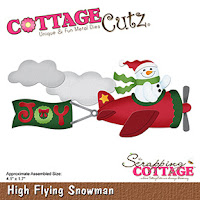
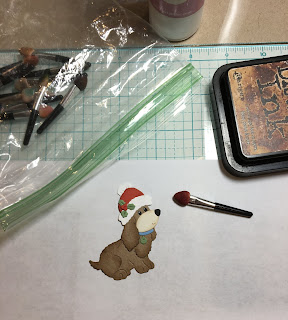
Holiday Hound Dog die cut him out of brown, blue, green, red, black, tan and white.  Shade the dog and assemble

4.  Using the Moose and Tree die cut out the tree in green and the trunk in dark brown.  Assemble and glue to the card front as shown.  The little owl is from the die Snowman w/Woodsy Friends

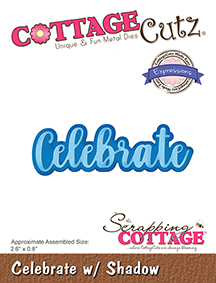
5.  Pop up the dog using dimensionals add the little bulbs on the tree and coat them with glossy accents.  Add the sentiment and your card is complete

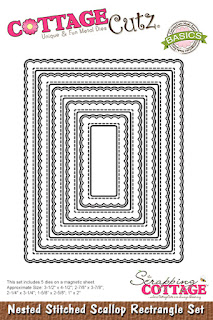
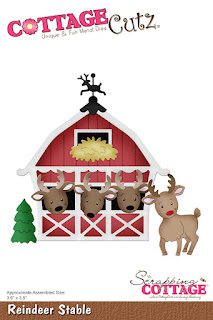
CottageCutz Products


Thanks so much for stopping by and don't forget it is never to let to start on those Christmas cards or even start to shop for our crafty friends!  One more bit of info our YouTube channel is up and running with some wonderful video inspirations check it out HERE.

Blessings and Take Care
Pam