Friday, July 16, 2021

Sea of Love

Happy Friday! It's Jeanne today with a card using one of the fun new slimline dies combined with a few dies from summer of 2020 Pirates and Sea Creatures.  The Waves Slimline coordinates perfectly with that release.

I first cut the fish and mermaid tail from various colors of cardstock.

Next I worked on the ocean.  I cut a 5 1/2 x 9 inch piece of mixed media paper so I could do a watercolor technique I call "splat". 

I swatch Distress Oxide on a craft mat and spray with water.  Then I dip the paper in the ink.

I keep going until I'm satisfied with the results.  I use a heat gun every once in awhile to set the ink.

I used the largest of the Slimline Rectangles to cut a base from white cardstock and stamped the sentiment in the upper left.  I cut the water piece into three strips - two 2 inches and one 1 1/2 inches.

I opted to use only two of the strips and cut them with two of the Waves dies.  I placed them on the bottom and added my mermaid tail.  The over hang on the right, I cut with scissors.

Then I added my fish.  I had made more than I ended up using but that's perfect - I have some fish and a water strip for another card.

To finish the card added a pearl to the shell.  I hope you've enjoyed my card today.  Be sure to visit the online store where the new release is on sale for a limited time.

Products used:


Thanks for visiting today.  I hope you have a fun and creative weekend.


Thursday, July 15, 2021

Rose Anniversary Card

Hello Scrapping Cottage Friends

It is Pam sharing with you today!

We have a HUGE SLIMLINE DIE RELEASE with 20 fantastic dies.  The dies are at a savings of 25% off right now in the store.  The new designs are just so amazing.  They are sure to put your imagination into overdrive!!  Check them out right HERE.

I wanted to make a beautiful, classy Anniversary card for a friend so I decided to use our new Rose Background Slimline.  It is hard to see in the photo but I used a red foil paper for the background behind the die and it is so shiny and pretty.  It also came together very quickly!


Designer Steps:

1.  Using the Expression Happy and the Expressions Anniversary cut out the dies one time on the red foil and 2 additional times in black.  Glue them all together placing the red one on top
3.  Use a black slimline for the card base.  Cut a piece of red foil 3 1/2 x 8 1/2.  Use the Rose Background Slimline die and cut it out of black card stock.  Also using the second from the smallest Scalloped Stitched Retangle die cut out a small black rectangle
4.  Glue Happy Anniversary to the scalloped rectangle
5.  Glue the red foil panel to the front of the black slimline card base.  Then glue the rose die cut piece to the red foil as shown above.  Pop up the Happy Anniversary rectangle and add the bow.  Your card is complete

CottageCutz Products


Thanks so much for stopping by.  Please take sometime and check out the new dies so many of them make wonderful fast background for your slimline cards.

Blessings and Take Care
Pam


Wednesday, July 14, 2021

You're One Cool Chick

Hello!  This is Sukie and today I have another card to share,  I'm showcasing a couple die sets from the fabulous new Slimline die release!  There is such a great variety of dies in this release and I used a couple of them on my card.

Once I selected the patterned paper for the my card base I cut it out with the Pinking Shear Edge Slimline die set.  I also cut out the Picket Fence Slimline and trimmed it down so it would fit between the 2 chicks.  The chicks are from the Country Farm Chicks die set.  I shaded the chicks with some Oxide Inks and used patterned paper for their outfits.
I layered the die cut patterned piece on a white card base creating a whimsical background for my card.

Each of the farm chicks were affixed on the outer edge of my card base.

The picket fence was adhered between the chicks. I tucked a piece of card stock into the picket fence to create a sentiment sign.

The sentiment tag was added to the card stock piece as the final finishing touch on my card.

Here are the die sets used on my card, available in the store

Monday, July 12, 2021

Herd it's your Birthday!

Hello!  This is Sukie and today I'm sharing a slimline card. I'm excited to use one of the dies from the new Slimline die release.  There are 20 new dies in this amazing release! I combined the new die release with the original Slimline dies and the Country Farm dies to create a fun birthday card.

My card base was cut with the Nested Stitched Rectangles Slimline die set and layered with the Hills Slimline die cut. The Farm Fence Slimline was trimmed down a bit to leave enough space for the Farm Truck w/Animals.  The Baby Farm Animals finished off the adorable farm scene along with a fun sentiment sign.
Here are the die set used on my card, available in the store:

Sunday, July 11, 2021

Life Is Magic

Hi!

It's Anja here. I have another farm inspired card for you today. This time I made a card with lovely cows.

For this card I used:

- Cottage Cutz dies (Country Farm Cows), 

- Distress and other dye Inks,

- craft card base (15x15 cm),

- white card stock for die cuts and background 814x14 cm),

- black pen, 

- white ink,

- silver pigment ink, 

- gold pigment ink,

- black pigment ink,

- sentiment stamp,

- acrylic block,

- paper glue. 


First I cut and colored the cows. 

Next I did the background. I colored the grass and the sky on the white paper.

I glued the background on the card base and added the cows.  Last I stamped the sentiment to the right corner.

 
And my card was done.


And that's all from me for today. Have a nice week and see you again next Sunday. 

Anja Z.


Cottage Cutz dies I used:


Saturday, July 10, 2021

Berry Best Birthday Slimline

Hello Scrapping Cottage friends! Thanks for taking the time to stop and visit with us today. It's Mary Marsh here bringing you the Saturday edition of the Blog.

IT'S NEW RELEASE TIME! We have a new collection of Slimline Designs. Your slimline cardmaking is going to get a lot easier. We have 20 new designs and they are on sale. You can get each individual die for a limited time 25% off. The dies have appeal for all styles of cardmaking. So check them out and make your selections.

Today for your viewing pleasure, I am featuring the new Circle Windows Slimline die and the strawberry image that's included  to make a birthday card for a friend. She celebrates her special day at the end of the month. So let's get started with some details on how I created my card. 

Design Steps:
I started my card by cutting the windows slimline in white cardstock. The panel is 3 1/2" x 8 1/2"
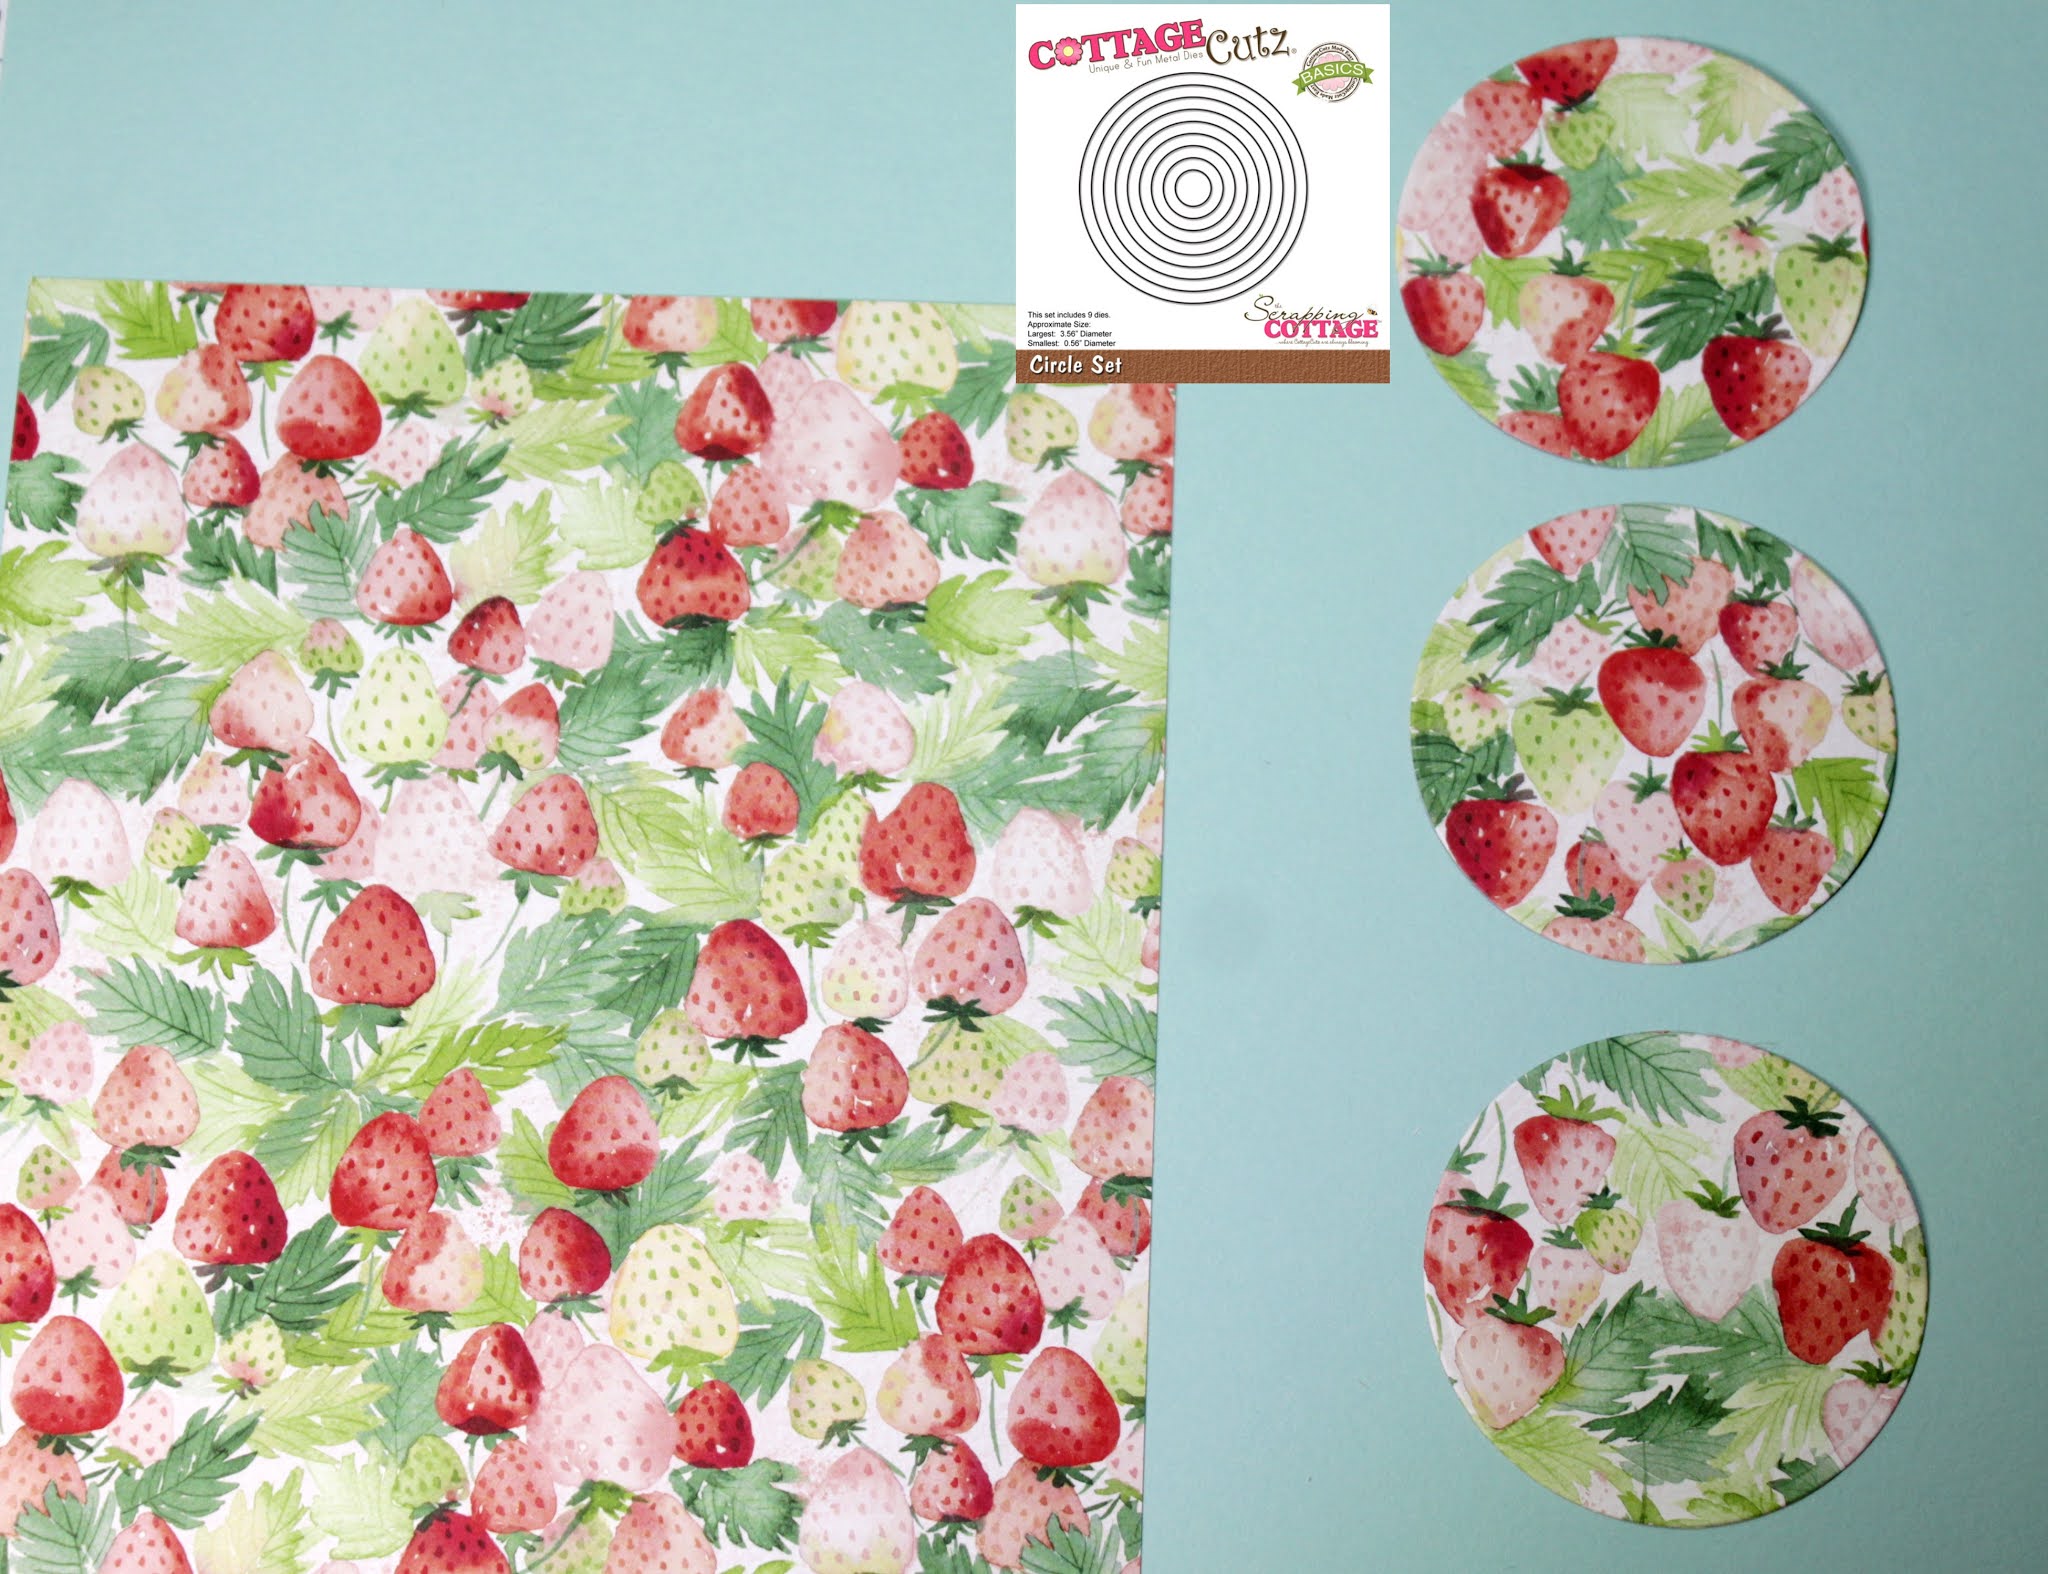
I wanted to use a strawberry themed designer paper in the windows, and I cut the circles with the 4th largest die from the Circle set. The circles are slightly larger that the opening so they will fit nicely behind. 
The strawberry image is part of this new die and I cut it in a poppy red cardstock and then again in a green cardstock for the hull. 
Now that I have all the card elements cut, I am ready to start card assembly. The card base is 3 3/4" x 8 3/4". It will still fit in a #10 business envelope for mailing or you could make your own. 

I attached the designer paper to the circle openings with double sided tape. Then this panel was attached with the same adhesive. After I attached the panels I realized I hadn't stamped my sentiment. I put it in my MISTI and stamped. I wasn't sure if I would have to ink a few times since I was stamping on 3 layers of cardstock. But one inking was fine. 
Next, I attached the strawberries with dimensional adhesive. I decide to cut three small vines so the strawberries weren't hanging in mid-air. I used an older Strawberry die. 

To finish off my card, I scattered a few green glitter enamel dots for some added interest. I hope I have given you an idea for a way to use this new die. That's it for me for this post. I will see you again next Saturday. 

Dies I used to create card: