Sunday, July 12, 2020

Happy Birthday

Hi!

It's Anja here. My new dies are still on its way, so I'm still combining dies from previous releases. This tame I made a birthday card with a cute puppy sitting on a sofa chair.


For this card I used:
- Cottage Cutz dies (Puppy & Kitty on Chair, Doghouse w/Pup & Hydrant, Happy Birthday Cupcake),
- Distress Inks,
- white card base (10,5x15 cm),
- white card stock for die cuts,
- background stamp (bricks),
- black pen,
- white pen,
- paper glue.

First I cut and colored the puppy and the sofa chair.


Next I did the same with the sentiment. I cut off the cupcake using the scissors.


I did the background with a brick themed stamp.


And when all the pieces were ready I adhered the card together.


Thank you for stopping by.

See you again next week.

Anja Z.


Cottage Cutz dies I used:


Saturday, July 11, 2020

Oceans of Love

Hello Scrapping Cottage friends! Thanks for taking the time to stop and visit with us today. It's Mary Marsh here bringing you the Saturday edition of the Blog.

We have a brand new release of dies in the online store. This one is all about the sea with Pirates and undersea creatures. There are 14 new whimsical designs and each one is cuter than the next. These cards would be ideal for so many occasions. The DT has been sampling these new dies for a variety of occasions. So check back through the Blog if you need some inspiration.

For my card today, I am featuring the new Jellyfish & Octopus dies and I created a whimsical birthday card for a little boy who is turning 6. So let's get started with some details on how I created my card.

Design Steps:
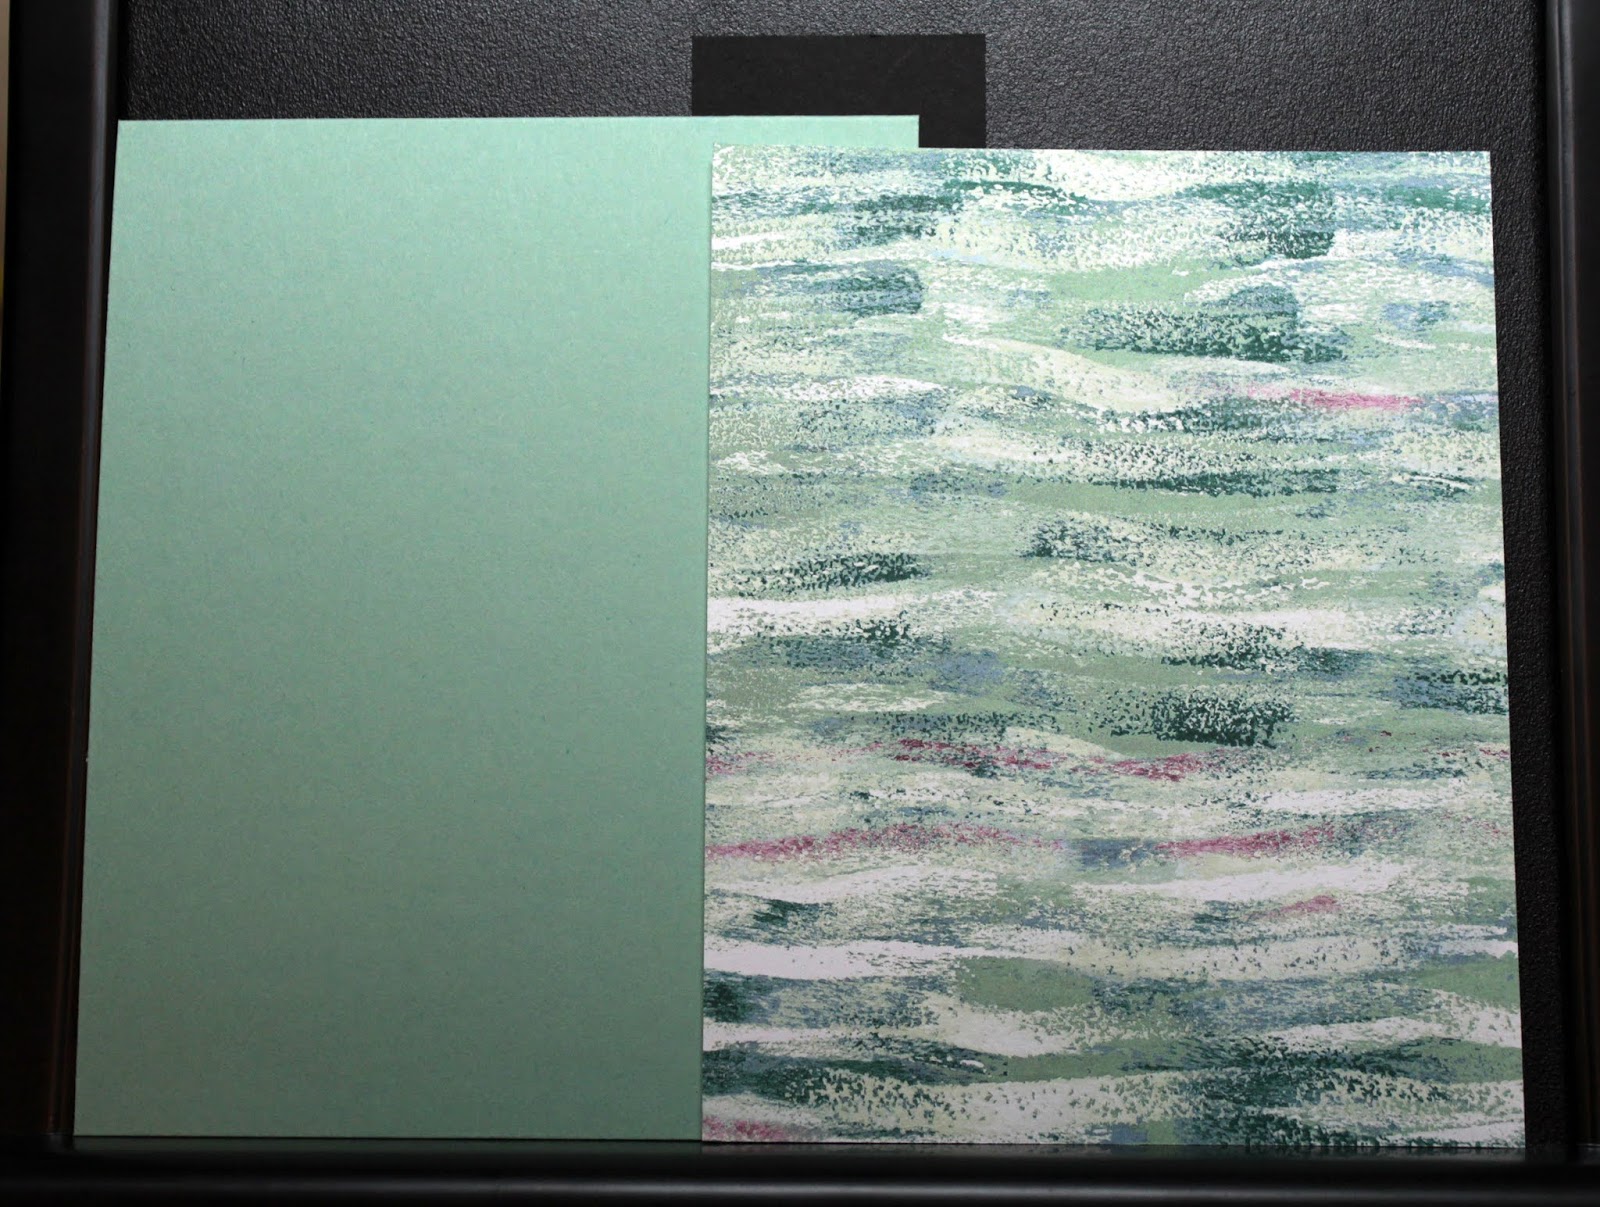
Since I knew I was created a sea themed  card, I started by selecting my designer paper. I have this sea themed collection and this particular piece just looked like wave movement to me. I thought it would work well for an underwater scene.

Mint Macaron Card Base: 4 3/4" x 5 3/4"
Designer Paper Layer: 4 1/2" x 5 1/2"
Next, I cut my jelly fish in mint macaron and sponged his tentacles in the same shade of ink for a color gradient. The octopus is cut from a fig designer paper. I liked the texture it gave the image.
For my sentiment I decided to use a combo of a die cut + a stamped sentiment. The Sending phrase is from an older CottageCutz die- Sending Hugs.  I cut it in a fig cardstock

Now that all my card elements are cut, I am ready to start card assembly. I attached the jelly fish and octopus with dimensional adhesive to lift off the designer paper and give a bit of depth. Stamped the sentiment in a fig ink 3x using my MISTI tool.

 and attached the Sending Phrase with Ranger multi-medium matte.  

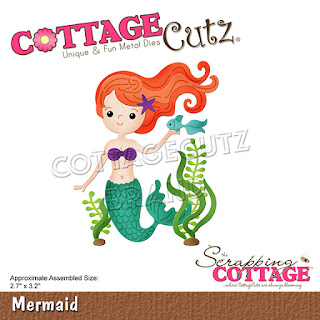
I thought I still needed something on the bottom right corner, so I added some sea greens, star fish and another small fish. These are from the Mermaid die. Attached the image panel to the mint card base and my card is complete. 

That's it for me for this post. See you next Saturday! 

dies I used to create card:


Friday, July 10, 2020

Ocean Deep

Happy Friday!  It's Jeanne today with a card featuring the adorable mermaid from the new Pirates and Sea Creatures release. I haven't yet decided who I will send this to - it could be used for a birthday, congratulations or encouragement.
I chose the colors of this card from this week's color challenge at CAS Colours & Sketches.  They seemed perfect for a mermaid.
I cut her from white and colored cardstock.  I used Distress Oxide ink to color her skin and shade her hair (cut from Cinnamon Cider cardstock).
Her tail, the fish and starfish are cut from the challenge colors and shaded with the matching inks.
The card base is quite simple.  I cut a panel from Strathmore Mixed Media paper 6 x 5 inches and used a hot foil system to hot foil the "waves" in silver on the panel.
I then used the Pacific Point and Gorgeous Grape in to watercolor the ocean.
When that had dried, I cut the panel down to A2 size and stamped the sentiment in black.
I adhered my mermaid and glued it all to an A2 card base.  A very simple card that is super bright and cute!

Be sure to visit the online store to check out this release - the dies are very fun!

http://www.scrappingcottage.com/cottagecutzmermaid.aspx

Thanks for visiting today!  I hope you have a fun and creative weekend!


Thursday, July 09, 2020

By the Sea!

Hello My Scrapping Cottage Friends!

It is Pam on the blog with you this awesome Thursday!

Today,  I have a beautiful lighthouse scene to share!  This lighthouse looks exactly like the one on Hilton Head Island in South Carolina.  If you watch the Heritage Golf Tournament you will get a glimpse of it!

Background Photo by Philipp Deus on Unsplash
Designer Steps:
 1.  Use the Lighthouse die and cut out your pieces: Rust, red, white, brown, and teal blue card stock
2.  Shade your pieces using a variety of Tim Holtz inks and a small applicator.  Next assemble the pieces using a fine tip, fast drying glue

 3.  For the base use a piece of white A2 card stock.  Cut out a white frame using the largest Stitched Wide Rectangle Frame die.  Next use the largest Pierced Rectangle die and cut on white card stock.  Place the third from the largest Pierced Oval die in the center of the pierced rectangle piece cut out the oval. Using the same oval die cut out a piece of cloud DP

4.  Glue the white frame directly to the A2 white card front making sure to center it.  Next put dimensional tape on the back of the white pierced retangle piece with the oval cut out.  And tape it to the middle of the frame as shown.  Put glue on the back of the DP cloud piece and push it down into the middle of the oval
5.  Glue down the hill behind the oval frame and slide in the lighthouse behind the hill.  Pop up the little house and then glue down the water.  Next on black card stock cut out two Happys using the Expressions Happy die.  Glue together and then glue on card as shown.  Stamp birthday and layer on red then glue to card as shown 

CottageCutz Products


Thanks so much for stopping by today!  I really appreciate your visit!
Blessings
Pam

Wednesday, July 08, 2020

Thanks for Helping Us Through the Storm

Hello!  This is Sukie and today I'm sharing a thank you card.  The Pirates die release is a wonderful collection of pirate and under the sea creatures.  These dies are currently on sale too!
I die cut the Pirate Ship and Filigree Clouds out of card stock.  I used the packaging of the Pirate Ship as the inspiration for the colors of my die cuts.
The card panels were selected to coordinate with the colors of the ship.  The soft blue serves as the background for the stormy scene on my card.  The Boundary Waters Fiskars punch was used for the set of borders.
Once I layered my card panels, I affixed the double borders along the bottom edge of my card. The ship was nestled in between the water borders at a slight angle.
The set of clouds were adhered above the ship with the larger cloud slightly above the smaller cloud.
I found the perfect sentiment in my stamp stash and added it to a hand cut flag which was adhered as a finishing accent on my card.
Here are the die sets used on my card, available in the store: