Wednesday, December 25, 2019

Merry Christmas

Hello!  This is Sukie and today I have a Christmas card to share.  I went with a bright and cheery theme with the sweet moose and gnomes on my card.  It was the perfect card to wish everyone a Merry Christmas!
I used the Cottage Cutz Moose Pulling Gnomes Sled and the Merry Christmas die sets.  I used my Oxide Inks to shade all of the die cuts and then layered the sentiment on a hand cut panel.
For my card base, I went a CAS design and embossed the white card stock with the Cuttlebug Snowflake embossing folder.
I layered the embossed paper on top of the snowflake paper to create my card base.  The sentiment panel was angled on the background of my card.
The sled was layered above the sentiment as if the moose was pulling the adorable gnomes down hill.
To finish off my card, I wrapped the top edge with some Cranberry Trendy Twine and tied it together.
Here are the dies used on my card, available in the store:

Sunday, December 22, 2019

From Our Home To Yours


Hi!

It's Anja here. Today I have a bigger project for you. As one of the last projects for this year I made a Christmas scene that will decorate my craft room in this holiday season. I had a frame in my shelf for quite some time and decided to use it for my project and give it a winter touch.


For this project I used:
- Cottage Cutz dies (Farm Truck w/Tree, Build A House Set 2, Build A House Accessories, Tree, Christmas Trailer, Fireplace w/ Accessories),
- Distress Inks and Oxides,
- black card stock for background (26x21 cm),
- white card stock for die cuts,
- white acrylic paint,
- brush,
- sponge,
- plastic stencil (bricks),
- silver pigment ink,
- white pigment ink,
white picture frame (20x25 cm),
- pencil,
- black pen,
- scissors,
- paper glue.

First I cut all the pieces. I cut additional pieces for the inner side of the windows and door. I colored it with yellow.


Next I colored the parts of the house. I used plastic stencil to make it look as it's build out of bricks.


Then I colored all the other pieces and glued it together. I used white acrylic paint and a sponge to color around the edges to look like snow (not photographed).


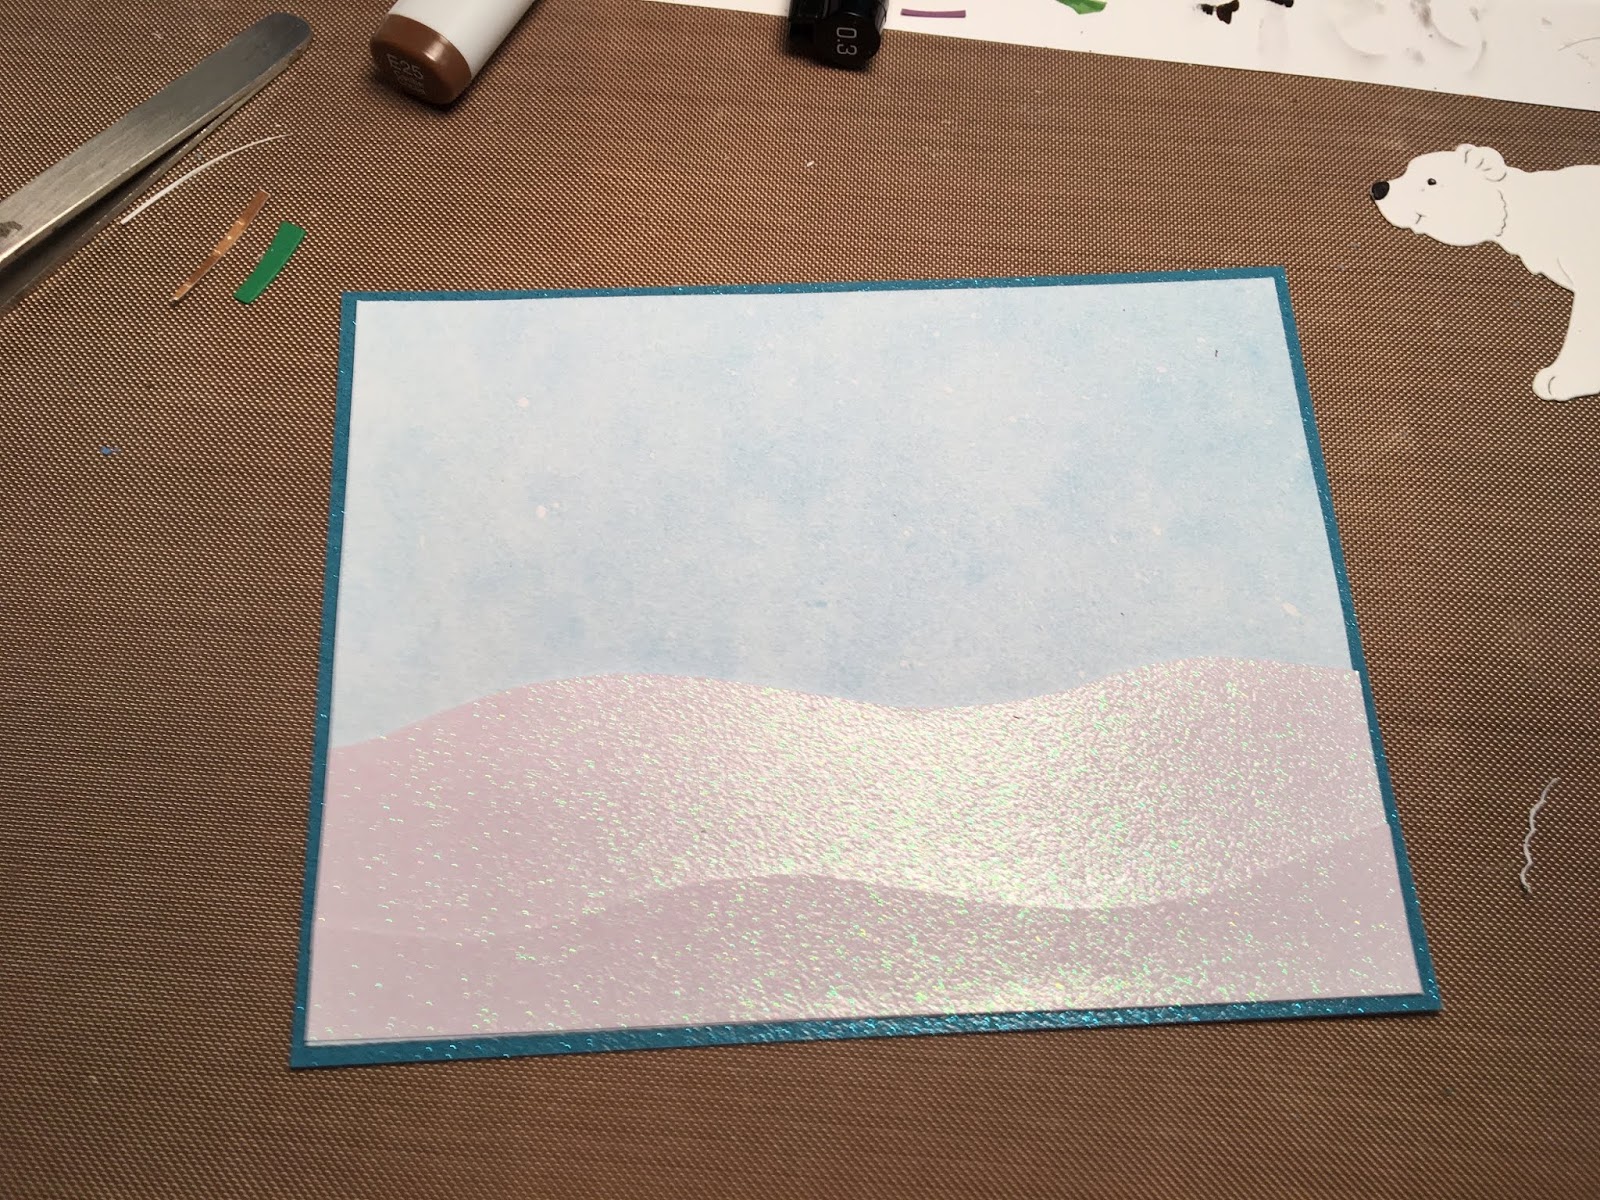
The I made the background. I used black cardstock and colored it with blue Oxide inks and white pigment ink. For the finish I splashed it with acrylic paint to look like snow is falling.


And then I cut the bottom part of the scene. I cut the snow ground out of the white card stock. In the end I just adhered all the pieces together and inserted the scene in the frame.
 

And my project was done.


That's all from me for today. I wish you all a Merry Christmas. I hope you can spend it with people you love.

See you again next Sunday for my last project in 2019.

Anja Z.


Cottage Cutz dies I used for this project:


Saturday, December 21, 2019

Farm Truck Christmas


Hello Scrapping Cottage friends! Thanks for taking the time to stop and visit with us today. It's Mary Marsh here bringing you the Friday edition of the Blog. 

The new release of Artic Animal dies are in the online store. There are 13 new designs in this release and they are currently on sale. You can get these super cute dies at 25% off for a limited time. These new dies are so versatile, and can be used for a variety of occasions. 

The baby Artic animals would make a cute congratulations card, baby shower invitations, a welcome new baby card, a child's birthday card or cards for our animal loving friends. The other dies are great for winter birthdays, thinking of you, thank you's for a special Christmas gift. 


Today, I am featuring the Farm Truck with Tree die. It's part of the Christmas Part 2 collection. I actually do a combo of religious and whimsical for my Christmas cards. Today, for your viewing pleasure I am going whimsical. My design is on the clean and simple side because I wanted the die to be the center focus on the card. 

I bought some new designer papers this year for Christmas cards and I leaned towards ones with backgrounds already completed. That way all I have to do is add my die cuts and my card is complete. This one is a Christmas Tree lot with a nightime sky, pine trees and the lights strung across. It was just the perfect setting for the truck.

Card Base: 4 1/2" x 5 3/4"
White Layering Panel:  4 1/4" x 5 1/2"
Designer Paper Panel: 4 1/8" x  5 3/8"

I cut my truck using red cardstock for the body, black cardstock for the wheels with a tocuh of silver and brown cardstock for the wood panels. I used white cardstock and cut a small slope and added chunky glitter to the top. My Merry Christmas sentiment is from the Merry Christmas w/Friends die. 

To finish off this card I added a couple of enamel dots on the snowy slope, just for added interest. 
That's it for me for this week. I hope all your Christmas tasks are getting accomplished. I am wrapping gifts today and then tomorrow I will be making candy and a limited selection of cookies. Merry Christmas to you all and I will see you next Saturday.

dies used to create card:


Friday, December 20, 2019

Fox All Occasion Card

Happy Friday Cottage Cutz fans!  It's Jeanne sharing an all occasion card using one of the adorable dies from the new Arctic Animals release.  This release has a great variety of animals that can be used all year long.  And for a limited time they are on sale for 25% off.
This fox card was very simple to put together and can be used many ways.  I have left the inside blank and can use it for a birthday, thank you, get well, congratulations...you get the idea.  He is wonderful for any gender or age!
To start I cut the fox and trees from white cardstock and colored them using Distress Oxide inks.
Next, I stamped my sentiment and cut it into a strip 1/2" tall by about 6" wide.  I left it long so I could cut to fit the card.  The pine pieces were cut from an older die (Santa's Bag) but any die with  small pieces of greenery will work.  The are cut from white and colored with the DO inks.
I cut an A2 panel from patterned paper that reminded me of snowfall, and two circles using the 4th and 5th largest dies from the Stitched Circle set.
I assembled the card, adhering all to the card base and then used foam to pop the sentiment up just a bit.  I finished by using some Stickles on the "berries".

Dies used:
http://www.scrappingcottage.com/cottagecutzarcticbabyfoxes.aspx 

http://www.scrappingcottage.com/cottagecutzarcticsnowytree.aspx

http://www.scrappingcottage.com/cottagecutzstitchedcirclesetbasics.aspx


Thanks for stopping by today - I hope you have a fun and creative weekend and a very Happy Holiday!

Thursday, December 19, 2019

Polar Bear Fun!

Hello Friends!

I have a few cards that I am making for winter birthdays.  Luckily my birthday calendar is pretty empty in this busy month!!

I am using the Arctic Polar Bear and Cub die and as you can see it makes a very sweet card!

Directions:
 1.  Using the Arctic Polar Bear and Cub die cut the pieces out of white. And for the Evergreens use the Arctic Snowy Trees die and cut the pieces out of white and green

2.  Assemble the trees using your markers to color the trunks
 3.  For the background use a 4 x 5 1/4 piece of blue glitter card stock, the sky is a piece of DP cut 3 3/4 x 5 and the snowbanks are cut free hand out of white glitter card stock

4.  Glue the pieces to the blue glitter card stock and then to the A2 white card base.  Add the trees and the polar bears to the snowbanks

CottageCutz Products


Thanks so much for taking time our of your busy holiday schedule to visit us!  We really appreciate it and hope you stop by our online store and treat yourself!!


Blessings
Pam


Wednesday, December 18, 2019

Hoping You'll be Back in the Swim of Things Soon!

Hello!  This is Sukie and today I'm sharing this card for my design team day created with the new Arctic Animals die release which is currently on sale!
I cut out the whale from the Arctic Whale & Narwhal die set and the seal from the Baby Seals die set.  The sliced oval is from the Pierced Oval Set.  The waves are punched from the Fiskar's Boundary Waters border punch.
I used some Oxide Ink for the background of my card and for the borders and then splattered everything with some water.
I stamped a sentiment from the Scrappy Moms (retired) Beach Bums stamp set on my card base and then added the oval and borders along the bottom edge.
The seal was placed on the center of the oval to mimic a mound of sand with the whale jumping above the waves.
A few sequins were scattered above the whale as a finishing accent on my card
Here are the die sets used on my card, available in the store: