Friday, April 12, 2019

Bunny Medallion

Happy Friday!  It's Jeanne posting today with an Easter card for you.  This card is easy to create and is perfect for a last minute card.  I love this little bunny die - it reminds me of the adorable cottontails that are in my yard right now! (And eating my grass I might add. LOL)
It also uses a technique that I like which gives subtle color and added dimension - stacking dies cuts.
I started by cutting three ovals in purple and one in white from the fourth largest oval in the Stitched Ovals set.  I then stacked and glued them together with the white on top.
Next I cut three of the Spring Egg Scene in white and the Blessings Phrase from lavender glitter paper.  I used a self adhesive backing sheet on the phrase.
I stacked and glued the scene pieces together then glued that to my stacked oval forming a medallion.
On an A2 white card base I used a splatter stamp and purple ink to create some background interest behind where the medallion will go.  (You could also just splatter on some ink with a paint brush if you felt so inclined!)  I thought it still needed  little something, so I cut white foliage using the Spring Teacup Bouquet set.  I also added some fine silver thread.
Finally I added the Blessing Phrase and a few sequins.

Dies used:
http://www.scrappingcottage.com/cottagecutzspringeggsceneelites.aspx

http://www.scrappingcottage.com/cottagecutzspringteacupbouquet.aspx
http://www.scrappingcottage.com/cottagecutzexpressionsplusblessingsphrase.aspx
http://www.scrappingcottage.com/cottagecutzstitchedovalsetbasics.aspx


I hope you enjoyed my card today.  Have a fun and creative weekend!


Thursday, April 11, 2019

Splash!

Good Morning Scrapping Cottage Friends!

It is Pam creating with you!

Today, I am making a card that will be a big hit with my little 2 year old nephew.  He loves bright colors and ducks so this card fits both of his favorite things except that it is a little girl duck! But at his age it really makes no difference!!  Also we have a new release called Magical Fantasy!  And believe me it is Magical and so darling.  It is 25% off in our stores so don't miss out!  I can't wait to make cards with it.


Design Steps:
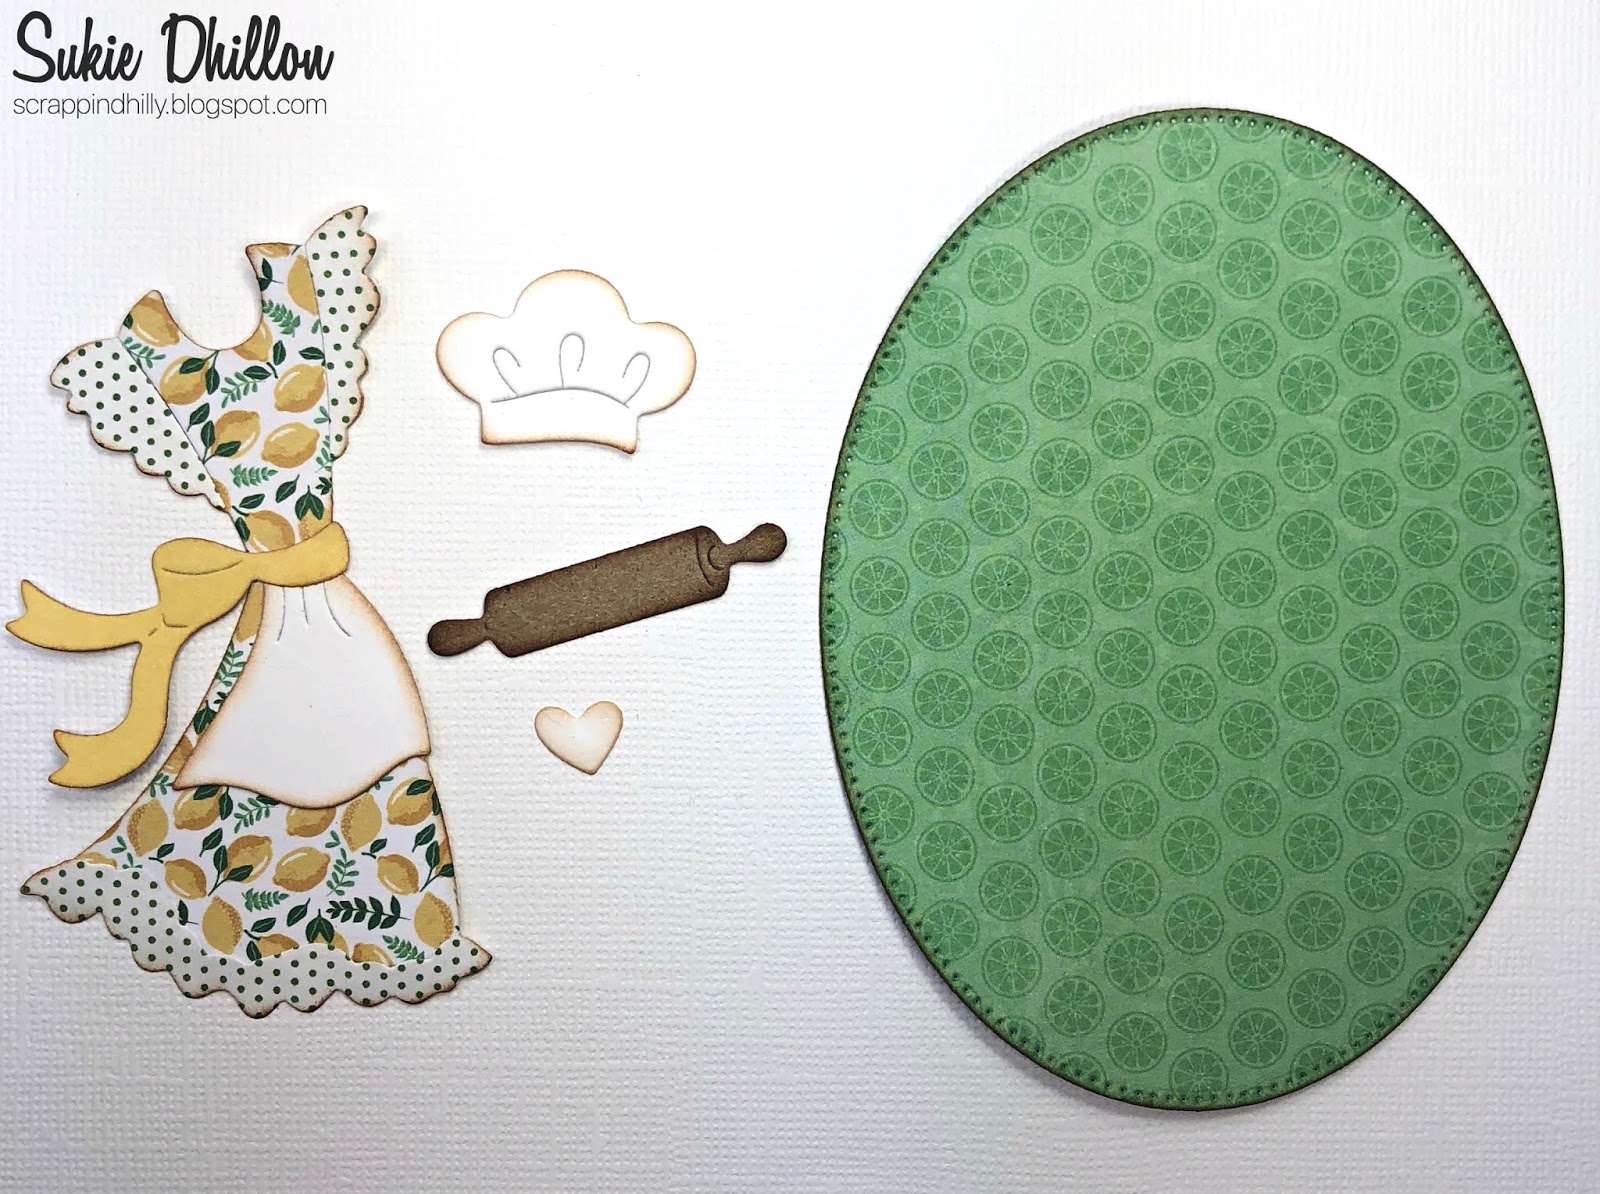
 1.  Cut out the duck and accessories using: the Rainy Day Duck die, orange, blue, yellow, black card stock and Polka Dot DP
 2.  Use your favorite inks to shade and highlight the pieces
 3.  I had some pre-embossed square cards that I decided to stop hoarding!  They have really cute envelopes to match.(Lasting Impressions) I assembled the cute little duck and umbrella
 3.  Glue down the puddle and then the duck.  I placed a pop dot behind the umbrella for some dimension and then glued down the splashes
 4.  On the inside of the card I layered a piece of DP behind the white then glued that inside
 5.  I made another umbrella and assembled it
6.  Then glued the umbrella to the inside of the card and add your sentiment to the front of the card


CottageCutz Products

I just love how this card came out and I had such fun making it! Hope you stop by the store and check out the new release called Magical Fantasy! It is just so whimsical and fun!  I will be making samples really soon. Make sure and check out all of my talented teammates samples too!
Blessings
Pam


Wednesday, April 10, 2019

What's Cookin' Good Lookin'?

Hello!  This is Sukie and today I'm sharing a project for my design team post.  I created this card which would be perfect for Mother's Day next month.
This sweet card was inspired by the Recollections Coastal Village papers I found in my stash.  I adore the lemon and lime patterns. The strip of lemons is from the same collection and was trimmed from a page of multiple patterned strips.  I also incorporated a tiny polka dot pattern from my scrap pile.
I cut out the apron, chef hat, rolling pin and heart with the Cottage Cutz Kitchen Chef die set and also cut out the oval with the Pierced Oval set.  All of the die cuts were heavily inked on the edges for added depth and dimension on my die cuts.
I wanted to break up the varying patterns on my card so I punched a strip of white card stock with the Martha Stewart Doily Lace Punch.  The lace border was also inked on the edges.
I began building my card base with a sunny yellow background and layered it with the polka dotted paper. The lace border and strip of lemons were adhered on top.
Next, I began creating the focal point of my card by adding the whimsical apron to the oval background. The chef hat and rolling pin were adhered next to the apron.  Once I added the tiny heart to the rolling pin, I cut out a couple of extra hearts as embellishments.
The finished oval was adhered to the card base leaving plenty of room at the bottom for a sentiment.
This happy card was finished off with a fun sentiment from the Scrappy Moms (retired) Designer's Choice 2 stamp set.  I thought the phrase was so cute and perfect for my card.
I used these dies for my card, available here:

Tuesday, April 09, 2019

Colorful Spring

Hi, Janja is here with you.
Daffodil is a harbinger of a colorful spring. Her flowers are cheering us with a strong and wonderful fragrance from the beginning of March to the end of May.
For today, I made a simple spring card.


- CottageCutz dies: Buster w/Spring Daffodil, Carrot Patch Bunny (soil)
- white card base: 4.25 x 5.5" (10,8 x 14 cm), folded
- patterned paper: 4 x 5.2" (10,2 x 13,2 cm)
- colored cardstock
- colored ink pads
glue, double-sided adhesive tape, self-adhesive foam pads

When we cut out all the pieces from a colored cardstock, shadow them around the edges with colored pads.
For this purpose I use makeup brushes.


Prepare a card base and trim the selected patterned paper for background. Stamp a sentiment.


Now, it's time to finish the card.


Have a nice day.
Janja


Sunday, April 07, 2019

Duck Hugs

Hi!

It's Anja here. My mother just got 5 cute little ducks for her birthday. And ducks were on my mind when I made this card.


For this card I used:
- Cottage Cutz dies (Rainy Day Duck, Quackers & Quack, Sending Hugs Bear),
- Distress Inks (Mustard Seed, Wild Honey, Spiced Marmalade) and Oxides (Broken China),
- craft card base (18x12,5 cm),
- white card stock for die cuts and background (17x11,5 cm),
- green card stock (17,5x12 cm),
- black pen,
- white pen,
- brush,
- paper glue.

First I cut and colored the ducks. I used black and white pen for the eyes. I used green paper for the sentiment.


Next I colored the sky background. I used brush this time to color the paper.


I used green card stock for the background. I cut a stripe of paper for the grass. 


I arranged and glued all the pieces to the card base and my card was done.


Have a nice Sunday and see you again next week.

Anja Z.


Cottage Cutz dies I used: