Monday, January 08, 2018

Heartbeats

Hi, Lois here today.  Crafters are always working months in advance, so today I'm bringing you a relatively simple Valentine's Day card, using some CottageCutz dies (an old one and a newer one).  I'm a fan of the Sketch Challenge on Splitcoaststampers, so I used last week's layout and varied it just a bit.


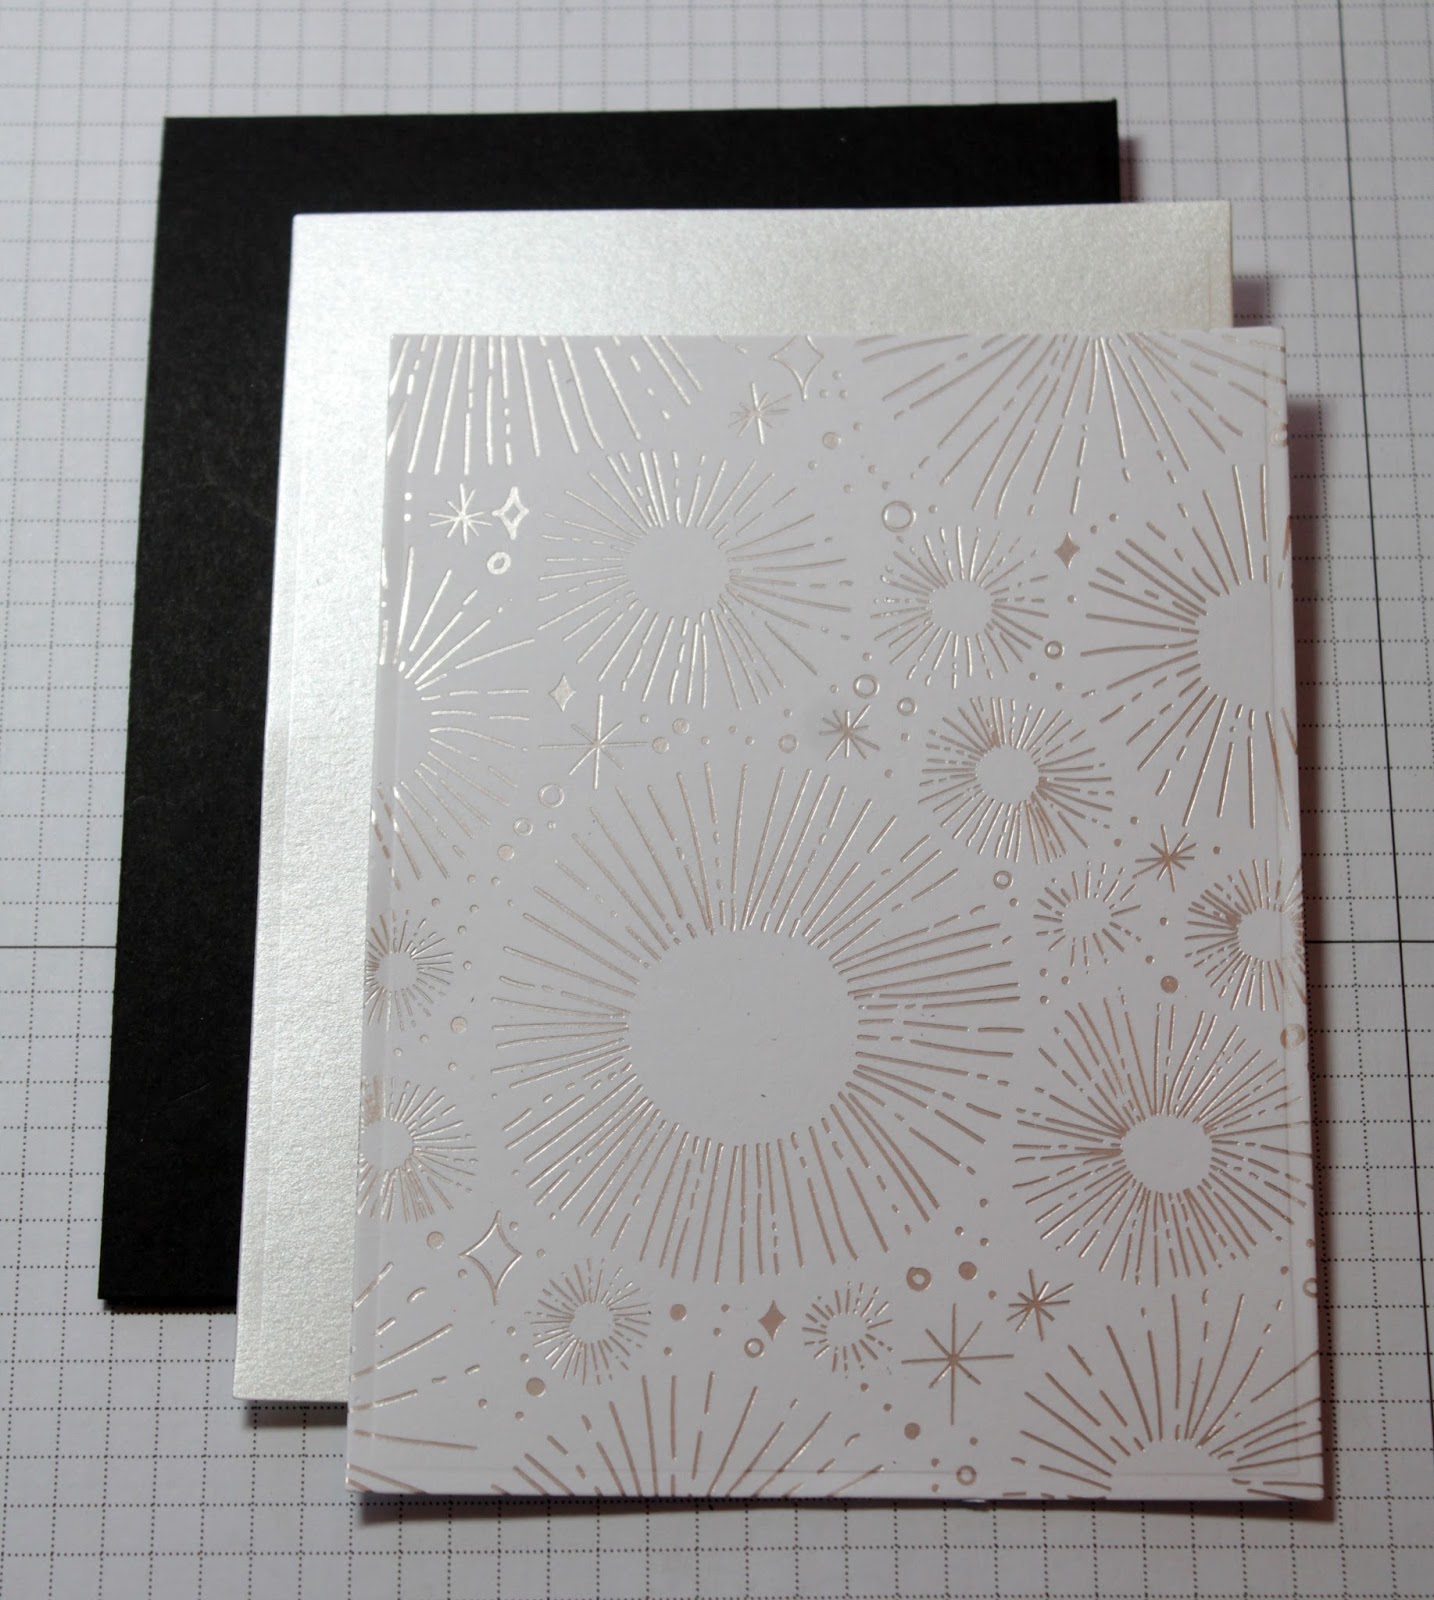
This is my card.  I stretched out the three images further across the center and added a sentiment.


When I started my card, I did not have plans for the extra panel (the black one), so I cut the cardstock I thought I would need.

Red - 5 1/2" x 8 1/2", scored at 4 1/4"
White - 4" x 5 1/4"
Red/White gingham - 1 1/2" x 5 1/4"


After lining the back of a piece of red cardstock with a section of Scor-Tape two-sided adhesive sheet, I cut the die-cuts.  Because of the adhesive back, the die-cuts were a bit wonky when I took them out of the dies, but I knew they would straighten out once I added them to my card.


I then constructed my card . . .


. . . and added the die cuts.


At this point I didn't think there was enough contrast on my card, so I pulled up the white panel, cut it down by 1/8" on both sides and added a black layer, which I had cut at 4" x 5 1/4".  I then added some small black sequins.


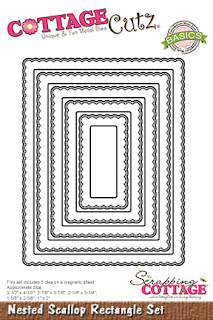
I was much happier with this version.  CottageCutz dies used on this card are:

http://www.scrappingcottage.com/cottagecutzhappyvalentinesdayphrase.aspx

http://www.scrappingcottage.com/cottagecutzheartbeats.aspx


Sunday, January 07, 2018

Puppy Love

Hi!

It's Anja here. I hope you had nice holidays. I had a few days off and managed to get some rest before I started working again on Wednesday. I like to start new year fresh so this weekend I'm working on my craft room. I bought some new shelves and now I'm trying to sort all my supplies and organize them again. I decided to put some stuff away because I'm not using it anymore. Hope I can finish everything today.

For my Sunday post I made a Valentine's card and a matching envelope. I used the Puppy die, which is now available in the store for a great price.


For the card and envelope I used:
- Cottage Cutz dies (Puppy w/ Ribbon, Heartbeats, Phrase Love, Circle Set),
- Distress inks (Barn Door, Pumice Stone),
- white card base (15x 10,5 cm),
- white envelope (16x 11 cm),
- red paper (10x 15 cm and 16x 7cm),
- patterned paper (9,2 x 15 cm and 15x 6,2 cm),
- red, grey, black and white card stock for die cuts,
- adhesive foam pads,
- paper glue,
- white pen.

I used colored card stock to cut all the pieces. I added some grey around the edges of the puppy.


I die cut love phrase from red card stock. I cut off the part of letter "l" to match the ribbon.


I die cut two smaller hearts with the Heartbeat die and one larger one. I used Barn Door Distress Ink to color the edges of the hearts.


I die cut two circles (the second and the third largest from the set.


I used pattern and red paper for the background. I only had 15 cm wide pattern paper, so I cut it in to and mask it with the circle.


When I had everything cut and colored I glued it together. And this is the finished project. Card and the decorated envelope. I used white pen to finish the Puppy's eyes and the heart.


Have a nice Sunday!
Anja Z.


Cottage Cutz dies I used:


Saturday, January 06, 2018

Happy New Year

Hello Scrapping Cottage friends! Thanks for taking the time to stop and visit today. It's Mary Marsh here bringing you the Saturday edition of the Blog. Hope you all had a wonderful Christmas celebration. I was away with my family for Christmas. It was a first for all of us. We spent a week in Hawaii and had a wonderful time.

I returned home and found that I received a few Christmas cards from friends that I didn't send one to. So I decided to make a few quick New Years cards. I am using the Happy New Year Greeting die. It has such a beautiful font and it is still on sale for 25% off in the online store.

So let's get started with the details on how I created my card and used this lovely die.

Step 1: I knew I wanted the die to be the star of this card so I chose cardstock and a subtle patterned paper. The paper reminded me of fireworks and that works perfectly for the clean and simple card I am showing today.
Black Cardstock Base: 4 1/4" x 5 1/2"
Pearl Metallic layer: 4 1/8" x 5 3/8"
Patterned Paper: 3 7/8" x 5 1/8"
Step 2: I cut my Happy New Year Greeting from black cardstock. I thought it would be striking against the patterned paper. Sometimes on certain dies I use a precision base plate with my Big Shot. It cuts the more detailed dies very easily.
The die cut removes from the die itself with very little effort on my part. I also have a metal shim but I like the precision base plate better. This plate gives you the exact sandwich you should use when cutting with your Big Shot.
 
 
I cut 2 of the greeting because I wanted it to stand out on the card.
 
Step 3: Started the card assembly. I attached the New Year Greeting with thin rolled up glue dots. It gave the greeting the dimension I was also looking for on my card.
 
 
Once I attached the panels and the die, it just didn't seem quite finished to me. Tried sequins in several different colors then finally decided on the black rhinestones. It added the extra pop that I wanted. They already had adhesive so it made them easy to scatter around the card.
 
 That's my card for this week. See you next Saturday!
 
Dies I used to create card:
http://www.scrappingcottage.com/cottagecutzhappynewyeargreetingelites.aspx


Friday, January 05, 2018

Love in the Mail

It's Jeanne posting another Valentine today using the Love Postage die.  I just love this die; it's one of my favorites!
To begin, I used a white A2 card base (8 1/2 x 5 1/2 scored and folded at the 4 1/4 inch mark.)
I cut six red stamps and five "love" words from white card stock and one from black card stock.  I saved the little white hearts from the center of the word.

This card is pretty straightforward but did require some math (which I did for you) and some measuring.  I wanted the stamps to all line up and have an equal border.  Each stamp is 1 1/2 inches so I could make my borders around the edges and in between 1/4 inch.  My white panel for the top of  the card measures 5 1/2 x 3 3/4 inches.
Look closely and you will see the pencils lines.  I lightly marked guidelines 1/4 inch on each side and then 2 inches up from the bottom. (1/4 + 1 1/2 + 1/4)
I lined up the stamp bases on the top and bottom using the guidelines on the sides.  For the stamps in the middle I used the guideline at the 2 inch mark.  In this way I could get everything to line up with minimal pencil marks.  I then very carefully erased the marks.
Before finishing the stamps and gluing the front panel to the card base, I cut a strip of red card stock 3/4 x 5 1/2 inches and glued it to the right side of the card base.  I also cut two of the heart borders from the Sweet Love Borders die.  I needed two since they are not quite 5 1/2 inches long.  However, they go together seamlessly when glued down.
After gluing the front panel over the card base with strip, I was left with a 1/2 inch strip of red on the side.  I adhered the heart borders to that, bumped them right up to the edge of the front panel and cut off the excess.  For the "Love" word I used my clear ruler as a guideline to glue those 1/4 inch above the edge of each stamp.
For my last stamp I used the black "Love" and a white heart.

http://www.scrappingcottage.com/cottagecutzlovepostage.aspx
http://www.scrappingcottage.com/cottagecutzsweetloveborders.aspx

Thanks for stopping by today!  I hope you have a creative weekend!!


Thursday, January 04, 2018

Puppy Love!


Hello Scrapping Cottage Friends!

It is Pam crafting with you today!  And I have been cranking out some fun Valentine's Day cards over the past few days.  It is really cold out so it is the perfect time to be in my warm craft room!!

Design Steps


 1.  Use an A2 white card base. Cut a slightly smaller piece of pink DP and glue to the front.  Cut a piece of red glitter paper 2 x 5 1/4 and glue to the left side of the card. Next using the second to the largest Nested Stitched Scallop Rectangle cut out a piece of pink heart DP and a piece of red heart DP
 2.  Glue the pink heart DP flat to the card as shown and then mount the red heart DP to the card using dimensionals
3. Using the Puppy w/heart die cut out the pup in light gray card stock.  Cut out the bow and the heart in red glitter paper. Stamp the sentiment and layer onto pink DP

4.  Using Copic markers C0, C1, C2 and C3 shade the pup.  Color the nose black and glue to the pup add black rhinestones for the eyes.  Cut the inside of the ears using pink DP glue to pup


 5. Glue the heart to the mouth and add the bow to the top of the head.

Cottage Cutz Products


This is such a darling Valentine!  It will bring a small to anyone's face!!