Wednesday, August 10, 2016

Snowman Christmas


Hello Scrapping Cottage friends! Thanks for taking the time to stop and visit today. It's Mary Marsh here bringing you the Wednesday edition of the Blog.

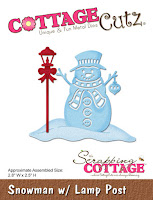
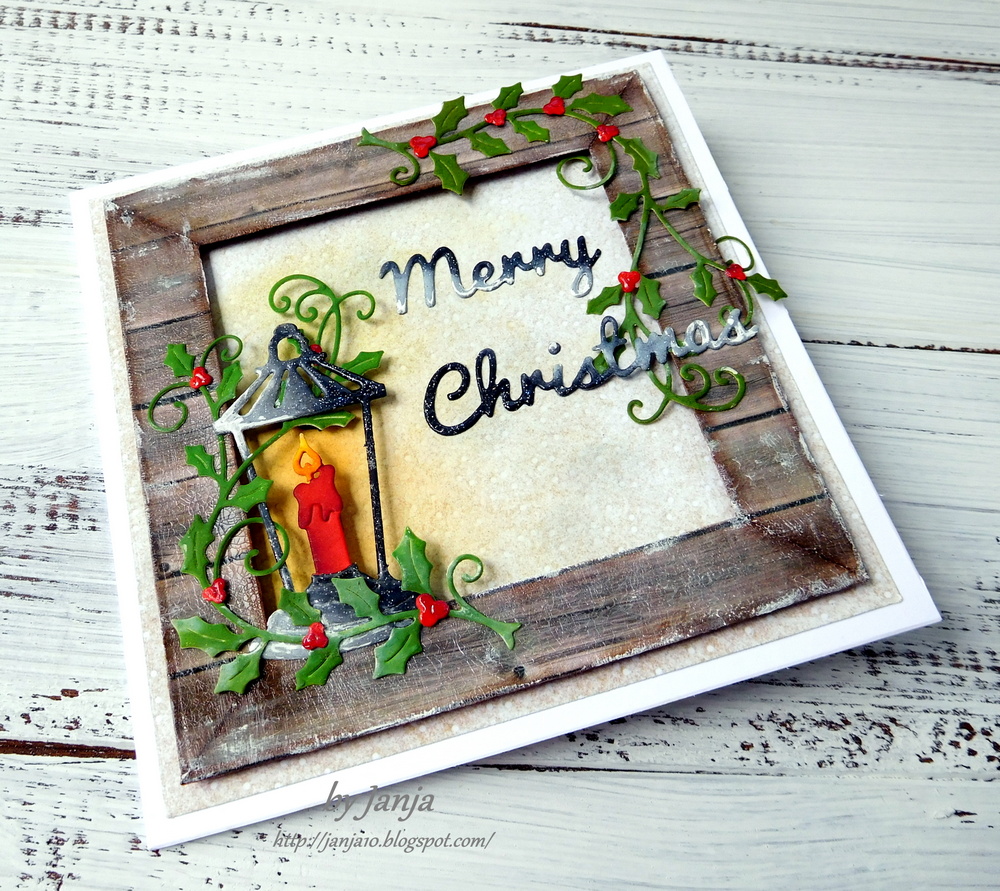
It has been so hot and humid in the Eastern U.S. so I thought I would create a card to cool you off (lol)! So today for your viewing pleasure, I am featuring a card using some of the new dies from the brand new CottageCutz Christmas 2016 release. I used the Snowman w/Lamp Post & Merry Christmas Ribbon dies.

All the new dies are available in the Scrapping Cottage Store right now and they are 25% off for a limited time. The design team will be featuring the new dies in our blog posts for inspiration. It's not too early to start thinking about your 2016 Christmas cards and design.

So without further ado let's get started with some details on what I have created here today.

White Card Base: 4 1/4" x 5 1/2"
Blue Striped Pattern Paper: 4 1/8" x 4 7/8"
Dark blue layer underneath: 4 1/4" x 5"
Blue Snowflake Layer: 3 1/4" x 4 3/8"
Image Panel: 2 3/4" x 3 1/2"
I like making Christmas cards with non-traditional colors. It helps to take me out of my comfort zone and stretch my creativity. I also like the look of using diagonal stripes on a Christmas card.

I started off with my layout this week. It's an older MojoMonday sketch. I have said before that I like working with sketches because it also helps to jump start my creativity. Especially when I have the dies in mind that I want to use. I like the challenge of getting my idea to fit into the confines of the sketch. I did take some liberties with this sketch and eliminated the small diagonal panel on the bottom right.
Once I had the all the card panel sizes figured out, I decided to use a stencil to create a snowflake background for my snowman. I did this with some 3-D molding paste to give the snowflakes a little dimension.
I use painters tape to secure the stencil. It holds the stencil in place well. When I am finished I just lift the tape on the right side only and remove the stencil.
 
I cut the snowman in white mixed media paper because my original idea was to watercolor and then I switched and decided to do some paper piecing and die in-laying. I liked how this little fellow turned out. I inlaid his buttons. eyes, nose and mouth.
 
The lamp post is part of this new die set. I cut it to match his hat, scarf and little ornament. The snowbank is included as part of this set. It's just too cute. Don't you think?
In place of the 2 banners in this sketch I used the Merry Christmas Ribbon die.  I like the look of it in the corner. This is thick enough so you only need to cut one layer. I used ranger multi-matte medium to adhere it. Like this adhesive because it dries clear.
 
And that is my card for this week. Hope it gave you some inspiration.
 
Don't forget about our latest challenge -it's #5 and all about birthdays this month. Get the details here.
 
So until next time........inky hugs.
 
http://www.scrappingcottage.com/cottagecutzsnowmanwlamppost.aspx
http://www.scrappingcottage.com/cottagecutzmerrychristmasribbonelites.aspx


Tuesday, August 09, 2016

Lantern with holly

Hi everyone, Janja here!

Christmas is my favorite time of the year. I love all the events and moments that come along with Christmas. New release of Christmas dies are already available. They are so beautiful. For sure you will like them.
As the first one I chose the die lantern with holly vine.


For the card we need:
- white card base: 5.3 x 5.3" (13,5 x 13,5 cm)
- patterned paper: 5 x 5" (12,7 x 12,7 cm)
- patterned paper with the appearance of wood
- white and color cardstock
- Distress ink: Rusty Hinge, Barn Door, Aged Mahogany, Lawn Mowed, Peeled Paint, Vintage Photo,  Walnut Stain
- Memento ink: Cantaloupe, London Fog
- white pigment pad
- glossy accents
- crackle clear paint
- embossing ink pad and transparent embossing powder with glitter
- double-sided foam tape

We cut out all the elements available by the die lantern with holly vine and shadow them.


Sprinkle the sentiment Merry Christmas and lantern with transparent embossing powder with glitter, and treat them with hot embossing technique. On red holly berries apply a few dots of glossy accents.


Shadow the patterned paper with yellow and gray ink on the place where we attach lantern. We will use it for the background of a card.
Now we start with the frame. Choose a patterned paper with the appearance of wood. Cut it out by the size of 4.65 x 4.65" (11,8 x 11,8 cm). In the middle, cut out the opening with the largest die of the square set
Cut the frame in diagonal lines and shadow all four sides of the frame with Distress ink: Vintage Photo and Walnut Stain. Re-assemble the frame. 
In the end coat the frame with a crackle clear paint.


Brush the surface of the frame with a sponge here and there with white color. Apply it also to lantern and sentiment.
All the elements for the card are now prepared. It only remains to assemble the card. 
To begin assembling the card first apply adhesive foam tape to the back of the frame. If we look on the card from the side, we see the foam tape, so color it with matching color of the frame.
Composed card.


I would like to remind you on our CottageCutz challenge #5 - birthday card. Join us.
 
Thanks for stopping by!
 
Janja


Sunday, August 07, 2016

Flower vase or Table organizer "Home sweet home"

Hello Scrapping Cottage friends! 
Thanks for taking the time to stop and visit today. This is Yuliya here) Today I share with you my new project. I will be sharing how to make this  Table  organizer ... or flower vase using the CottageCutz dies.


Here is list of all supplies I used
CottageCutz Dies:
- CottageCutz Garden Stems
Other: Sizzix machine, glue, patterned paper,  ribbon, Plastic or glass bottle

Are you ready? Let's get started!)
1. I use plastic bottle
2.

3.
4.

5.
6.
 7.
 8.

Ok!) Easy and simple!
Organizer ...
... or flower vase!)


The CottageCutz challenge no . 5 has the theme birthday . Do share your entries to win amazing prizes!
I hope you have been inspired by my project today.

Saturday, August 06, 2016

A WOODLAND CARD

Hello dear friends ,

Happy weekend to all !!!! It's been raining here in India and the days are dark and cloudy . In this gloomy weather, I am reminded of my last vacation that I spent in the countryside amidst the woods . I loved the natural beauty of the woodlands and inspired by it , I made a card featuring the woods .

Here is my card


To make this card , follow the steps with each picture


Distress a cardstock 4inches x 6 inches with distress inks wild honey, carved pumpkin and fired brick.


Spray some water on the die cut and add some colour using the Distress inks Gathered Twigs and 
Ground Espresso .


Using the Negative of the CottageCutz Garden stem die and Black Soot distress ink to add shadow images .


Add a little more shading to the edges with Black Soot distress ink.


Cut another die cut from CottageCutz and adhere the two together to give a 3D look .
Adhere the die cut on the distressed coloured cardstock.


Adhere the panel on a white card base measuring 7 inches x 5 inches . Add two thin black strips at both the sides
Adhere the white circle die cut on the black die cut . Adhere the bird die cut . Add the circle black frame . Attach this on the top right of the card . Add a sentiment at the bottom.


The complete card


The CottageCutz challenge no . 5 has the theme birthday  . Do share your entries to win amazing prizes. 
Have a wonderful weekend.