Showing posts with label shaker card. Show all posts

Wednesday, October 20, 2021

Fun Interactive Shaker Card Using Santa's Delivery

    Hello, wonderful crafty friends! It's Theary Chea here on the blog today. I am so excited to share this fun interactive shaker card on the CottageCutz Youtube channel.

    Who doesn't love a fun shaker card? Seeing and hearing the sounds of the shaker elements moving inside the card makes me so giddy inside (and my children go wild for it too!) I am obsessed with creating fun interactive cards, and using products from the new release made creating that much more fun! 

    For this card, I used Santa's Delivery, along with a few of our basics dies. I love finding different ways to use our basics dies to help stretch out what we have in our stash.

Here is a look at the card I am sharing today. 


    CottageCutz is also giving this fabulous die to one of our amazing subscribers. To enter the giveaway, you will need to watch the video here at Santa's Delivery Shaker Card, comment, and make sure that you are a subscriber to the CottageCutz Youtube Channel. 
 
Good luck with the giveaway. 😊
I hope you have a wonderful rest of your day. 

Until next time,


Supplies used


Wednesday, May 24, 2017

Two Ways to Make Shaker Cards Using Expressions Plus Dies (New Release)

Hi Everyone! It's Janet from SugarShine Designs here to help get you through Hump Day! If you feel like you could use some words of encouragement then you're in the right place. My project is a set of clean and simple cards featuring some of the 35 available dies in May's Expressions Plus word release. 


When I saw these dies, I immediately knew I would use the negative space of the words as windows for shaker boxes. In the video I show the traditional shaker box created by making a well for the shaker confetti with foam tape and covering it with an acetate window. The second method uses tulle to create both the window and the pocket to hold the shaker confetti. I'm a big fan of using tulle! It's much quicker, doesn't add additional bulk to your card and doesn't allow the shaker bits to gather at the bottom of the window. The size of the new Expressions Plus dies worked perfectly for either shaker method.

Check out the card set featuring the new Expressions Plus Dies by clicking below:


If you'd like to see more of the Expressions Plus die release, click on the YouTube video link below. See how these new dies compare to the older Expressions dies, ideas on using the two styles together and other thoughts to jump start your crafting imagination.


Thanks for spending some of your valuable time here at the Scrapping Cottage. Have a wonderful Wednesday!

-Janet

Dies used in this project:

Sunday, May 21, 2017

Slider & shaker card

Hello!

It's Anja here. Today I'm sharing a card where I used two popular card designs. I combined a shaker and a slider card. I used mini toys dies that are perfect for these kind of interactive cards.


I used:
- Cottage Cutz dies (Toy Airplane Mini, Toy Submarine Mini, Toy Tugboat Mini, Stitched Rounded Square Set),
- Distress Oxides (Fired Brick, Spiced Marmalade, Peeled Pint, Fossilized Amber, Broken China, Faded Jeans),
- white card base (12,5x12,5 cm),
- watercolor paper (9,5x9,5 cm and 12x12 cm),
- white foam,
- clear acetate,
- shaker filler material (seed beads),
- foam adhesive pads,
- pennies,
- spin&slide discs,
- glue.


 I die cut all the toys and colored them with the Distress Oxides. I glued little pieces of paper on the backside to make the windows.


Then I made the background. I took 9,5x9,5 cm watercolor cardstock. I used blue shades of Oxides and blended them together. Then splashed some water drops on top and dried them with a heat gun.


Then I used the biggest square die for the 12x12 cm paper and the 3rd and 5th biggest for the 9,5x9,5 cm paper. I also cut another square from white cardstock that was the same size as the small blue frame (not pictured).


Next I made the shaker part of the card. I used the second biggest square die to cut the acetate and 3rd and 5th biggest die to cut foam. I adhered the acetate on the colored frame first and added the foam. I let it dry before continuing. I glued the other two pieces as shown on the picture below. Bigger blue frame on the card base and the smallest blue square on the bigger white square. When all was dried I put shaker fillers inside and closed it. I let it all dry again. I used liquid glue but could also used double side adhesive tape and made it a little quicker.


I used foam adhesive foam pads to glue the shaker part and white frame on the card base.


Before I adhered the white frame I made the slider mechanism. I used pennies and discs for that and inserted them on. Then I glued the frame.


In the end I added the toys. I glued the boat directly on the acetate.


And this is the finished card.


Thanks for stopping by. Have a beautiful Sunday.
Anja Z.


Monday, May 15, 2017

Koala Shaker Card

Hi, Lois here with my Monday post.  CottageCutz recently released a whole batch of 
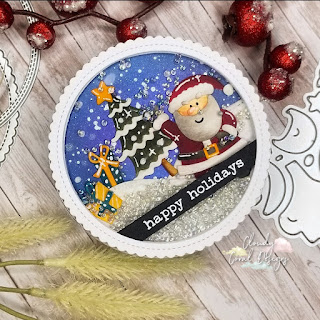
baby-related dies.  One of them is a cute koala, which I used on my shaker card today.


Supplies used on this card are:

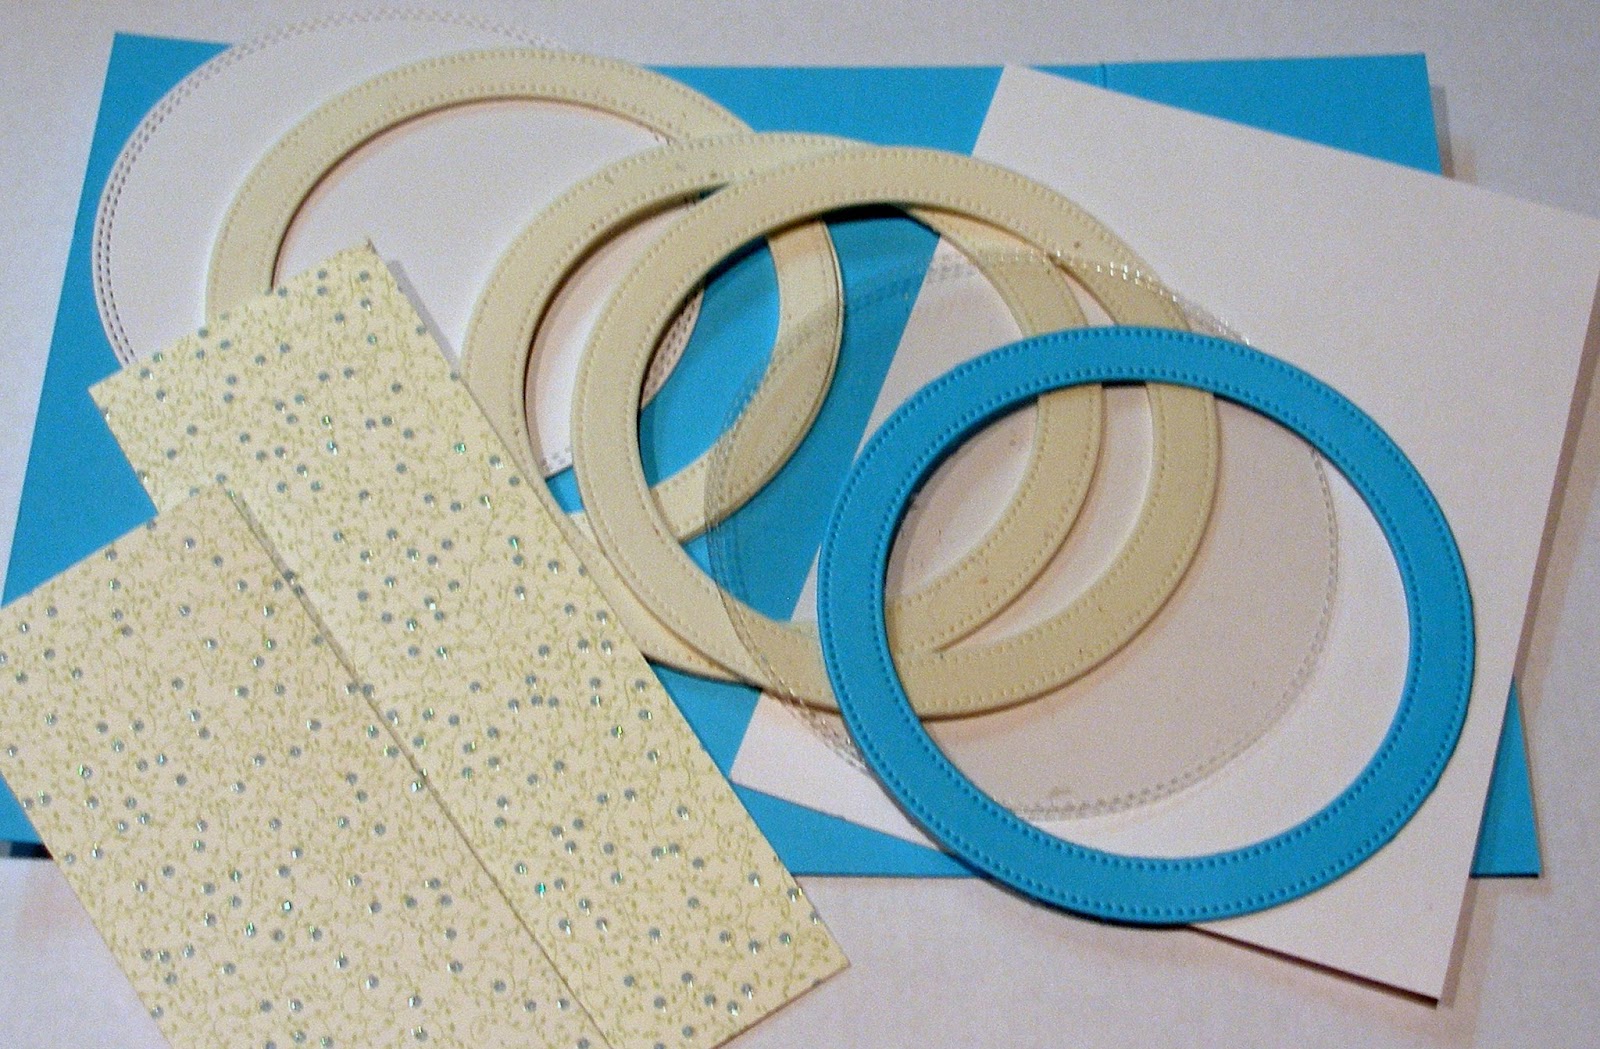
Blue cardstock  - 8 1/2" x 5 1/2", scored at 2 1/8" and 6 3/8"
Blue cardstock 4 1/4" x 4 1/4"
White cardstock approx. 3 3/4" x 3 1/2"
Patterned paper (2 panels) 1 7/8" x 5 1/4"
Scrap of patterned paper approx. 3 1/4" x 2"
White fun foam
Acetate
Copic markers (B0000, B60, BG32, BG34,Y21, and 100)
Ranger inks - Tea Dye and Antique Linen
Various sequins and seed beads
2 black mini brads
Liquid glue, foam pop dots, and tape runner
CottageCutz dies - Baby Koala w/ Blanket, Pierced Wide Circle Frame Set,  
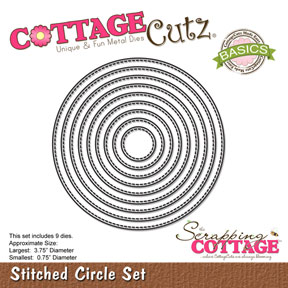
Double-Stitched Circle Set, 
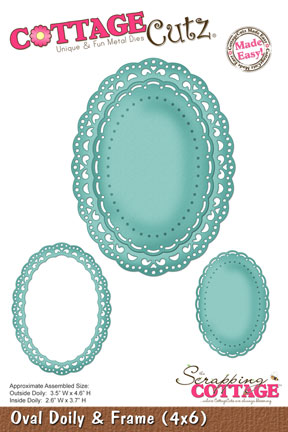
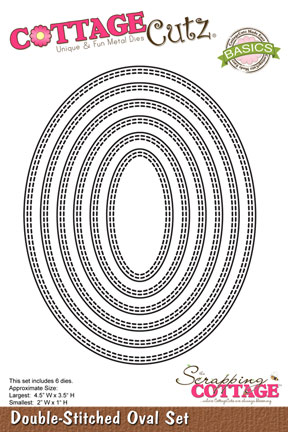
Double-Stitched Oval Set

When I was thinking about what I wanted to do with this cute koala, I thought he would look cute framed in a shaker card.  To start the card, I cut the koala from white cardstock and sponged him with Tea Dye and Antique Linen ink.  The blanket and baby bottle were colored with Copic markers.


Then I cut the card base and shaker pieces.  I tried an experiment and instead of using foam tape to create my shaker box, I cut three layers of white fun foam with the Wide Circle Frame die. 


As an afterthought (and not shown), I decided that the koala would look better if he were sitting on a little rug.  So I cut another piece of patterned paper using an oval die.  I layered the three pieces of fun foam using liquid glue, glued the white circle to the bottom, and let it sit until the glue was dried.  At the same time I glued the blue frame to the acetate circle.   I adhered the two 1 7/8" x 5 1/4" panels of patterned paper to each side of the "gate."

After the glue had dried,  I brushed the insides of the foam with some baby powder to make it less "sticky" (just in case some of the glue seeped out from between the layers and glued the shaker frame to the card base -- just on one side.


I constructed the koala using foam pop dots and glue.  It was at this point that I realized that he really should be sitting on a rug and cut one from another piece of patterned paper, which I glued to the inside of the acetate.


Then I poured  the various sequins and seed beads into the shaker box and glued on the acetate circle.   I adhered the 4" x 5 1/4" piece of white cardstock to the inside of the card and stamped a sentiment (not shown).  I must admit that, even though I had rubbed the baby powder around the inside edge of the glued fun foam, I did get some errant sequins and beads stick to the sides.  I may have to rethink that in the future.


I did enjoy making this shaker card and hope you might give it a try.

CottageCutz dies used on my card are:
http://www.scrappingcottage.com/cottagecutzbabykoalawblanket.aspx

http://www.scrappingcottage.com/cottagecutzpiercedwidecircleframesetbasics.aspx


http://www.scrappingcottage.com/cottagecutzdouble-stitchedcirclesetbasics.aspx

http://www.scrappingcottage.com/cottagecutzdouble-stitchedovalsetbasics.aspx


Friday, April 07, 2017

SWEET BABY CARDS


Hello dear friends !!!!

It's Anita here with another post with beautiful CottageCutz products. Did you see the beautiful baby theme dies that have been launched recently. They will surely win your heart... So cute they are!!!!

I have not yet started working with them , but then I am showing some old dies that are so beautiful that I love creating baby theme projects with them.

Here I have made a boy and girl shaker card using CottageCutz dies.

you can check all the baby themed dies here.


To make these cards, cut a card base 7" x 5". 
Adhere matching baby themed pattern papers. 
Cut 2 ovals from the stitched oval die. 
Cut 6 frames using stitched oval die. Adhere the three frames together one, for each card.
Adhere the large oval on the card base. Add sequins and add the transparent sheet cut to oval size. 
Adhere the frames forming a shaker card. Die cut all the baby themed pieces and distress accordingly pink and blue for the cards. Adhere on the card as shown. 
Add sentiment.

It is so much fun and easy to create these beautiful cards with CottageCutz dies.
List of Dies Used.


Do visit the CottageCutz blog and the store for amazing products and inspiration. Thanks for spending time here. Have a nice day.


Saturday, October 15, 2016

SHAKER CARD IN NON TRADITIONAL CHRISTMAS COLOUR

HELLO !!!

It's Anita here !!! Have you started making your Christmas  cards ? The CottageCutz store has a wide range of Christmas and Fall theme dies and you can create simple and also heavy layered cards using these. You can check them out here:
Christmas 1, Christmas 2 and Fall Theme
Today I have a new card for you with Christmas theme but there is a twist in it. Its a shaker card and it's in non-traditional Christmas colour.
Do check it out here.


To make this card---

Cut out die cuts in white card stock from CottageCutz Stitched Circle die.
Cut out one from the largest die and this will form the base.
Stick together the largest and the smallest die with a 1/4 inch gap and cut out 6-7 circle frames.
Use the CottageCutz Snowman with lamp post to create a scene with a 3d effect. Layer two die cuts with 3D foam tape and distress the top one with scattered straw distress ink.


Adhere the frames in between each layer. I have used 4 frames . Add sequins and cover the top with OHP sheet cut to the same size as the circle. Put the final circle frame on top   and add another stitched frame. Place the whole thing on a brown Christmas Nested Ball Ornament. Add a string.


Apply distress ink Fossilized Amber, Rusty Hinge and Spiced marmalade on a craft mat, spray water and swipe a 7"/5" card stock to colour. Dry with a heat gun.


Cut two CottageCutz Snowflake doily and colour it with Evergreen Bough Distress ink. Apply clear adhesive and sprinkle Rangers Clear Rock Candy Glitter.


Create a circle label with CottageCutz Stitched circle die and add a sentiment.
Arrange all the elements as shown.


Matte on teal coloured card stock and finally adhere to a white card stock.
The finished card measures 7.5" by 5.5"


A challenge is up on the blog. the theme is Fall. We have an amazing collection of Autumn themed dies. So do share your entries. See you next week.


.