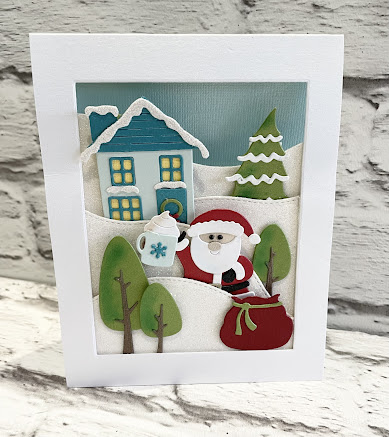
Good morning CottageCutz fans, I hope you are enjoying the festive break. If I see another turkey I think I’m going to explode. It’s Wendy bringing you the blog today and it’s a pyjamas and movie kind of day so I’m making most of taking it easy.
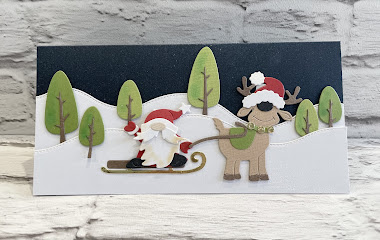
Today I’m bringing you a Z-Fold card. I’ve never made one f these before but there area. However, there are ton of tutorials on You Tube so check them out.
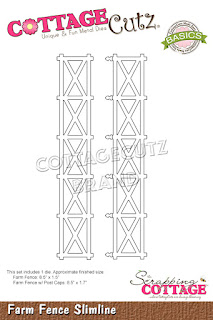
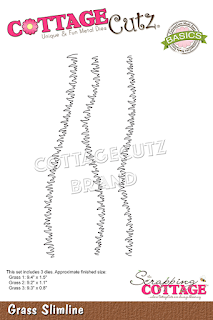
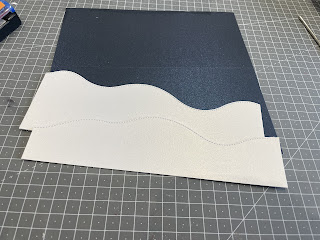
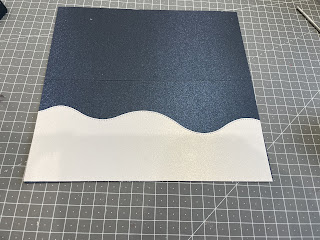
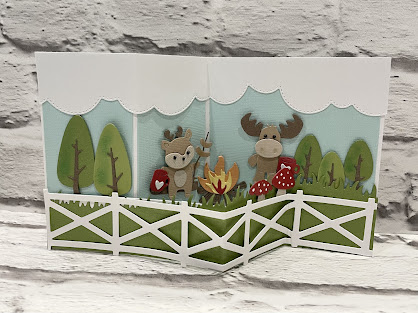
To begin with I assembled the Z-Fold card base and used the ‘Grass Slimline’ to cover the base. I then used the Farm Fence Slimline above which i thought look really cool.
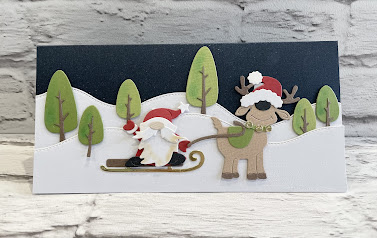
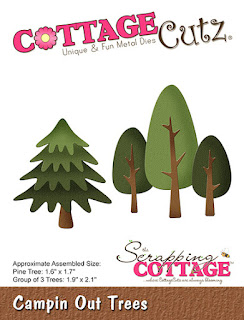
Next I cut out some of the trees from the ‘Campin Out Tress’ die and dotted them around the card. I used some chalk to make them look more realistic.
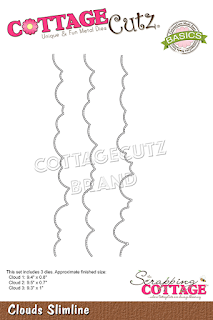
I then used the ‘Clouds Slimline die for the top of the card
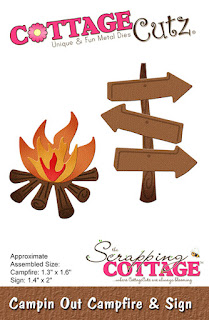
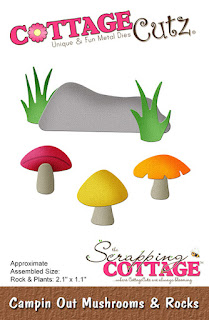
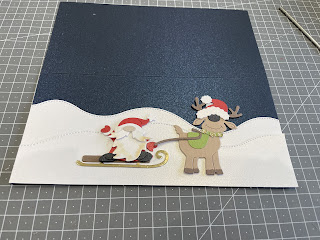
To finish I added the Moose and Reindeer by the fire with their mugs of hot chocolate. Also the mushrooms. I’ll list all the dies below
I really hope you like today card. I had fun making it.
Enjoy the rest of the week and i will be back with a full tutorial on Friday
Hugs
Wendy
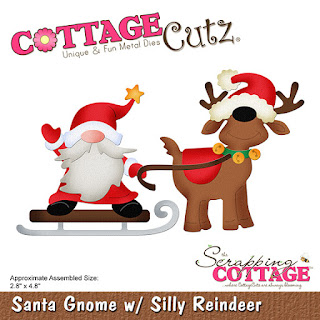
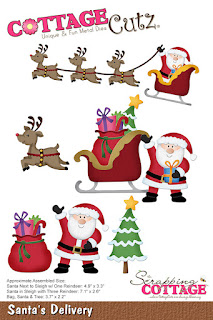
Dies used: